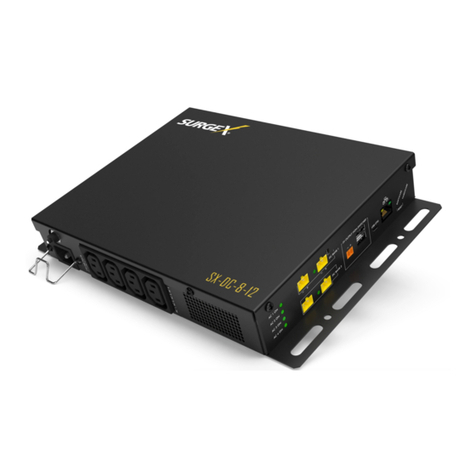
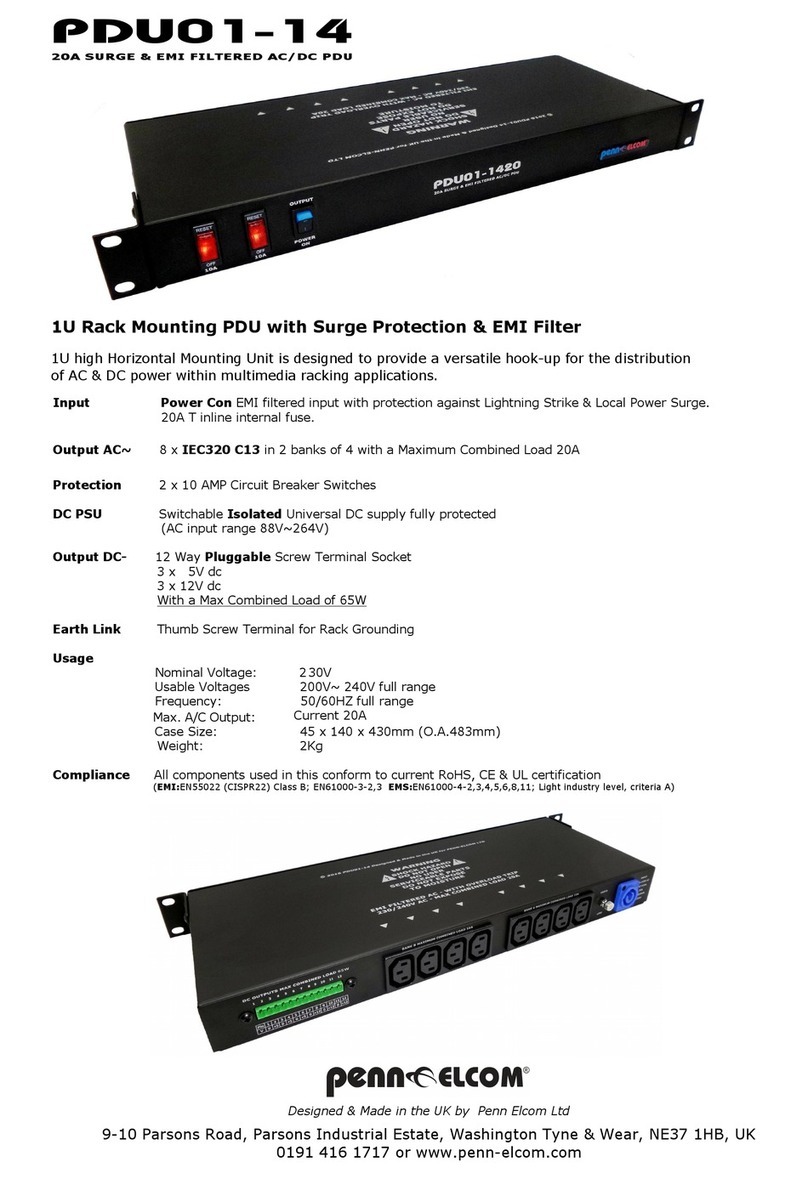
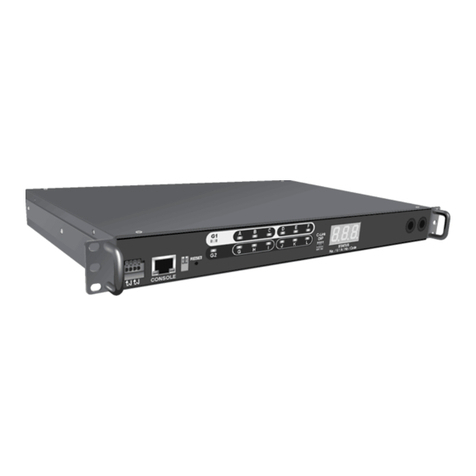
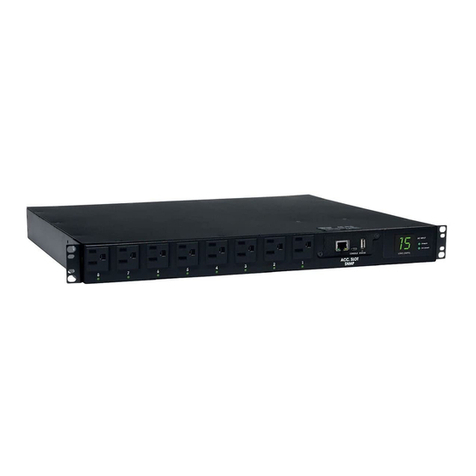
DIGIPDU SMLW 16 Series User manual

1

2
RoHS information | BellWin Information
RoHS information
This product complies with RoHS specification.
Safety information
Caution Sign Please read carefully the notes and
instructions in the manual to avoid any personnel injuries or
device damages.
Dangerous Voltage High voltage may exists in this product,
so avoid touching.
Atriangle with flash sign and an arrow inside is to alert users
the presence of uninsulated dangerous voltage within the
product’s enclosure that may be of sufficient magnitude to
constitute a risk of electric shock to persons.
Mechanical Grounding
Warning: In order to avoid a fire hazard or risk of electrical shock, do not
expose the product to rain or moisture. Dangerous high voltage exists inside
the device enclosure. Please do not open the enclosure. Only qualified
personnel can perform maintenance of this product.

Important Safety Instructions
3
Important Safety Instructions
1. Please comply strictly with all the alarms and operation instructions in this
manual and on the device, and keep this manual properly. Please do not
operate this device prior to reading all the instructions on safety and
operation.
2.Please set the maximum power-off protection allowed by power circuit as
per the rated current information indicated on the device with reference to
the local state rules, safety procedures and disconnector deviation.
3. The unit can only be connected to a grounded power outlet or system.
4. Make sure the total current output of all the connected systems within the
rated current indicated on the device.
5. Replacement with wrong types of battery may result in explosion, and used
batteries should be disposed as per relevant regulations.
6. The test results of this device may be inaccurate giving instable power
supply.
7. Avoid using this device in places near water or moisture environments.
Warning: In order to avoid a fire hazard or risk of electrical shock, do not
expose the product to rain or moisture.
8. Wipe with cry cloth only.
9. Use the attachments/accessories specified by the manufacturer only.
10. All repairs and maintenances should be performed by qualified personnel.
The unit should be sent to professional personnel for maintenance
whatever damage it has, such as:
-damage of power cord or plug;
- SpilLCD by liquid or items dropping into the device;
- Failures of device due to exposure to rain or moisture, or fall-off.

4
Notices | BellWin Information
Please do not attempt to maintain this device personally. Open the device
enclosure may expose operators to dangerous voltages or other risks.
Please contact dealers for relevant information.
11. Please avoid any items or liquids entering the device because their contact
with dangerous voltage points or short-circuit parts may cause a fire or
electric shock.
12. For relevant safety signs, please see the device enclosure.
13. Anyone else besides the qualified service personnel shall not adjust or
repair this device.
Notices
The Manufacturer reserves the right to revise and modify the information,
files, and specification forms contained in this manual without giving any notice
in advance. The Manufacturer will not guarantee, express implicitly or explicitly,
or declare legally the content or particularly deny the marketability and
applicability of this product used for a specific purpose. These rules shall also
be applicable to any software sold or authorized by the manufacture
mentioned in this manual.
If the software application was proved to be defected after purchase,
buyers (and non-manufacturers, their deals and buyers) shall assume the
service fees, repair charge, occasional incidents and indirect damages arising
from software defects.
The manufacturer of this device is exempted from the duties of eliminating
radio and/or TV interferences arising from any unauthorized adjustment of this
device, in which users should self-correct such interferences.
The manufacturer is free from any damages arising from incorrect setting
of operation voltage. Users are required to make sure the voltage is correctly
set before use.

Notices
5
Our factory hereby guarantees to users (buyers) that the product will be
free from any defects due to material or manufacturing technologies within 1
year since being purchased During the warranty period and by virtue of the
purchase proof, our factory will determine the reasons of any failures on its
own to judge if the defect is caused by manufacturing technologies and/or
materials. If so, the defected product or components will be repaired or
replaced without charging any fees for the replaced parts or labor to resume it
to a normal operating state if necessary. Any of the replaced items is of the
functionally equivalent with or even has higher value than the original one, yet
the specific items for such replacement shall be self-determined by the
manufacturer. However, this is not applicable to products with expired warranty,
altered, misused, modified or damaged because of natural disasters or
improper operation.
This warranty will not apply to any defects or discomformity in
product/component due to negligence in installation, use and operation, and/or
improper use by the third party (including but not limited to clients), alteration
without verification with the manufacturer, maintenance inconsistent with the
instructions on the user manual, normal wearing, disassembling, connection of
the product with other incompatible devices or software, change, transfer or
integration of the products with other systems beyond the use purpose
specified by the manufacturer, connection of other incompatible hardware
and/or software with the product, and the virus spread through computer
network, route change, modification or disruption by telecommunication work
staff and/or service provider, maintenance by non-official personnel etc..
If your device is not functioning properly, please contact the service
providers as indicated on the warranty card inside the device package.

6
Content | BellWin Information
Content
RoHS information............................................................................................................................... 2
Safety information ............................................................................................................................. 2
Important Safety Instructions ............................................................................................................ 3
Notices...............................................................................................................................................4
Content ..............................................................................................................................................6
Chapter 1 Product Introduction.......................................................................................................... 9
1-1 Product Introduction .....................................................................................................................9
1-2 Application scope ..........................................................................................................................9
1-3 Product features ............................................................................................................................9
1-4 System requirements...................................................................................................................10
1-5 Hardware Description ..................................................................................................................11
1-6 Product packaging .......................................................................................................................12
Chapter 2 Hardware installation ...................................................................................................... 13
2-1 Horizontal rack installation ..........................................................................................................13
2-2 Vertical rack installation...............................................................................................................14
2-3 Product installation......................................................................................................................15
Chapter 3 Panel operation ............................................................................................................... 16
3-1 Panel description .........................................................................................................................16
3-2 Panel operation ...........................................................................................................................18
Chapter 4 First Operation................................................................................................................. 20
4-1 Network connection ....................................................................................................................20
4-2 Setup Wizard ...............................................................................................................................20
Language selection.................................................................................................................... 21
Account Setting........................................................................................................................... 21
Host setting ................................................................................................................................. 22
DNS setting................................................................................................................................. 23
Web Server ................................................................................................................................. 24
Time Server Setting ................................................................................................................... 25
Time zone.................................................................................................................................... 26
Time Format................................................................................................................................ 26

Content
7
Overtime setting ......................................................................................................................... 26
Setting completion...................................................................................................................... 27
4-3 Sign in .......................................................................................................................................... 27
4-4 Main menu .................................................................................................................................. 28
Chapter 5 Monitor ........................................................................................................................... 29
5-1 Peripheral state............................................................................................................................29
Chapter 6 System Setup Menu ......................................................................................................... 31
6-1 Network setting ...........................................................................................................................31
6-2 E-mail server ................................................................................................................................33
6-3 SMS server ...................................................................................................................................35
6-4 SNMP setting ...............................................................................................................................38
6-5 SYSLOG Record.............................................................................................................................41
6-6 IDCView ....................................................................................................................................... 42
6-7 Peripheral Parameters .................................................................................................................44
6-8 Other............................................................................................................................................45
Chapter 7 Firewall menu .................................................................................................................. 46
7-1 IP Filter.........................................................................................................................................46
7-2 MAC filter..................................................................................................................................... 47
Chapter 8 Account Management...................................................................................................... 48
8-1 New User .....................................................................................................................................48
8-2 Outlet Authority...........................................................................................................................49
8-3 Email ............................................................................................................................................ 50
8-4 SMS .............................................................................................................................................. 51
8-5 Modify Account ........................................................................................................................... 52
8-6 Delete Account ............................................................................................................................52
Chapter 9 Time ................................................................................................................................ 53
Chapter 10 Chart Statistics Menu ..................................................................................................... 55
Chapter 11 Event.............................................................................................................................. 56
Chapter 12 Firmware Upgrade ......................................................................................................... 57
12-1 Firmware Upgrade ..................................................................................................................... 57
12-2 Save/Update Profile ................................................................................................................... 59
Chapter 13 IP Search Utility.............................................................................................................. 61
13-1 Windows....................................................................................................................................61

8
Content | BellWin Information
13-2 Java ............................................................................................................................................63
Appendix ......................................................................................................................................... 65
Set back to factory default values......................................................................................................65
HTTP Message API example ...............................................................................................................66
Message format Explanation:................................................................................................... 68
Product Specification Sheet ...............................................................................................................69
Product Information ..........................................................................................................................72
Magnetic...................................................................................................................................... 72
circuit breakers ........................................................................................................................... 72
Warranty Clause................................................................................................................................. 73

Chapter 1 Product Introduction
9
Chapter 1 Product Introduction
1-1 Product Introduction
DigiPDU SMLW series (hereinafter referred to as SMLW series)
consolidates current monitoring, device temperature monitoring, web page
management, message, e-mail, and SNMP functions together to enable MIS
staff to be informed with the power supply, temperature of equipment, and
thereby to remotely deal with the relevant problems through Internet. In this
way, problems can be solved timely, helping to reduce the losses of
enterprises.
SMLW series allows managers to manage hundreds of SMLW series
products at a single interface through IDCView central control software,
accordingly greatly simplifying the issue of device network IP management.
1-2 Application scope
Power monitoring and management of Computer room and rack.
Power monitoring in the computer centers of various organs and units.
Power control of machinery equipment in plants
Power monitoring of network devices
Power monitoring of other power supply devices
1-3 Product features
LCD panel displays current information, max alarm current, device
temperature and network information.
Five sides button provides upper and lower, left and right to see the
information; the middle button can setup parameter.
Support Multi browser (IE, Mozilla, Firefox, Safari, Opera, and
Netscape).
Web page supports 1024-bit SSL security encryption transmission.
Web Page supports multi-national languages.
Provide guidance daemon to ease users' setting of parameters.
User permission divided into system administrator/manager/ordinary
user.

10
Chapter 1 Product Introduction | BellWin Information
Provide multi-group account numbers so that different users can control
different power switch.
Message and email alerts for real-time detection and alarm of important
devices.
Support to send different messages to different email addresses and
message receivers.
Record operations and warning messages, user can check messages
afterward
Build-in chart to search temperature and other relevance info.
IP and MAC filtering to restrict the operation computer of devices.
SYSLOG support
SNMP (V1/ V2/ V3) and SNMP Trap support.
Support Web API.
Support online firmware upgrade to renew equipment functions.
1-4 System requirements
The computer BIOS connecting to the power outlet should support
Wake on LAN or System after AC Back in order to smoothly turn on the
computer power supply.
Use windows operation system (XP, 2000 and above) in order to safely
shut down the computer.
Safe shut-down program should be instalLCD and executed on the
computer (downloaded from web pages or gain from the software CD
attached with the product) .

Chapter 1 Product Introduction
11
1-5 Hardware Description
1
RJ45 Ethernet
connected Port
Plug in LAN or Internet cable here.
2
Alarm Indicating
Light
Lights remain: Alarming occurred.
Slow-flashing: There was current
overloading.
3
Five sides button
Provide LCD switching panel info and
setting parameters.
LCD panel displays current
information, max alarm current,
device temperature and network
information.
4
Power Outlet
Power supply
5
Main Lead
Device power lead
6
Circuit breaker
protection
Prevent power overload and damage
to devices, when circuit breaker
protection trips, press the button on
the breaker protection to return to
normal operation after eliminating
abnormal device power supply.
7
Link (Green) /
Network Speed
(Yellow)
Indicating Light
Link : Green: Hardware line working
well this will light up.
Network Speed: Yellow: Lights remain:
100M network speed.
No lights: 10M network speed.
8
Buzzer
Buzzer will have bee sounds when
alarm happens.

12
Chapter 1 Product Introduction | BellWin Information
1-6 Product packaging
Remote Power Monitor 1pc
Electronic User Manual CD 1pc
Power Cord 1pc
Rack fixer 2pcs Screw 4pcs
If any of the above accessories missed or failed to function normally,
please contact the dealer from whom the product was bought for
replacement.

Chapter 2 Hardware installation
13
Chapter 2 Hardware installation
Please make sure all the units connected are power-off before
installation of the device. Besides, during the installation, please do obey the
Important Safety Instructions.
2-1 Horizontal rack installation
SMLW 8 series provide standard 9-Inch rack for the installation of
devices; Please use the rack installation accessories attached with the
product package (standard accessory for SMLW 8/12/16/24 port)), please
install the accessories to be device, then the device to the rack.

14
Chapter 2 Hardware installation | BellWin Information
2-2 Vertical rack installation
SMLW 12/16/24 series provide 0U to be installed on the side of rack. For
installation of the device on the rack, please use the installation accessories
attached with the product package which can be installed on the top or
bottom of the rack.

Chapter 2 Hardware installation
15
2-3 Product installation
For correct operation of this product, make sure to install this device
according to the following table and chart.
1
Network port
2
LAN or Internet cables
3
Computer for operation of this
device
4
Power cord of device or device
5
Power input cable

16
Chapter 3 Panel operation | BellWin Information
Chapter 3 Panel operation
This chapter introduces how SMLW series displays current info and max
current alarm, device temperature and network info through five sides button
as well as the meanings of each part of LCD panels.
3-1 Panel description
1
LCD panel
Display current info, max current, inner temp and Network info.
2
Five sides
button
Upper and lower switching: Switch down to display
current info, max current alarm, and inner temp and Network
info.
Left and right switching: Switching the secondary items
of the above four categories.
Setup: Holding the key for 3 seconds in current info mode
to access alarm setting mode. Please press 3 seconds to
complete it; if not, system will go back to total current
mode.
Zeroing: Press for 3 seconds in max current mode as
alarm had once occurred; the max current record can be
eliminated.
3
Alarm
Lights remain: Alarming occurred.

Chapter 3 Panel operation
17
Indicating
Light
Slow-flashing: There was current overloading.
4
Buzzer
Buzzer will have bee sounds when alarm happens.
※In web page management, through timeout parameter setting of cycle
key pressing in panel operation area of 6-7 peripheral Parameters, it is
also possible to set LCD menu to return to total power if no subsequent
operation within the seconds set.

18
Chapter 3 Panel operation | BellWin Information
3-2 Panel operation
The first mode of LCD is total current, switching with five sides button
down to show in a regular turn of current info, max current, inner temp and
Network info as below: (Press left of the five sides button, it would show the
opposite detection.)
Press five sides button for left and right side; it would show in a regular
turn of every secondary item.
※Some of the pictures only use in 30/32A SMLW PDU.

Chapter 3 Panel operation
19
When LCD shows the maximum total current record hold the five side
button in the middle for 3 seconds with a long beep to zero the maximal
current records.
When LCD menu shows current info hold five side button in the middle
for 3 seconds with a long beep to enter alarm current setting. For
modification of alarm current, press to increase the alarm current by 0.5A
in each press. After increasing to the maximal alarm current, the value
will return back to 0.5A again, and this will cycle. Once the alarm current
reaches the wanted value, hold Function for 3 seconds with a "beep" to
end the setting.
When LCD menu shows network info, hold five side button for 10
seconds with two beeps to enter reset mod. See Set back to factory
default values.

20
Chapter 4 First Operation | BellWin Information
Chapter 4 First Operation
In this section users can learn how to query devices, IP and how to set
language, account password, network and time zone through daemon.
4-1 Network connection
After the device connects to the network, IP can be acquired
automatically through DHCP server (The device IP will be preset
as192.168.1.10) if there is no DHCP server), the acquired IP can be
displayed by LCD panel (Relevant operation referred to 3-2 Total current and
IP operation) or device IP can be searched by IP Search Utility (Relevant
operation referred to Chapter 13 Search IP Utility).
4-2 Setup Wizard
If the device is First- time- setting or clearing all the parameters by
pressing RESET for 10s, after it connected to the Internet, browser would pop
up Setup Wizard providing language, account, password, network and time
zone.
This manual suits for next models
29
Table of contents

