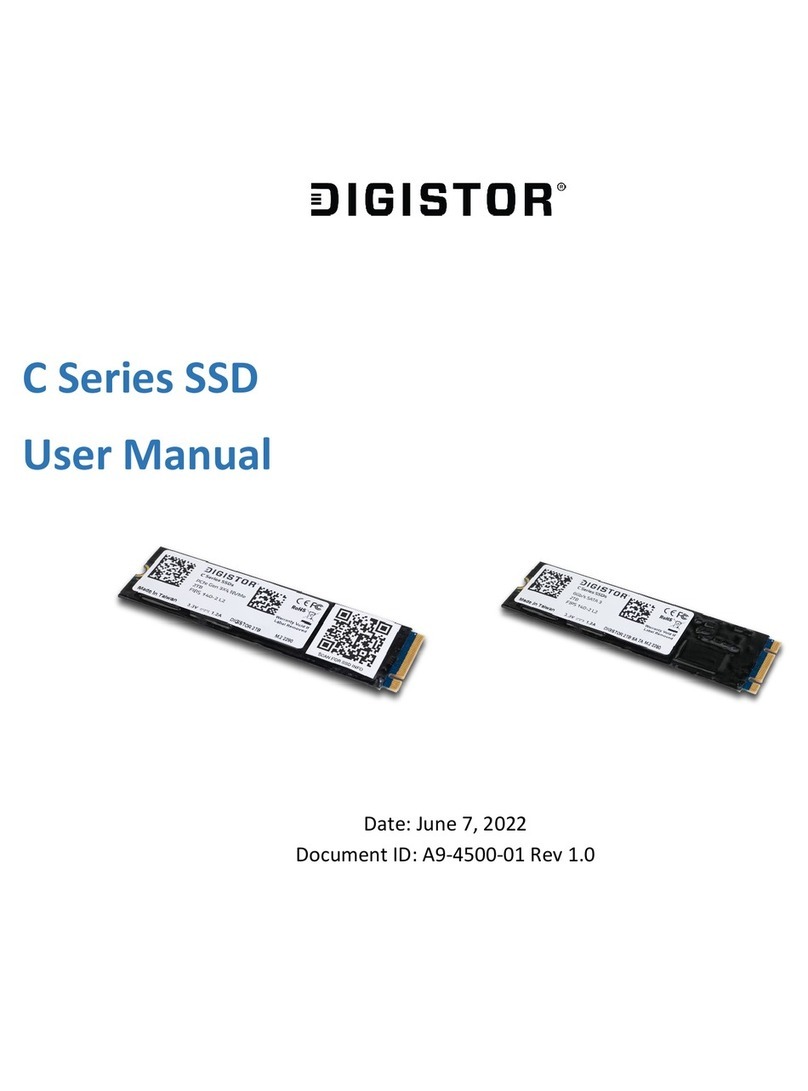
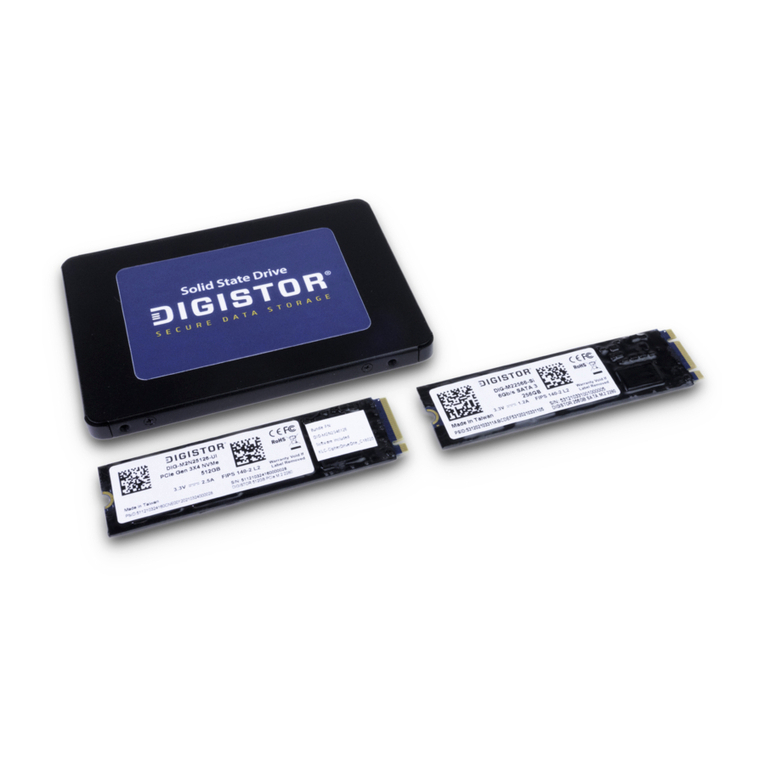
Digistor Citadel K Series User manual

Citadel K Series SSD
User Manual and Multi-Drive Version Installation
Guide

A9-4400-01-3 Rev. 1.3
©2021-2022 CRU Data Security Group, LLC. ALL RIGHTS RESERVED.
This User Manual contains proprietary content of CRU Data Security Group, LLC (“CDSG”) which is protected by copyright, trademark,
and other intellectual property rights.
Use of this User Manual is governed by a license granted exclusively by CDSG (the “License”). Thus, except as otherwise expressly
permitted by that License, no part of this User Manual may be reproduced (by photocopying or otherwise), transmitted, stored (in a
database, retrieval system, or otherwise), or otherwise used through any means without the prior express written permission of CDSG.
Use of the full Citadel SSD product is subject to all of the terms and conditions of this User Manual and the above referenced License.
DIGISTOR®(collectively, the “Trademarks”) are trademarks owned by CDSG and are protected under trademark law. This User
Manual does not grant any user of this document any right to use any of the Trademarks. CipherDrive is a registered trademark of KLC
Group, LLC.
Product Warranty
CDSG warrants this product to be free of significant defects in material and workmanship for a period of three (3) years from the
original date of purchase. CDSG’s warranty is nontransferable and is limited to the original purchaser.
Limitation of Liability
The warranties set forth in this agreement replace all other warranties. CDSG expressly disclaims all other warranties, including but not
limited to, the implied warranties of merchantability and fitness for a particular purpose and non-infringement of third-party rights with
respect to the documentation and hardware. No CDSG dealer, agent, or employee is authorized to make any modification, extension,
or addition to this warranty. In no event will CDSG or its suppliers be liable for any costs of procurement of substitute products or
services, lost profits, loss of information or data, computer malfunction, or any other special, indirect, consequential, or incidental
damages arising in any way out of the sale of, use of, or inability to use any CDSG product or service, even if CDSG has been advised
of the possibility of such damages. In no case shall CDSG’s liability exceed the actual money paid for the products at issue. CDSG
reserves the right to make modifications and additions to this product without notice or taking on additional liability.
FCC Compliance Statement: This device complies with Part 15 of the FCC rules. Operation is subject to the following two conditions:
(1) This device may not cause harmful interference, and (2) this device must accept any interference received, including interference
that may cause undesired operation.
This equipment has been tested and found to comply with the limits for a Class B digital device, pursuant to Part 15 of the FCC Rules.
These limits are designed to provide reasonable protection against harmful interference in a residential installation. This equipment
generates, uses, and can radiate radio frequency energy and, if not installed and used in accordance with the instruction manual, may
cause harmful interference to radio communications.
In the event that you experience Radio Frequency Interference, you should take the following steps to resolve the problem:
1. Ensure that the case of your attached drive is grounded.
2. Use a data cable with RFI reducing ferrites on each end.
3. Use a power supply with an RFI reducing ferrite approximately 5 inches from the DC plug.
4. Reorient or relocate the receiving antenna.

Table of Contents
1. Introduction ............................................................................................................................ 5
1.1. Safety Information ........................................................................................................ 5
2. Drive Installation ..................................................................................................................... 6
2.1. M.2 SSDs (NVMe or SATA) ........................................................................................... 6
2.2. 2.5-inch SATA SSD ....................................................................................................... 7
3. Install the PBA Software .......................................................................................................... 8
3.1. Download the PBA Software ......................................................................................... 8
3.2. Create a Bootable USB Thumb Drive ............................................................................. 8
3.3. Configure UEFI/BIOS Settings ...................................................................................... 9
3.3.1. For All Computers .............................................................................................. 9
3.3.2. For Dell Computers ............................................................................................ 9
3.4. Install an Operating System or Virtual Environment ....................................................... 11
3.5. How to Boot into the Thumb Drive ................................................................................ 11
3.6. Install the PBA Software .............................................................................................. 11
4. First Time Login ..................................................................................................................... 13
5. Pre-Boot Authentication Interface ............................................................................................ 14
5.1. Logging In ................................................................................................................... 14
5.1.1. Logging In with a Username and Password ........................................................ 14
5.1.2. Logging In with a Smart Card ............................................................................ 15
5.1.3. Logging in with Two-Factor Authentication .......................................................... 16
5.2. Logging Out ................................................................................................................ 17
5.3. Dashboard .................................................................................................................. 17
5.4. User ........................................................................................................................... 18
5.4.1. User Roles ....................................................................................................... 18
5.4.2. Add a User ....................................................................................................... 19
Add a Password User ......................................................................................... 19
Add a Smart Card User ...................................................................................... 20
Add a Two-Factor User ....................................................................................... 21
Bulk Import Users .............................................................................................. 22
How to Create a Bulk User Import File ................................................................ 23
5.4.3. Edit a User ....................................................................................................... 24
Edit a Password User ......................................................................................... 24
Edit a Smart Card User ...................................................................................... 25
5.4.4. Delete a User ................................................................................................... 25
5.5. Settings ...................................................................................................................... 26
5.5.1. Configuration .................................................................................................... 26
5.6. Maintenance ............................................................................................................... 28
5.6.1. Backup Database ............................................................................................. 28
5.6.2. Erase Disk ....................................................................................................... 28
5.6.3. Change DEK .................................................................................................... 29
5.6.4. Change AK ...................................................................................................... 30
5.6.5. License Upgrade .............................................................................................. 30
Generate a License Request .............................................................................. 31
Upgrade License ............................................................................................... 32
5.6.6. Upgrading the PBA Software ............................................................................. 32
Via the Settings Console .................................................................................... 33
Via Command Line ............................................................................................ 34
5.6.7. Temporarily Deactivate the PBA ........................................................................ 36
5.6.8. Uninstall the PBA Software ............................................................................... 37
Citadel K Series SSD User Manual and Multi-Drive Version Installation Guide 3

5.6.9. Export Configuration ......................................................................................... 38
5.6.10. Update Disclaimer .......................................................................................... 39
5.7. Logs ........................................................................................................................... 40
5.7.1. Activity Log ...................................................................................................... 40
5.7.2. Login Log ......................................................................................................... 41
5.7.3. Exception Log .................................................................................................. 42
5.7.4. Admin Log ....................................................................................................... 43
5.7.5. Latest Log ........................................................................................................ 44
5.7.6. Purge Log ........................................................................................................ 45
5.7.7. Log Filter ......................................................................................................... 46
5.8. Disk Information .......................................................................................................... 47
6. Other Features ....................................................................................................................... 48
6.1. Dead Man's Switch Operation ...................................................................................... 48
6.1.1. What to Do After Using the Dead Man's Switch .................................................. 48
6.2. Two-factor Authentication Recovery .............................................................................. 48
6.3. Deploy the Same Configuration Across Multiple Systems ............................................... 49
6.4. Reset a Citadel SSD .................................................................................................... 50
6.4.1. Download the PBA Software ............................................................................. 51
6.4.2. Create a Bootable USB Thumb Drive ................................................................. 51
6.4.3. How to Boot into the Thumb Drive ..................................................................... 52
6.4.4. Wipe the Citadel Drive ...................................................................................... 52
6.5. Reactivate the Citadel SSD .......................................................................................... 53
6.5.1. Download the Activation Software ...................................................................... 53
6.5.2. Create a Bootable USB Thumb Drive ................................................................. 53
6.5.3. How to Boot into the Thumb Drive ..................................................................... 54
6.5.4. Activate the Citadel SSD ................................................................................... 54
7. Troubleshooting ..................................................................................................................... 56
7.1. How to Recover Your PBA Software License File ........................................................... 56
7.2. How to Replace a Bad Secondary SSD ........................................................................ 57
7.3. Create a Bootable USB Thumb Drive ............................................................................ 58
8. Product Support ..................................................................................................................... 60
Citadel K Series SSD User Manual and Multi-Drive Version Installation Guide 4

1. INTRODUCTION
DIGISTOR Citadel K Series SSDs protect against unauthorized access using CipherDrive pre-boot authen-
tication (PBA) that protects multiple self-encrypting drives installed into the host system. Each Citadel
self-encrypting drive (SED) is FIPS certified and is the only SSD brand that has PBA natively built-in.
Once fully set up and configured, you will have to securely authenticate access to the system before any
operating system or virtual machine stored on the protected SSDs can start up. Then after you authenticate
and sign in, changes can be made to the protected drives in real-time until the host computer is powered
off.
This User Manual will help you install mulitple Citadel K Series SSDs into your system, install the PBA soft-
ware, and how to log in. It also includes instructions for using the PBA's Management Console, including
managing users and user roles and configuring the PBA for smart card or password access.
1.1. SAFETY INFORMATION
Please read the following before handling this product.
1. Do not drop the product, submit it to impact, or pierce it.
2. The circuit boards within this product are susceptible to static electricity. Proper grounding is strongly
recommended to prevent electrical damage to the product or other connected devices, including the
computer host.
3. Avoid placing this product close to magnetic devices, high voltage devices, or in an area exposed to
heat, flame, direct sunlight, dampness, moisture, rain, vibration, shock, dust, or sand.
4. To avoid overheating, this product should be operated in a well-ventilated area.
5. Before starting any type of hardware installation, please ensure that all power switches have been
turned off and all power cords have been disconnected to prevent personal injury and damage to the
hardware.
Citadel K Series SSD User Manual and Multi-Drive Version Installation Guide 5

2. DRIVE INSTALLATION
These instructions will help you install the Citadel SSD into your computer. If you purchased a computer
with a Citadel SSD pre-installed, you can skip this section.
Choose the installation instructions appropriate to the type of Citadel SSD you have.
RAID SUPPORT
You must enable AHCI if you are deploying Citadel SSDs in a RAID setup. See Configure
UEFI/BIOS Settings, page 9.
RAID is also only supported for SATA 2.5-inch hard drives.
2.1. M.2 SSDS (NVME OR SATA)
1. Remove the screw from the SSD slot you intend to use if there is one present.
2. Insert your Citadel K Series SSD into an open M.2 slot in your computer. Be sure to align the notch(es)
on the gold contacts of the SSD module with the notch(es) on the empty slot.
M.2 nVME SSD
M.2 SATA SSD
3. Secure the Citadel SSD. Hold the Citadel SSD flat against the slot bay (Figure 1) and reinsert the
screw back into the rear of the slot (Figure 2).
Citadel K Series SSD User Manual and Multi-Drive Version Installation Guide 6

1
2
2.2. 2.5-INCH SATA SSD
1. Insert your Citadel K Series SSD into an open 2.5-inch drive bay in your computer (Figure 1). Then
secure the Citadel SSD with four screws (Figure 2) or via the computer chassis' built-in tension clip.
1
2
2. Attach a SATA power connector from your computer to the SATA power port on the rear of the Citadel
SSD.
3. Attach a SATA data cable to the SATA port on the rear end of the Citadel SSD and the other end to the
computer's motherboard.
Citadel K Series SSD User Manual and Multi-Drive Version Installation Guide 7

3. INSTALL THE PBA SOFTWARE
These instructions will show you how to create a bootable USB thumb drive, when to install your operating
system or virtual machine during the PBA software installation process, how to activate the DIGISTOR
Citadel SSD's PBA capability, as well as how to log in using the PBA software.
3.1. DOWNLOAD THE PBA SOFTWARE
Download the Citadel K Series SSD installation package from digistor.com/citadel-multidrive-install and
save it to a place on your computer. The download should be located at the top of the page.
3.2. CREATE A BOOTABLE USB THUMB DRIVE
1. Insert a USB thumb drive into your computer.
2. Format a USB thumb drive to the FAT32 file system.
CAUTION
Be sure you backup any files on the drive because they will be erased!
IMPORTANT
Ensure that no other partitions or files exist on the thumb drive! If you have multiple
partitions on the thumb drive, you may have to use other tools to delete them such as
"Disk Management" which is built into Windows.
3. Open the ZIP file containing the PBA software you downloaded and extract the folder inside to your
computer's desktop.
4. Navigate into the folder you extracted and copy the contents to the thumb drive, including any individual
files as well as the “EFI” folder.
IMPORTANT
Do not copy the folder itself over to the thumb drive. Your system will be unable to boot
from it if you do.
5. Copy the license file that you received upon purchasing the Citadel SSD to the root of the thumb drive.
NOTE
Make note of the license file's filename because you will need it later to install the PBA
software.
Citadel K Series SSD User Manual and Multi-Drive Version Installation Guide 8

You now have a bootable thumb drive. If you require more help, please contact Technical Support. See
Product Support, page 60.
3.3. CONFIGURE UEFI/BIOS SETTINGS
You will need to properly configure your BIOS or UEFI in order to properly boot from the thumb drive. To
do so, follow the instruction set below that's applicable to your situation. Specific instructions have been
provided for Dell computers, as well as a generic instruction set for all other computers.
3.3.1. FOR ALL COMPUTERS
Follow these steps to ensure your computer's BIOS or UEFI settings are configured correctly. To access the
BIOS or UEFI, you may have to press Delete, Esc, F2, or F12 repeatedly while your computer boots.
1. If you have an option for "UEFI Boot Path Security" or something like it, be sure to change it to Never.
2. If you have an option to allow OPAL hard drive SID authentication, be sure to enable it.
3. Ensure that your "SATA Operation" is set to AHCI.
4. If you have a system that supports CPUs with high core counts, such as a server, the UEFI will likely
have an option for "X2Apic Mode" in its processor settings section. Set “X2Apic Mode” to Disabled.
5. If you have a discrete video card, ensure your primary display detection is set to Auto.
6. Disable "Secure Boot".
NOTE
Secure Boot is supported, but only once the PBA software is completely installed. You
may re-enable Secure Boot after you have completed installation of the PBA software
and your operating system.
3.3.2. FOR DELL COMPUTERS
Follow these steps to ensure your Dell computer's UEFI settings are configured correctly. To access the
UEFI, you may have to press F2 or F12 repeatedly while your computer boots.
1. Navigate to "General > UEFI Boot Path Security" and change it to Never.
Citadel K Series SSD User Manual and Multi-Drive Version Installation Guide 9

2. If you have an option to allow OPAL hard drive SID authentication, be sure to enable it.
3. Navigate to "System Configuration > SATA Operation" and change it to AHCI.
4. If you have a system that supports CPUs with high core counts, such as a server, the UEFI will likely
have an option for "X2Apic Mode" in its processor settings section. Set “X2Apic Mode” to Disabled.
5. If your Dell computer has an upgraded video card, navigate to "Video > Primary Display" and ensure it
is set to Auto. Otherwise, this option will not be available and you can continue onto the next step.
6. Navigate to "Secure Boot > Secure Boot Enable" and uncheck the box next to the "Secure Boot"
option to disable it. A dialog box may pop up warning you that disabling Secure Boot will reduce system
security. Click Yes to disable it.
NOTE
Secure Boot is supported, but only once the PBA software is completely installed. You
may re-enable Secure Boot after you have completed installation of the PBA software
and your operating system.
Citadel K Series SSD User Manual and Multi-Drive Version Installation Guide 10

3.4. INSTALL AN OPERATING SYSTEM OR VIRTUAL ENVI-
RONMENT
Install any operating system (OS) or virtual machine (VM) at this time.
TIP
If you need to turn on a Trusted Platform Module (TPM), Virtualization Support, or Trusted
Execution, you can turn them on in the UEFI.
After you have installed the OS or VM, perform a cold reboot by turning your computer off and back on
again and test the OS or VM.
3.5. HOW TO BOOT INTO THE THUMB DRIVE
1. Ensure that the computer is turned off.
2. Insert the bootable USB drive you created in the steps above into the computer and turn it on.
3. Continually press the key for accessing your motherboard's boot menu while the computer starts up.
The key to access it differs on different models, but the most common keys are F2, F10, F12, or Esc.
4. The motherboard's boot menu will appear. Choose the USB thumb drive from the list of boot options.
5. A Linux BASH prompt will load. Press Enter to activate the console.
3.6. INSTALL THE PBA SOFTWARE
1. Boot into the thumb drive using the steps above.
2. Type sedutil-cli --scan and press Enter to display the paths for each drive you have installed in the
system.
Citadel K Series SSD User Manual and Multi-Drive Version Installation Guide 11

3. Use the following command syntax to install the PBA software on the primary SSD with a chained
pre-boot authentication on the secondary SSDs. Please note that the following text is case sensitive:
CipherDriveInstaller -d <primary SSD location>,<secondary SSD location A>,<secondary SSD
location B>,<etc> -p <password> -lic <license filename>
NOTE
<primary SSD location> refers to the drive path for the primary SSD (ex. /dev/nvme0).
<secondary SSD location A> is the drive path for the first secondary SSD, <secon-
dary SSD location B> is the drive path for the next secondary SSD, and so on.
<password> is the Administrator password. The default Administrator password is
Administrator, and it is case-sensitive. <license filename> is the filename of the
license you added to the boot disk in the steps above.
Example: CipherDriveInstaller -d /dev/sda,/dev/sdb -p Administrator -lic licensename
IMPORTANT
If you are using the default Administrator password, you should change it as soon as
possible by logging into the PBA software Management Console.
4. The computer will shut down automatically. Remove the USB thumb drive and reboot the system.
The PBA software has been installed! You can now start using the pre-boot authentication feature.
Citadel K Series SSD User Manual and Multi-Drive Version Installation Guide 12

4. FIRST TIME LOGIN
1. If you haven't already, turn on the computer. The Citadel SSD pre-boot authentication software will
load.
2. Click the Accept button at the bottom of the Disclaimer screen that appears.
3. Log into the default Administrator account. Use the following credentials:
• Username: Administrator
• Password: Administrator
NOTE
Usernames and passwords are case sensitive.
The computer will appear to reboot and your OS or VM will now start up.
NOTE
You should immediately change the Administrator password to maintain operational secur-
ity. To do so, log into the Management Console by ensuring the Management Console
box is checked when you log in. The Management Console allows you to manage users
and settings for the PBA software.
DIGISTOR also recommends using a proper, secure password and to not use the Adminis-
trator account for everyday use.
Citadel K Series SSD User Manual and Multi-Drive Version Installation Guide 13

5. PRE-BOOT AUTHENTICATION INTERFACE
The PBA Interface consists of the Login Screen and the Management Console, which you can optionally
choose to enter from the Login Screen instead of booting into your computer's operating system or virtual
machine.
The Management Console allows you to view data and logs about the PBA, edit your user profile, and
allows users with the Administrator or Security Officer roles to perform various administrative and mainte-
nance tasks.
5.1. LOGGING IN
5.1.1. LOGGING IN WITH A USERNAME AND PASSWORD
1. Power the computer on. The computer will boot into the Citadel SSD's pre-boot authorization screen.
2. Make sure the Password button is selected.
3. Type the default username and password into the "Username" and "Password" fields, respectively.
4. If allowed by policy, you can check Remember Me so the software will remember your username
between logins.
5. If you want to load into the Management Console instead of your operating system, check Manage-
ment Console. Otherwise, leave it unchecked.
6. Click the Login button.
You will now be logged in.
Citadel K Series SSD User Manual and Multi-Drive Version Installation Guide 14

5.1.2. LOGGING IN WITH A SMART CARD
1. Power the computer on. The computer will boot into the Citadel SSD's pre-boot authorization screen.
2. Insert the smart card into the card reader.
3. Make sure the Smart Card button is selected.
4. Select the username from the drop-down menu.
NOTE
The usernames in the menu are pulled from the installed certificates on the smart
card.
5. Enter the PIN for the card.
6. If you want to load into the Management Console instead of your operating system, check Manage-
ment Console. Otherwise, leave it unchecked.
7. Click the Login button.
You will now be logged in.
Citadel K Series SSD User Manual and Multi-Drive Version Installation Guide 15

5.1.3. LOGGING IN WITH TWO-FACTOR AUTHENTICATION
When two-factor authentication (also called multi-factor authentication) is enabled, the user is required to
use both the password and smart card login methods.
1. Power the computer on. The computer will boot into the Citadel SSD's pre-boot authorization screen.
2. Type the default username and password into the "Username" and "Password" fields, respectively.
3. If allowed by policy, you can check Remember Me so the software will remember your username
between logins.
4. Click the Next button. The Smart Card login screen will now appear.
5. Select the username from the drop-down menu.
NOTE
The usernames in the menu are pulled from the installed certificates on the smart
card.
6. Enter the PIN for the card.
7. If you want to load into the Management Console instead of your operating system, check Manage-
ment Console. Otherwise, leave it unchecked.
NOTE
A single-factor SmartCard user will only be able to configure Login and viewing op-
tions such as Logs. Only users with a password will be able to access the full suite of
management features.
Citadel K Series SSD User Manual and Multi-Drive Version Installation Guide 16

8. Click the Login button.
You will now be logged in.
WARNING
If you've enabled this setting without having an account set up with both a password and
smart card, you will be unable to log in or access the Settings Console. You will need
to use the Administrator Backdoor method to log in or access Settings Console. See
Two-factor Authentication Recovery, page 48.
5.2. LOGGING OUT
You can log out from the Management Console by clicking the Logout button on the top right of the screen
at any time. This will take you back to the login screen so you can log in and proceed to your operating
system.
5.3. DASHBOARD
The "Dashboard" screen shows a quick overview of the following events:
• Number of failed login attempts since the last successful login
• Last successful login time and date
• S.M.A.R.T. error count reported by the disk
• Graph of the previous seven (7) days of failed, successful, and total login attempts
• The last successful and unsuccessful login attempts of distinct users
Citadel K Series SSD User Manual and Multi-Drive Version Installation Guide 17

NOTE
Admin and Security Officer accounts can view the successful and failed attempts of all
users.
5.4. USER
The "User" screen allows you to add a new user account, delete an account, or modify an existing account.
5.4.1. USER ROLES
Here are the available user roles (user account types) and what each is allowed to do:
User
Role
Add User
Account Update
User
Account
Delete
User
Account
Purge
Logs Erase
Disk Change
DEK* or
AK*
Upgrade,
Deactivate
or Uninstall
PBA*
License
Upgrade
Login
User
Own
Account
Only
Help
Desk
Login &
Help Desk
Accounts
Only
✓
Security
Officer ✓ ✓ ✓ ✓ ✓
Admin-
istrator ✓ ✓ ✓ ✓ ✓ ✓ ✓
*DEK means "Data Encryption Key", AK means "Authentication Key", and PBA means "Pre-boot Authentication"
Citadel K Series SSD User Manual and Multi-Drive Version Installation Guide 18

5.4.2. ADD A USER
ADD A PASSWORD USER
1. On the "User" screen, click the Add button.
2. Make sure the Password tab is selected.
3. Enter a unique username for the user account in the Username field.
IMPORTANT
The username must be less than 40 characters. Uppercase, lowercase, numbers, and
special characters are allowed.
4. Enter the initial password for the account in the Password field.
IMPORTANT
The username must be less than 128 characters. Uppercase, lowercase, numbers,
and special characters are allowed.
5. Re-enter the password in the Confirm Password field.
6. Select the user role from the Assign Role drop-down box.
7. Enter the email address to be associated with the user account in the Email field.
8. Click the Save button.
Citadel K Series SSD User Manual and Multi-Drive Version Installation Guide 19

9. A new window will pop up. Enter your password in the appropriate field and click Continue to verify
that you have registered the credentials correctly.
The user account is now ready for use.
ADD A SMART CARD USER
NOTE
A single-factor SmartCard user will only be able to configure Login and viewing options
such as Logs. Only users with a password will be able to access the full suite of manage-
ment features.
1. Make sure you have access to the card as well as the PIN for the card.
2. On the "User" screen, click the Add button.
3. Make sure the Smart Card tab is selected.
4. Insert the smart card into the card reader.
5. Select the username to be registered with the software from the drop-down menu at the top of the
window. This list shows all the usernames contained on the smart card.
6. Enter the PIN into the PIN field.
IMPORTANT
The PIN must be less than 20 characters long.
Citadel K Series SSD User Manual and Multi-Drive Version Installation Guide 20
Table of contents
Other Digistor Storage manuals
Popular Storage manuals by other brands

morse
morse 400AM-96 Operator's manual
Avid Technology
Avid Technology ISIS 5500 Setup guide
Western Digital
Western Digital WD15000AH1U - Mac Edition Product specifications

Quest Leisure Products
Quest Leisure Products F2041 instructions
physa
physa PHYSA-RR-09 user manual
Seagate
Seagate ST31000520AS - Barracuda LP 1 TB Hard Drive datasheet
