Digital Juice DJ7HDPRO User manual

64
2
35
1
7
9
8
10
11
(continued on reverse >)
Getting Started Guide
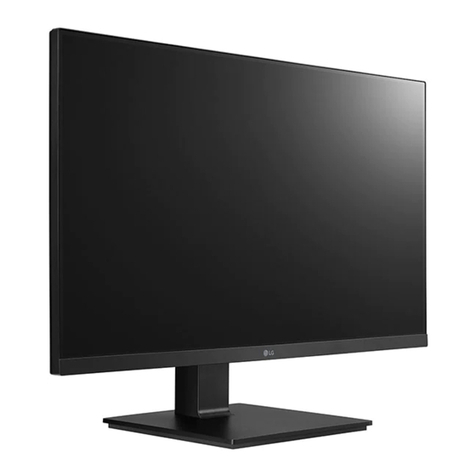
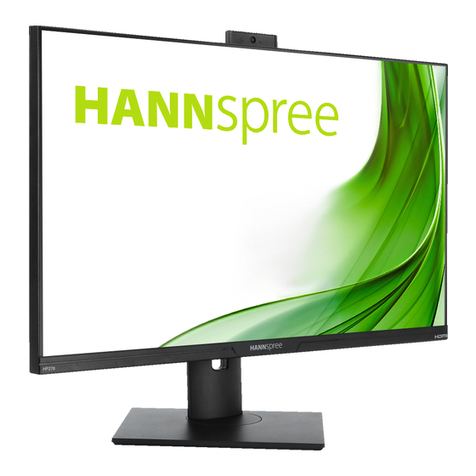
The Digital Juice DJ7HDPRO 7” LCD Monitor (1) is
a high-quality HD/SD portable production monitor that
combines compact size, light weight and affordability with
a range of professional inputs and features. This monitor
provides intuitive onscreen controls, high brightness, low
power consumption, stable performance and a crisp 1024
x 600 resolution so that you can keep your shots sharp,
perfectly framed, and in focus. Designed to be used as an
external video display in a production environment, this HD
monitor unit allows you to step back from the camera to
frame and capture the action in comfort without having to
look through the camera’s built-in viewfinder.
With connectivity through HDMI input as well as
Component (YPbPr)/Composite Video/Audio inputs and
outputs, the DJ7HDPRO monitor can easily be attached
to a wide variety of cameras and integrated into any
production workflow or situation. Since the monitor is
equipped with a standard Sony NP-F type battery plate,
you can use your existing camera batteries as well as the
supplied Li-Ion rechargeable battery (8). An AC power
adapter (4) is included for when you need to plug in on
longer shoots and a mini hotshoe ballhead stand (7)
allows you to attach and adjust the monitor directly on
your camera if desired. A sun shade (6) makes using
the monitor outside on location much easier and a Tally
connection kit (10) helps you activate the built-in Tally
light when shooting in a multi-camera situation. To protect
your monitor in transport or storage, it comes enveloped
in a custom-made lightweight soft neoprene cover (11).
What’s Included:
•7” DJ7HDPRO LCD Monitor (1)
•BNC cable (2)
•HDMI cable (3)
•AC Power adapter (4)
•3 BNC to RCA adapters (5)
•Sun Shade with 2 fasteners (6)
•1 Mini-hotshoe ballhead stand (7)
•1 Sony F550/F970 battery (8)
•Battery charger unit (9)
•Tally Connection Kit (10)
•Custom-made neoprene
monitor cover (11)
•Allen key
Key Product Features
•HDMI, Component YPbPr,
Composite and Audio Input
•Component YPbPr, Composite
and Audio Outputs
•Digital signal processing
•Professional TFT LED LCD
screen
•Canon 5D Mark II Camera Mode
•Peaking focus assist
(peaking filter)
•Image magnification/scaling &
image flip functions
•Picture in picture (PIP)
•Line field blanking
•Tally indicator
•Front earphone hole
•Scan mode with standard,
underscan & overscan options
•Screen markers with off, 96%,
93%, 90%, 85% options
CAUTION
•Please use the provided power supply or Sony F550/F970 battery to power this monitor.
•DO NOT expose this product to direct sunlight, heat or humid conditions.
•Avoid hard or heavy impacts or dropping of the monitor.
•DO NOT use chemical solutions to clean the monitor. Use only a clean soft cloth.
•This product has no adjustable components. DO NOT take apart or attempt to repair this unit.

Getting Started Guide (continued)
12 Speaker
13 Power Indicator Light
14 Volume up adjustment, or when
in OSD menu, to confirm and
indicate a value increase
15 Volume down adjustment, or
when in OSD menu, to confirm
and indicate a value decrease
16 Image pause key, or in OSD menu,
for adjustment selection (down)
17 Image magnification key, or when
in OSD menu, for adjustment
selection (up). This button is
also used to activate the Peaking
Focus Assist feature.
18 MENU key
19 MODE key/Input signal selection
20 Image ratio adjustment key
21 Earphone jack (Audio Output)
22 TALLY light/indicator
23 HDMI HD signal input
24, 25 & 26 Component YPbPr input
27, 28 & 29 Component YPbPr output
30 Composite video input
31 Composite video output
32 & 33 Audio input
(Left and right, double channel)
34 Power DC12V input
35 Tally signal input
36 Battery plate
37 Power switch
Front Panel View Rear Panel View
Signal Formats
Video signal Signal formats Supported
Composite video PAL/NTSC auto recognize
Component (Y/Pb/Pr) 1080/ 24p/ 24psf/ 25p/ 30p/ 50i/ 60i/ 50p/ 60p;
720/ 50p, 720/ 60p; 480i, 480p; 576i, 576p
HDMI 1080/ 24p/ 24psf/ 25p/ 30p/ 50i/ 60i/ 50p/ 60p;
720/ 50p, 720/ 60p; 480i, 480p; 576i, 576p
Specifications
Size: 8.1” x 5.6” x 2.4”/
205x143x60mm
Weight: 1.4 lbs/635g (monitor alone
in neoprene cover); 2 lbs/907g
(monitor with battery attached);
3.6 lbs/1.6kg (monitor plus all
accessories)
Panel Size: 7” TFT LCD
Dot Resolution: 1024×600 pixel
Dot pitch: 0.05mm(w) x 0.15mm(h)
Brightness: 250cd/m2
Contrast: 700:1
Display ratio: 16:9/4:3 (adjustable)
Backlight: LED
Response Time: 10ms
Viewing Angle: 75°/ 75° (L/R),
70°/ 75° (U/D)
Signal input: HDMI, Composite,
Component YPbPr, Audio
Signal output: Composite,
Component YPbPr, Audio
Input formats supported (HDMI
& YPbPr): 480i, 480p, 576i, 576p,
720p, 1080i, 1080p
Color System: PAL/ NTSC
Input Voltage: DC 7V-12V
Power Consumption: ≤10W
Operating Temperature:
-10°C~55°C
Storage Temperature: -20°C~65°C
Power Adapter Plug Type: US
Power Input: 100~240V; 50/60Hz
Power Output: 12V, 1500mA
Tally Kit
The Tally Connection Kit included with your
monitor consists of a small adapter card which
fits into the Tally port on the rear panel of the
monitor. A USB port on the end of the card
can be used to link the monitor to a Tally light
switch controller when shooting in a multi-
camera production environment. The signal
received controls when the Tally light on the
front of the monitor will be lit, indicating to the
talent and to the cameraman that the camera
attached to the monitor is live.
12
13
35
37
14151617181920 34
21
24 27
25 28
26
30
32
29
31
33
22 23
36
(continued on next page >)

Getting Started Guide (continued)
Menu Functions
Press the MENU key to enter the OSD menu and then use the up and down
arrow keys to choose from DISPLAY, SOUND, SYSTEM or SCAN POSITION
ADJUSTMENT menu options in main menu. Press the left or right arrow keys
to confirm your selection and then choose your desired adjustment option by
pressing the up or down arrow keys. Next, use the left or right arrow keys to
adjust the value or select an adjustment option. Press the MENU key to exit.
1. Display Menu (this setting has a 2-page menu)
Contrast: To adjust the brightest to darkest ratio of the image
Brightness: To adjust the image’s brightness
Saturation: To adjust the color saturation in the image
Sharpness: To adjust the depth and detail in the image
Color Temp: Use this adjustment to alter the color temperature of the image to
one of the following presets: User, 6500K, 7300K, 9300K
Picture Mode: Preset image brightness, softness and contrast effects settings
—choose from User-defined, Vivid, Standard, Soft options
Aspect Ratio: To choose the aspect ratio shoose from Full Screen 16:9, 4:3,
Panorama, Zoom 1 or Zoom 2
Tint: In composite video mode, this is used to adjust the NTSC color signal
3. System Settings Menu (this setting has a 3-page menu)
Language: Choose from Chinese or English
PIP: This setting is used to display two input signal pictures at the same time.
You can adjust picture position, size, input source and PBP/POP options.
SDI: HD/SDI switch - SDI option is not available on this monitor model
Screen Marker: Image framing marker options include OFF, 96%, 93%, 90% & 85%
Scan Mode: Choose from standard, overscan or underscan
Effect: To select OSD display effects
Menu Transparency: To adjust transparency of the Menu
Menu Timer: This timer setting controls the time the menu pop-up screen will
stay on screen without any user input before disappearing
Check Field: Changes the color saturation of images—choose from OFF,
Mono, Red, Green, Blue
H/V Delay: Image Up/Down, Left/Right flip
Image Flip: Line field blanking option switch
Camera: When shooting with Canon 5D II or similar, this setting optimizes
the image so it is not deformed or distorted, not black, and has no delay
Dot by Dot: Video point to point display to see the image more clearly
Reset: Resets system parameters and settings to original factory settings
2. Sound Menu
Volume: To adjust the volume
Balance: To adjust 2-channel audio (L & R)
4. Scan Adjust Menu
Horizontal Position: To adjust the image display left and right
Vertical Position: To adjust the image display up and down
Horizontal Size: To adjust the image stretch left and right
Vertical Size: To adjust the image stretch up and down
1
3
2
4
(continued on reverse >)

www.digitaljuice.com
Getting Started Guide (continued)
Troubleshooting
For any problems using the unit, first consult these troubleshooting tips.
No image displayed on screen
Possible Reason #1: Video cable off or connected incorrectly
Possible Solution #1: Check the quality of the cable and make sure it is
connected to the correct input interface.
Possible Reason #2: No video signal input
Possible Solution #2: Check the signal source and output interface
connection to see if it is correct or not.
Possible Reason #3: Monitor is not be powered on
Possible Solution #3: Check to make sure the power source is connected
properly and that the power switch is in the “ON”position
Possible Reason #4: Supply voltage instability
Possible Solution #4: The power adapter is loose or the battery is poorly
connected with the battery plate. Tighten the connections and try again.
Image/Color displayed on screen is abnormal
Possible Reason #1: Video cable has poor contact
Possible Solution #1: Change the video cable and try again
Possible Reason #2: Video signal interference from external environment
Possible Solution #2: Move to another location and try again
Possible Reason #3: Video input signal amplitude is too low
Possible Solution #3: Check the signal source video output or change signal
source and try again
Possible Reason #4: Color saturation adjustment in menu is set incorrectly
Possible Solution #4: Enter menu to check color or reset to factory settings
Possible Reason #5: The B/W setting is set to monochrome or black & white
Possible Solution #5: Press the B/W button to return the display back to color
Possible Reason #6: Image deformation
Possible Solution #6: Reset the image ratio
Speaker is not playing sound
Possible Reason #1: Audio cable is not connected or is connected improperly
Possible Solution #1: Confirm connection with the corresponding input and
try again.
Possible Reason #2: Volume adjustment is turned down all the way
Possible Solution #2: Reset the volume control so that it is adjusted to a
proper position.
Possible Reason #3: HDMI cable is poorly connected
Possible Solution #3: Check the quality of the HDMI cable and HDMI cable
connection, or change the cable and try again.
Possible Reason #4: No sound after switching video signal
Possible Solution #4: This monitor accepts an audio signal only through
Audio IN or HDMI inputs
Other Digital Juice Monitor manuals


