Digital Knight DK14S User manual
Version 3-21
Digital Knight DK14S
12x14 Digital Swinger

Contents
Introduction
Congratulations on your purchase of the DK14S 12x14 swinger!
This heat press machine has many exciting features, all of which are
meant to help make your heat transfer pressing endeavors as successful
and easy as possible. Please take the time now to thoroughly read through
this manual to become acquainted with them. It will explain some key
features, concepts and methods that will save much time and eort in
using this press and in your heat pressing applications.
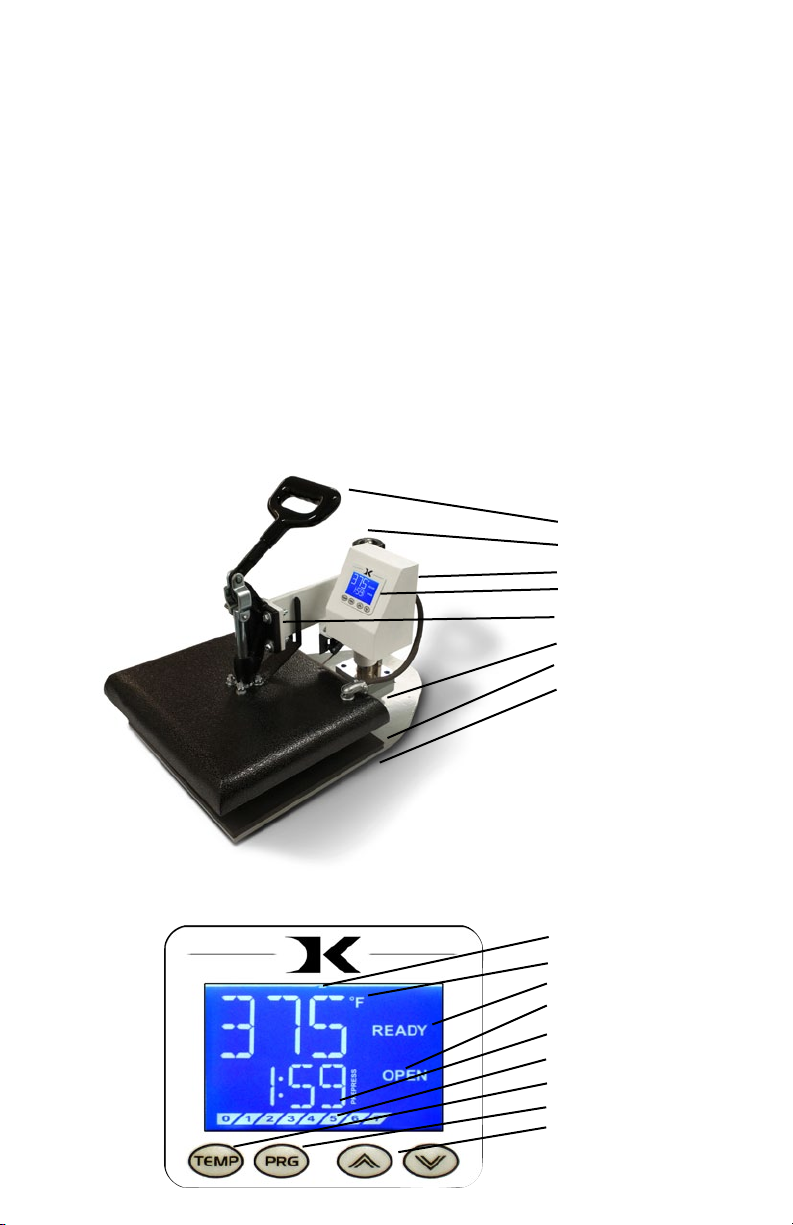
Throughout this manual, many areas and components of this machine
will be referred to by specic names. Please refer to the illustrations
below in order to become familiar with some of the terminology used
in this manual.
Handle
Pressure Knob
Pwr Inlet/On-O
Digital Control
Clamp / Linkage
Heat Platen
Silicone Pad
Base Frame
Temperature
°F/°C Indicator
Ready/Heating Indicator
Open/Timing/Done Ind.
Time
Pressure Bar Graph
TEMP key
PRG key
Up/Down Arrow keys
Default Operating Mode of Controller

Setup & Suggestions
• Locate the press on a rm, sturdy work surface. It is recommended but
not necessary to bolt the press to a workbench using the rear mounting
holes on the base frame.
• A stand on lockable casters is available from Geo Knight & Co or your
distributor.
• The height of the bench/work space the press is located on would be
ideally 27” to 32” high. The higher the press, the more dicult to
close/lock.
• Attach the power cord from the rear to the underside of the top head.
There is a power inlet under the top head that the modular cord will
plug into.
• It is HIGHLY RECOMMENDED that the cord be strapped or tied to
the back white post of the press, so that the cord is not pulled on and
tugged out of the power inlet where it plugs into the press. TEST and
make sure the cord travels freely when swinging the press, and that
there is no tension or pulling on the inlet socket where the power cord
plugs into the head. Make sure the cord can not be pressed by the
heater.
• The press should remain in the unclamped OPEN position when not in
use. Do not leave the heater block closed on the table when not using,
unless transporting.
• The top head should be swung over the pressing table when not in
use. Do not leave the platen down on the silicone pad when heating.
Always leave the heat platen in the UP position.

Normal Operation
Normal Operating Mode
Setting Temperature

Setting Time
Pre-Press Timer

Setting Pressure

Guidelines & Standard Settings
The following information covers some basic guidelines for press-
ing, as well as some generic parameters for basic heat transfer applica-
tions.
• When pressing shirts, it is often recommended that the shirts be quickly
pressed for 2 to 4 seconds before transferring to remove wrinkles and water
content.
• When pressing two sides of a garment, pull the garment over the table so
that the printed side drapes underneath the table. This will avoid reheating
previously transferred designs on opposite sides of garments. It will also
avoid any bleed-through of inks on lighter fabrics.
• Avoid laying collars, cus, zippers, and other bulky parts of garments
on the lower table, as these can adversely aect pressing conditions, and
reduce the life of the silicone pad.
• When pressing rigid substrates (plastics, metals, woods, etc.), be sure that
any protective lms or laminates are removed before heating.
• Always check that the transfer image is face down against the material, to
avoid sealing the image against the heat platen instead of the substrate.
Always follow the transfer media suppliers instructions when
pressing. The information below is for general reference only, and may
not be as accurate as the instructions provided by the transfer media &
imprintable substrate supplier.
• Hot Split Supplier Transfers 350-375°F, 8-10 secs
• Pu Transfers 350-375°, 5-7 secs (extra heavy pressure)
• Ink-Jet Transfer Papers 360°, 15-18 secs
• ColorCopy/Laser Transfer Papers 375°, 20-25 secs
• Sublimation Inks (Polyester Fabrics) 400°, 35 secs
• Sublimation Inks (Plastics) 400°, 1 min, 15 secs
• Sublimation Inks (Metals) 400°, 1 min
• Sublimation Inks (Woods) 400°, 1 min, 15 secs
• Sublimation Inks (Ceramics) 400°, 4 min

ERR Mode
Over-Temp Alarm

Loading a Preset
Programmable Presets
How Presets Work

Editing/Programming a Preset

A Walkthrough Tutorial for using Presets
Part 1:
Part 2:

User Menus
Entering the user menus & options
To access the user menus, simply press TEMP & PRG at the same
time from the normal operating mode and let go.
(Try to use two hands and press the keys at the exact same time. If one
key is pressed too early from the other, the temperature setting or preset
modes may be activated instead. Turn the press off and then on and try
again.)
Fahrenheit / Celsius
Timer Counter Units
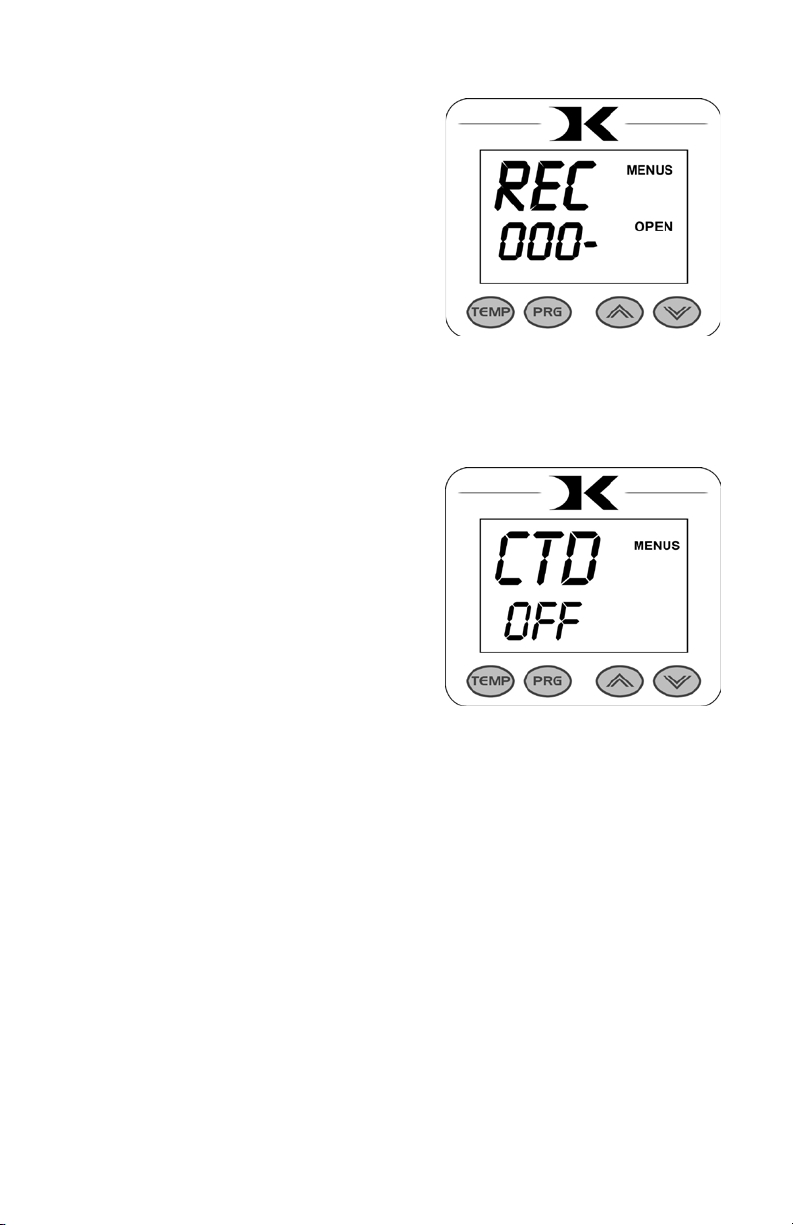
Recorded Pressings Odometer
Pressings Countdown Odometer

Pressure Minimum
Pressure Maximum
Temperature Drop Sense
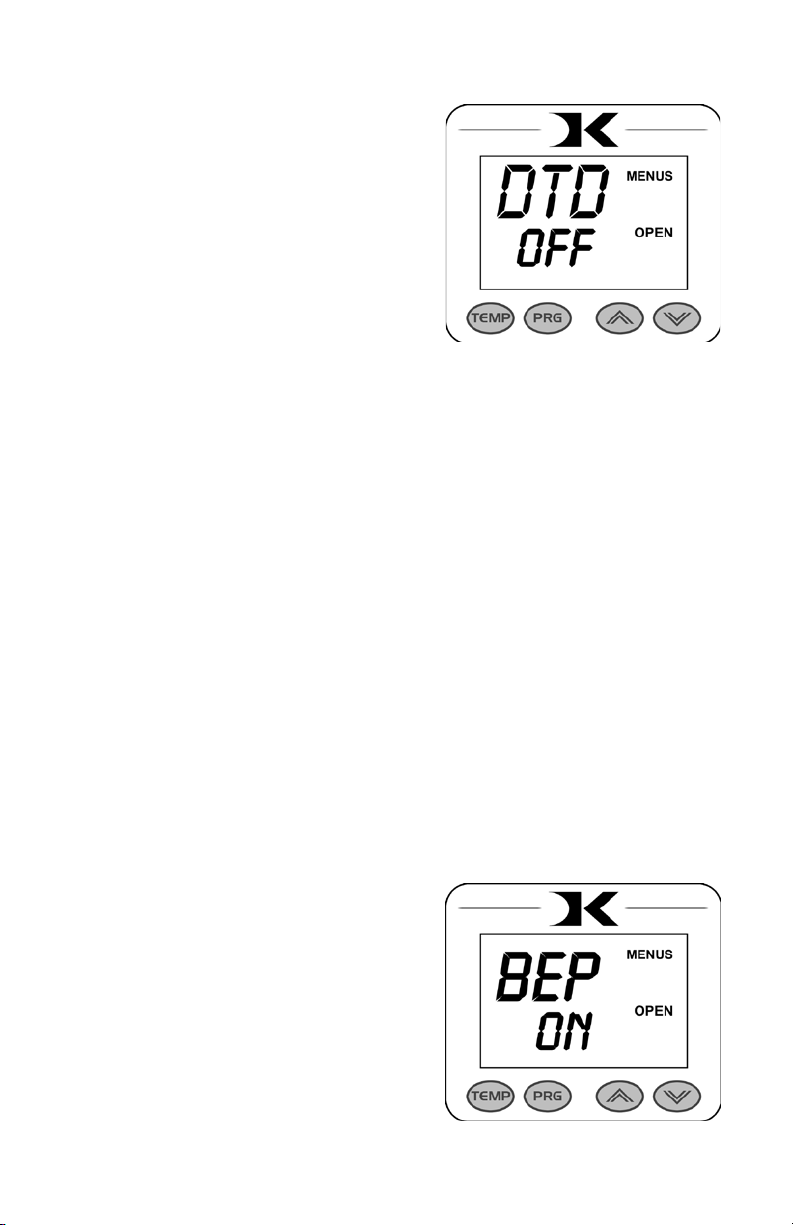
Keypad Beeper
Temperature Drop Sense Timer Disable
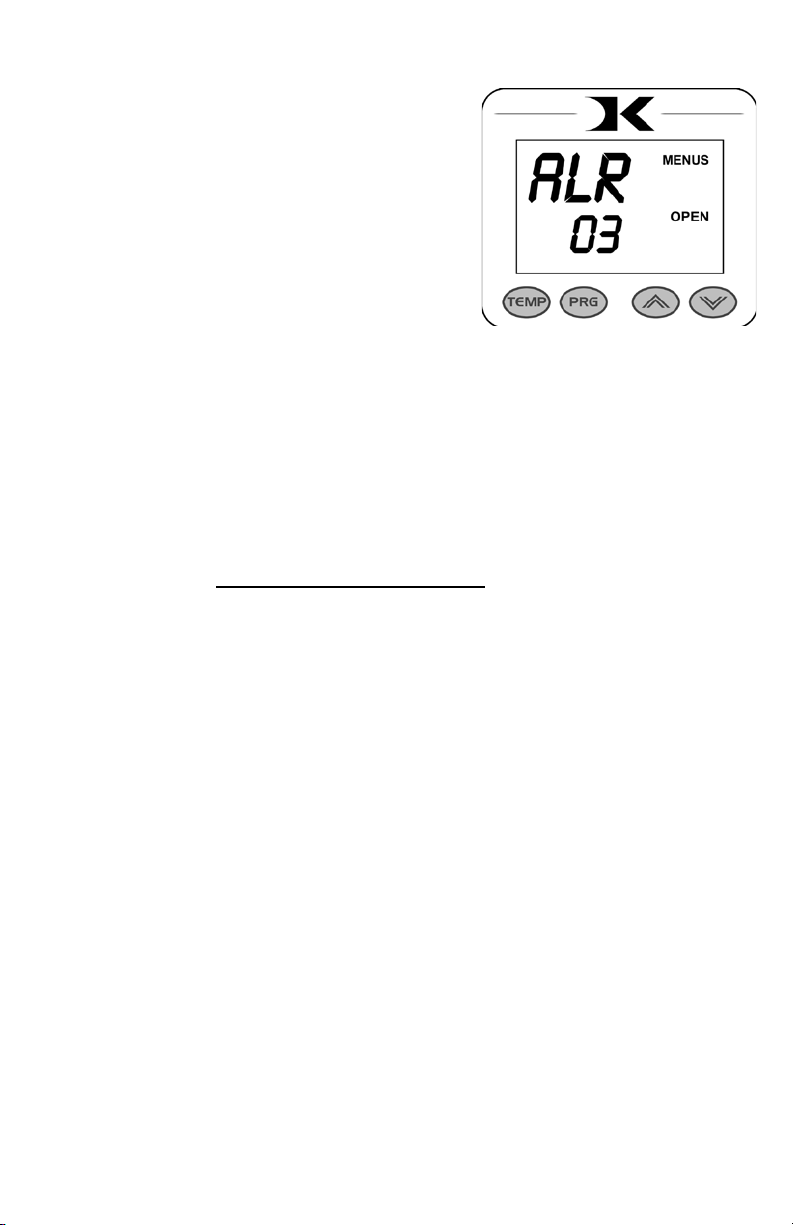
Alarms
• denotes a short beep.
_ denotes a longer beep.
~ denotes innite loop.
Alarm # Alarm Pattern
O No alarm
01 • • • _
02 • • • _ ~
03 • • _
04 • • _ ~
05 • • •
06 • • • ~
07 _ ~
08 _
09 •
10 • (shorter)

Finished Warning Beep
Prepress Timer

Prepress Alarms
• denotes a short beep.
_ denotes a longer beep.
~ denotes innite loop.
Alarm # Alarm Pattern
O No alarm
01 • • • _
02 • • • _ ~
03 • • _
04 • • _ ~
05 • • •
06 • • • ~
07 _ ~
08 _
09 •
10 • (shorter)
Operator Lockout

Replacement Parts
MEN-DCCLP ...................DC16 (DK14S) CLAMP LINK ASSEMBLY
DKA-CTRLC ...................DIGITAL KNIGHT PROCESSOR BOARD
DKA-CTRLP ...................DIGITAL KNIGHT POWER BOARD
ELN-KM0227A1 .............DIGITAL KNIGHT MEMBRANE KEYPAD
RPK-DKPWR ..................DK POWER INLET/SWITCH/CORD KIT
ELN-VS10N031C ............TIMER LEVER MICRO SWITCH
DK14-HBA120 ................DK14S 12X14 HEATER BLOCK ASBLY 120V
SRM-381214 ....................3/8 X 12 X 14 SILICON SPONGE
DK14-SVLARM ..............DK14S SILVER POST & WHITE ARM ASBLY
DK14-STLBASE .............DK14S COMPLETE STEEL BASE
SHN-DK14HBC ..............DK14S 12 X 14 HBA COVER
SHN-DK14GD .................DK14S BENT REAR HBA GUIDE
DCA-LRGPBSFT ............DC LARGE PRESSURE BLOCK & SHAFT ASBLY
ELN-K26TC ....................K-26” THERMOCOUPLE
ELN-MSTB2.5.................OST 5MM TRMNL THERMOCOUPLE PLUG
• The clamp/linkage assembly is the greatest area of wear and friction on the press.
The posts that connect to the heat platen should be lubricated with SuperLube - a
clear high-temperature lubricant.
• If the pins in the clamping mechanism wear, or the holes become elongated,
eventually the press will not lock properly. This can be very detrimental to pressing
results & quality! Contact the factory for very inexpensive clamp replacements to
get the clamps back to new condition.
• The silicone pad on the lower table can degrade after much use and over an extended
period of time. This pad is replaceable. If the pad becomes dried out, cracked, or
there are chunks removed from the silicone pad, this can result in inconsistent and
poor quality transfers.
Maintenance / Misc
Table of contents
Other Digital Knight Power Tools manuals


