Discountcomms WT2002 User manual

GSM Single Display Payphone
WT2002
User Manual
www.discountcomms.co.uk

WT2002 GSM Single Display Payphone
COPYRIGHT ©2006 WITURA CORPORATION SDN BHD 2
Contents
Caution, Storage, Basic Features…
……………………………………………………….…... 3
I. The sketch of telephone
……………………………………………………………………...4
II. Install SIM card
…………………………………………………………………….…..….5
III. Power on
…………………………………………………………………………….……5
IV. Power off
…………………………….…………………………………………………... 6
V. Menu Tree...
………………………………………………………………………………..6
1. Select gateway…………………………………………………………………………...7
2. Make calls………………………………………………………………………………7
3. Force the dialed telephone number to be transmitted direct
………………………………………………....
8
4
.
Receive incoming calls
……………………………………………………………………………….....
8
5
.
Read, forward and delete short messages
……………………….. ………………………………………..
9
6
.
Writing and sending short message
………………………………………………………………………
10
Notes: the edit of short message………………………………………………………………………………..... 12
9
.
Inquire the dialed calls and the information for sent message
……………………………………………...
12
10. Inquire information for received calls……………………………………………………………………..…….13
11
.
Inquire missed calls
……………………………………………………………………………………
14
12. Inquire call charge statistics……………………………………………………………………………………. 14
13. Clear call lists…………………………………………………………………………………………………... 15
14. Clear call statistic………………………………………………………………………………………………. 15
15. Telephone book………………………………………………………………………………………………… 16
16. Hot keys………………………………………………………………………………………………………... 17
17. Menu keypad tones…………………………………………………………………………………………….. 17
18. Ringing tones level…………………………………………………………………………………….……….. 17
19. Settings……………………………………………………………………………………………….…………18
I. Enter the Settings Procedures……………………………………………………………………………………..18
II. Setup the phone parameters……………………………………………………………………………...………18
1. Modify Setup information…………………………………………………………………………….…….18
2. Short Message Centre setup…………………………………………………………………………...……19
3. Network Management System Centre Setup..........................................................................................…...20
4. Set-up Prefix for Barred No……………………………………………………………………………..….20
5. Set-up for IDD Prefix, DDD Prefix, LOCAL Prefix and Mobile Phone Prefix…………………………....21
6. Setup for Tariff and GNP……………………………………………………………………………...……22
7. Change Owner Pin..................................................................................................................................…...26
8. Setup Currency Types……………………………………………………………………………...……….26
9. Setup Date & Time..................................................................................................................................…...27
10. Set up the Gateway Number and parameter.........................................................................................…...27
20. Inquire IMEI code and software version and hardware version……………………………………..………….31
21. Change User Pin………………………………………………………………………………………….……..32
22. Lock keyboard for charging from the customers………………………………………………………….…….32
25. Setup local phone number…………………………………………………………………………….…………32
VIII. Appendix……………………………………………………………………………………………...
34
1. Technical Specification………………………………………………………………………………………........34
2. Troubleshooting…………………………………………………………………………………………………...34
www.discountcomms.co.uk

WT2002 GSM Single Display Payphone
COPYRIGHT ©2006 WITURA CORPORATION SDN BHD 3
Caution:
1. This phone should not be used at garage, oil storage, chemical plant or near to any inflammable or
explosive substance.
2. This telephone should be avoided in the hospital. It will interfere with medical electronic equipments
such as pacemaker and audiphones.
3. If it is found that the telephone is not successful in login onto network, please check whether the SIM
card or antenna is well installed.
4. The telephone does not identify the old SIM card of 5V and 1.8V.
5. It is forbidden to touch the antenna when the phone is being used. (Being making calls or receiving
calls), otherwise the telephone will be damaged. This kind of damage is beyond the range of warranty.
6. When the telephone is being used, it should be placed where signal is strong enough. In order to ensure
good voice quality, the telephone should be far from other electronic equipment.
7. Don’t use chemic substance to clean the telephone, but use dry soft cloth to clean it.
8. Don't disassemble the telephone by yourself. If there is any problem, please contract the authorized
personnel.
Storage:
1. The telephone that is packed or not could piled up no more than 10 layers.
2. The telephone should be saved in the ventilate and dry place.
3. Don’t knock the telephone to avoid breaking the case.
Basic Features:
1. For making calls, the users can lift the handset or press “Hand Free” button, the LCD will shows
“PRESS OK TO REDIAL”, then dial upon hearing the dialing tone. When LCD shows “PRESS OK
TO REDIAL”, press “OK” key and the phone will dial the last dialed numbers.
2. During a call, press “UP” or “DOWN” key to adjust the voice volume. While pressing “Hand Free”
during a call will disconnected the call.
3. When there is incoming calls, the telephone rings and displays the incoming call number Lift the
telephone or press “Hand Free” to answer it. Press “CANCEL” to reject the calls.
4. Press “MENU” key to go into the list of menu.
5. After enter menu, press “UP” key and “DOWN” key to scroll the content you are viewing, press “OK”
key to confirm your operation, press “BACK” key to cancel your operation and return to the previous
menu. During the edit of the input, press “CANCEL” key to cancel the last character of the inputting
line, press “DELETE” key to delete the whole inputting line.
6. Press the corresponding key to enter the entry of menu. For example, for menu “4:PHONE BOOK”,
Press “4” key to enter “PHONE BOOK”.
7. For selecting gateway, press “GATEWAY” key will display the list of gateways. Press “F1” and “F2”
to scroll up and down the list of gateways, then press “CONFIRM” to select the gateway.
www.discountcomms.co.uk

WT2002 GSM Single Display Payphone
COPYRIGHT ©2006 WITURA CORPORATION SDN BHD 4
I. The sketch of the telephone
Hand-Free
TheFacadeOfthePhone
BottomOfthePhone
WT2002 GSM Single Display Payphone
COPYRIGHT ©2006 WITURA CORPORATION SDN BHD 5
II. Install SIM card
1. Screw off the screw of SIM card case, and open the cover.
2. Slide back the SIM card door and lift it up.
3. Slide the SIM card into the SIM door making sure that the clipped corner of the SIM card lines
up with the clipped corner of the SIM holder.
4. Close the SIM card door and slide it to lock the SIM card in place.
5. Replace the cover of SIM card case and fixes it with a screw.
III. Power on
Connect the input end of the power adapter to main power socket, and the output end connects to the
power supply port of telephone. The telephone begins to search for the network, and the LCD shows
“SEARCHING FOR NETWORK”, “INITIALIZATION”, “READ SIM PHONEBOOK” in turn.
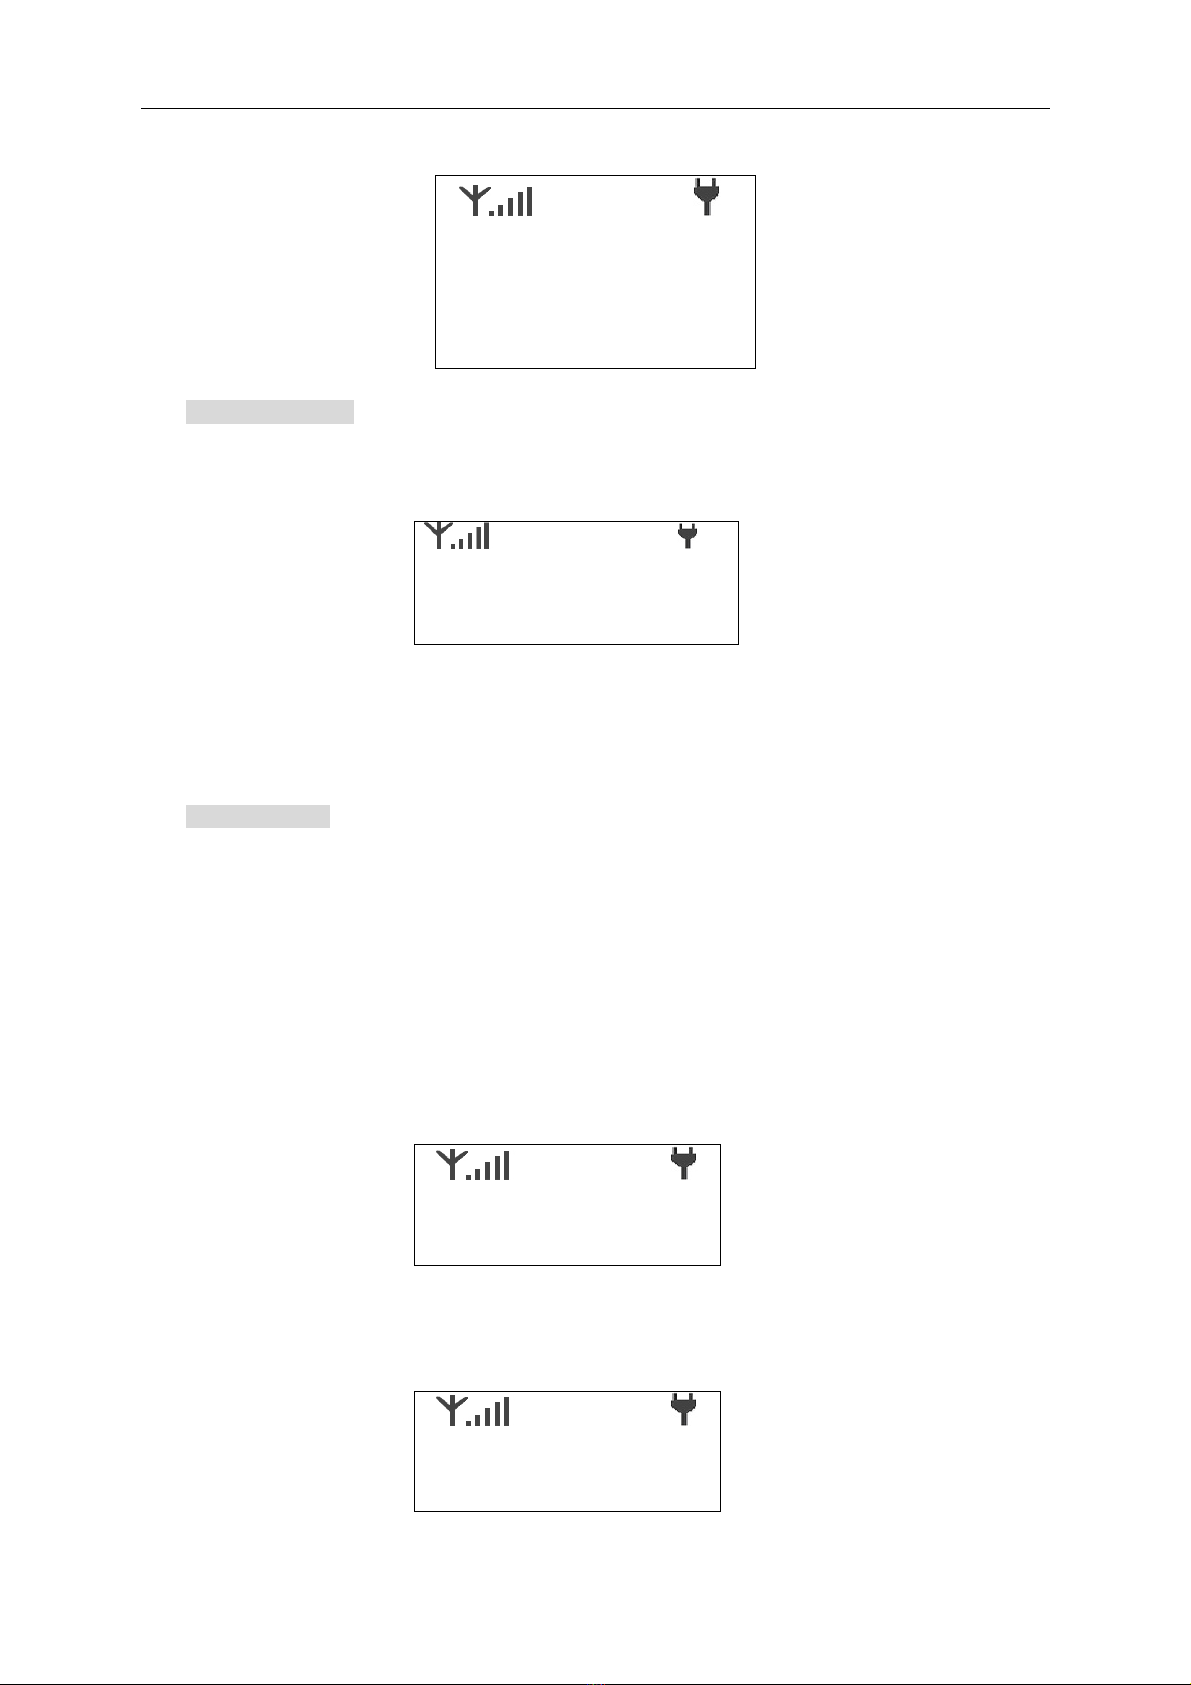
When the LCD shows icons operator name, time and the signal, etc., login is finished.
When the telephone is connected to external power supply through power adapter, LCD displays as
follows:
“NETWORK NAME”
STANDBY
01/01/2000 01:40
When there is no external power supply and batteries are being used, the icon ‘ ’ with be replaced by the icon
‘ ’
“NETWORK NAME”
STANDBY
01/01/2000 01:40
Signal is good
Time
Name of service provider
Power adapter is being used
Date
Status of the telephone
Signal is weak
Batteries are being used

WT2002 GSM Single Display Payphone
COPYRIGHT ©2006 WITURA CORPORATION SDN BHD 6
“NETWORK NAME”
01/01/2000 01:40
Notice: Please recharge the battery when the warning icon for batteries appears. Otherwise the telephone will
be halted. Then all the telephone’s functions will be ended. If the telephone has been halted, please
connect the telephone to external power supply and push the switch to “ON” side, the telephone will
work normally.
IV. Power off
Shut off the main power and push the power switch to “OFF” side, the telephone will be turned off and the
LCD is cleared.
V. Menu Tree
NOTICE: In main menu, users can’t enter “SETTINGS” menu unless input the correct setting password..
In “CALL REGISTER” menu, user’s password is valid for erasing “CALL LISTS”, erasing
“CALL STATISTICS”, “Reset Accumulated Charges” and “Menu-Locking” enable and
disable. Please notice that user’s password and setting password are not the same. The default
settings password is “30459086” and the default user’s password is “64139025”
No signal
It is failed for the
telephone to logon on
networ
k
Warning icon for too low
voltage of batteries
1: READ MESSAGES
2: WRITE MESSAGE
3: CALL REGISTER
4: PHONE BOOK
5: KEYPAD TONES
6: RINGING TONES
7: SETTINGS
8:IMEI-VERSION
9: CHANGE USER PIN
0: MENU-LOCK ENABLE
*: PRINT OPTION
#: LOCAL PHONE NO.
BACK:BACK
1:DIALED NUMBERS
2:RECEIVED CALLS
3:MISSED CALLS
4:CALL STATISTICS
5:ERASE CALL LISTS
6:ERASE STATISTICS
BACK:BACK
LOCK SETTING
SMS CENTRE
NMS CENTRE
PREFIXED NO.
TARIFF TABLE
CHANGE OWNER PIN
CURRENCY SETTING
DATE AND TIME
GATEWAY SETTINGS
BACK:BACK
WT2002 GSM Single Display Payphone
COPYRIGHT ©2006 WITURA CORPORATION SDN BHD 7
1. Select gateway
a) In standby status, press “Gateway” the LCD display as following
SELECT GATEWAY
NO.1 12345678
b) Press “F1” and “F2” to select gateway. Press “CONFIRM” to save the selection.
NO.1 is the serial code of the gateway and “12345678” is gateway’s number. If the number of
gateway is not setup, “<NULL>” will be shown replacing “12345678”.
2. Make calls
a) Lift the handset or press “Hand Free” button, the LCD shows “PRESS OK TO REDIAL”, dial
upon hearing the dialing tone
b) On completion of dialing digits, press “OK” to send the dialed telephone number. If there is no
dialing for continuous 6 seconds, and the dialed number is 2 digits or is more than 2 digits, the
telephone will send out the number automatically. The LCD shows number sending indication. If
the number dialed is less than 2 digits and there is not any dialing for continuous 6s, the
telephone will return to standby status.
CALLING …
12345678
c) If the dialed number is a barred one, the LCD shows “BARRED NO.” and returns to standby
status.
BARRED NO.
12345678
NETWORK NAME
STANDBY
01/05/2005 15:12
WT2002 GSM Single Display Payphone
COPYRIGHT ©2006 WITURA CORPORATION SDN BHD 8
c) If the dialed number is transmitted directly and gateways aren’t been used, the telephone starts
timing and recording charge for the call as soon as the called is answered. If the dialed number is
transmitted through gateway, the LCD displays “CALLING GATEWAY X”, “CONNECTED
GATEWAY”, “SENDING PASSWORD” in turn. When the gateway is connected, LCD
displays “SENDING CALLED NO.”, “SENDING #” to send the dialed number, and then
“PRESS F1 TO SPEAK” will be displayed. When the dialed part answers the call, press
“REPORT”, the phone start timing and recording charges. The LCD displays accumulated call
times “XX”, the tariff “XX.XX/XXs”, current call charge “USD:XX.XX”, call duration
“h:mm:ss” and accumulated call charge “FEE:XX.XX”.the as following example.
02
0.00/60s USD: 0.00
0:00:12 FEE: 3.00
12345678
•During a call, press the numeral key or “*” or “#” to output corresponding Dual Tone
Multiple Frequency (DTMF);
•During a call, press “Up” or “Down” to adjust volume.
d) Flap hook unit or press “Hand Free”, the line will be disconnected.
3. Force the dialed telephone number to be transmitted direct.
If the customers want to transmit their dialed call direct and don’t use gateway, they can press “11”
before pressing their telephone number. For example, the telephone number the customer wants to
dial is 87654321 and it is setup to be transmitted through gateway, the customer should dial
1187654321.
4. Receive incoming calls
a) When there is incoming calls, the telephone rings and displays the incoming call number Lift the
telephone or press “Hand Free” to answer it. Also you can press “Cancel” to reject it.
12345678
b) When the call is connected, the telephone begins timing and recording charges bill. The LCD
shows accumulated call times “XX”, the tariff “XX.XX/XXs”, current call charge “USD:
XX.XX”, call duration “h:mm:ss” , and accumulated call charge “FEE:XX.XX”.

WT2002 GSM Single Display Payphone
COPYRIGHT ©2006 WITURA CORPORATION SDN BHD 9
02
0.00/60s USD: 0.00
0:00:12 FEE: 3.00
12345678
c) During a call, press “Up” or “Down” to adjust the volume;
d) If there is an incoming call and its number isn’t displayed on LCD, when it is being answered,
the incoming call number will be displayed as “0000”.
5. Read, forward and delete short messages
When a short message is received, the phone will send out a short ring tone to indicate the arrival of
the new short message. The icon “ ”will be displayed on the LCD.
a) Press “1” to enter menu “1:READ MESSAGES” to read short message lists.
1:READ MESSAGES 01/03
2:WRITE MESSAGES
3:CALL REGISTER j
b) Press “Up” and “Down” to select the short message the users want to read. The selected
one will be market with “→” on the left.
→01: SMS UNREAD
02: SMS READ
03:SMSREAD j
c) Press “OK” to read it.
d) Press “Up” and “Down” to look through the short message and the correlative information, such
as the sender’s telephone number, sending date and sending time.
e) Press “OK” to enter reply and forward menu.
f) Press “1” to enter the edit of the replying short message. When the short message is not empty,
press “OK”, the LCD displays as follows.
1. REPLY
2. FORWARD
0. BACK

WT2002 GSM Single Display Payphone
COPYRIGHT ©2006 WITURA CORPORATION SDN BHD 10
i) Press “OK”, the LCD display as follows.
ii)
Press “OK” to send short message, press “Back” to return to the edit of short message.
g) Press “2” to enter the edit of the short message that the users want to forward. On the completion
of edit, press “OK” to send it.
h) In short message lists status or when short message is read, press “Cancel” or “Delete” to delete
message. The LCD will display as follows.
Press “0” to cancel the operation and return to short message lists. Press “1” to confirm the
delete operation and return to short message lists.
6. Writing and sending short message
Users can write a message that is not longer than 160 English characters, each line for the text area
can input of 20 characters. Short message center must be set up for sending or receiving short
message. (Please refer to Settings below on page 19 for SMS center setting).
1:READ MESSAGES 00/02
2:WRITE MESSAGES
3:CALL REGISTER j
SEND TO:
12345678
SEND?
YES:OK N0:BACK
ERASE MESSAGES
0: NO 1: YES
MESSAGES ERASED

WT2002 GSM Single Display Payphone
COPYRIGHT ©2006 WITURA CORPORATION SDN BHD 11
a) Press “2” to enter menu “2: WRITE MESSAGE” to enter the text area for writing messages.
When the phone enters the text area, the LCD displays as below.
b) Input the contents of the short message through keyboard (For details please refer to “Notes: the
edit of short message” on page below). On the completion of writing messages, press “OK”,
the LCD will display as follows:
c) Input the telephone number of the receiver. Press “OK”, the LCD displays as:
Press “OK” to send this message; press “Back” to return to the edit of short message.
d) If the short message is sent successfully, the LCD displays “DONE” and return to the up-level
menu, otherwise the LCD displays “FAILED” and then returns to the edit of short message.
DONE
ABC
_
SEND TO:
12345678
SEND?
YES:OK N0:BACK
FAILED

WT2002 GSM Single Display Payphone
COPYRIGHT ©2006 WITURA CORPORATION SDN BHD 12
Notes: The edit of short message.
a) During the writing of short messages, the cursor is flashing. Press “Back” to return to cancel the
edit and return to the up-level menu.
b) Press “123/ABC”to switch among three inputting modes: capital letter (ABC), small letter (abc)
and digit (123).
c) Punctuations inputting: In the inputting text area (capital letter and small letter), press
“1”continuously, the optional punctuations will be displayed in turn.( Pressing one time is for
spacing. Pressing second time onwards will display the punctuations characters. The later
punctuations can be input in the same way.), Here is the punctuations characters (
. ? ! , @
& : ; “” – ( ) ‘’ / $ % ¥
)
d) Press respectively“
*<
” and “
#>
” to move cursor to right and left. Press “Up” and “Down” to
move cursor to the up line and the down line.
e) Press “Cancel” to delete the character before the cursor
ABC
HELLO,ERIC!
abc
Hello,Eric!
123
HELLO,ERIC!
7. Inquire the dialed calls and the information for sent message.
a) Enter menu press “3” to enter menu “3:CALL REGISTER” then press “1” for “1:DIALED
NUMBERS”.
1:READ MESSAGES 00/02
2:WRITE MESSAGES
3:CALL REGISTER j
Capital letter
Small
letter
Digit
Press key “1” to select
Punctuations
Press key “1” to select
punctuations

WT2002 GSM Single Display Payphone
COPYRIGHT ©2006 WITURA CORPORATION SDN BHD 13
b) The LCD shows the information of dialed calls and sent short message.
For dialed calls, it shows the information: call date, call time, call duration and call charge and
call number.
For sent short message, it shows the information: sending date, sending time and charge. “****”
indicate this entry is the information of a short message.
c) Press “OK” to redial the dialed call.
8. Inquire information for received calls
a) Enter menu press “3” for “3: CALL REGISTER” then press “2” for “2:RECEIVED CALLS”
1:DIALED NUMBERS
2:RECEIVED CALLS
3:MISSED CALLS j
b) The LCD shows information of last call: date and time, call duration, call charge and call
numbers.
01:06/05/2000 10:50
0:00:35 USD: 655.00
12345678
1:DIALED NUMBERS
2:RECEIVED CALLS
3:MISSED CALLS j
01: 04/05/2000 10:50
0:00:40 USD: 36.00
12345678
01: 04/05/2000 10:50
0:00:00 USD: 1.50
****

WT2002 GSM Single Display Payphone
COPYRIGHT ©2006 WITURA CORPORATION SDN BHD 14
c) Press “OK” to redial the being inquired telephone number.
9. Inquire missed calls
a) If there are some missed incoming calls that have not been inquired, the LCD shows “X
MISSED CALLS” (Xrefers to the count of missed incoming calls). Enter menu “3: MISSED
CALLS”
1:DIALED NUMBERS
2:RECEIVED CALLS
3:MISSED CALLS j
c) The LCD shows information of missed calls: call date and call time and telephone number.
01: 06/05/2000 17:50
12345678
d) Press “OK” to call the being inquired telephone number.
10. Inquire call charge statistics
a) Enter menu “4: CALL STATISTICS” to inquire the information for the statistic of dialed calls:
all calls, IDD (international long-distance) call, DDD (domestic long-distance) calls, mobile
calls, local calls, received calls and sent short messages.
2:RECEIVED CALLS i
3:MISSED CALLS
4:CALL STATISTICS j
b) The LCD shows the accumulations of call charge and call duration.
c) Press “Down” to inquire the accumulations of call charge and call duration for all calls, IDD,
DDD, mobile telephone, local fixed, incoming calls, sent SMS in turn.
ALL CALLS
COSTS: 5.64
DURAS: 0000:01:40
WT2002 GSM Single Display Payphone
COPYRIGHT ©2006 WITURA CORPORATION SDN BHD 15
11. Clear call lists
a) Select menu “5: ERASE CALL LISTS”
3:MISSEDCALLS i
4: CALL STATISTICS
5: ERASE CALL LISTS j
b) The LCD shows “ENTER PASSWORD”, input an 8-digit user password (the initial user’s
password is 64139025).
d) Press “OK”. If the password is error, it indicates “PIN ERROR” and returns to the previous
menu. If the password is correct, the LCD shows as follows:
ERASE CALL LISTS?
YES:1 NO:0
e) Press “1” to erase call lists (outgoing calls, incoming calls and missed calls), press “0” to
cancel the operation and return to the up-level menu.
12. Clear call statistic
a) Enter menu “6: ERASE STATISTICS”
4: CALL STATISTICS i
5: ERASE CALL LISTS
6: ERASE STATISTICS j
b) The LCD shows “ENTER USER PIN”. Input an 8-digit user’s password (the initial user’s
password is 64139025).
ENTERUSERPIN
********
ENTER USER PIN
********
WT2002 GSM Single Display Payphone
COPYRIGHT ©2006 WITURA CORPORATION SDN BHD 16
c) Press “OK”. If the password is error, it will display “PIN ERROR” and then returns to the up
level menu. If the user’s password is correct, the LCD will show as follows:
ERASE STATISTICS?
YES:1 NO:0
d) Press “1” to erase call statistics and then return to the up-level menu. Press “0” to cancel the
operation ant return to the up-level menu.
13. Telephone book
The telephone book can save 30 entries including name and telephone number.
4: PHONE BOOK i
5: KEYPAD TONES
6:RINGINT TONES j
a) Enter the menu “4: PHONE BOOK”.
b) Press “UP” or “DOWN” to select the entry that you want to edit (The selected entry will be
marked with a “Æ” on its left).
Æ01:JACK i
02:ANNA
03:SMISH j
c) Press “Menu” to enter the edit of the selected entry. The LCD shows:
abc
ÆNAME: JACK
NO:123456789
d) Press “UP” or “DOWN” to select what you want to edit:name or telephone number (the entry
selected by you will be marked with a “Æ” on its left). Press “Cancel” to cancel one character
and press “Delete” to cancel the whole input line during your edit. On the completion, press
“OK” to save your edit.
e) Dial the telephone number in the Phone Book
i) Enter the menu “4: PHONE BOOK”

WT2002 GSM Single Display Payphone
COPYRIGHT ©2006 WITURA CORPORATION SDN BHD 17
ii) Press “UP” or “DOWN” Select the entry that you want to call. (The entry you selected
will be marked with a “Æ” on the left).
Æ01:JACK i
02:ANNA
03:SMISH j
iii) Press “OK” to call it.
14. Hot keys
Press a single digital key to call the corresponding entry that is saved in telephone book. For example,
press “1” to call the first entry of the Phone Book, and press “2” to call the second entry. 10 entries
can be called by this way that is saved in telephone book from the first to the tenth. Process as
follows:
a) Lift up the handset or press “Hand-Free”.
b) Press the appropriate digital key (1 – 0).
c) Press “OK”.
15. Menu keypad tones
a) Enter menu “5:KEYPAD TONES”.
b) Press “1”, the keypad tone will be on. Press “0”, the keypad tone will be off.
KEYPAD TONES
1:ON 0:OFF
1
16. Ringing tones level
Two levels is optional.
a) Enter menu “6:RINGING TONES LEVEL”.
b) Press “1”, ringing tone will be setup as high. Press “0”, ringing tone will be setup as low.
WT2002 GSM Single Display Payphone
COPYRIGHT ©2006 WITURA CORPORATION SDN BHD 18
RINGING TONE LEVEL
0:LOW 1:HIGH
1
17. SETTINGS
I. Enter the Settings procedures
(a) Press “MENU” in hook-on, LCD shows main menu list , Press “UP” or “DOWN” until you
see “7: SETTINGS”.
7: SETTINGS
8:IMEI-VERSION
9:CHANGEUSERPIN j
(b) Press “7”, the LCD shows "ENTER OWNER PIN", Input 8-digit Password (the Initial
Password for factory leaving is sets up as 30459086) and Press “OK”
ENTEROWNERPIN
********
(c) If the password is correct, the display shows set-up menu List, otherwise it indicates “PIN
ERROR” and returns to the status of main menu list;
1: LOCK SETTING
2:SMSCENTER
3:NMSCENTER j
II. Set up the phone parameters
(1) Modify Setup Information
(a) Press “1” in Set-up menu to select “LOCK SETTING”.

WT2002 GSM Single Display Payphone
COPYRIGHT ©2006 WITURA CORPORATION SDN BHD 19
(b) Input 8-digit numbers WXYZCRIJ to set up locking card, locking phone, whether allowed
to receive calls, whether locking keypad after finish call etc. (The default value is
00001111,i.e., no locking card, no locking phone, allow to receive calls). Press " BACK” to
return to the set-up menu;
LOCK SETTING
00001111
W = 0: not locking card, W = 1: locking card;
X = 0: not locking phone, X = 1: locking phone;
I = 0: not allowed to receive calls, I = 1: allowed to receive calls;
J = 0: not locking keypad after finish call J = 1: locking keypad after finish call
Y, Z, C, R are backup digits.
Notes: (i) When W is 1 and X is 1 at the same time, it will be locking phone and
locking card concurrently.
(ii) Remember to Reboot the Phone after setting the locking card or locking
Phone.
Card locking: Add password to SIM card to limit SIM card’s applications in other types
of mobile phone;
Phone locking: The phone only identify SIM card first set up, the phone cannot be used
when other cards are applied; No allow to use other SIM card in this phone;
Not allowed to receive calls: If there is an incoming call, the phone will not ring and cut
off.
(2) Short Message Centre set-up
In the settings menu, press “2” to select “SMS CENTRE”, LCD shows “SMS CENTRE”.
Press “DELETE” to clear the input line. Press “123/ABC” to switch input numbers or
characters or “+”. Press “1” to input “+” in “ABC” input status. Input SMS center number by
pressing number keys in “123” input status. Press “OK” or “BACK” to return to the set-up
menu.
123
SMSCENTRE
+60120000015
WT2002 GSM Single Display Payphone
COPYRIGHT ©2006 WITURA CORPORATION SDN BHD 20
(3) Network Management System Centre set-up (Optional Function)
In the settings menu, press “3” to select “NMS CENTRE”, LCD shows “NMS CENTRE”.
Press “DELETE” to clear the input line. Press “123/ABC” to switch input numbers or
characters or “+”. Press “1” to input “+” in “ABC” input status. Input SMS center number by
pressing number keys in “123” input status. Press “OK” or “BACK” to return to the set-up
menu.
(4) Setup Prefix for Barred No.
4:PREFIXEDNO. i
5: TARIFF TABLE
6:PASSWORD j
(a) Press “4” in set-up menu to select “PREFIXED NO.”. LCD shows GNP menu;
1:BARREDPREFIXES
2:IDDPREFIXES
3:DDDPREFIXES j
(b) Press “1” to select “1: BARRED PREFIXES” to set up Barred No. Prefix;
(c) Press the number from the Keypad to input the number for the Barred Prefixes. Press
“OK” to input the next number after input of a certain number. Press “DELETE” to
clear the whole Number. Press “CANCEL” to delete the last digit of number
displayed. Press “OK” to erase a certain number after deleting it; add the number
after viewing the last number. There are able to set 15 numbers at the maximum.
Press “BACK” to return to GNP menu:
BARREDPREFIXES
1: 16
(d) After set-up for the Barred Prefixes Number, the phone will automatically barred the
Number which starting with the barred prefix. (Example: Set 16 in the barred
prefixes, when the user calls the number which starts with 16, the phone will show
“BARRED NO.”)
Table of contents


 user guide")


