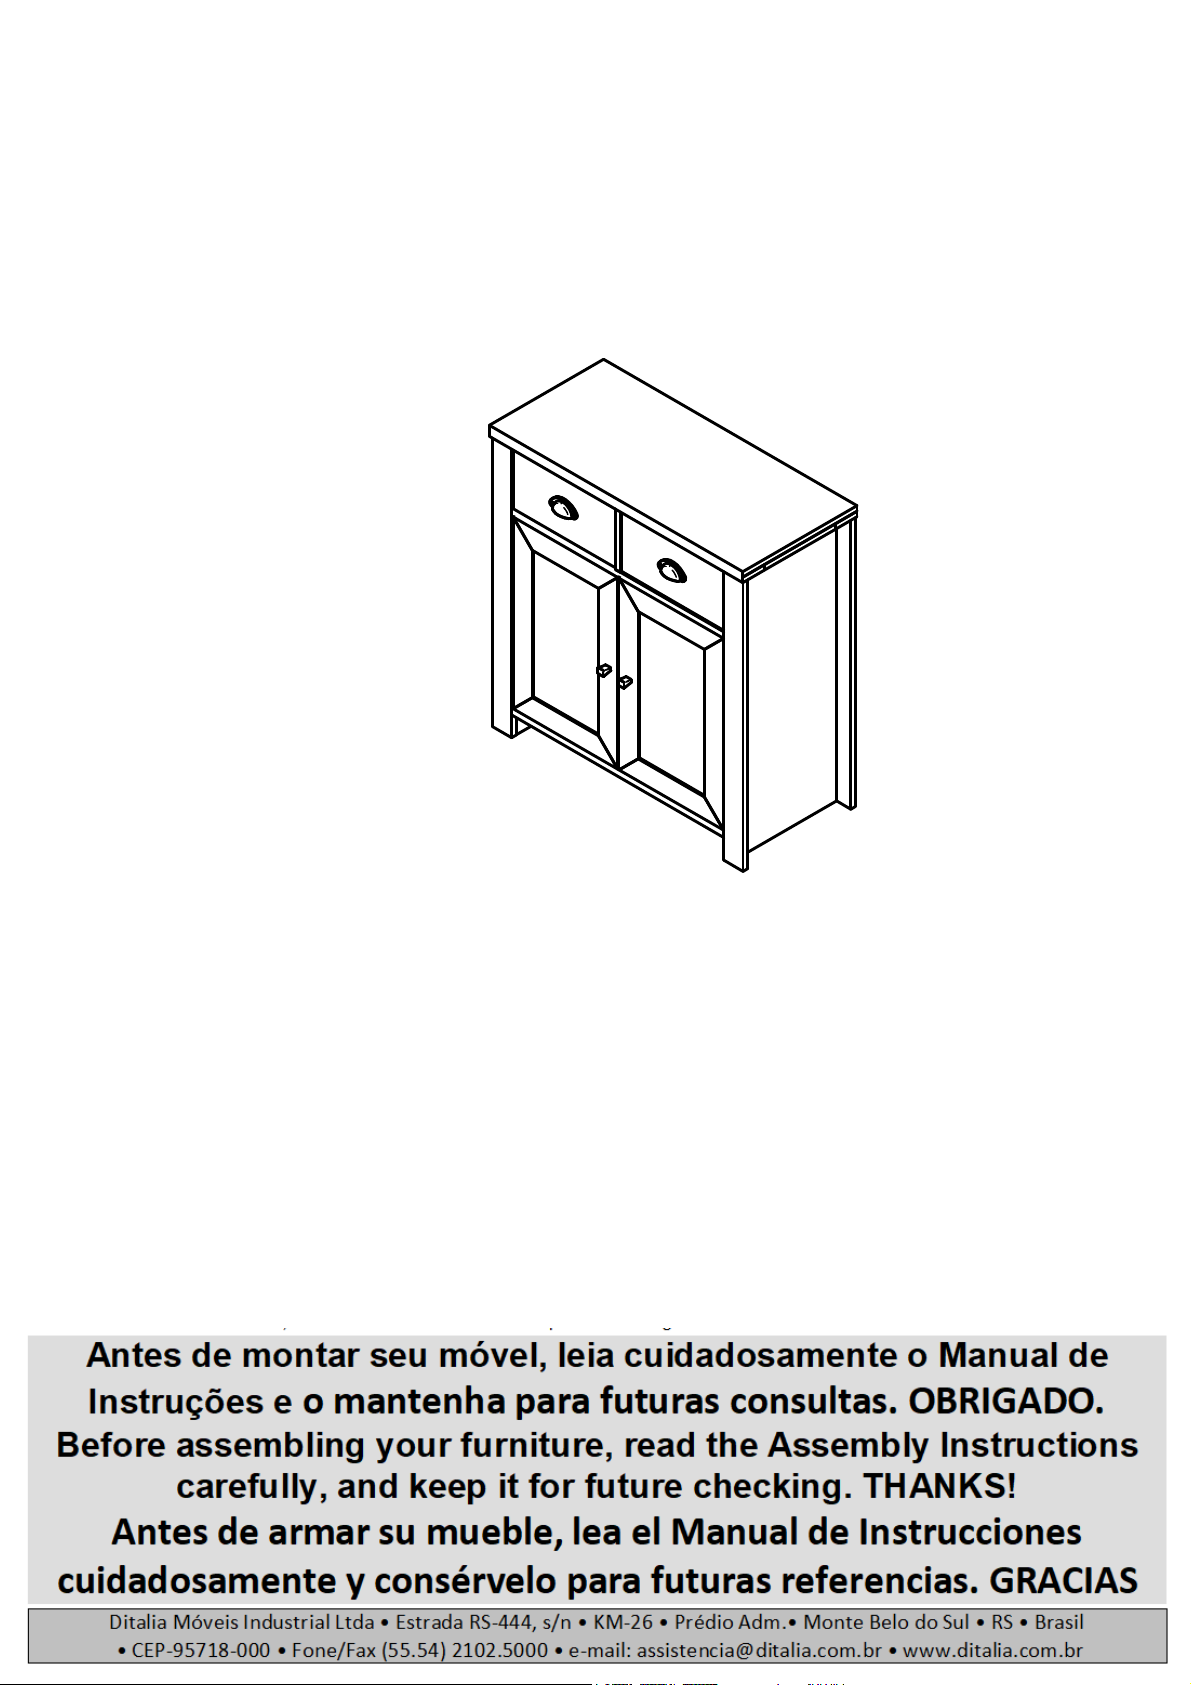
DITALIA R-610 User manual


Other DITALIA Indoor Furnishing manuals

DITALIA
DITALIA CD-168 User manual

DITALIA
DITALIA MP-80 DIT User manual

DITALIA
DITALIA MP-50 User manual

DITALIA
DITALIA MC-153 User manual

DITALIA
DITALIA BB-104 User manual

DITALIA
DITALIA Frutera MF-220 User manual

DITALIA
DITALIA CD-365 User manual

DITALIA
DITALIA BB-23 Installation guide

DITALIA
DITALIA CD-386 User manual

DITALIA
DITALIA BBI-51 User manual

DITALIA
DITALIA BA-05 User manual

DITALIA
DITALIA CD-188 User manual

DITALIA
DITALIA R-613 User manual

DITALIA
DITALIA CD 278 User manual

DITALIA
DITALIA CD-162 User manual

DITALIA
DITALIA 768X54X15 User manual

DITALIA
DITALIA MC-173 User manual

DITALIA
DITALIA Hot Tower Fogot CD-373 User manual

DITALIA
DITALIA BB-316 User manual

DITALIA
DITALIA DM-209 User manual


Popular Indoor Furnishing manuals by other brands

Regency
Regency LWMS3015 Assembly instructions

Furniture of America
Furniture of America CM7751C Assembly instructions

Safavieh Furniture
Safavieh Furniture Estella CNS5731 manual

PLACES OF STYLE
PLACES OF STYLE Ovalfuss Assembly instruction

Trasman
Trasman 1138 Bo1 Assembly manual

Costway
Costway JV10856 manual


