Declaration of conformity
Welcome to DLS!
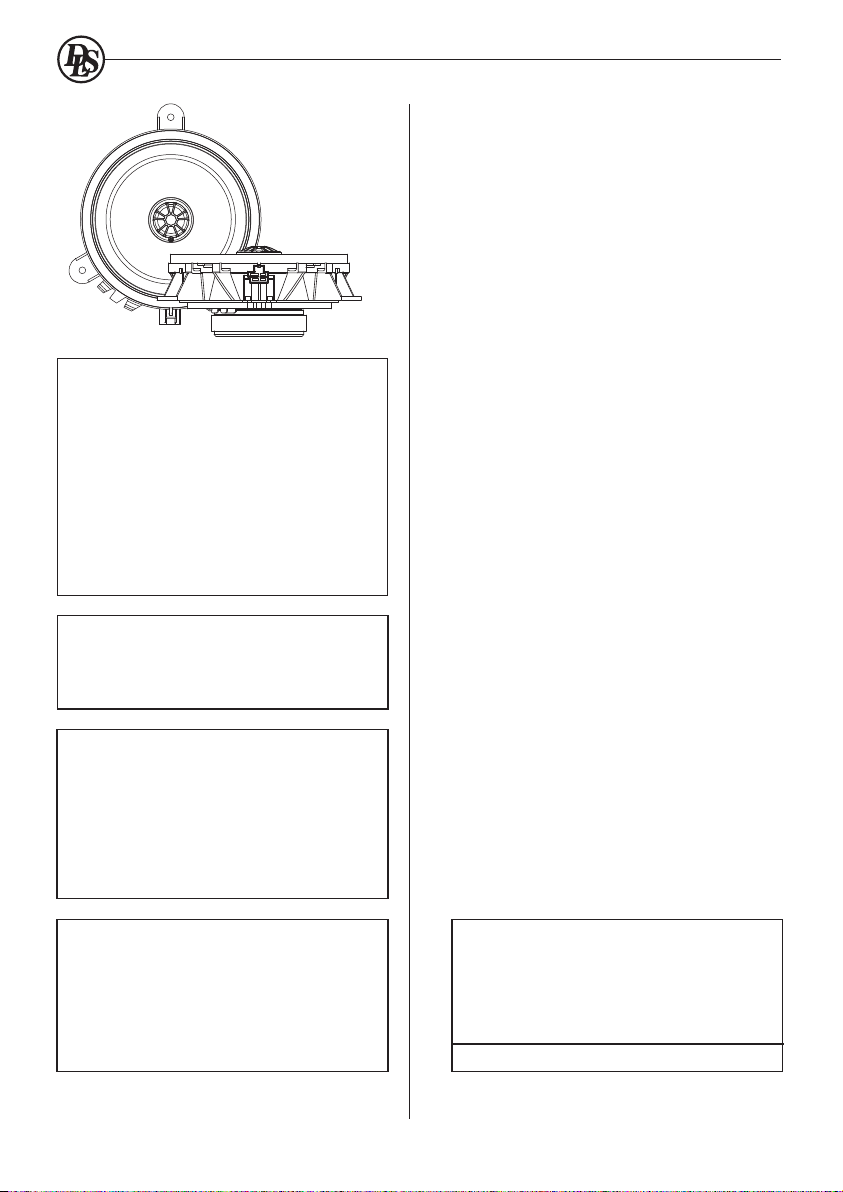
Thank you for buying a DLS Cruise CRPP-VO1.6CX. For
us, it’s all about the sound experience. We care deeply
about sound and construction quality. In order for your
experience to be as optimal as possible, it is important that
you fully read this manual, preferably before you start your
installation. Keep the manual in a safe and accessible place
for future reference.
Your speakers must be installed correctly in order to work
as intended. Make sure you have all necessary tools nearby
before starting and that you are completely confident in how
to proceed. If you feel the slightest uncertainty; feel free to
take the help of an experienced installer or a car audio
dealer.
General
Some sound systems may vary in size of the door speaker.
Make sure that your vehicle has the same size as this
coaxial speaker, before you start the assembly
This is a generic mounting instruction. The approach is
similar to all of the described car models. Some screws and
clips may be placed differently and depending on your car
model.
DLS plug and play speakers for vehicles are manu-
factured in accordance with the EU directive EEC 95/54
(72/245/ EEC) and are marked with the approval
number. They are also marked in accordance with the
WEEE-directive 2012/19/EC. The products are also
produced in accordance with the EU RoHS directive
2015/863/EU.
Warranty
This coaxial speaker is covered by warranty, depending on
the conditions in the country where it is sold. If the speaker
is returned for service, please include the original dated
receipt with the product.
Winn Scandinavia AB
Elementvägen 15 - SE-702 27 Örebro - Sweden
www.dls.se
DLS speakers are engineered by DLS Sweden,
a part of:
Designed & Sound tuned in Sweden.
CRPP-VO1.6CX
DLS CRUISE
Content
Welcome
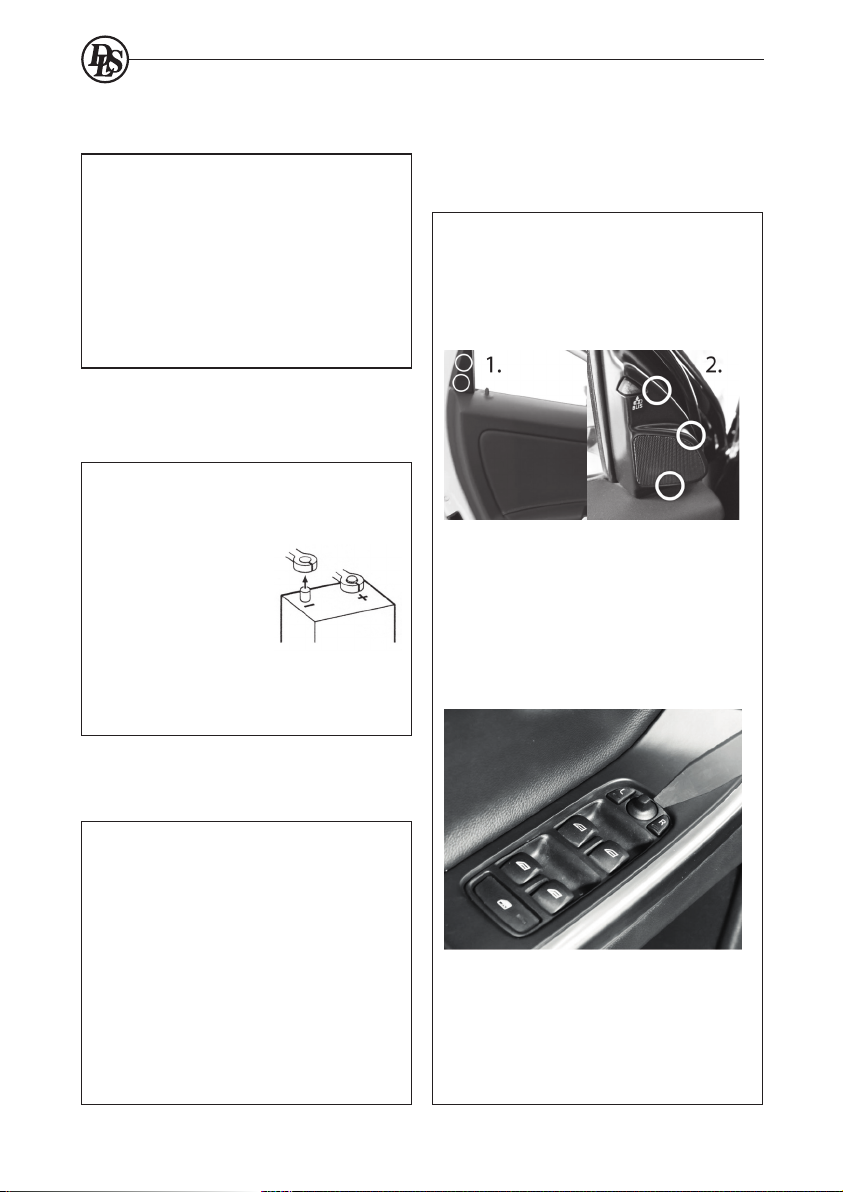
Pre installation
Dismount door panel
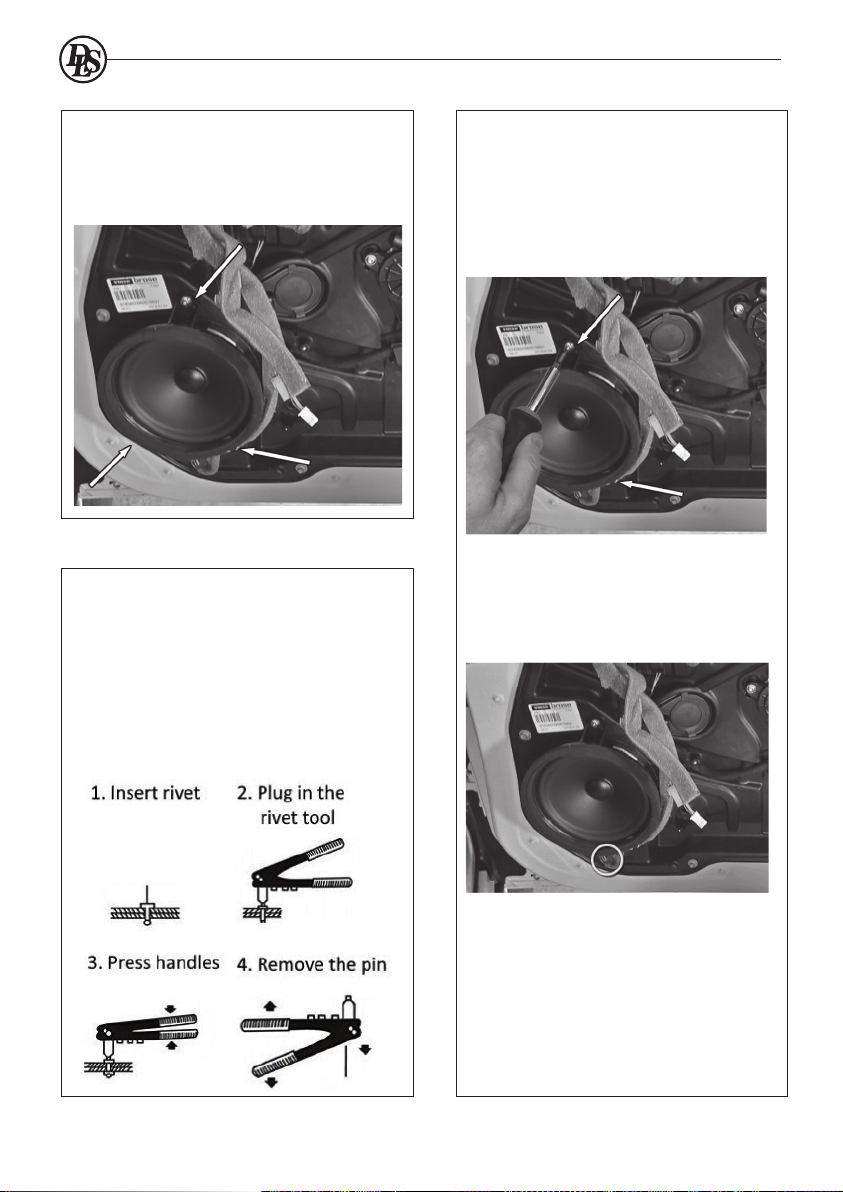
Remove door speaker
Mount door speaker
Running-in time
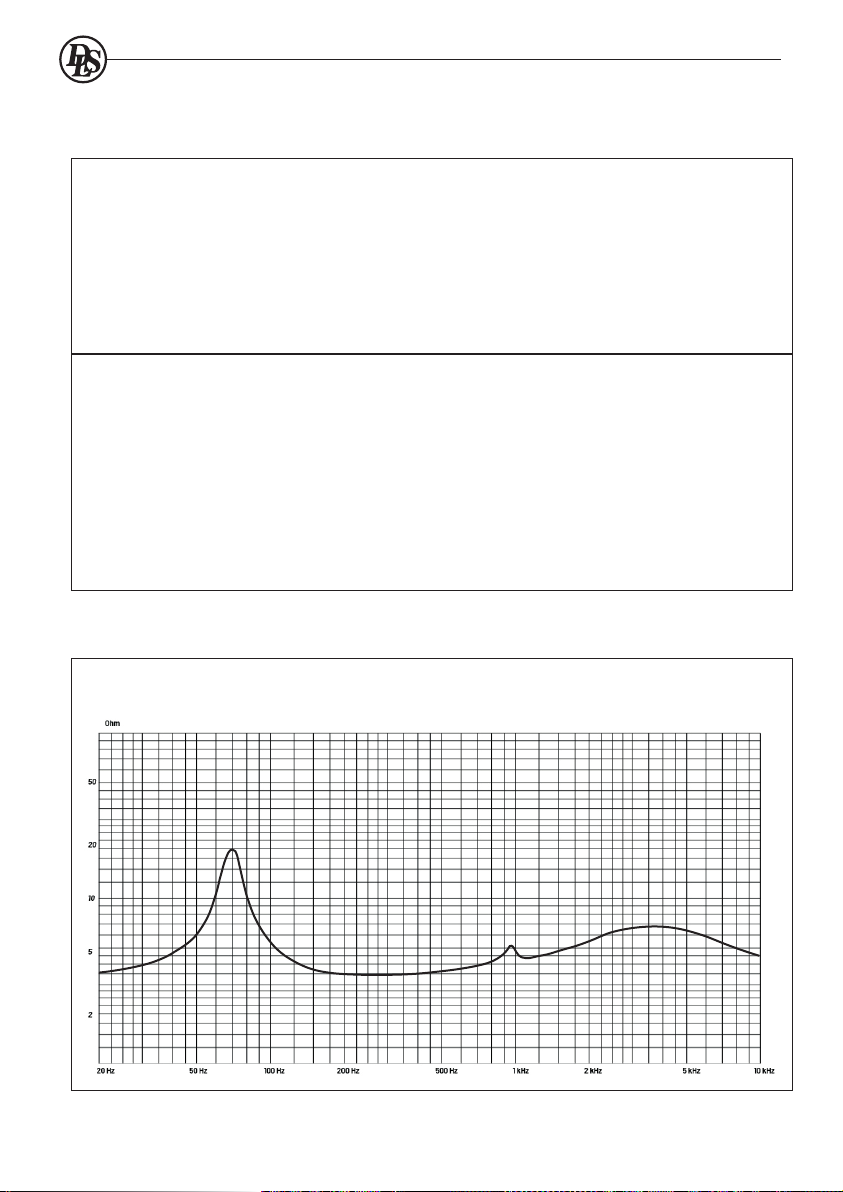
Specification speaker
Compatible car models
Product markings
Technical assistance
1
2
2
3
4
5
6
8
9
5