DnC Tech DMR-300 User manual


Table of contents
--PreparationsPreparations ––
Warning
Components
Using buttons and controls
Inserting the batteries
Adding MMC / SD card
--Basic operationBasic operation--
Playing songs on “DMR-300”
Selecting the track and volume control
Remote control
Hold function/ Local repeat
--Additional operationAdditional operation --
Using mode options and settings
Setting up EQ
Repeating tracks
Memory information
Record bit rate
Delete
Encoding function
Recording the voice
--Connection to computerConnection to computer --
Installing Manager software
Deleting Manager software
Connecting to computer
Downloading files to DMR-300
Uploading files
Deleting files
Formatting the memory
--AppendixAppendix --
System requirements
Trouble shooting
Specification

WARNING
제품설명편
7
DANGEROUS VOLTAGE
Uninsulated Dangerous Voltage, that may be of
sufficient magnitude to constitute a risk of electric
shock to person is present within this product’s
enclosure
!
ATTENTION
The owner’s manual contains important operating and maintenance
instructions. For your safety, it is necessary to refer to the manual.
To reduce the risk of fire or electric shock, do not expose4 this
appliance to rain or moisture.
To avoid electrical shock; do not open the cabinet. Refer servicing to
qualified personnel.
CAUTION : Use of the controls or adjustments of procedure other than
those specific herein may result in hazardous radiation.

제품설명편
Do not operate it during the driving, bicycling or operating other machine.
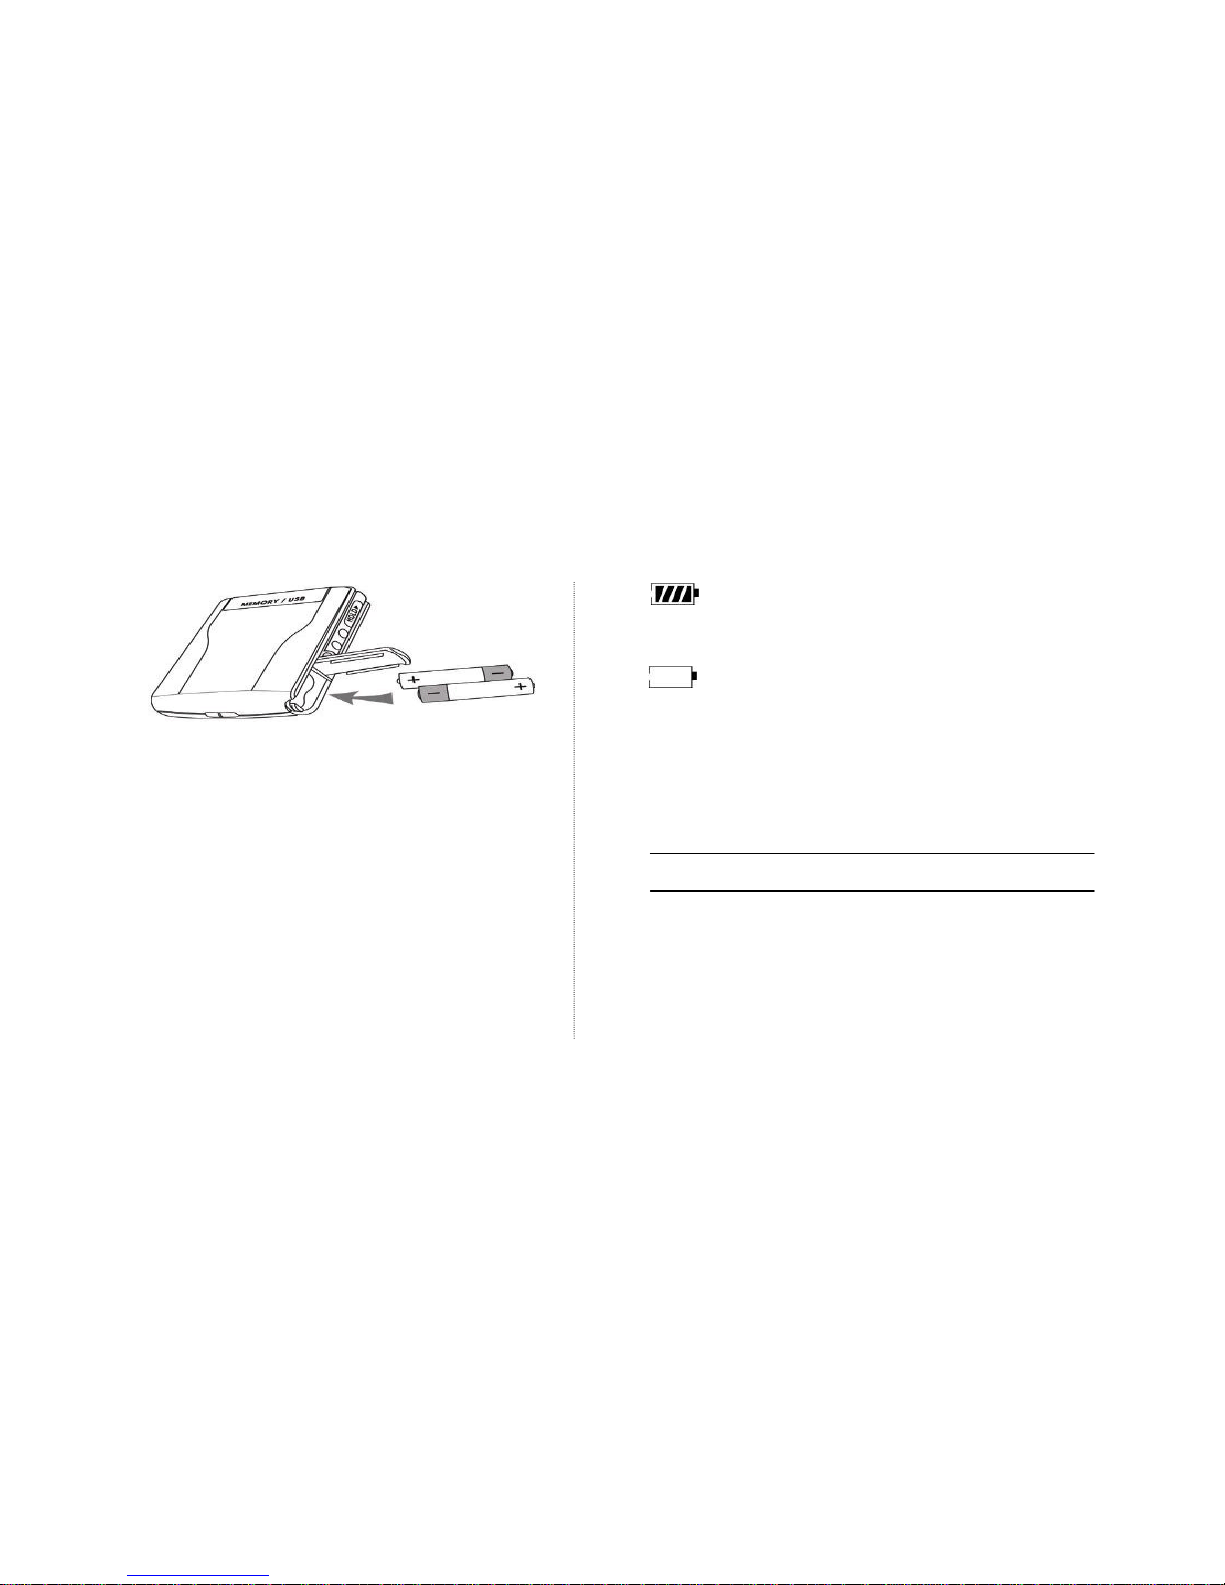
Do not insert a metal with batteries. (risk of blaze)
It is recommended that you follow the listed guide line to prevent damage of
hearing.
Establish a safe sound level.
?Slowly increase the level of volume until you can hear comfortably.
?Once you have established a comfortable listening level, DO NOT
INCREASE THE SOUND LEVEL FURTHER.
(Over 80dB noise can be harmful under constant exposure. 80dB: average
city traffic, alarm clock buzzer at 2 feet)
Do not drop or give a mechanical shock to the unit.
Do not place the unit in locations described below :
?Places exposed to direct sunlight, extreme heat or magnetized place
?Humid or moist places
?No ventilation or dust places
Do not clean it with thinner, alcohol or benzene.
WARNING

Components
제품설명편
Software
installation CD Ear phone
Remote
control
USB cable 2 AA type
batteries
Line in cable Carrying
bag
Necklace

Using buttons and controls
LCD
Neck strap holder
MIC
< Front > MENU
Record Local Repeat
HOLD Switch
VOLUME Line-IN
Earphone jack
FORWARD
REVERSE POWER ON/OFF
PLAY/PAUSE/STOP
Record (Voice/Music)Mode MENU
Local repeatHold switch
Play the previous track
/ Rewind the current track
Volume
Play the next track
/ Fast forward in the current track
Power On / Play / Pause / Stop /
Power Off

Hold icon
Play icon
Pause icon
Music recording icon
Voice recording icon
Local repeat icon
Play mode icon
MMC / SD card icon
This icon will blink while the song in
MMC or SD card is played.
Volume level
Remaining battery capacity
MMC & SD card slot
/ USB jack
제품설명편
< Rear >

Inserting Battery
제품설명편
①Slide open the cover as shown
in the figure.
②Insert 2 AA alkaline batteries
(supplied). Slide the cover back to
close.
③Use the alkaline batteries.
Note
If you do not use the batteries
correctly, it may become damaged.
Be sure to check the polarity of the
batteries (+,-) to insert the batteries.
13 hours2 alkaline batteries
MP3Battery lifetime
The bars inside a battery icon displays
the remaining battery capacity.
The icon will blink when the batteries
have almost run out. This unit will be
automatically powered off in 30
minutes from this time.

Adding MMC / SD card
If you need additional memory, you can purchase the MMC (the Multi Media
Card) or SD card(Secure Digital memory card) as shown in the figure.
②Turn on the unit to display the
memory capacity of the MMC or SD
card on the LCD.
Eject MMC / SD card,
①Press the MMC / SD card in the
direction of the arrow.
②MMC / SD card will pop up.
③Pull out the MMC / SD card.
Note
-Be sure to turn off this unit when you
insert or eject the MMC / SD card.
-Format the memory data to down load
the MP3 file.(33page)
-Downloading to the MMC or SD card is
the same as downloading to internal
memory.(29page)
①Align the MMC or SD card with the
slot as shown in the figure and insert it
to the end.

Playing songs on “DMR-300”
기본편
①Insert the batteries and connect
the earphones to the player.
②Press to turn on.
③Press again to play a song. < stop / turn off>
①Press and hold for 3 seconds
to stop.
②When stopped, press and hold
for 3 seconds to turn off.
The unit automatically turns off 5
minutes after it stops playing.
③When stopped, press to play.
< Pause >
①Press to pause while playing.
②When paused, press to play.
< Playing / turn on >

Selecting the track / Volume control
기본편
………………………………………………………………………………
Press to skip to the next track.
Press and hold to fast forward
the current track.
Note : Audio quality will reduce when
playing MP3 files of 64kbps or less.
Press +/-button to adjust the volume
while playing.
Press +/-button to adjust step by
step.
Volume range from 0 to 30.
Press and hold +/-button to adjust
continuously.
Press to locate the beginning
of the track or the previous track.
Press and hold to rewind
the current track.

Using the Remote Control
기 타
?note :
Under hold mode, no buttons on the
remote control will work. You can
adjust the volume while playing.
press ¦to change REPEAT mode,
from NORMAL REPEAT→REPEAT
ONE→REPEAT ALL→RANDOM
PLAY→RANDOM ALL.
Press Åto stop the playing.
Press and hold Åto turn off.
①Press and hold ›to turn on
the player.
②Press ›to play.
③Press ›to pause.
Press ›rapidly twice to
move the next track.
Press ›rapidly three times
to move to the beginning of
the current track or the previous
track.
¦
Å
›
Volume
HOLD
Forward
Play / Paused
Rewind
Stop
Menu

Hold function / Local Repeat
응용편
Slide in direction to lock all
controls.
Under Hold mode, no button will
work except the Remote Control.
Hold mode Local Repeat mode
To repeat a part of the current track,
①Press to start the local recording.
②Press to finish the local recording.
③Repeat the recorded part.
④Press to finish the local repeat and
play the current track.

Using mode options and settings
응용편
Internal Mic
Line in
Record Input
8 ,16 ,32, 64, 128 kbpsRecord bitrate
INERNAL MEMORY TOTAL /
INERNAL MEMORY REMAIN /
EXTERNAL MEMORY
Memory
Information
ERASE FILEERASE
REPEAT ONE /
REPEAT ALL / RANDOM
REPEAT
(file order)
LIVE/JAZZ/ROCK/FLATEQ (Equalizer)
Use the mode button to select the following mode options.
The player displays a mode in the order of ‘EQ’→’REPEAT’→memory
information→’Record Input’→’Record Bitrate’as you press .

Setting up EQ(Equalizer)
응용편
①Press to set up EQ.
②Press to select the
following menus; FLAT, LIVE,
JAZZ, ROCK.
③Press to play the track.
Normal balanceFLAT
Preset for rock musicROCK
Preset for jazz musicJAZZ
Preset for live musicLIVE

Repeating tracks
응용편
Press twice to set up REPEAT.
Press to select REPEAT menu.
The mode will be scrolled in the order of
‘NORMAL REPEAT’→’REPEAT ONE’
→‘REPEAT ALL’→’RANDOM PLAY’
→’RANDOM ALL’as you press .
RANDOM PLAY
-Play tracks at random.
REPEAT ALL
-Repeat all tracks.
REPEAT ONE
-Repeat the current track.
NORMAL REPEAT
-Play all the tracks in order one
time.
RANDOM ALL
-Repeat tracks at random

Memory information
응용편
Press three times to display the memory information.
Press to indicate memory status in the order of ‘INTERNAL MEMORY
TOTAL’→’INTERNAL MEMORY REMAIN __MB’→‘EXTERNAL MEMORY
TOTAL’→’EXTERNAL MEMORY REMAIN __MB’, as you press.

Record Input
응용편
Press four times to set up Record Input.
Press to select ‘Internal Mic”or “Line In”
Line In Headphone

Record bitrate
응용편
Press five times to set up RECORD BITRATE.
Press to select RECORD BITRATE menu.
The mode will be scrolled in the order of ‘8kbps’→’16kbps’→’32kbps’→
’64kbps’→’128Kbps’as you press.

Delete
응용편
①Press six times to delete a track.
②Press to search the track.
③Press to select the track.
④When ‘Confirm:Yes”is displayed, press to delete the track.
If you do not need to delete the track, press to display ‘Confirm:No”
and press to return to the previous menu.
Table of contents