You
are
now
the
owner
of
a
new
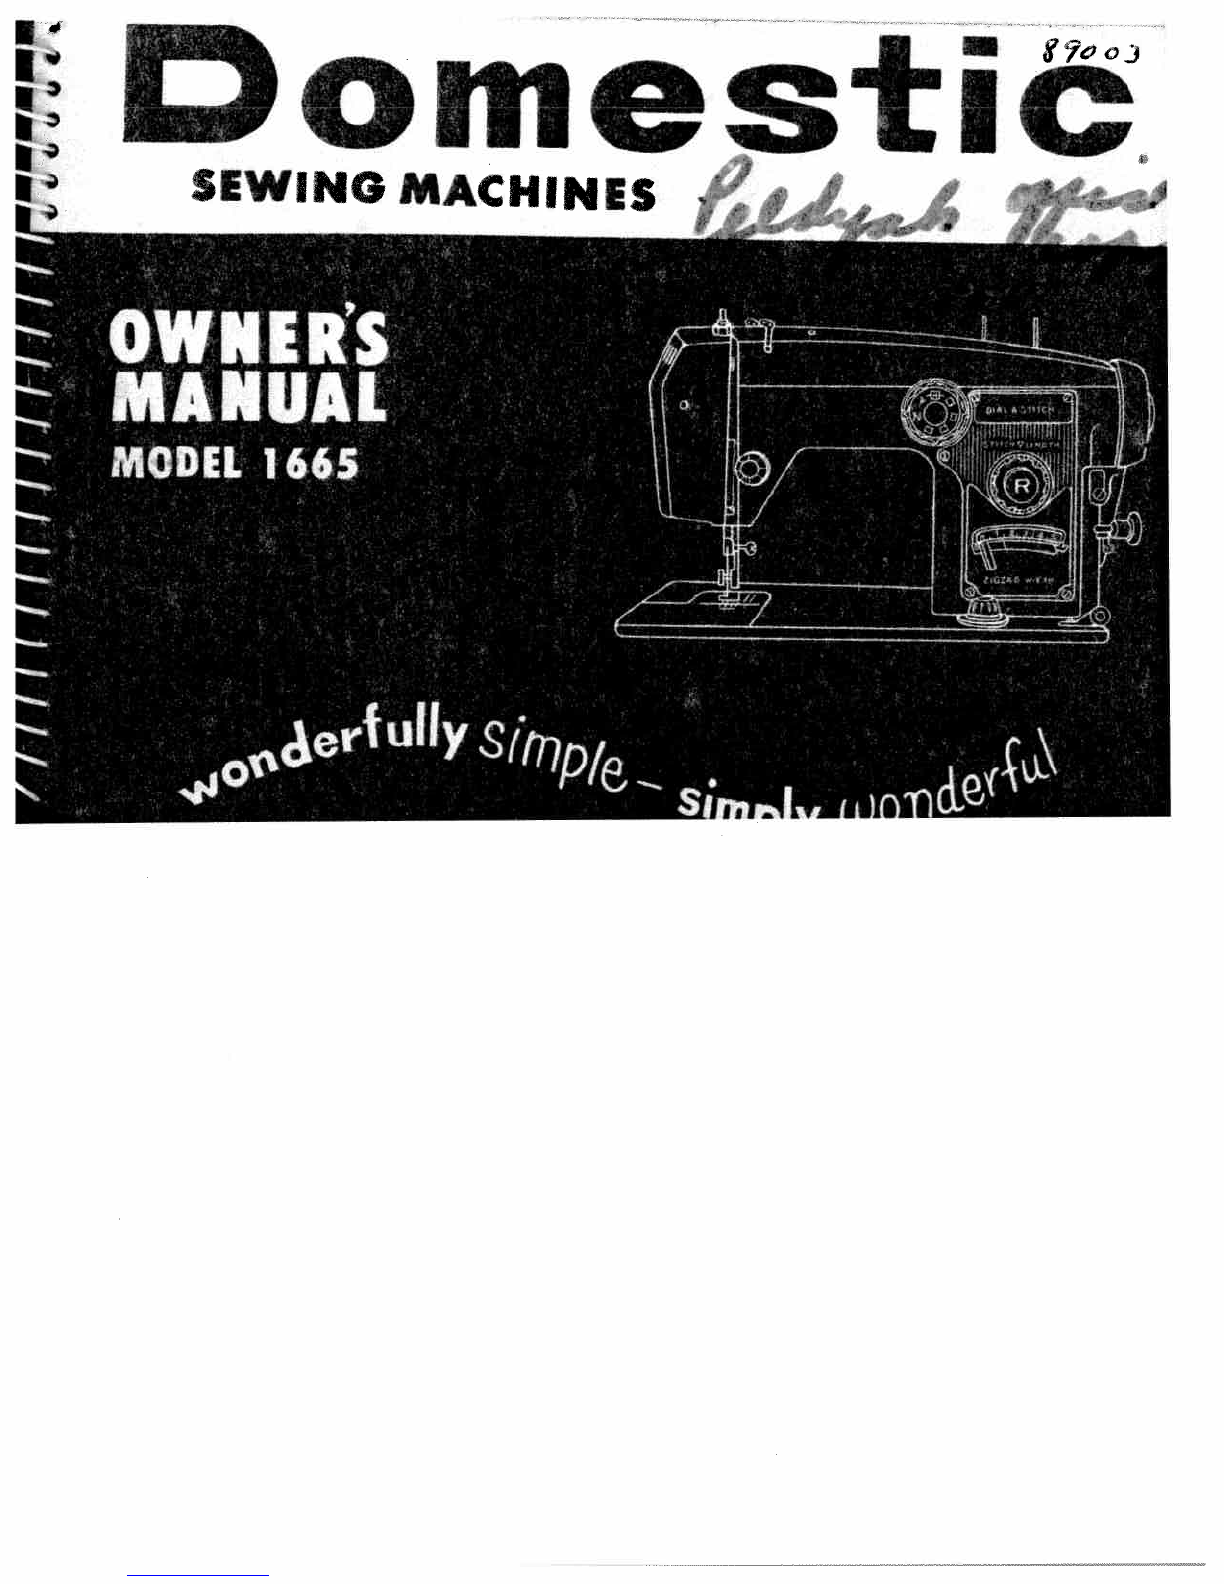
Domestic
zigzag
sewing machine,
acclaimed
for
its
superiority
in
design
and
sewing
performance.
Its
exclusive
built-in
features,
such
as
automatic blind
hem
stitch
for
blind
hem
ming,
multiple
zigzag
stitch
for
sewing
on
stretch
material,
buttonholes
produced
by
just
turning
a
dial,
and
twin
needle
sewing,
will
inspire
you
to
do
creative
work.
To
aid
you
in
obtaining
the
greatest
performance
from
your
new
Domestic,
this
book
on
its
care
and
use
has
been
written
for
you.
Read
these
instructions
carefully,
as
a
thorough
understanding
of
your machine
will
reward
you
with
many
hours
of
trouble-free
creative
sewing.
Time-saving
attachments
such
as
rufflers,
binders,
edgestitchers,
cording
feet,
and
others
to
complement
the
accessories
furnished
with
your
Domestic, are
available
from
the
store
where
you
purchased
your
machine.
DOMESTIC
SEWING
MACHINE
CO.,
INC.
Cleveland
11,
Ohio
DOMESTIC
SEWING
MACHINES
1470
Birchmount
Road
Scarborough, Ontario, Canada