Dot Origin VTAP 100 User manual

Basic ConfigurationGuide
Firmware from v1.1.10.2
Revised July 2022 v2.4

If you need help to set up or use VTAP100, beyond what is contained in this Configuration
Guide, then please contact our support team.
Email: [email protected]
Download the latest documentation and firmware from https://vtap100.com/resources/
Telephone UK and Europe: +44 (0) 1428 685861
Telephone North America and Latin America: +1 888-262-9642 or +1 565-262-9642
If you have any feedback on setting up or using VTAP100 or this documentation, then please
contact our support team. The product is constantly being reviewed and improved and we
value feedback about your experience.
Copyright 2022 Dot Origin Ltd. All rights reserved.
No part of this Configuration Guide may be published or reproduced without the written
permission of Dot Origin Ltd except for personal use. This Configuration Guide relates to
correct use of the VTAP100 only. No liability can be accepted under any circumstances
relating to the operation of the user’s own PC, network or infrastructure.
Dot Origin Ltd
Unit 7, Coopers Place Business Park, Combe Lane, Wormley
Godalming GU8 5SZ United Kingdom
+44 (0) 1428 685861

Contents
1 Using this guide 1
2 How VTAP100 works 2
2.1 Configure VTAP100 3
2.2 Default operation on factory settings 4
3 Start reading your own passes 5
3.1 Edit config.txt 8
3.2 Send pass data as keyboard emulation over USB 9
3.3 Extract only part of the pass data 10
3.4 Control LED and buzzer feedback 13
4 Read cards or tags 14
4.1 Extract only part of the card or tag data 15
5 Connect to other systems 17
5.1 Send pass data over a virtual COMport 17
5.2 Using VTAP100 with Read-a-Card software 18
5.3 More advanced features 19
6 Maintenance features 21
6.1 Check status in BOOT.TXT 21
6.2 Update firmware 22
6.3 Software lock to prevent local firmware or configuration change 22
6.4 Hardware lock to disable USB mass storage device 23
6.5 Hardware reset to use factory firmware 25
6.6 Reboot, remount, refresh commands 25
A Default Config.txt file A-1
BASIC CONFIGURATION GUIDE PAGE I

BASIC CONFIGURATION GUIDE PAGE 1
1 Using this guide
This guide is for first-time users of the VTAP100, and anyone using the VTAP100 with a
direct USB connection to a PC. It will help you configure your VTAP100 for a simple
application. Information about maintenance features includes how to update the firmware on
your VTAP100 unit, when a new release is available.
Advanced users, such as mobile app developers and system integrators, who want to control
multiple units remotely and integrate VTAP100 outputs with other systems, will need the
additional information contained in the Advanced Configuration and Commands Reference
Guide.
The Default Config.txt file is included as an Appendix, so that you can always revert to
factory configuration, should you make mistakes or delete guidance comments you later need.
You must be running firmware v1.1.10.2 or later to access all of these commands or settings.
Visit https://vtap100.com/resources/ if you need to download the latest firmware version.
Instructions to help you Update firmware are included in section 6.2 of this guide.
If you need help beyond what is contained in this guide please contact

2 How VTAP100 works
Simply tap your smartphone against the VTAP100 antenna. Your mobile NFC pass will be
read and data sent to the connected PC. Since the VTAP100 includes automatic pass
selection, you do not need to open your phone and select the pass, the VTAP100 will do that
for you.
Figure 2-1 VTAP100-USBin use
When VTAP100 is connected to a computer it appears as a generic mass storage device (like a
memory stick). It can be set to send keyboard inputs to the PC, or behave as a virtual serial
COM port device.
In order to configure your VTAP100, you simply edit or create text files. These will be
automatically read and control the operation of the VTAP100. This approach allows you to
easily specify pass reading parameters and define the format to send data (per interface). You
can optionally define LED or buzzer actions required when a pass is detected.
By default the VTAP100 is fully upgradable in the field, using a file-based method for
distributing firmware updates in a secure manner. However, the VTAP100 hardware can be
optionally locked, before deploying the unit, so that operation is no longer easily changed.
Other files are generated automatically by the VTAP100, to provide you with status and event
log information. This data can be read as and when needed, from an attached PC, either in
text files or over a passive COM port connection.
(The Wiegand model, VTAP100-PACW, is also configured over USB from a PC. After
configuration it is connected to an access controller instead, and will send pass data over the
Wiegand interface to the controller, like any other reader.)
BASIC CONFIGURATION GUIDE PAGE 2

BASIC CONFIGURATION GUIDE PAGE 3
2.1 Configure VTAP100
This is an overview of the steps you need to take in configuring a VTAP100.
Figure 2-2 VTAP100 configuration steps
The VTAP100 is very flexible, in supporting different data formats for different media and
different interfaces. So, we would recommend you follow an incremental approach to setting
up and testing your settings.
1. First, check that the VTAP100 delivers Default operation on factory settings.
2. Then set up for reading mobile passes only, with a keyboard emulation output, which is
described in Start reading your own passes.

3. Only then add in capability to Read cards or tags or Connect to other systems using
other interfaces.
If you are an integrator or developer, and need to go further in controlling VTAP100
behaviour from other systems, you will find that information in the Advanced Configuration
Guide and Commands Reference.
2.2 Default operation on factory settings
Before anyone changes the configuration from its default, you can confirm that the unit is
working.
These steps demonstrate that the hardware can detect and interact with an OriginPass mobile
NFC pass, which is ready to work with the default configuration of your VTAP100.
1. Obtain an OriginPass from Dot Origin by visiting https://originpass.com/VTAP/ and add it
to your Google Pay or Apple Wallet.
2. Connect the VTAP100 to your PC, using a USB cable.
3. Open a text editor, such as Windows Notepad.
4. When you tap the OriginPass on the VTAP100:
lPass contents will be displayed in the open text editor.
lThe diagnostic LEDs on the VTAP100 PCB will flash together.
lYour smartphone may signal with a buzz or beep.
Note: Some Android phones will only interact if their screen is on, although it does not
need to be unlocked. You may need to enable NFC in the settings for the smartphone.
Note: If the pass detected does not match the key and ID on the VTAP, or is moved away
too quickly to be read, the pass contents displayed will be an 8 digit random hex string,
such as '08E22AC1', different on each presentation. OriginPass contents will be a
consistent string of the type '3~ffymeK9f_mziYtA6~53999301628695~Valued'. The
separator '~' or '|' will depend on your keyboard language settings.
Note: If local security settings prevent or limit the use of removable storage devices, or
the connection of additional keyboards, an administrator may need to alter those
permissions.
BASIC CONFIGURATION GUIDE PAGE 4

BASIC CONFIGURATION GUIDE PAGE 5
3 Start reading your own passes
To read any mobile NFC pass, you will need to provide your pass reading parameters. This
means a collector ID or merchant ID and any keys. These allow you to read and decrypt pass
data that is held by your users, on their smartphones.
This first time, you will need to connect the VTAP100 to your PC, using a USB cable. (If
needed, you can adjust the configuration to make these changes remotely in future, see
Advanced Configuration and Commands Reference Guide.)
Step 1: Upload key file(s) to your VTAP100
1. Ensure each of the keys you need to use are stored in a file with the name
private#.pem, following the .pem format, where # is replaced with a number from 1
to 6, matching the key slot you will save it in. (The demo passes are accessed using the
key in KeySlot 6, so don't overwrite this one unless you are finished with demo passes.)
Note: You cannot use more than 6 key files.
2. Load your keys by copying these files onto your VTAP100, which shows up in the file
system of your PC as a mass storage device.
Note: When you reboot the VTAP100 your key will have been stored in hardware, and
will no longer be listed as a file on the device. You can confirm key file(s) have been
loaded when you Check status in BOOT.TXT. If the key file does not disappear and
there is an error in Boot.txt, check your .pem file as it is likely it did not adhere to the
standard.

Step 2:Declare Merchant ID(s)/Collector ID(s) in the config.txt file
1. Open the file config.txt in a text editor (such as Windows Notepad). It already
contains parameters for accessing the demo passes, prefixed VAS1 and ST1, both relying
on KeySlot 6. You can overwrite these, or keep them in addition to your own pass
reading parameters.
2. Add your pass reading parameters in the config.txt file to access up to 6 Apple
VAS and up to 6 Google Pay Smart Tap IDs, and identify the keys to be used in each
case.
Note: Although the VTAP100 supports multiple IDs, Apple and Google expect most
users will only use one. Using multiple IDs is an advanced feature to use with care. The
VAS# and ST# numbers define the order in which IDs will be requested from Apple or
Android phones respectively. The lowest numbered ID will be requested first, then
continuing in ascending numeric order.
Put each parameter on a new line. Order of parameters does not matter to the
VTAP100, but could help other people who need to edit the file. Start any comment
lines in the config.txt file, that the VTAP100 should ignore, with a semicolon. Each
parameter should only appear once - if it accidentally appears more than once then only
the last instance will take effect.
Example:Settings in config.txt to interact with both
Apple VASand Google Smart Tap mobile passes
!VTAPconfig
VAS1MerchantID=<yourmerchantID>
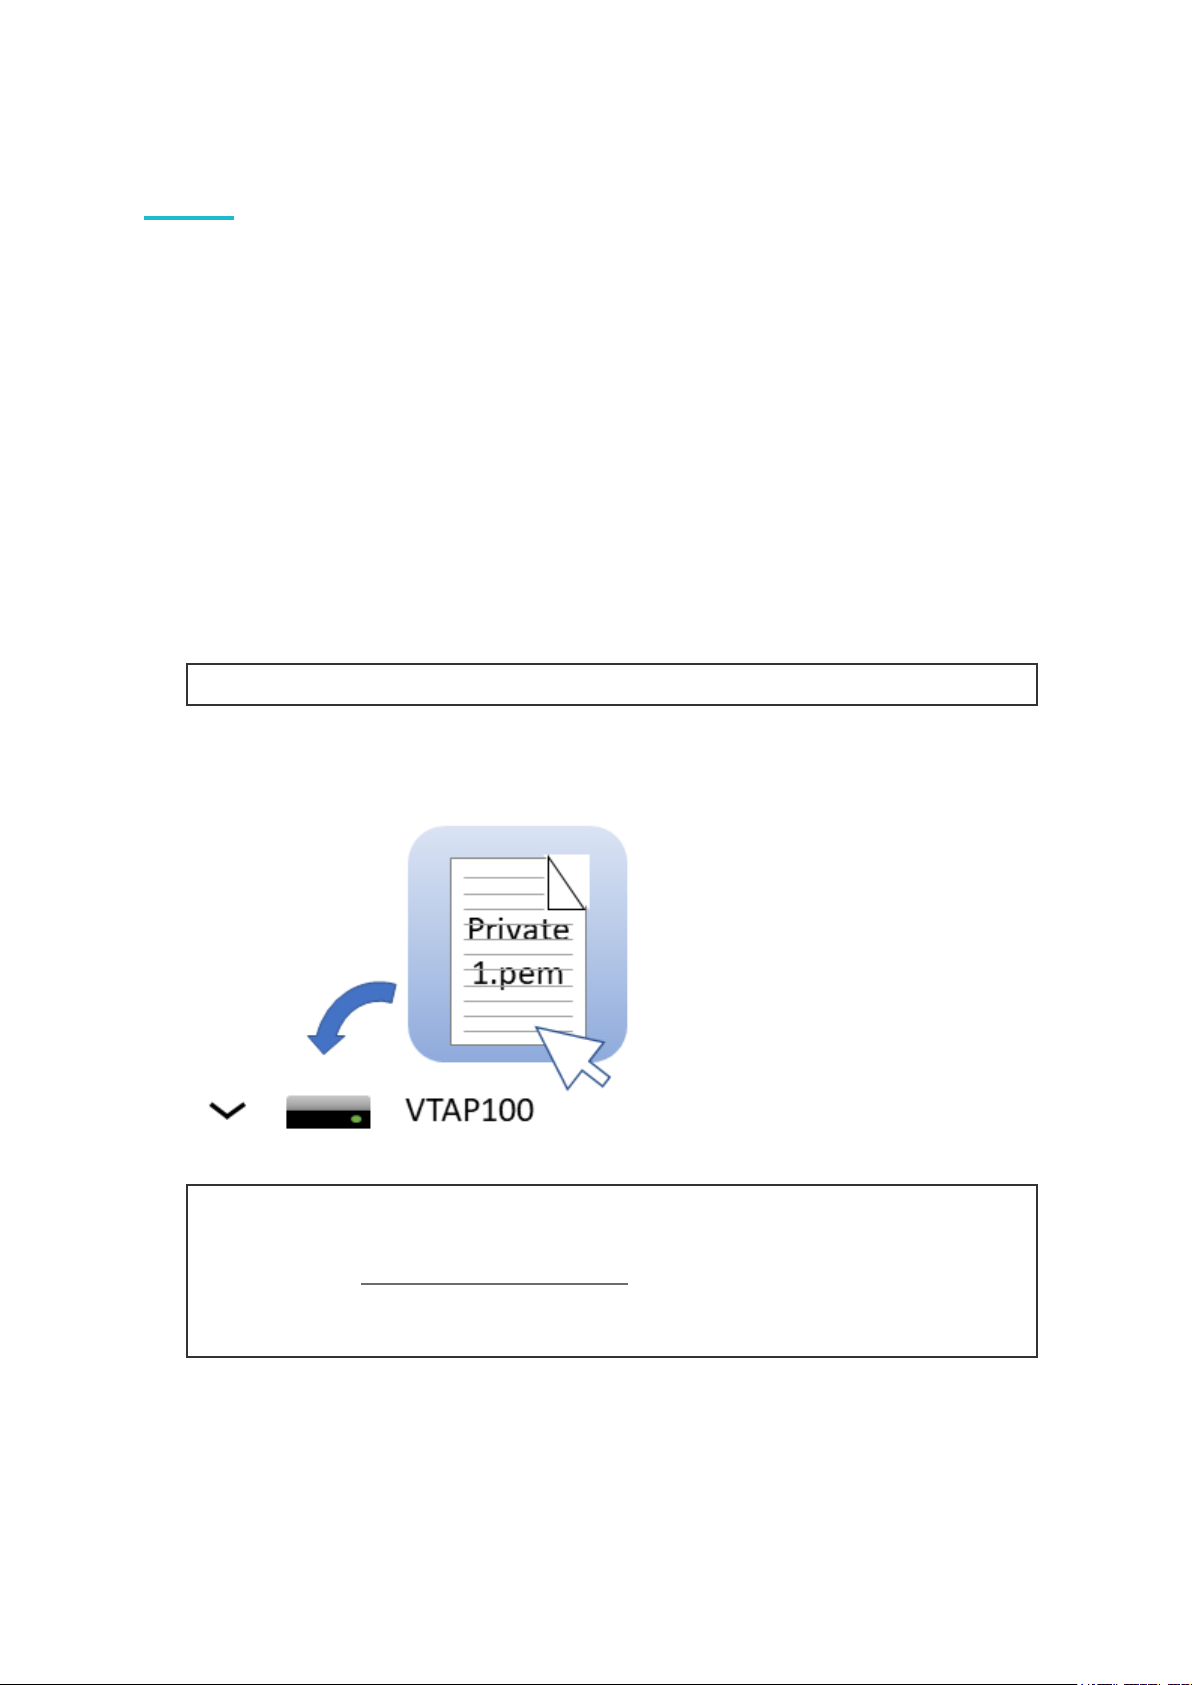
VAS1KeySlot=1
;Thissaysusethekeyaddedasfile'private1.pem'toreadand
;decryptanypassconnectedtoyourmerchantIDonanAppleiPhone
ST1CollectorID=<yourcollectorID>
ST1KeySlot=2
ST1KeyVersion=1
;Thissaysusethekeyaddedasfile'private2.pem'atkeyversion1
;toreadanddecryptanypassconnectedtoyourcollectorID
;onanAndroidphone
3. Save the amended config.txt file and these changes will take effect immediately. (A small
number of changes to the config.txt file require a reboot to take effect, for instance
to the status of the virtual COM port, but these are highlighted in later sections).
BASIC CONFIGURATION GUIDE PAGE 6

BASIC CONFIGURATION GUIDE PAGE 7
Note: If a VAS#KeySlot parameter is omitted, or set to 0, then all available keys will be
compared with the 4 byte hash of the public key for the data, to choose the right key. If the
data received by the VTAP100 cannot be decrypted, the Apple iphone will register a pass
read, but the data will not be output.
Note: If an ST#KeySlot parameter is omitted, or set to 0, then authentication will be
omitted and decryption will not be performed. In this case, Google Pay Smart Tap data will
be received and sent on by the VTAP100, only if the pass does not require authentication by
the terminal.

3.1 Edit config.txt
config.txt is the main file controlling operation of the VTAP100 device. To change any
operation:
1. Connect the VTAP100 to your PC, using a USB cable.
2. Browse to the VTAP100 mass storage drive.
3. Open the file config.txt file in a text editor (such as Windows Notepad).
Note: If local security settings prevent or limit the use of removable storage devices, or
the connection of additional keyboards, an administrator may need to alter those
permissions.
The groups of parameters in your config.txt file are summarised in the following figure:
Figure 3-1 Overview of config.txt
BASIC CONFIGURATION GUIDE PAGE 8

BASIC CONFIGURATION GUIDE PAGE 9
Changes to config.txt usually take effect as soon as the file is saved. (The only exception
is when you enable or disable the virtual COM port. In this case you need to reboot the
VTAP100 before it takes effect, see Send pass data over a virtual COMport.)
Note: If you make changes to your config.txt file from which you cannot recover, copy
the config.txt content from Appendix Default Config.txt file and paste it into the
config.txt file on your VTAP100 unit. This will return the VTAP100 to factory default
settings.
3.2 Send pass data as keyboard emulation over USB
Keyboard emulation over the USB interface means that the VTAP100 sends mobile NFC pass
data exactly as if it were entered on a keyboard, or like some barcode scanners for paper or
plastic passes.
This is already enabled in the default configuration, with KBLogMode=1, for all mobile passes
or NFC tags/cards that the VTAP100 can read, using KBSource=81. So if you open a text
editor on the PC connected to the VTAP100, any successful pass read will result in pass
contents appearing in that open text editor.
If you need to switch off sending pass data as keyboard emulation set KBLogMode=0.
There are adjustments you can make to the way that data is sent as a keyboard emulation,
using other parameters prefixed KB in your config.txt file. These include adding extra
prefix or postfix characters with KBPrefix or KBPostfix to the data that is sent, or
choosing to Extract only part of the pass data.
Note: If local security settings prevent or limit the use of removable storage devices, or the
connection of additional keyboards, an administrator may need to alter those permissions.
If you also need to log the data received, refer to the Advanced Configuration Guide for
further information.

3.3 Extract only part of the pass data
By default the whole pass data payload will be sent, using KBPassMode=0, but you can
choose to send only part of the pass data, by setting values in config.txt.
Note: The examples in this section use the KBPass prefix on all of the parameters, to control
the behaviour of mobile pass NFC data being sent as a keyboard emulation. The same
parameters work in the same way with prefixes such as ComPortPass or WiegandPass to
control the mobile pass data sent over those other interfaces.
To extract only a part of the data use KBPassMode=1. The following examples extract data
in different ways:
Example:Changes to config.txt
to extract a fixed length of data from a particular start point
!VTAPconfig
KBPassMode=1
KBPassSeparator=|
KBPassSection=2
KBPassStart=5
KBPassLength=10
Here you specify which section separators to find, and count sections and characters
from 0, to extract the right data. In this case:
Figure 3-2 Separator |, Section 2, Start 5, Length 10
BASIC CONFIGURATION GUIDE PAGE 10

BASIC CONFIGURATION GUIDE PAGE 11
Example:Changes to config.txt using ContentMode 1
and two levels of data separators to extract data
!VTAPconfig
KBPassMode=1
KBPassSeparator=|
KBPassSection=2
KBPassContentMode=1
KBPassContentSeparator=%
KBPassContentSection=1
In this case there are separators to identify sections and content separators within
the target section:
Figure 3-3 Separator |, Section 2, Content Separator %, Section 1

Example:Changes to config.txt using WiegandPassBits
for Wiegand data (on VTAP100-PACW only)
to extract bit data in a standard format, such as 26bit H10301
!VTAPconfig
WiegandMode=1
WiegandPassMode=1
WiegandPassSeparator=|
WiegandPassSection=2
WiegandPassBits=26
In this case the content expected from the pass is a hex number, which represents an
H10301 26 bit card ID: an even parity bit (calculated over the 12 most significant
bits), a facility code and then the card number, ending with an odd parity bit
(calculated over the 12 least significant bits). Data will be encoded after being
padded with trailing zeros to make a whole number of bytes.
Figure 3-4 Separator |, Section 2, WiegandPassBits 26 for Wiegand data (on
VTAP100-PACW only)
BASIC CONFIGURATION GUIDE PAGE 12

BASIC CONFIGURATION GUIDE PAGE 13
3.4 Control LED and buzzer feedback
The VTAP100 has two diagnostic LEDs, red and green, which provide a heartbeat on the
board, for factory use only. There are also status LEDs, on the reverse side of the board,
which can provide feedback to end users, through a window in the case. These can show any
hex RGB colour. And there is also a buzzer. You control how these LEDs and buzzer react to
mobile passes by setting parameters including LED in the config.txt file.
Example:Control of LEDand buzzer in default config.txt
!VTAPconfig
LEDMode=0
LEDSelect=1
LEDDefaultRGB=1EEBCF
PassLED=00FF00,200,200,3
PassBeep=100,100,2
TagLED=00FF00,200
TagBeep=100
This example includes LEDMode=0 to turn off the diagnostic LEDs except during NFC activity.
Use LEDMode=3 to disable them completely.
LEDSelect=1 is to make use of the pair of LEDs that are visible through a compact case (CC)
for user feedback, but you could use LEDSelect=2 to use the LED that is visible through a
square case (SQ) instead. LEDDefaultRGB=1EEBCF sets the colour that the feedback LED(s)
show constantly, but can be set =0 if you would rather LEDs were off when a pass is not
being read.
PassLED chooses the hex colour for the LEDs to flash when there is a mobile pass read, along
with the flash on time, interval and number of repeats, the example chooses three 200ms
flashes with 200ms intervals in between. TagLED sets the LED response to a card/tag read in
the same way. In the example the response to a card/tag is set to be the same colour, but a
single 200ms flash (interval and number of repeats can be omitted if not needed).
PassBeep sets an on time, interval, and a number of repeats for the buzzer when there is a
mobile pass read. In this example there will be a double beep for a pass read. TagBeep sets
the buzzer response to a card/tag read in the same way. The example sets a single beep
response to a card/tag read. (Again you can omit the interval and number of repeats for a
single beep of the specified duration).

4 Read cards or tags
VTAP100 is primarily designed to read mobile passes, not cards and tags. You can choose to
allow VTAP100 to read particular NFC or MIFARE Classic card or tag types in addition to
mobile passes, by making changes in config.txt.
Example:Changes to config.txt to allow NFCor MIFAREClassic card or
tag types to be read
!VTAPconfig
NFCType1=1
NFCType2=0
NFCType3=1
NFCType4=0
MIFAREClassic=B
;Use=Uor1topermitaparticularcardtypeUIDtoberead,
;=Nor2toreadNFCdata(NFCType2,3or4,notMIFAREClassic).
;=Bor3toreadordecodeamemoryblock.
;=DcanbeusedforNFCType4toreadDESFirecards.
;=0isdisabled(default).
Note: Don't forget that you also need a setting such as KBSource=81 to send this card/tag
data, in addition to mobile pass data, over your preferred interface.
It may help to know the NFC Types are often referred to as Topaz (Type 1), Ultralight
(Type 2), Felica (Type 3), and DESFire (Type 4). ISO15693 (Type 5) is not yet supported.
There are advanced settings such as NDEFTagExtractType and NDEFTagExtractID
described in the VTAP100 Advanced Configuration and Commands Reference Guide, which
allow you to further extract the data that will be read.
When blocks of data are read from cards or tags, you may also want to set some of the
parameters prefixed TagRead to Extract only part of the pass data from cards/tags.
You can also upload keys to read secured data from DESFire cards. This option is addressed in
an Application Note.
BASIC CONFIGURATION GUIDE PAGE 14

BASIC CONFIGURATION GUIDE PAGE 15
4.1 Extract only part of the card or tag data
You can extract parts of the card or tag data, or choose to send UID, NFC data or block data,
by setting values in config.txt.
There are three types of data you might want to extract from a card or tag:
lUID - The unique identifier of the card/tag. This is typically either 4 or 7 bytes of data (32
or 56 bits). It is usually stored in a fixed location within the first block of the card or tag's
memory depending on tag type.
lNFC data - A stream of NDEF records encoded and stored in the card or tag's memory area
according to the NFC Forum specification for the tag type. Extracted by NDEF record type
or ID.
lBlock data - A sequence of up to 16 bytes of data stored in a particular location in the card
or tag's memory area and accessed directly by specifying the block number, offset and
length within the block.
The simplest situation is to set NFCType#=U or MIFAREClassic=U to send the whole UID
or NFCType#=N to send all NFC data.

To extract part of the block data you need NFCType=B or MIFAREClassic=B, then identify
which data block to read, using settings with a TagRead prefix.
The following example extracts data in this way:
Example:Changes to config.txt
to extract a fixed length of data from a particular start point
!VTAPconfig
MIFAREClassic=B
TagReadBlockNumber=8
TagReadKey=123ABC456DEF
TagReadKeyType=A
TagReadOffset=5
TagReadLength=4
TagReadFormat=d
Here you specify which block to read (with the key and key type to use, if needed),
the offset within the block to start taking data, counting from 0, and the length of
data to take. The output format is set to 'd'ecimal. So, in this case:
Figure 4-1 Block 8, Offset 5, Length 4 bytes
BASIC CONFIGURATION GUIDE PAGE 16

BASIC CONFIGURATION GUIDE PAGE 17
5 Connect to other systems
If you want to receive the pass data collected by the VTAP100 in other systems, you will need
to enable a virtual COM port, or serial RS232 interface if your hardware permits.
Note: The serial RS232 interface is an option on the VTAP100-OEM hardware only. The
Wiegand interface is only available on the VTAP100-PACW model.
The basic steps to Send pass data over a virtual COMport and for Using VTAP100 with
Read-a-Card software are included in this guide.
There are a number of other advanced features which may be needed by integrators, for more
complex applications. For information about other serial interfaces, and using the virtual
COM port in passive mode, you will need to refer to the Advanced Configuration Guide and
Commands Reference.
5.1 Send pass data over a virtual COMport
A virtual COM port setting for the USB interface will mean that the VTAP100 is treated by
the connected PC as a COM port, as well as a mass storage device. The COM port will be
active and will send any pass data received as soon as it is read. (Refer to the Advanced
Configuration and Commands Reference Guide if you want to collect pass data only in
response to queries over the COM port.)
To enable the serial virtual COM port requires several steps:
1. If you are using Windows, install the appropriate driver by right clicking the
VTAP100.inf file, in the VTAP100 file system, and choosing 'Install'.
2. Make changes to the config.txt file.
Example:Changes to config.txt to enable the virtual COMport
!VTAPconfig
ComPortEnable=1
ComPortMode=1
ComPortSource=81
Here ComPortEnable=1 switches the virtual ComPort on (where =0 is disabled).
ComPortMode=1 chooses to send data over the ComPort interface. This happens for all
passes cards/tags that can be read, by using ComPortSource=81.
Table of contents
Popular Antenna manuals by other brands

MicroNet
MicroNet SP920MA-8 Quick installation guide

DIEX
DIEX DXW3-30 Assembly and installation

Megasat
Megasat Profi-Line II D1 manual

Andrew
Andrew DB222 Series installation instructions

CommScope
CommScope CMAX-OMF7-43-UWI53 Installation instruction

Maxview
Maxview COMBO/51 Installation & user's instructions