DPS Telecom SiteMON IP G2 User manual

USER MANUAL
SiteMON IP G2
May 21, 2012 D-OC-UM109.21100 Firmware Version 2..0B
Visit our website at www.dpstelecom.com for the latest PDF manual and FAQs.

© 2010 DPS Telecom
This document contains proprietary information which is protected by copyright. All rights are reserved. No part of this
document may be photocopied without prior written consent of DPS Telecom.
All software and manuals are copyrighted by DPS Telecom. Said software and manuals may not be reproduced, copied,
transmitted or used to make a derivative work, by either mechanical, electronic or any other means in whole or in part,
without prior written consent from DPS Telecom, except as required by United States copyright laws.
The material in this manual is for information purposes and is subject to change without notice. DPS Telecom shall not be
liable for errors contained herein or consequential damages in connection with the furnishing, performance, or use of this
manual.
Notice
Revision History
May 21, 2012
February 8, 2012
Sept. 21, 2010
Apr. 22, 2010
Oct. 7, 2009
Updated specifications to include camera resolution
Added Firmware upgrade section
Added Part Num. to Shipping List
Added info on new camera settings (digital pan and adv settings)
Initial release of D-OC-UM09A.07100.

ContentsVisit our website at www.dpstelecom.com for the latest PDF manual and FAQs
SiteMon IP Overview1 1
Shipping List2 2
Specifications3 4
Hardware Installation4 5
Tools Needed4.1 5
Mounting4.2 5
Installing the Outdoor Enclosure4.3 6
SiteMON IP G2 Back Panel5 7
Power Connection5.1 7
LAN Connection5.2 8
Discrete Alarms5.3 8
Control Relay Outputs5.4 8
+12 or +24VDC Sensor Power Supply5.5 9
Internal and External Temperature Sensors5.6 9
SiteMON IP's LEDs6 10
Configuring the SiteMON IP7 11
Connecting to the SiteMON IP8 11
... via Craft Port8.1 11
... via LAN8.2 12
TTY Interface9 13
Menu Shortcut Keys9.1 14
Unit Configuration9.2 14
Ethernet Port Setup9.2.1 14
SiteMON IP Web Browser10 16
Unit Configuration10.1 16
Logging on to the SiteMON IP10.1.1 16
Entering System Settings10.1.2 17
Changing the Logon Password10.1.3 18
Configuring Ethernet Settings10.1.4 18
Setting Up SNMP10.1.5 19
Configuring Base Discrete Alarms10.1.6 20
Defining Triggers10.1.7 21
Setting Web Timer10.1.8 22
Setting the Date and Time10.1.9 22
Adjusting the Camera Settings10.1.10 23
Setting System Alarm Notifications10.1.11 24

Temperature Sensors10.1.12 25
Configuring the Control Relays10.1.13 26
Saving Changes or Resetting Factory Defaults10.1.14 26
Rebooting the SiteMON IP10.1.15 27
Web Monitoring10.2 27
Viewing Live Images10.2.1 27
Viewing Triggered Images10.2.2 28
Monitoring Base Alarms10.2.3 29
Monitoring Temperature10.2.4 29
Monitoring System Alarms10.2.5 29
Operating Controls10.2.6 30
Firmware Upgrade10.2.7 30
Reference Section11 31
Display Mapping11.1 31
SiteMON IP Alarm Map Details11.1.1 31
SNMP Manager Functions11.2 32
SNMP Granular Trap Packets11.3 33
Frequently Asked Questions12 34
General FAQs12.1 34
SNMP FAQs12.2 36
Technical Support13 37
End User License Agreement14 38

1
SiteMon IP Overview1
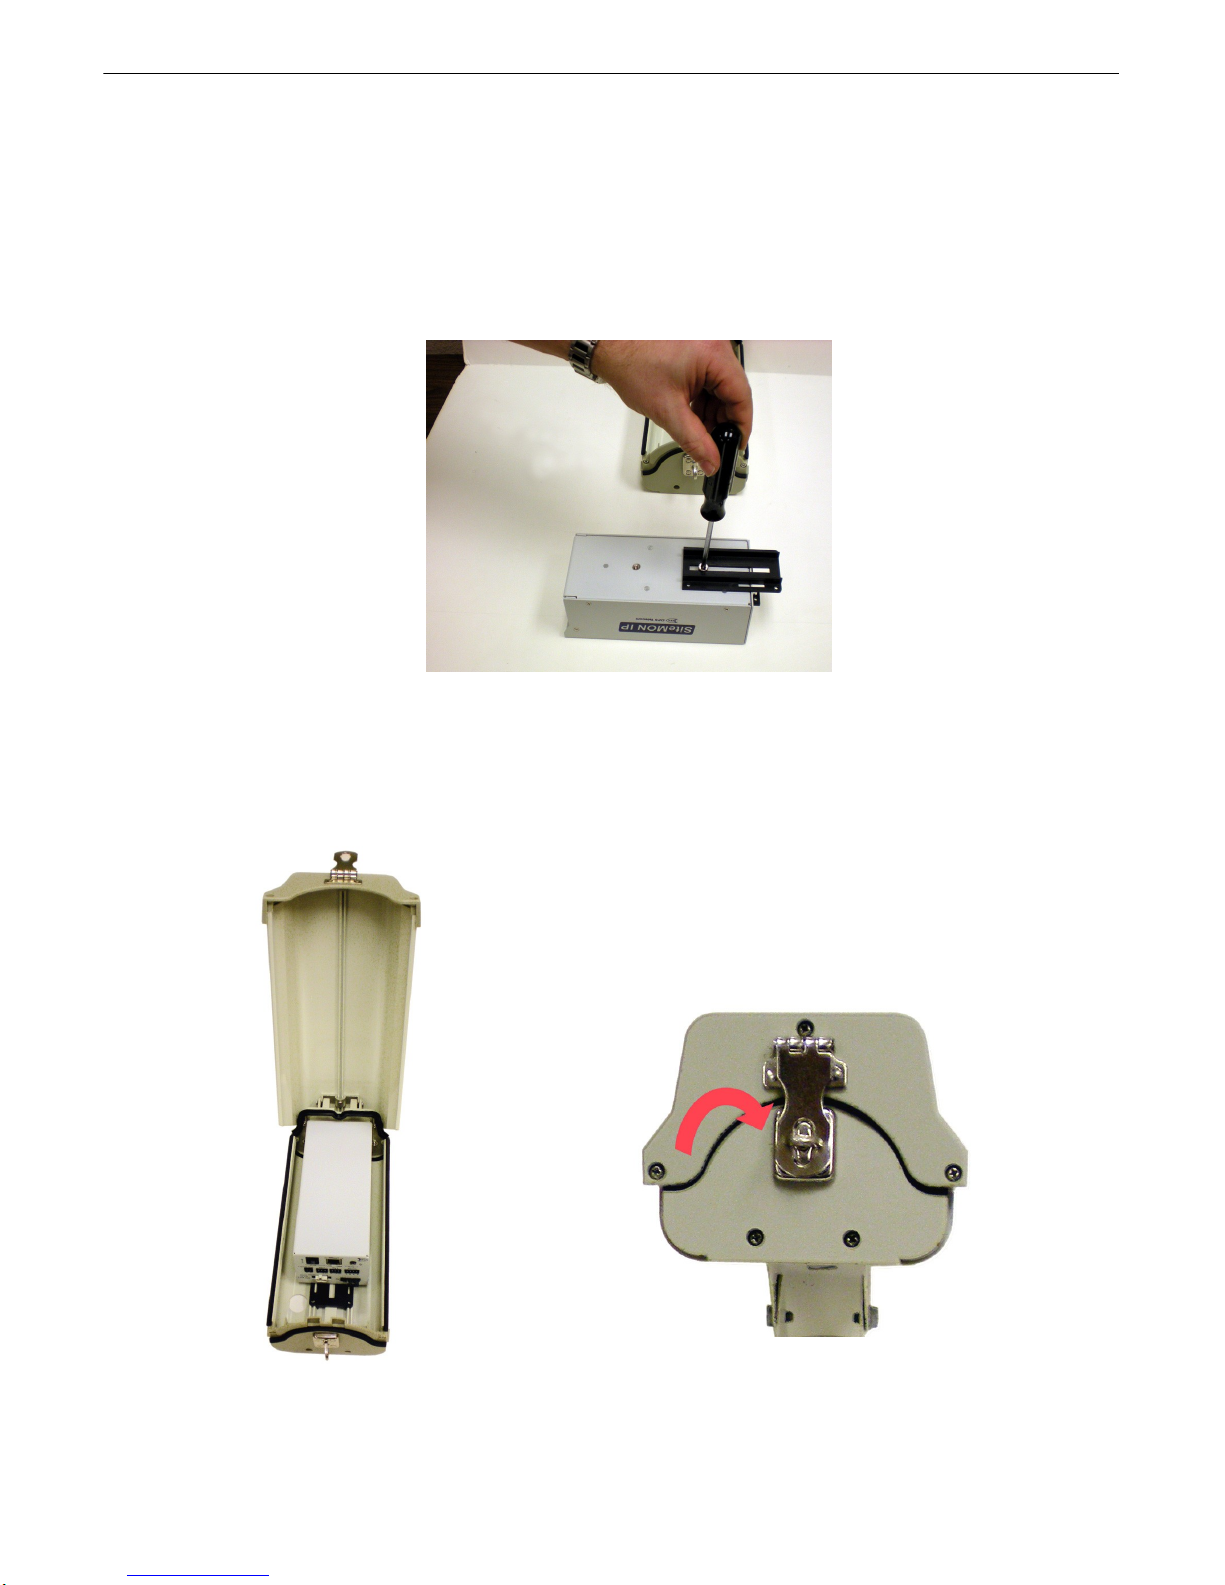
The SiteMON IP G2 is part RTU, part camera - offering everything you need
to take remote site security to the next level.
The SiteMON IP G2 — Achieve Visual Remote Site Visibility
With the SiteMON IP G2, you don’t have to wonder what’s happening at your sites. You can see for yourself.
Added security for co-location sites can now be provided using the SiteMON IP G2. The SiteMON IP G2 reports
directly to your T/Mon or PC and delivers high-quality image viewing of your remote site. This provides a great
advantage for co-location sites where chances for interference with your equipment are particularly high.
With multiple vendors co-locating equipment at each site, and each vendor having its own support staff,
opportunities for interference with your equipment increase, malicious or not. Simply put, the more people with
access to your equipment, the more security issues arise. No longer will network managers be forced to sit and
wonder what is happening at their remote sites - hoping everything is fine. Now they’ll be able to view live
images from their sites and equipment with T/GFX, or cache them on a local PC for viewing later. The
SiteMON IP G2 is also valuable for walking technicians through repairs from the comfort of your central office.
With the SiteMON IP G2, you can:
·Capture images 6X faster than the previous model
·NEW! Digital pan for viewing live images
·Mount the camera at harsh weather sites with the wide-temp chassis design
·Enhance security both inside and out with the option for an exterior camera casing
·View live images in T/GFX or cache them on your PC for playback later
·New! Store up to 63 images locally or 10,000 using T/Mon's image receiver job
·Detect fault conditions (like motion sensors and doors) with 2 local alarm inputs
·Operate devices remotely (like turning on lights and unlock doors) with 2 local relay outputs
·Visually confirm who has arrived on-site before granting them access
·Track changing environmental conditions with internal and external temperature sensors
·Power peripherals (like motion sensors) with 12 or 24VDC power
·Use the integrated web browser to change configuration settings and monitor from any PC on the network

2
Shipping List2
While unpacking the SiteMON IP G2, please make sure that all of the following items are included. If some parts
are missing, or if you ever need to order new parts, please refer to the part numbers listed and call DPS Telecom
at (800) 622-3314.
SiteMON IP G2 SiteMON IP G2 User
D-PK-CAMRA Manual D-OC-UM109.21100
SiteMON IP G2 Resource CD One Ethernet Cable 14 ft.
(includes manuals, MIBs, and software) D-PR-923-10A-14
One 1/2-Amp GMT Fuse One Large Power Connector Plug
Two 3 Pin Analog Connector
2-820-00813-02 DB9M-RJ11 Cable
D-PR-1011-10A-06
One Small Power Connector Camera Mounting Arm
Plug for Sensor Output

3
One 4 Pin Connector
Optional Items
Two 1/2-Amp GMT Accessory Fuses
External Temperature Sensor Outdoor Enclosure for SiteMON IP G2
D-PR-984-10A-10

4
Specifications3
Discrete Alarm Inputs: 2
Temperature Sensors: 2 (1 internal, 1 external)
Control Relays: 2 Form C
Maximum Voltage: 60 VDC/120 VAC
Maximum Current: 1 Amp, AC/DC
Protocols: SNMP, TELNET, DCP, HTTP
Interfaces: 1 RJ45 10BaseT Ethernet port
1 RJ11 Craft port connector
1 stereo jack connector (for external temperature sensor)
1 4-pin connector for alarm inputs
1 2-pin connector for 12V or 24V power output for sensors
2 3-pin connectors for controls
Camera Resolution: 3 megapixel
Local Image Capacity: 63 Images
Dimensions: 6.959" D x 3.122" W x 2.750" H (without outdoor enclosure)
13" D x 5.5" W x 4.250" H (with outdoor enclosure)
Weight:1.168 lbs. (Without mounting arm or enclosure)
3.824 lbs. (With mounting arm and enclosure)
Mounting: Wall mounted
Power Input: –48VDC (–40 to –70 VDC), AC power options also available
Power Output: 12 VDC (standard) or 24VDC power output for peripherals
Current Draw: 100 mA (at -48V)
500 mA (Using heater)
Fuse: 1/2 amp GMT
Visual Interface: 6 LEDs
Operating Temp: -22 to 149 F (-30 to 65 C)
Operating Humidity: 0%–95% noncondensing
RoHS: 5 of 6

5
Hardware Installation4
Tools Needed4.1
To install the SiteMON IP G2, you'll need the following tools:
Phillips No. 2 Screwdriver Small Standard No. 2 Screwdriver
PC (for initial configuration via TTY interface)
Mounting4.2
Use the provided screws to wall mount the SiteMON IP G2. Both screws are used to mount the arm to the wall.
The SiteMON IP G2 is wall-mounted.

6
Installing the Outdoor Enclosure4.3
The optional metal enclosure is a hard casing used for mounting the SiteMON IP G2 outdoors. To install the
camera inside the enclosure, perform the following steps:
1. Remove (unsnap) the black bracket from the inside of the enclosure.
2. Using a Phillips No.2 screwdriver and the large screw provided, attach the black bracket to the underside
of the camera.
The SiteMON IP G2 inside the enclosure.
3. Snap the camera inside the enclosure and slide it along the track to the desired position.
4. Secure the SiteMON in place by screwing in the 2 small screws provided.
5. Turn the metal lock on the back of the enclosure to close the lid. You may also attach a padlock to prevent
others from opening the enclosure.
The SiteMON IP G2 inside the
enclosure.
The SiteMON IP G2 inside the enclosure.

7
SiteMON IP G2 Back Panel5
Power Connection5.1
The SiteMON IP G2 has one screw terminal barrier plug power connectors, located on the back panel of the
camera.
Before you connect a power supply to the SiteMON IP G2, test the voltage of your power supply:
·Connect the black common lead of a voltmeter to the ground terminal of the battery, and connect the red
lead of the voltmeter to the battery's –48 VDC terminal. The voltmeter should read between –43 and –53
VDC. If the reading is outside this range, test the power supply.
To connect the SiteMON IP G2 to a power supply, follow these steps:
1. Remove the fuse from the back of the camera. Do not reinsert the fuse until all connections to the unit
have been made.
2. Remove the power connector plug. Note that the plug can be inserted into the power connector only one
way —this ensures that the barrier plug can only be reinserted with the correct polarity. Note that the –
48V terminal is on the left and the GND terminal is on the right.
3. Insert a battery ground into the power connector plug's right terminal and tighten the screw; then
insert a –48 VDC line to the plug's left terminal and tighten its screw.
4. Push the power connector plug firmly back into the power connector. If the power feed is connected
correctly, the LED by the connector will light GREEN. If the polarity of the power feed is reversed, the
LED will not illuminate.
5. Reinsert the fuse to power the SiteMON IP G2. The back panel LEDs will flash RED and GREEN.

8
LAN Connection5.2
The SiteMON IP G2 has one 10BaseT Ethernet port. The 10BaseT port requires a standard RJ45 Ethernet cable.
If the IP connection is OK, the LNK LED on the back of the camera will light solid green when the cable is
connected.
Discrete Alarms5.3
Discrete alarm points can connect as a dry contact or a contact to ground
The SiteMON IP G2 features 2 discrete alarm inputs —also called digital inputs or contact closures. Discrete
alarms are either activated or inactive, so they're typically used to monitor on/off conditions like power outages,
equipment failures, door alarms and so on.
The SiteMON IP G2's discrete alarm points are single-lead signals referenced to ground. The ground side of each
alarm point is internally wired to ground, so alarm points can connect either as a dry contact or a contact to
ground.
In a dry contact alarm, the alarm lead brings a contact to the ground lead, activating the alarm. In a contact to
ground alarm, a single wire brings a contact to an external ground, activating the alarm. See the diagram above.
You can reverse the polarity of each individual discrete alarm point, so that the alarm is activated when the
contact is open.
Control Relay Outputs5.4
SiteMON IP G2's two control relay outputs are designed to control external devices. You can use both controls to
turn on lights, unlock doors, etc. The two 3-pin connectors on the back of the camera are used to terminate the
controls.

9
+12 or +24VDC Sensor Power Supply5.5
The SiteMON IP G2 features a power circuit used to provide fused +12V sensor power. You can use this power
supply to operate auxiliary devices, such as motion sensors. The two-pin connector for the sensor power supply
is a barrier plug connector similar to the main power connector.
To power an external sensor, follow these steps:
1. Remove the 1/2 amp fuse from the back panel of the SiteMON IP G2. Do not reinsert the fuse until all
power connections to the external sensor have been made.
2. Remove the power connector plug from the sensor power supply. Note that the plug can be inserted into
the power connector only one way — this ensures that the barrier plug can only be reinserted with the
correct polarity. Note that the positive terminal is on the left and the negative terminal is on the right.
3. Connect the appropriate leads to each of the plug's screw terminals and tighten the screws.
4. Push the power connector plug firmly back into the sensor power supply connector.
5. Reinsert the fuse to power the external sensor.
Internal and External Temperature Sensors5.6
Stereo jack input on the back of the SiteMON IP G2
The external temperature sensor
The SiteMON IP G2 features both an internal and external temperature sensor. The external sensor is used to
monitor the ambient temperature. Both of the temperature sensors measures a range of 32° F to 140° F (0° C to
60° C) within an accuracy of ± 1°.
The external temperature sensor probe provides external temperature readings by plugging the sensor into the
Temp port (stereo jack connector) on the back of the camera. External temperature sensor sold separately.

10
SiteMON IP's LEDs6
The front of the SiteMON IP G2 shows the Status
LED
The back of the SiteMON IP G2 shows the Status, Craft,
LAN, Temp, Power, and Fuse Alarm LEDs.
The SiteMON IP G2's LEDs indicate communication and alarm reporting status. LED status messages are
described below in Table A.
LED
Status
Description
Front Panel
Camera
Blink Green
Status OK
Blink Red
Capturing trigger images
Back Panel
STS
Blink Green
Application is running on the SiteMON.
Craft
Port
Craft
Blink Green
Transmit over craft port
Blink Red
Receive over craft port
10BaseT
LAN
LAN
Blink Green
Transmit and receive activity over Ethernet port.
LNK
Solid Green
Ethernet link OK.
Temperature
Sensors
Temp
Solid Red
Indicates a temperature alarm.
Flashing Red
BootLoader is running (only on power up).
Off
No temperature alarms present.
Light bulb
icon
Power
Solid Green
Power is connected to the SiteMON.
Off
Power is disconnected from the SiteMON.
Fuse Alarm
FA
Solid Red
Fuse failure.
Front panel LED Status message descriptions

11
Configuring the SiteMON IP7
The SiteMON IP G2 must be provisioned with log-on username and passwords, alarm descriptions, port
parameters, control descriptions, and other system information. You can provision the SiteMON IP G2 using
either the TTY interface and integrated Web Browser.
To access the SiteMON IP G2 via LAN, you must first make a temporary connection to the SiteMON IP G2 and
assign it an IP address on your network. For more information, see the next section "Connecting to the SiteMON
IP G2."
Connecting to the SiteMON IP8
... via Craft Port8.1
The simplest way to connect to the SiteMON IP G2 is over a physical cable connection between your PC's COM
port and the camera's craft port.
Note: You must be connected via craft port to use the TTY interface. You only need a connection to the unit to
read or write configuration to its NVRAM. Use the craft port cable provided with the camera to make a craft port
connection.
Select the following COM port options:
• Bits per second: 115200
• Data bits: 8
• Parity: None
• Stop bits: 1
• Flow control: None
Press Enter to begin the TTY session. The default username is "admin" and the password is "dpstelecom". Note:
The factory-default username and password is all lowercase.
You can perform basic configuration via the craft port - but if you like, you can connect via the craft port just to
configure the SiteMON's IP address, and then do the rest of your configuration via a LAN connection.

12
... via LAN8.2
SiteMON IP G2's 10BaseT Ethernet port
You can also connect to the SiteMON IP G2 over a LAN connection. This is a very convenient way to provision
multiple cameras at multiple locations.
To connect to the NetGuardian via LAN, all you need is the unit's IP address (Default IP address is
192.168.1.100).
If you have physical access to the SiteMON IP G2, the easiest thing to do is connect to the camera through the
craft port and then assign it an IP address. Then you can complete the rest of the unit configuration over a remote
LAN connection. For instructions, see the previous section, "Connecting to the SiteMON IP G2 via Craft Port."
If you DON'T have physical access to the SiteMON IP G2, you can make a LAN connection to the unit by
temporarily changing your PC's IP address and subnet mask to match the camera's factory default IP settings.
Follow these steps:
1. Look up your PC's current IP address and subnet mask, and write this information down.
2. Reset your PC's IP address to 192.168.1.200.
3. Reset your PC's subnet mask to 255.255.0.0. You may have to reboot your PC to apply your changes.
4. Once the IP address and subnet mask of your computer coincide with the SiteMON IP G2's, you can
access the camera via a Telnet session or via Web browser by using the default IP address of
192.168.1.100.
5. Provision the SiteMON IP G2 with the appropriate information, then change your computer's IP address
and subnet mask back to their original settings.

13
TTY Interface9
The TTY interface initial configuration screen
The TTY interface is the camera's built-in provision tool for basic configuration. Use the TTY interface to
configure the ethernet port settings.
To use the TTY interface with the SiteMON, all you need is any PC with terminal emulation software (i.e.
Hyperterminal) and a connection to the SiteMON IP G2. This can be a direct connection to the camera's back
craft port or a remote connection via Telnet.
Some initial software configuration must be performed before you can use a remote connection to the SiteMON
IP G2. For Telnet, connect to the camera's IP address at port 2002 to access the configuration menus after initial
LAN setup. Telnet sessions are established at port 2002, not the standard Telnet port as an added security
measure.
NOTE: The TTY default username is "admin" and the password is "dpstelecom".

14
Menu Shortcut Keys9.1
The letters before or enclosed in parentheses ( ) are menu shortcut keys. Press the shortcut key to access that
option. Pressing the ESC key will always bring you back to the previous level. Entries are not case sensitive.
Unit Configuration9.2
9.2.1 Ethernet Port Setup
The SiteMON IP G2 must be assigned an IP address before you will be able to connect via LAN using a Telnet
client or a Web browser. To connect via LAN, the minimum configuration requires setup of the IP address and
subnet mask. Follow the instructions below to configure SiteMON's IP address, subnet mask, default gateway,
DNS servers, and DCHP option.
Configure the Ethernet port parameters

15
1. Connect using Hyperterminal @ 115200, 8, N, 1.
2. Hit enter and the SiteMON IP G2 will respond with "Username."
Note: If you receive no password prompt then check the port you are using on your PC and make sure
you are using the provided cable.
3. Type the default username "admin" and press Enter.
4. Enter in the default password "dpstelecom," then press Enter. Note: DPS strongly recommends
changing these defaults. The factory default username and password are all lowercase. User-defined
username and passwords are case-sensitive.
5. The camera's main menu will appear.
6. Type C for the C)onfig menu.
7. Type E for E)thernet port settings.
8. Configure the unit address, subnet mask, and default gateway.
9. ESC to the main menu.
10. When asked if you would like to save changes, type Y (yes).
11. R)eboot to save the new configuration to the SiteMON IP G2.
12. Now you can connect to the camera via LAN and use the Web Browser to complete the configuration.

16
SiteMON IP Web Browser10
The SiteMON IP G2 features a built-in Web
Browser Interface that allows you to manage
alarms, configure the camera's alarms, and view
live images through the Internet / Intranet. You can
quickly set up alarm point descriptions, view alarm
status, issue controls, and more. The SiteMON IP
G2 supports Internet Explorer versions 4.0 and
above, Netscape Navigator versions 4.7 and above,
as well as most commonly used browsers.
Unit Configuration10.1
10.1.1 Logging on to the SiteMON IP
For Web Interface functionality, the unit must first be configured with some basic network information. If this
step has not been done, refer to the hardware portion of this user manual for initial software configuration setup.
NOTE: The maximum number of users allowed to simultaneously access the SiteMON IP G2 via Web is four.
1. To connect to the SiteMON IP G2 from your Web browser, you must know its IP address or domain name if
it has been registered with your internal DNS. Enter it in the address bar of your Web browser. It may be
helpful to bookmark the logon page to simplify access.
2. After connecting to the unit's IP address, enter your username and password, then click Submit. Note: The
factory default username is "admin" and the password is "dpstelecom".
3. In the left frame there is a blue Monitor menu button and an Edit menu button. Most of the software
configuration will occur in the Edit menu. The following sections provide detailed information regarding
these functions.
Enter your password to enter the SiteMON IP G2 Web Browser Interface
This manual suits for next models
1
Table of contents
Popular Security Camera manuals by other brands

Panasonic
Panasonic AWE300S - SEPERATE CAMERA operating instructions

Verint
Verint Nextiva S2750eN user guide

Allied Vision Technologies
Allied Vision Technologies Prosilica GC1380 Technical manual

Interlogix
Interlogix TruVision TVD-7120VE-2 quick start guide

Nexxt
Nexxt XPY310 user manual

Solwise
Solwise NCS801A user guide