Dräger Zeus Infinity Empowered User manual

Supplement
Zeus Infinity Empowered
Anesthesia workstation system
Software 2.n
WARNING
To properly use this medical device,
read and comply with the instructions
for use and this supplement.

2 Supplement Zeus Infinity Empowered
English
Supplement Zeus Infinity Empowered en English
Supplement to the instructions for use
Keep this supplement with the instructions for
use.
This supplement updates the information on
reprocessing the anesthesia machine in the
following chapters of all instructions for use and all
supplements for Zeus IE.
Information about this document
Trademarks
The following trademarks have been added or replace existing
trademarks.
Trademarks owned by Dräger
The following web page provides a list of the
countries in which the trademarks are registered:
www.draeger.com/trademarks
Trademarks owned by third-party
manufacturers
Instructions for use Part number Edition
Zeus IE SW 2.n 9054908 1 – 2015-02 and higher
NOTE
The names of the chapters in the referenced doc-
uments may differ.
Trademark
WaterLock®
Trademark Trademark owner
Dismozon®BODE Chemie
Mikrobac®
Neodisher
Mediclean®
Dr. Weigert
acryl-des®Schülke & Mayr
Mikrozid®
Perform®
Actichlor®Ecolab USA
Incidin®
Oxycide®
BruTab 6S®Brulin
Dispatch®Clorox
Klorsept®Medentech
Descogen®Antiseptica
Oxygenon®
SteriMax®Aseptix
Cleanisept®Dr. Schumacher
Trademark Trademark owner

Supplement Zeus Infinity Empowered 3
English
Reprocessing
Safety information
Appropriate reprocessing
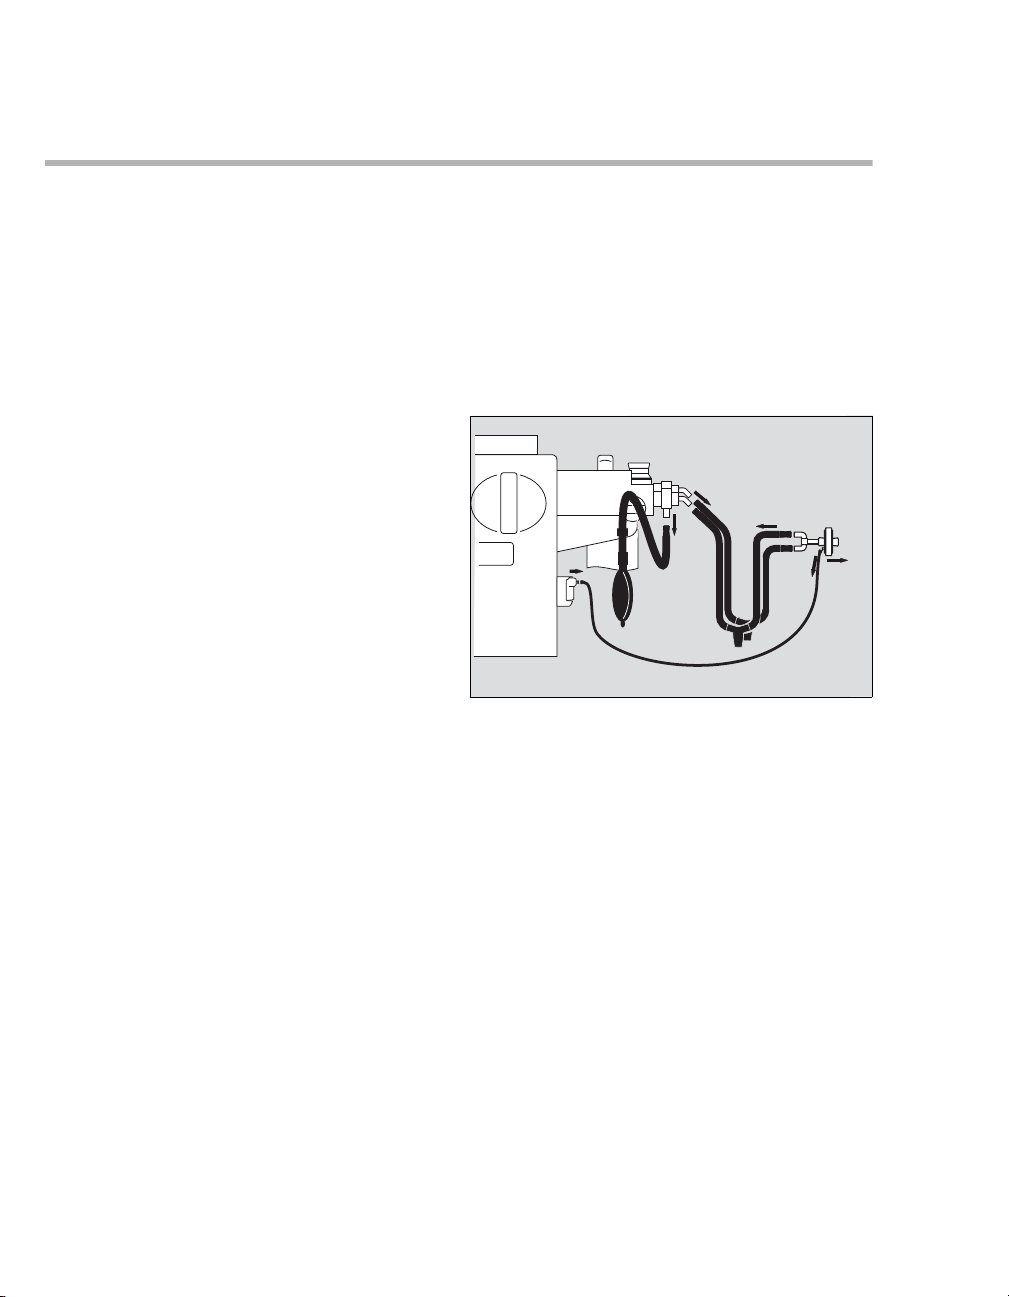
SpiroLife flow sensor
WARNING
Risk due to inappropriately reprocessed prod-
ucts
Reusable products must be reprocessed, oth-
erwise there is an increased risk of infection.
– Follow the infection prevention policies
and reprocessing regulations of the
health-care facility.
– Follow the national infection prevention
policies and reprocessing regulations.
– Use validated procedures for reprocess-
ing.
– Reprocess reusable products after every
use.
– Follow the manufacturer's instructions for
cleaning agents, disinfectants, and repro-
cessing devices.
WARNING
Risk due to faulty products
Signs of wear, e.g., cracks, deformation, dis-
coloration, or peeling, may occur with repro-
cessed products.
Check the products for signs of wear. Replace
them if necessary.
CAUTION
Risk of failure of flow measurement
Improper reprocessing and soiling, such as de-
posits or particles, may damage the flow sensor:
– No machine cleaning or disinfection of the
sensor insert
– No plasma sterilization or radiation steriliza-
tion
– No water jets, compressed air, brushes, or
similar to be used on the sensor insert
– No ultrasonic bath
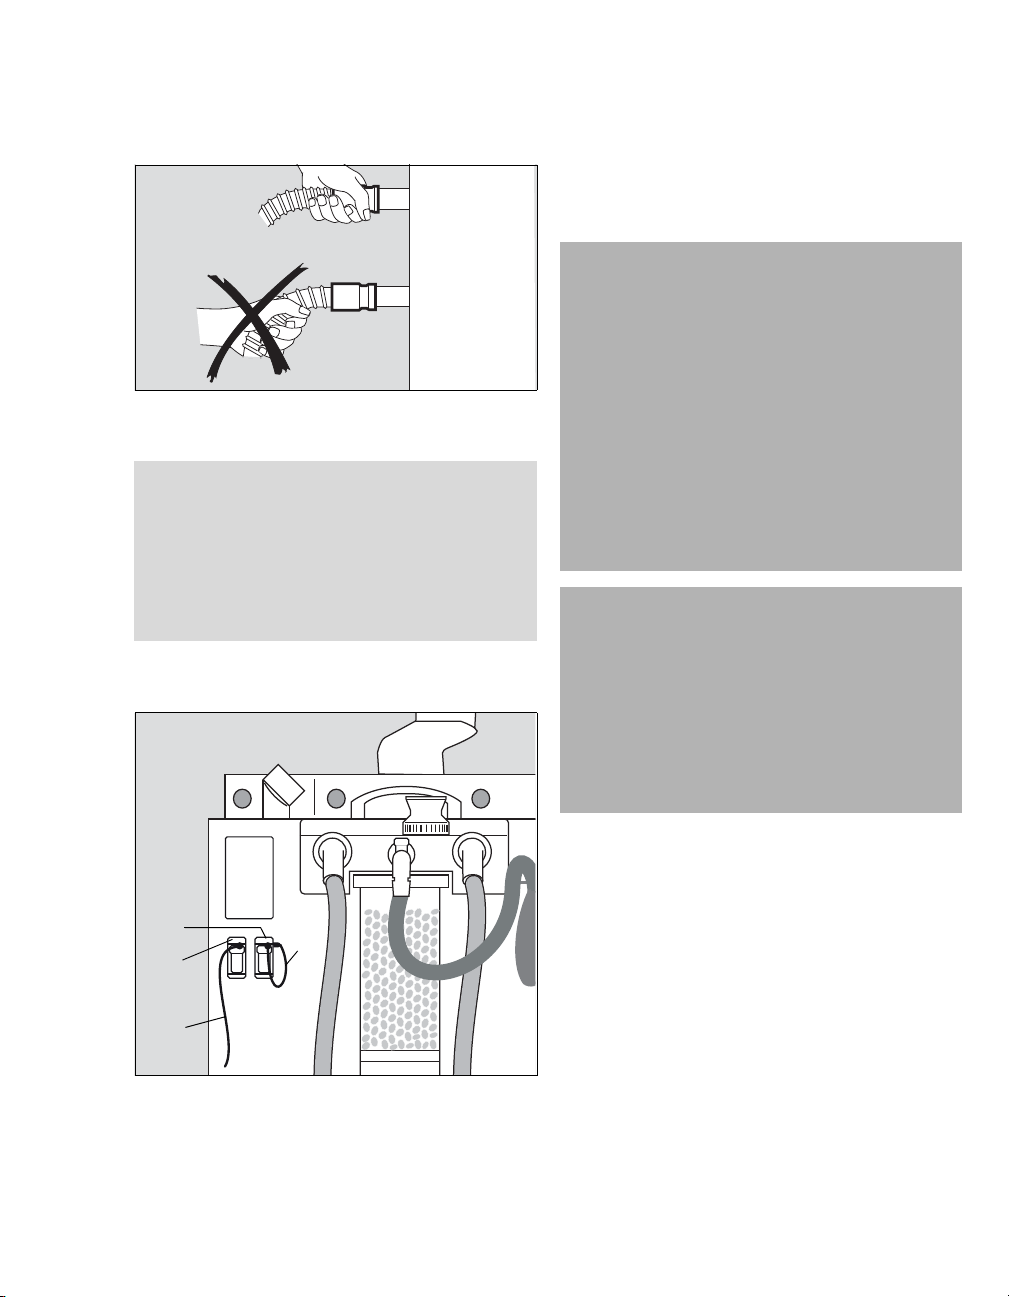
– Clean and disinfect the flow sensor in accor-
dance with the corresponding instructions for
use.
– For disinfecting the flow sensor use only clean
disinfectant solutions.
WARNING
Risk of fire
Residual vapors of highly flammable disinfec-
tants (e.g., alcohols) and deposits that were
not removed during reprocessing may ignite
when the flow sensor is in use.
– Ensure particle-free cleaning and disinfec-
tion.
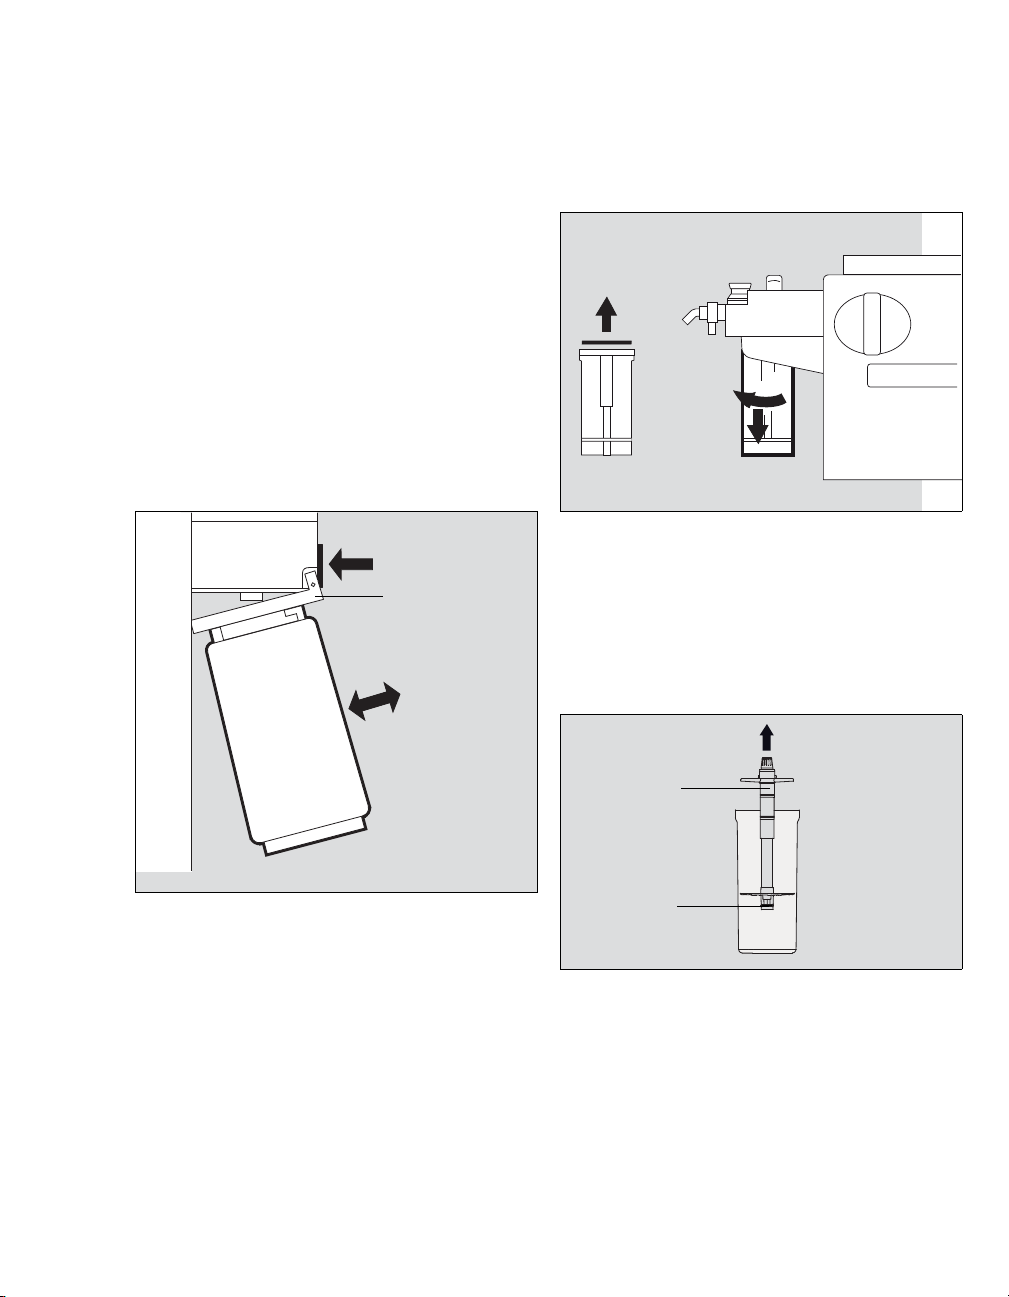
– After disinfection, allow the flow sensor to
air for at least 30 minutes.
– Before inserting the flow sensor check for
visible damage and soiling, such as resid-
ual mucus, medication aerosols, and parti-
cles.
– Replace flow sensors when damaged,
soiled, or not particlefree.

English
4 Supplement Zeus Infinity Empowered
Information on reprocessing
Follow the national infection prevention policies
and reprocessing regulations.
Follow the infection prevention policies and
reprocessing regulations of the health-care facility
(e.g., concerning the reprocessing cycles).
WARNING
Risk of injury to patients due to failure of ac-
cessories
Disposable products have been designed,
tested, and manufactured exclusively for sin-
gle use. Reuse, reprocessing or sterilization
can result in failure of the accessory and inju-
ry to the patient.
Do not reuse, reprocess, or sterilize dispos-
able products.

Supplement Zeus Infinity Empowered 5
English
Classifications for reprocessing
Classification of medical devices
The classification depends on the intended use of
the medical device. The risk of infection
transmission through the application of the product
to the patient without proper reprocessing is the
basis of the Spaulding classification.
Classification of device-specific components
Follow the instructions for use for the components.
The following classification is a recommendation
from Dräger.
Non-critical
– Device surface including screen
– Trolley and holders
– Removable parts of the main device
– Breathing system mount
Semi-critical
– Breathing system
– Housing (upper part and lower part)
– Expiratory port, inspiratory port
– APL valve
– Additional air valve
– Flexible breathing bag arm (option)
– TurboVent 2 blower module
– Absorber container and absorber insert
Critical
The device does not contain any components
classified as critical.
Classification Explanation
Non-critical Components that come into contact only with skin that is intact
Semi-critical Components that carry breathing gas or come into contact with mucous mem-
branes or pathologically altered skin
Critical Components that penetrate skin or mucous membranes or come into contact with
blood

English
6 Supplement Zeus Infinity Empowered
Before reprocessing
Observe before disassembly
1Switch off the device and all devices connected
to it.
2Disconnect all power plugs.
Patient-specific accessories and consumables
The patient-specific accessories and consumables
must be removed from the device and, if necessary,
disassembled.
Reusable products:
If the reusable product has its own instructions
for use, perform reprocessing in accordance
with the separate instructions for use.
If no separate instructions for use are available
for the reusable product, perform reprocessing
in accordance with the instructions in this
supplement.
Disposable products:
Dispose of the disposable products.
Removing patient-specific accessories and
consumables
Remove the following accessories:
– Breathing hoses
– Breathing bag
–Filters
– Water traps
Removing the filter
Remove the filter (A) from the nozzle on the Y-
piece, inspiratory port, or expiratory port.
Removing the breathing bag
Remove the breathing bag and hose (B).
046
A
C
C
B

Supplement Zeus Infinity Empowered 7
English
Removing the breathing hoses
Remove the breathing hoses (C) from the ports
on the breathing system.
Removing the sample lines
Disconnect the sample line (D) from the CO2
water trap (E) and from the filter on the Y-piece.
Remove the internal sample line (G) on the
Protect water trap (F).
016
NOTE
Do not damage the breathing hoses.
When attaching or removing the breathing hoses
always hold them at the connection sleeve and
not at the spiral ribbing. Otherwise the spiral rib-
bing can become detached from the sleeve.
Breathing hoses with damaged spiral ribbing can
get kinked and interrupt ventilation.
157
D
E
FG
WARNING
Risk of infection
Breathing gas, in which there may be infec-
tious agent, flows through the sample line.
– If there is no bacterial filter used between
the sample line and the patient, the sample
lines must not be reused and must be re-
placed after each patient.
– Observe the replacement intervals of the
water traps.
– Replace the bacterial filter in the sample
gas return line in accordance with the in-
tervals listed in the information in the
"Maintenance" chapter.
WARNING
Material damage due to disinfectants
When the sample line is disinfected and resi-
dues of the disinfectant remain in the sample
line, these residues can get into the water trap
and the patient-gas measurement module lat-
er. This may result in faulty measurements.
Sample lines are disposable products. Dis-
posable products must not be disinfected.

English
8 Supplement Zeus Infinity Empowered
Removing the water traps
Follow the instructions for use for the water
traps.
Zeus IE is equipped with 2 water traps to protect
the device monitoring system:
–Protect: Water trap for the internal sample line
–CO2: Water trap for the patient sample line
1Pull off the CO2 water trap (E) towards the front.
2Pull off the Protect water trap (F) towards the
front.
106

Supplement Zeus Infinity Empowered 9
English
Device-specific components
The device-specific components must be removed
from the device and, if necessary, disassembled.
Removing the CO2absorber
1Remove the CO2absorber:
– CLIC absorber (disposable)
Or
– Reusable CO2absorber
CLIC absorber (disposable absorber)
Follow the instructions for use for the CLIC
absorber.
1Press the release button (A). The CLIC adapter
flips open.
2Pull the CLIC absorber (C) upwards out of the
holder (B).
3Flip the holder back until it clicks into place.
Reusable absorber
1Unscrew the CO2absorber (A) from the
breathing system.
2Remove and dispose of the optional disposable
dust filter (B).
3Empty the used soda lime. Dispose of
according to the instructions for use for the soda
lime.
4Remove the absorber insert (C) from the
absorber container. The sealing ring (D)
remains on the absorber insert.
5Prepare the CO2absorber for cleaning and
disinfection in the washer-disinfector.
068
A
B
C
018013
A
B
D
C

English
10 Supplement Zeus Infinity Empowered
Removing the breathing system
1Release the two lateral twist locks (A).
2Pull the breathing system out upwards by the
handle (B).
3Unscrew the CLIC adapter (optional).
Removing the CLIC adapter (optional)
Follow the instructions for use for the CLIC
adapter.
Removing the flow sensors
Follow the instructions for use for the flow
sensors.
1Loosen the knurled nut on the expiratory port
(A). Remove the port.
2Loosen the knurled nut on the inspiratory port
(B). Remove the port.
3Remove the two flow sensors (C).
019
NOTE
To prevent accidental penetration of soda lime
into the breathing system, do not transport the
breathing system with a filled reusable CO2ab-
sorber.
107
A
B
030177
A
B
C (2x)

Supplement Zeus Infinity Empowered 11
English
Disassembling the breathing system
1Open the 5 quick-release screws (A) by turning
them 90° counterclockwise. To do so, use a
6 mm hexagon socket screwdriver (included in
the scope of delivery).
2Remove the housing upper part (B).
3Unscrew the additional air valve (C).
4Prepare the housing parts for cleaning and
disinfection in the washer-disinfector.
Removing the APL valve
1Loosen the knurled nut (A).
2Pull off valve (B).
Removing the flexible arm and breathing bag
(optional)
1Loosen the knurled screws (A) on the connector
on the arm.
2Pull the arm off the breathing system.
043045
A (5x)
B
C
WARNING
Risk of damage to breathing system
If the APL valve is not disassembled before
the breathing system is reprocessed, this can
lead to leakages in the breathing system.
Always remove the APL valve prior to repro-
cessing.
007034
B
A
A

English
12 Supplement Zeus Infinity Empowered
Removing the TurboVent 2 blower module
1Using a suitable aid (e.g., a coin), release the
2 quick-release screws (A) by turning them
90° counterclockwise.
2Remove the blower module (B) from the
breathing system mount (C).
Removing the anesthetic gas receiving system
Follow the instructions for use for the anesthetic
gas receiving system.
1Disconnect the suction hose (A) from the
receiving system on the back of Zeus IE.
2Remove the transfer hose (B).
3Remove the anesthetic gas receiving
system (C).
092
A (2x)
B
C
022
A
B
B
C

Supplement Zeus Infinity Empowered 13
English
Validated reprocessing procedures
Overview of the reprocessing procedures of the components
Components Surface disinfection
with cleaning
Machine cleaning with
thermal disinfection
Description of the pro-
cedure
– Device surface in-
cluding screen
– Trolley and holders
– Removable parts of
the main device
Yes No See page 14
– Breathing system
mount
Yes No See page 15
– Breathing system
– Housing (upper
part and lower
part)
– Expiratory port,
inspiratory port
– APL valve
– Additional air
valve No Yes
See page 16
– Flexible breathing
bag arm (optional)
See pages 17 and 17
– TurboVent 2 blower
module
See pages 17 and 18
– Absorber container
and absorber insert
See pages 17 and 18

English
14 Supplement Zeus Infinity Empowered
Surface disinfection with cleaning
Components:
– Device surface including screen
– Trolley and holders
– Removable parts of the main device
– Breathing system mount
Prerequisites:
– The surface disinfectant has been prepared in
accordance with the manufacturer's
instructions.
– The manufacturer's instructions, e.g., regarding
shelf life or application conditions, are
observed.
– An almost sterile lint-free cloth soaked in
surface disinfectant is used for the cleaning
surface disinfection.
Cleaning
1Wipe off obvious soiling using a disposable
cloth (or a similar cloth) soaked in surface
disinfectant and dispose of this.
2Wipe all surfaces. After that, there must no
longer be any soiling visible.
Surface disinfection
3Wipe cleaned surfaces again to visibly wet all
surfaces to be disinfected with surface
disinfectant.
4Wait for the surface disinfectant contact time.
5At the end of the contact time, moisten a new
almost sterile lint-free cloth with water (at least
drinking water quality).
6Wipe all surfaces until no remains of the surface
disinfectant, such as foam residues or streaks,
are visible.
7Wait until the surfaces are dry.
8Check the surfaces for visible damage and, if
necessary, replace the product.
Components Surface disinfectant Manufacturer Concentration Contact time
– Device surface includ-
ing screen
– Trolley and holders
– Removable parts of
the main device
Dismozon Bode
Chemie
1.6 % 15 min
Breathing system mount Mikrobac Tissues Bode
Chemie
––
WARNING
Risk due to penetrating liquid
Penetrating liquid may cause the following:
– Damage to the device
– Electric shock
– Device malfunctions
Ensure that no liquid penetrates the device.

Supplement Zeus Infinity Empowered 15
English
Supplementary information
Breathing system mount
Prerequisite:
– The breathing system has been removed.
Perform the following steps:
1Use a cloth dampened with disinfectant or a
disposable cloth that is ready for use.
2Perform the surface disinfection of the
breathing system mount by wiping it back and
forth at least 3 times. In particular, disinfect the
optically highlighted connections (A).
Repeat steps 1 and 2 four times respectively. Use
a new cloth for each repetition of steps 1 and 2.
073
NOTE
– Do not use any alcohol-based disinfectants.
– Remove deposits.
– Ensure lint-free cleaning and disinfection.
– Do not allow fluid to get inside.
WARNING
Risk due to penetrating liquid
Penetrating liquid may cause the following:
– Damage to the device
– Electric shock
– Device malfunctions
Ensure that no liquid penetrates the device.
A (6x)

English
16 Supplement Zeus Infinity Empowered
Machine cleaning with thermal disinfection
Use a washer-disinfector that meets the
requirements of the standard ISO 15883. Dräger
recommends the use of a load carrier for
anesthesia accessories and ventilation
accessories. Follow the manufacturer's instructions
for the washer-disinfector.
Components:
– Breathing system
– Housing (upper part and lower part)
– Expiratory port, inspiratory port
– APL valve
– Additional air valve
– Absorber container
– Absorber insert
– TurboVent 2 blower module
– Flexible breathing bag arm (optional)
Prerequisites:
– The washer-disinfector has been prepared in
accordance with the manufacturer's
instructions.
Step Agent Manufacturer Concentration Temperature Contact time
Cleaning Neodisher
MediClean
Forte
Dr. Weigert According to the
manufacturer's
instructions
Min. 55 °C
(131 °F)
Min. 10 min
Disinfecting – – – Min. 90 °C
(194 °F)
Min. 5 min
Drying – – – – Drying time de-
pends on the
load

Supplement Zeus Infinity Empowered 17
English
Positioning the components in the load carrier
Depending on the equipment level of the device,
not all components may be present.
All components must be positioned firmly in the
load carrier. Ensure the following:
– All surfaces and interiors can be completely
rinsed.
– The water can drain off freely.
The following illustrations are non-binding
recommendations for individual components.
Depending on the washer-disinfector devices used,
other positions can be used.
The connections shown are binding.
Breathing system
Position the breathing system (A) and the
housing cover (B) slightly tilted.
Flexible breathing bag arm (optional)
Required aids:
– Hose (diameter: 12 mm (0.47 in), length: max.
50 cm (19.7 in)) for connecting the breathing
bag arm
1Connect the flexible breathing bag arm (A) to
the hose (B).
2Place both of them in the load carrier.
3Connect the other end of the hose to a suitable
nozzle (C) on the load carrier.
114
A
B
035
A
B
C

English
18 Supplement Zeus Infinity Empowered
Absorber insert
Required aids:
– Hose (diameter: 12 mm (0.47 in), length: max.
50 cm (19.7 in)) for connecting the absorber
insert
1Connect the absorber insert (A) to the hose (B).
2Place both of them in the load carrier.
3Connect the other end of the hose to a suitable
nozzle (C) on the load carrier.
Absorber container
Place the absorber container with the opening
facing downwards on an injector nozzle.
TurboVent 2 blower module
Required aids:
– Adapter
A special holder is needed for the TurboVent 2
blower module. This holder must be mounted
on a suitable flushing nozzle on the load carrier.
1Fit the TurboVent 2 blower module (A) in the
holder (B). Make sure the lock snaps audibly
into place.
096098
A
B
C
041
A
B

Supplement Zeus Infinity Empowered 19
English
2Put on cap (C).
At the end of the cycle, proceed as follows:
1Remove the cap (C) from the TurboVent 2
blower module.
2Release the lock (D). Remove the TurboVent 2
blower module.
3Check all components for visible soiling.
4Repeat the cycle, if necessary.
5If necessary, fix the cap (C) on the holder (E)
Drying the TurboVent 2 blower module
The TurboVent 2 blower module can be dried using
the following methods:
1Remove the remaining liquid from the
TurboVent 2 blower module.
2Position the TurboVent 2 blower module (F)
with the openings facing downwards until no
liquid is left.
– Place the TurboVent 2 blower module in a
drying cabinet for 3 hours at 60 °C (140 °F).
Or
– Dry the TurboVent 2 blower module on a
grid for 24 hours at room temperature. The
grid allows air circulation.
At least 30 reprocessing cycles are possible.
Performing reprocessing
1Select a cycle.
2When the cycle has ended, check the
components for visible soiling and repeat the
cycle if necessary.
3Check the components for visible damage and
replace if necessary.
105070
C
D
C
E
072
F

English
20 Supplement Zeus Infinity Empowered
Storage and transport
After reprocessing, there are no special
requirements for the storage and transport of the
product. All other information in the instructions for
use regarding storage and transport continues to
apply. In addition, the requirements that prevent
contamination or damage to the product must be
met. These include, for example, dry and dust-free
storage and avoiding damage during transport to
the operating location.
Other agents and reprocessing procedures
Disinfectants
Use disinfectants that are nationally approved and
are suitable for the particular reprocessing
procedure.
Surface disinfectant
The manufacturers of the surface disinfectants
have verified at least the following spectra of
activity:
– Bactericidal
– Yeasticidal
– Virucidal or virucidal against enveloped viruses
Follow the manufacturer's instructions for surface
disinfectants.
Other manuals for Zeus Infinity Empowered
1
Table of contents
Other Dräger Desktop manuals