Please use the projector with the included power cord and plug.1.
Do not disassemble or modify the projector.2.
We advise you to use the projector for no more than 4 hours each time.3.
The ambient temperature should be lower than 86°F.4.
Do not use the projector with dimmers.5.
INSTALLING SLIDES SPECIFICATIONS
SAFETY INSTRUCTIONS
PLACING THE PROJECTOR
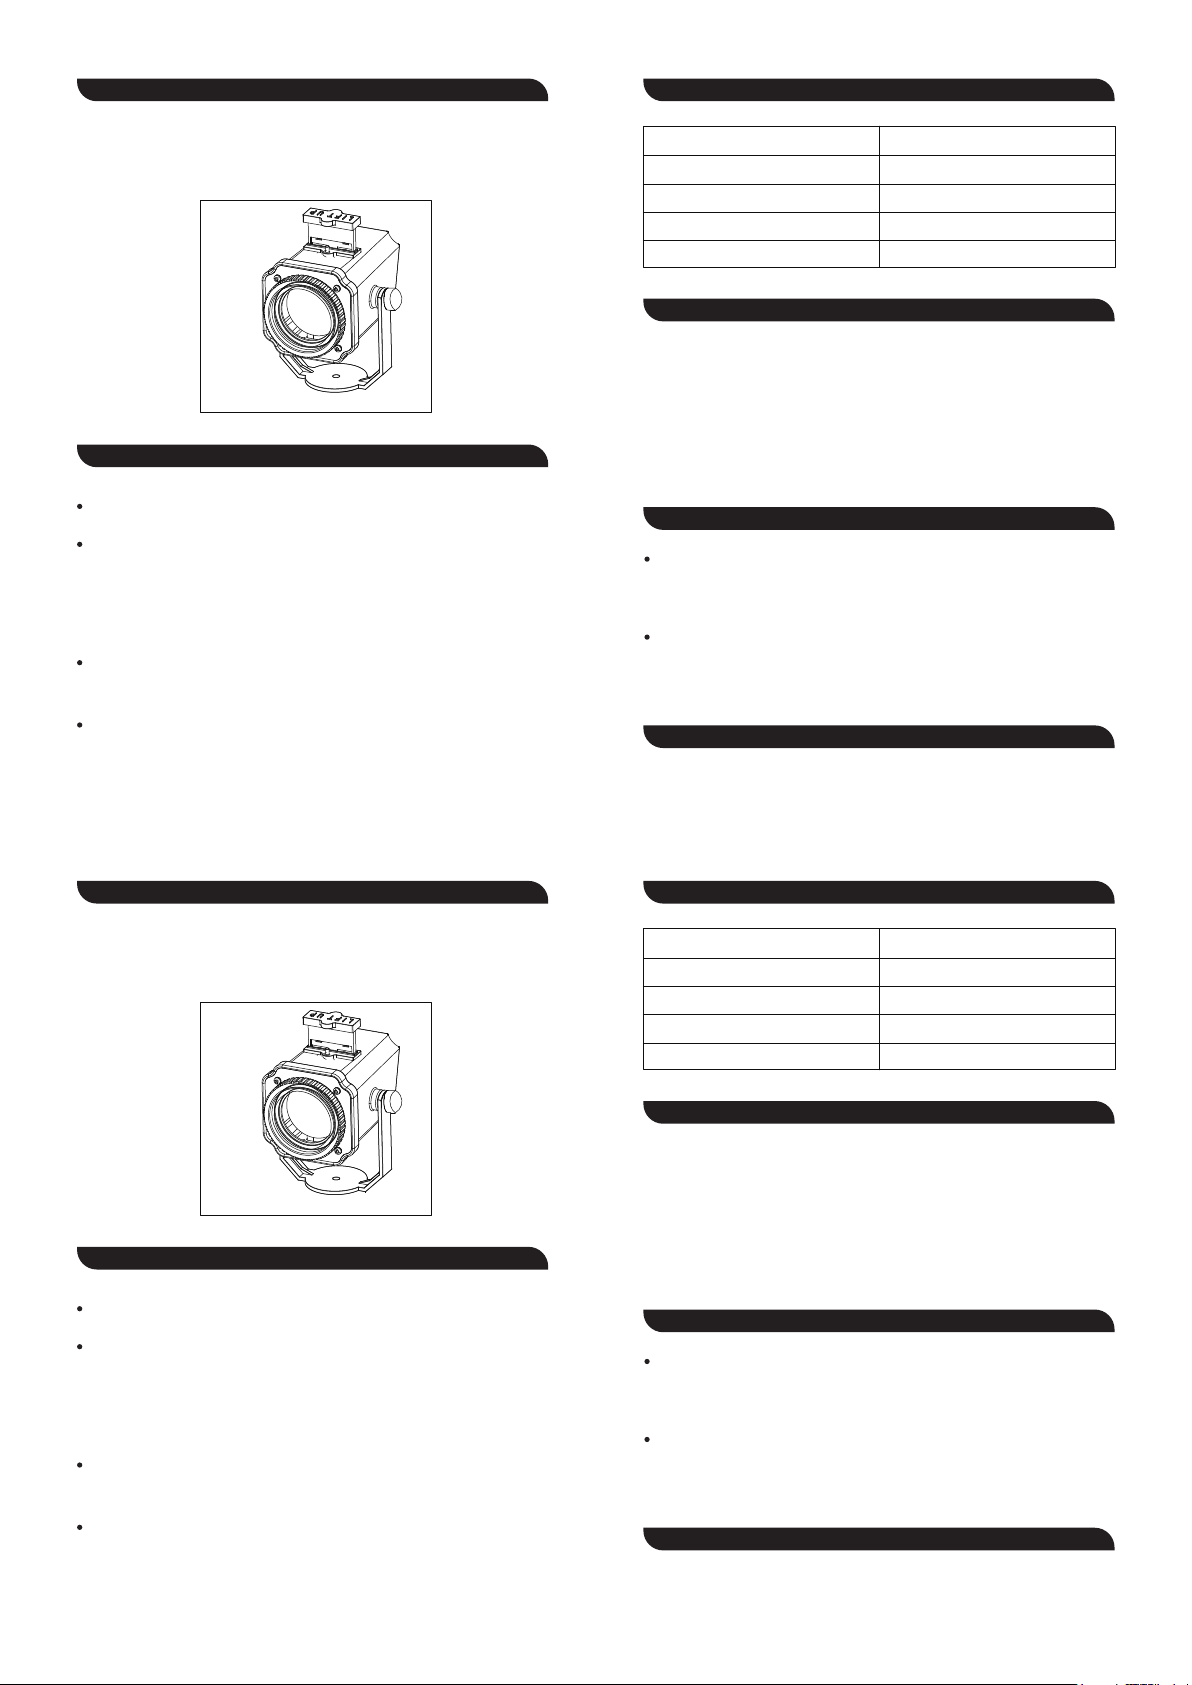
One slide is already in the projector. Pull out the slide to change a new one.
Be careful not to touch the images on the slide (see Fig. 2).
The projector light can be staked into the ground.
Fig.2
The optimal projection range is 10-15 feet. After turning on the projector,
you can adjust the projection range to achieve a better viewing experience.
Note: please readjust the projection range after changing the slides for better
clarity.
Loosen or tighten the screws on each side of the pivot mount to find an ideal
tilt angle.
Please do not block the vent under the projector. Otherwise, poor ventilation
may damage the slide inside and the projector.
lnput voltage
Output
Light source
LED light wattage
Warranty
110V-240V
5V/1A
LED
3W
12 months
WARRANTY
CUSTOMER SUPPORT
Dr.Prepare products are covered by a 12-month limited warranty from the
original purchase date. If any problems occur, please contact our support
team.
We only provide after-sales services for products that are sold by
Dr.Prepare or retailers and distributors authorized by Dr.Prepare. If you
have purchased your unit from other channels, please contact your seller
for more information about return and warranty.
If you have any questions or concerns, please send us an email at
Please use the projector with the included power cord and plug.1.
Do not disassemble or modify the projector.2.
We advise you to use the projector for no more than 4 hours each time.3.
The ambient temperature should be lower than 86°F.4.
Do not use the projector with dimmers.5.
INSTALLING SLIDES SPECIFICATIONS
SAFETY INSTRUCTIONS
PLACING THE PROJECTOR
One slide is already in the projector. Pull out the slide to change a new one.
Be careful not to touch the images on the slide (see Fig. 2).
The projector light can be staked into the ground.
Fig.2
The optimal projection range is 10-15 feet. After turning on the projector,
you can adjust the projection range to achieve a better viewing experience.
Note: please readjust the projection range after changing the slides for better
clarity.
Loosen or tighten the screws on each side of the pivot mount to find an ideal
tilt angle.
Please do not block the vent under the projector. Otherwise, poor ventilation
may damage the slide inside and the projector.
lnput voltage
Output
Light source
LED light wattage
Warranty
110V-240V
5V/1A
LED
3W
12 months
WARRANTY
CUSTOMER SUPPORT
Dr.Prepare products are covered by a 12-month limited warranty from the
original purchase date. If any problems occur, please contact our support
team.
We only provide after-sales services for products that are sold by
Dr.Prepare or retailers and distributors authorized by Dr.Prepare. If you
have purchased your unit from other channels, please contact your seller
for more information about return and warranty.
If you have any questions or concerns, please send us an email at


