IMPORTANT SAFETY INSTRUCTIONS
Do not use this apparatus near water.
Do not place near any heat sources such as radiators, heat
registers, stoves, or other apparatus (including amplifiers) that
produce heat.
Only use attachments/accessories specified by the manufacturer.
Apparatus shall not be exposed to dripping or splashing and no
objects filled with liquids, such as vase, shall be placed on the
apparatus.
The batteries (battery pack & batteries installed) shall not be
exposed to excessive heat such as sunshine, fire or the like.
Do not place any naked flame sources, such as lighted candles, on
the apparatus.
The battery used in this product must be properly recycled or
disposed of. Please contact your local recycling center for proper
battery handling and disposal instructions.
Please charge your unit when it is:
- The battery icon indicates the power is lower.
- The unit shuts off suddenly, even if restart again.
- Tapping any button has no response.
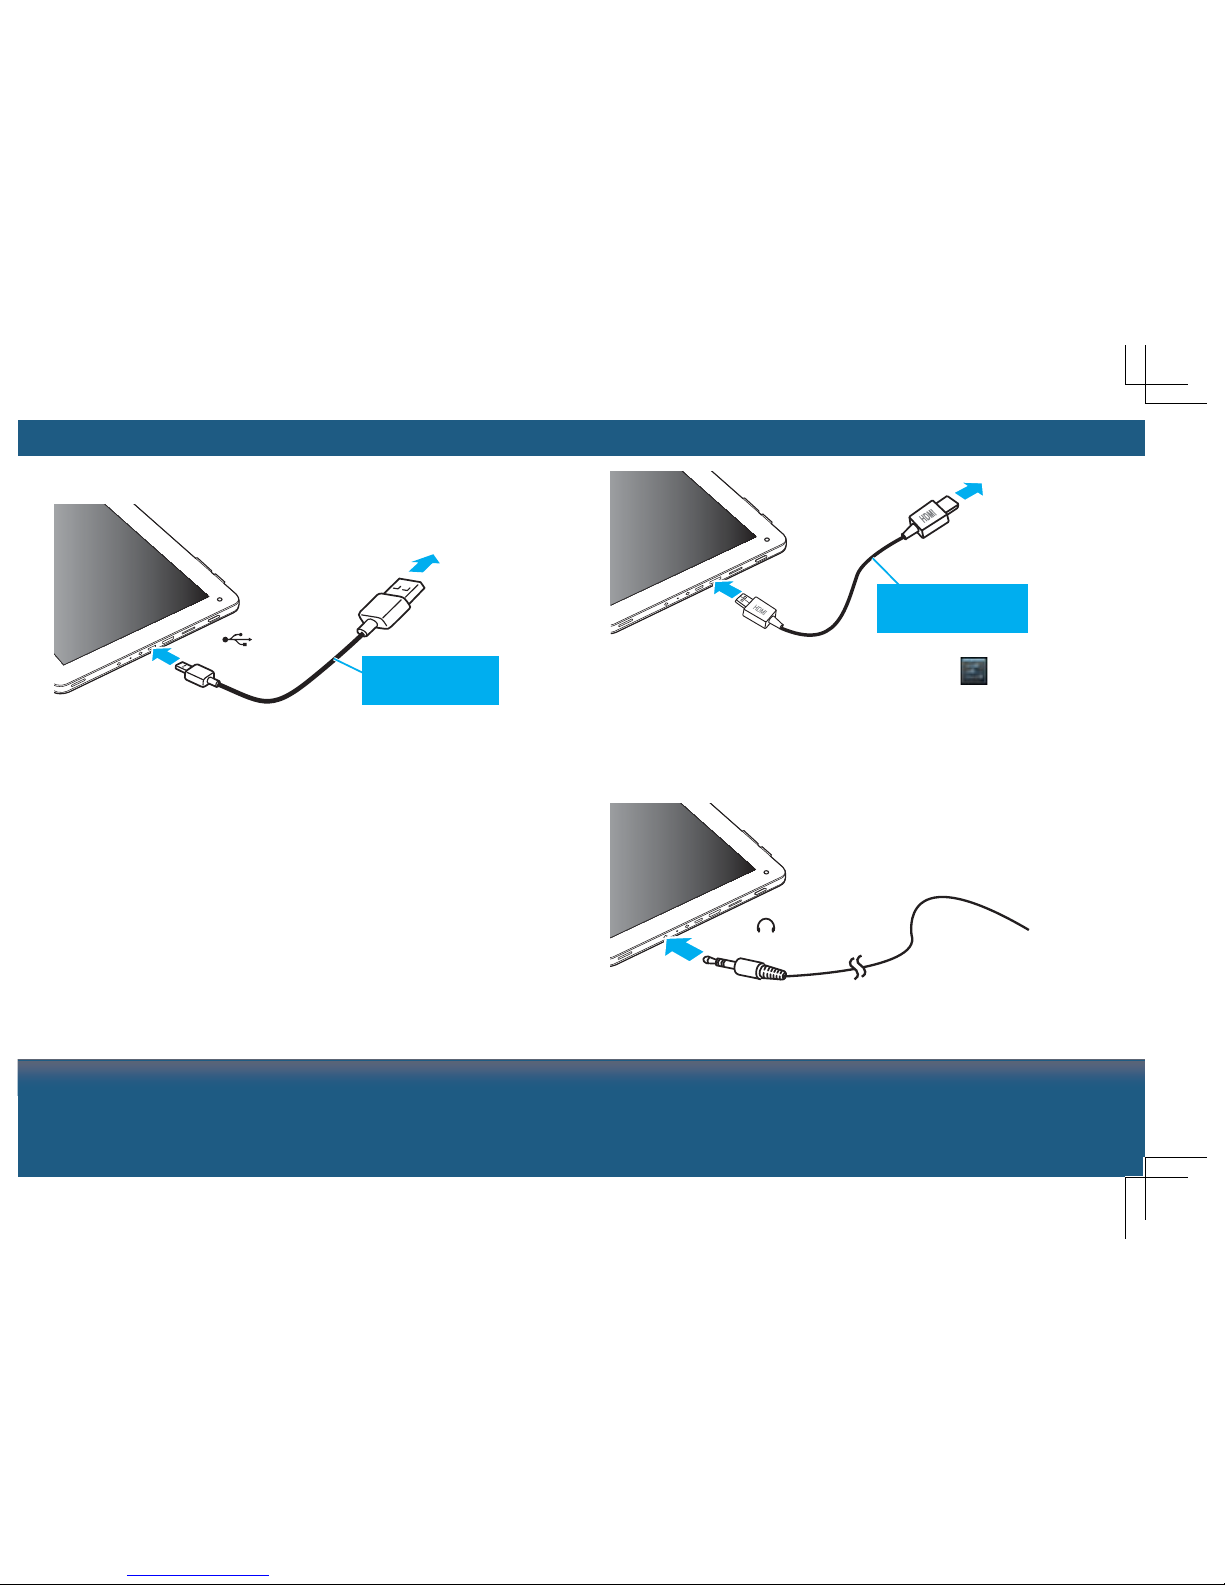
Please use the supplied AC power adaptor to charge the unit;
otherwise, using other adaptors may damage your unit.
When the player is formatting, uploading or downloading, do not
disconnect the connection. It may cause program error if you do
this.
We are not responsible for the memory loss caused by product
damage, repairmen or other reasons. Please operate strictly
following these instructions.
Clean only with dry cloth. Do not use aerosol cleaners, benzene,
anti-static liquids or any other solvents for cleaning
Refer all servicing to qualified service personnel.
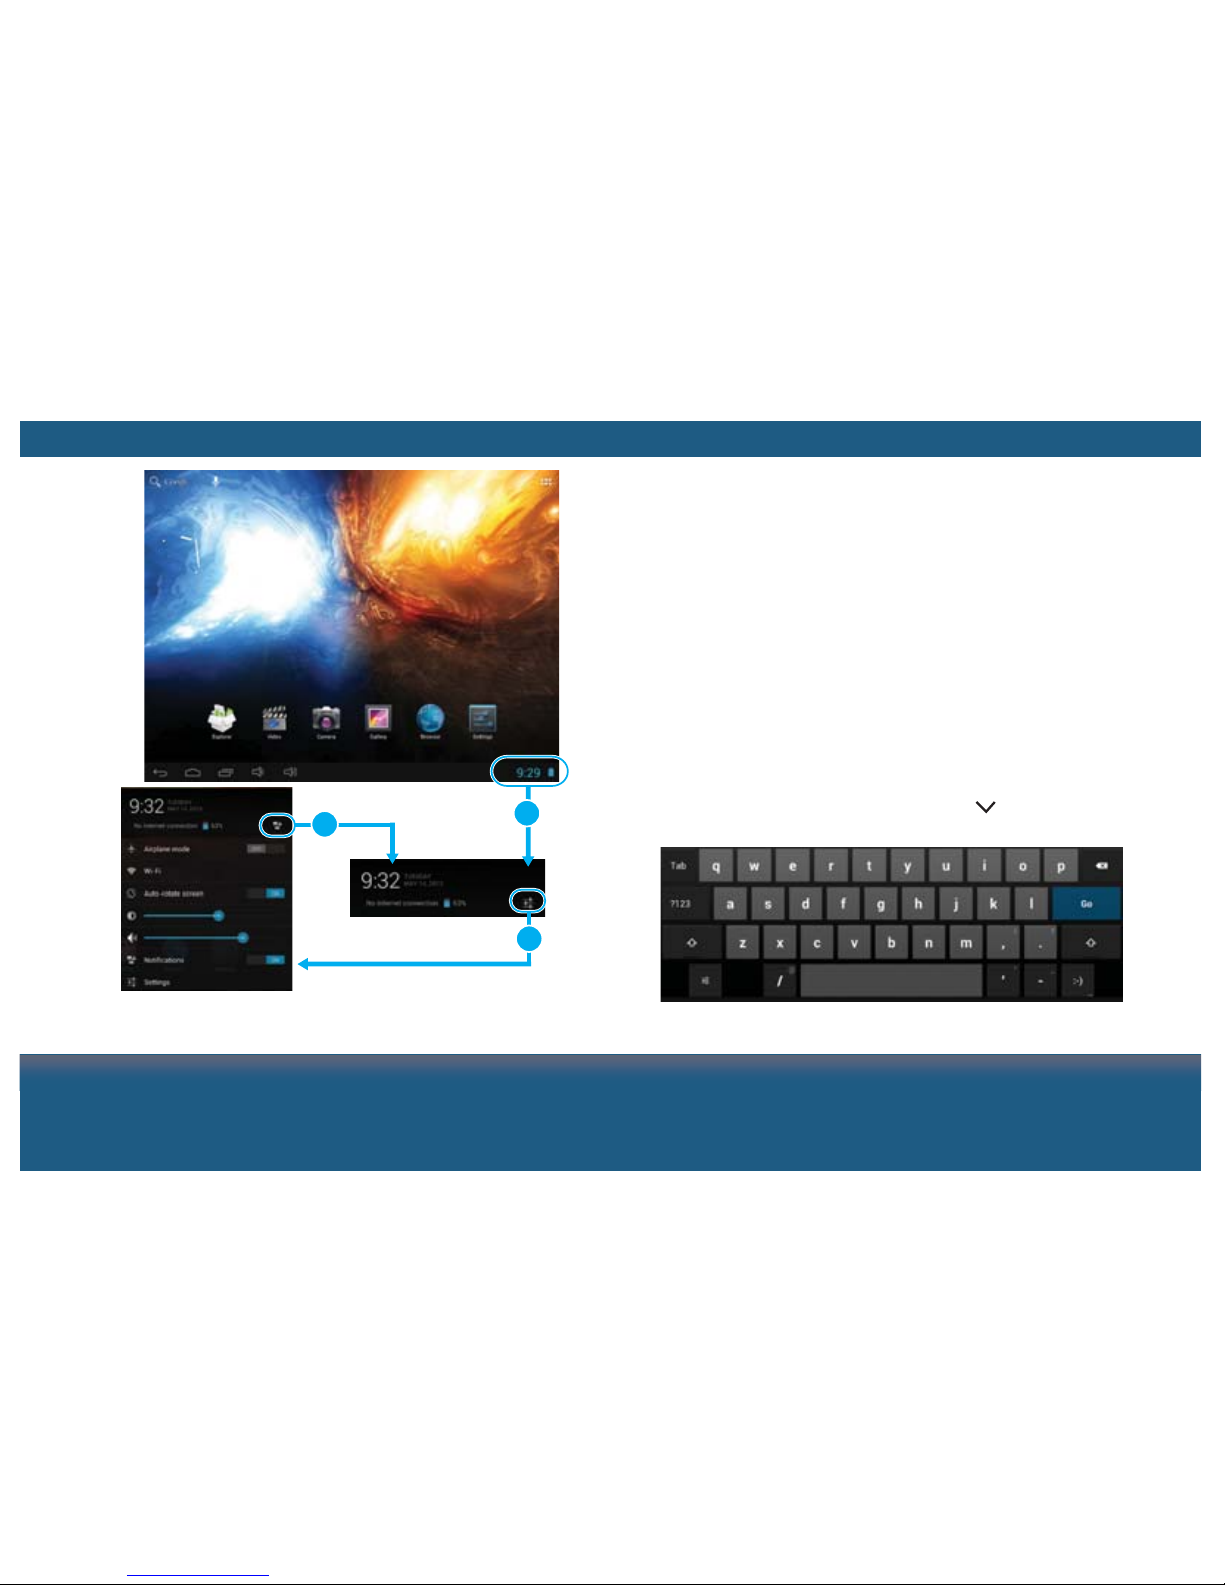
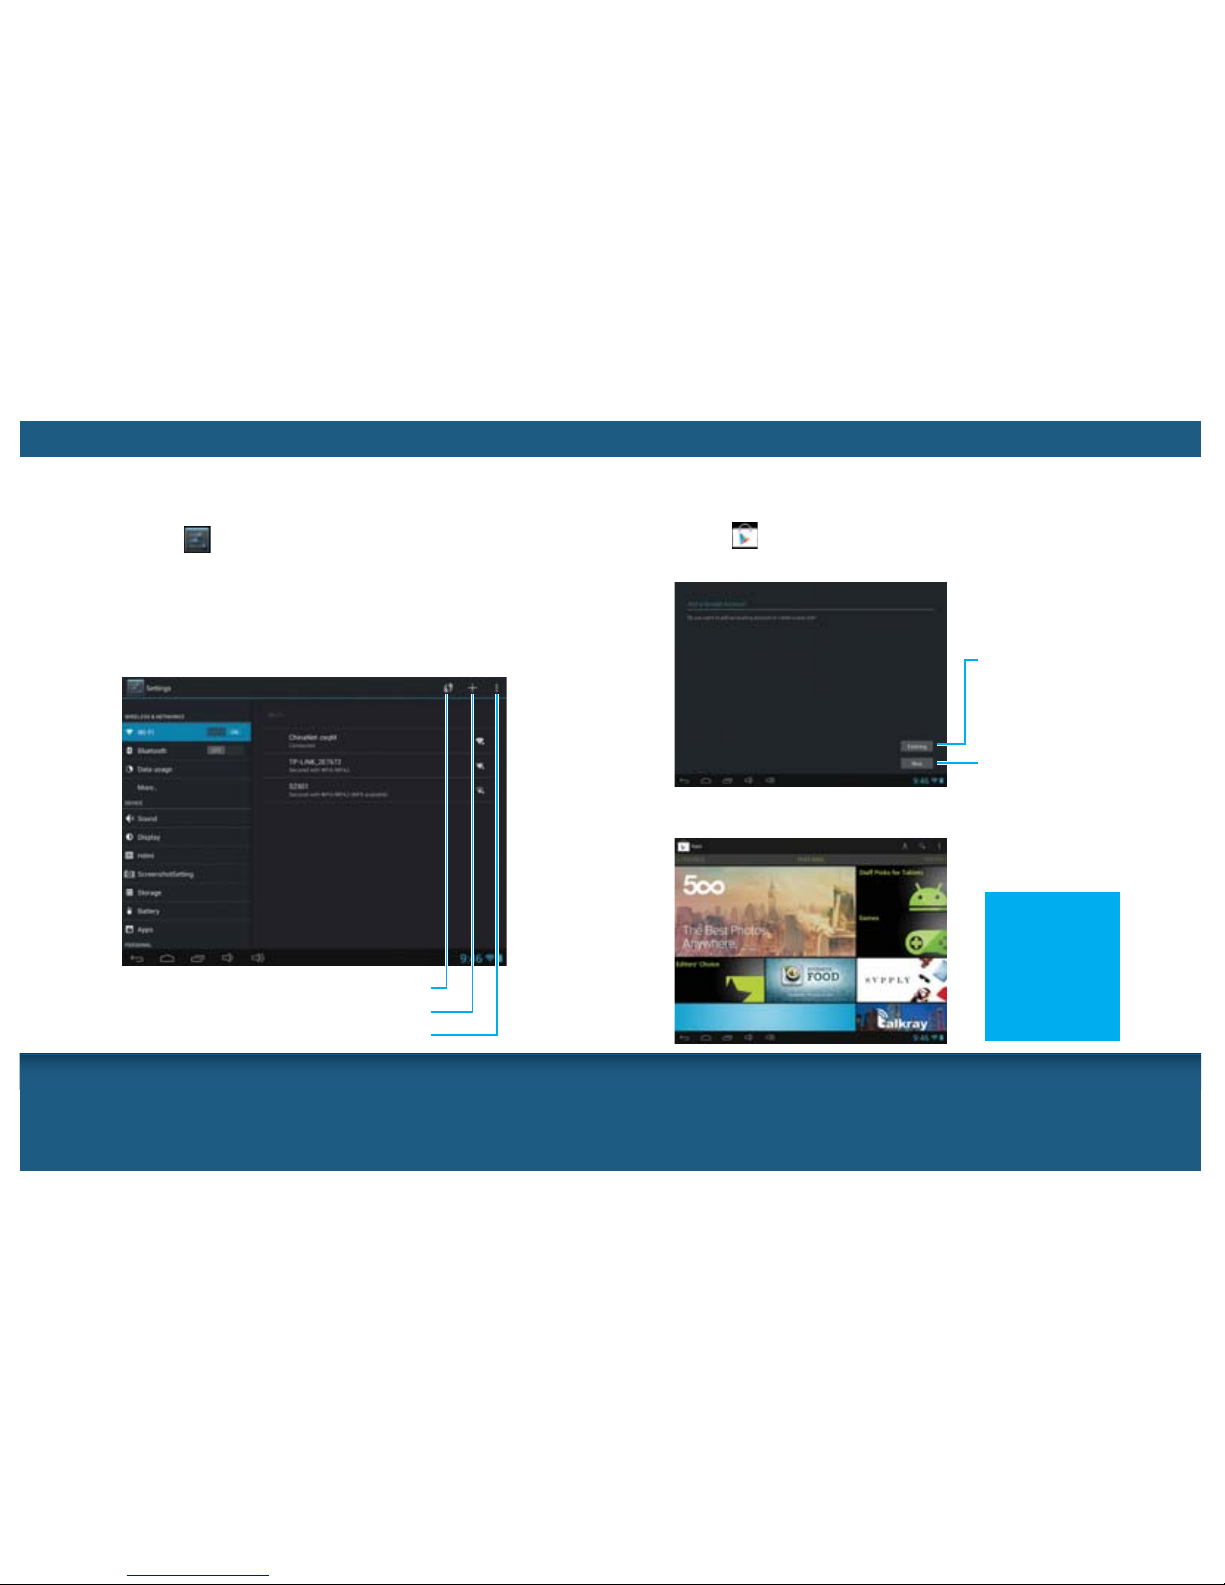
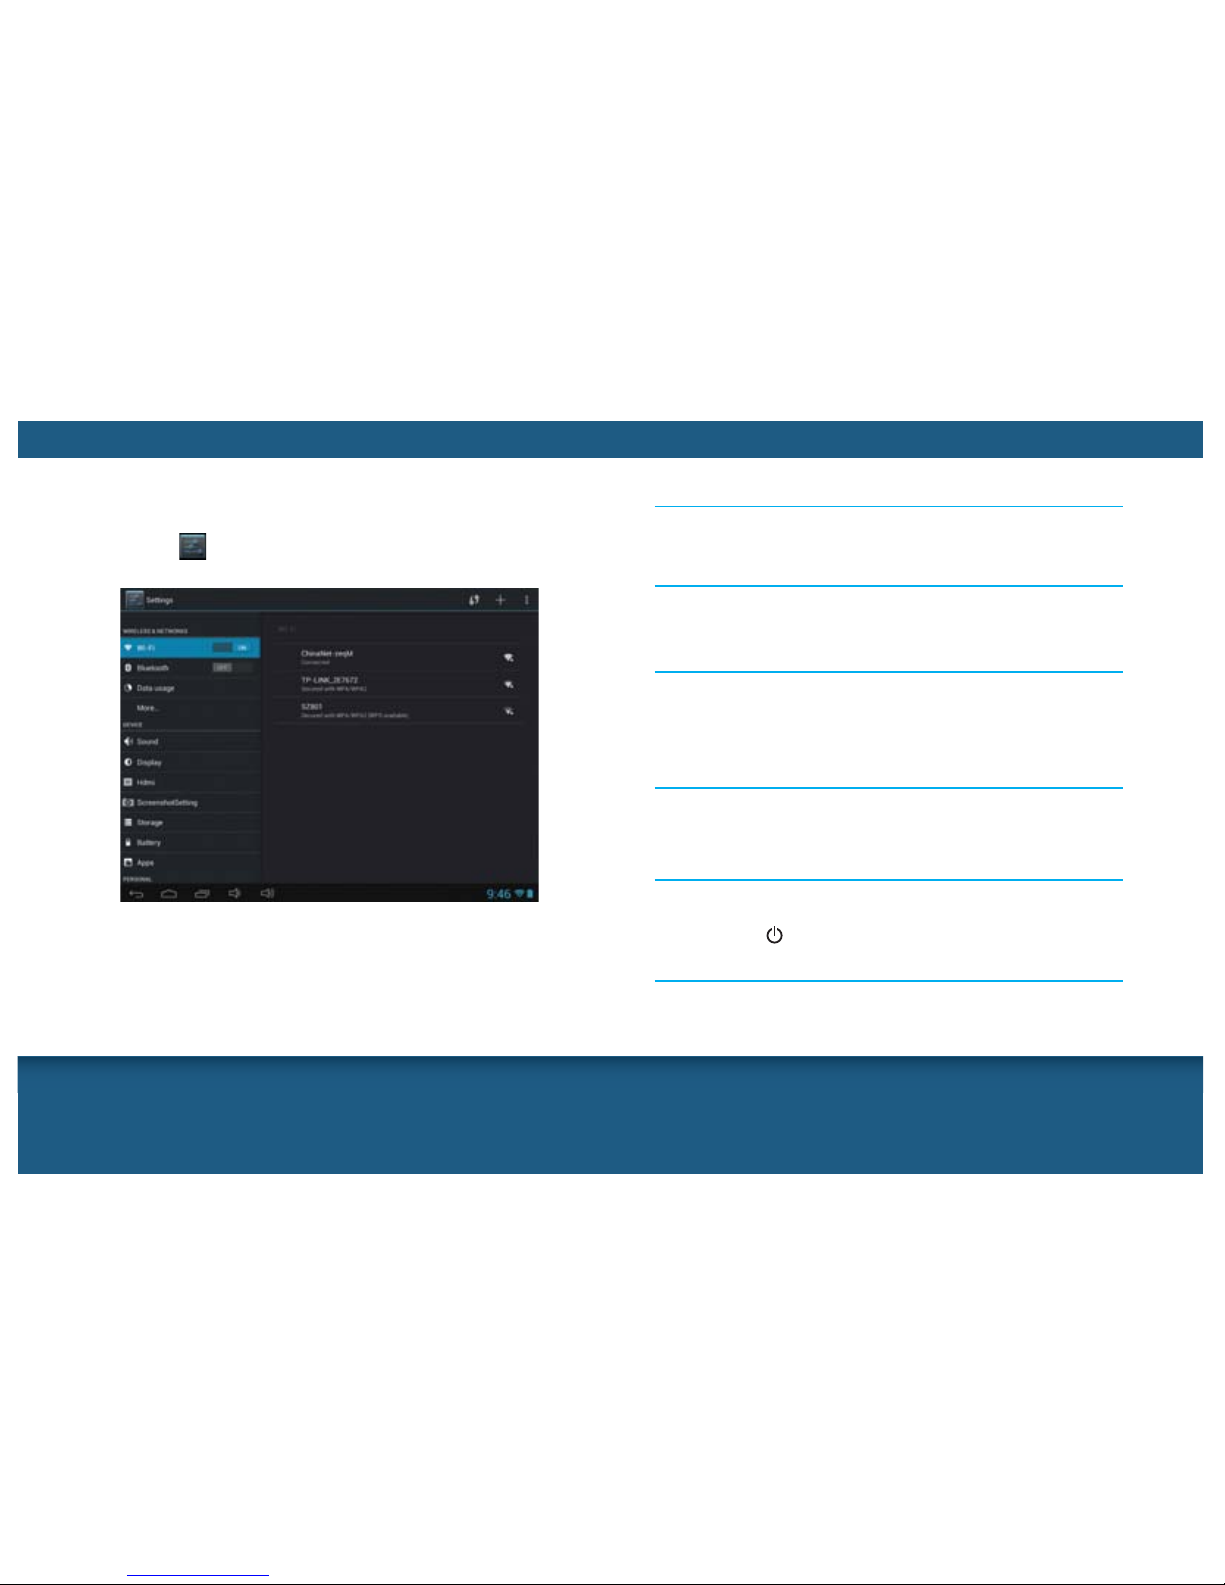
Turn off the unit or use airplane mode when use is prohibited, such
as traveling in the aircraft.
The supplied USB cable is used for data transmission only.
Non-waterproof.
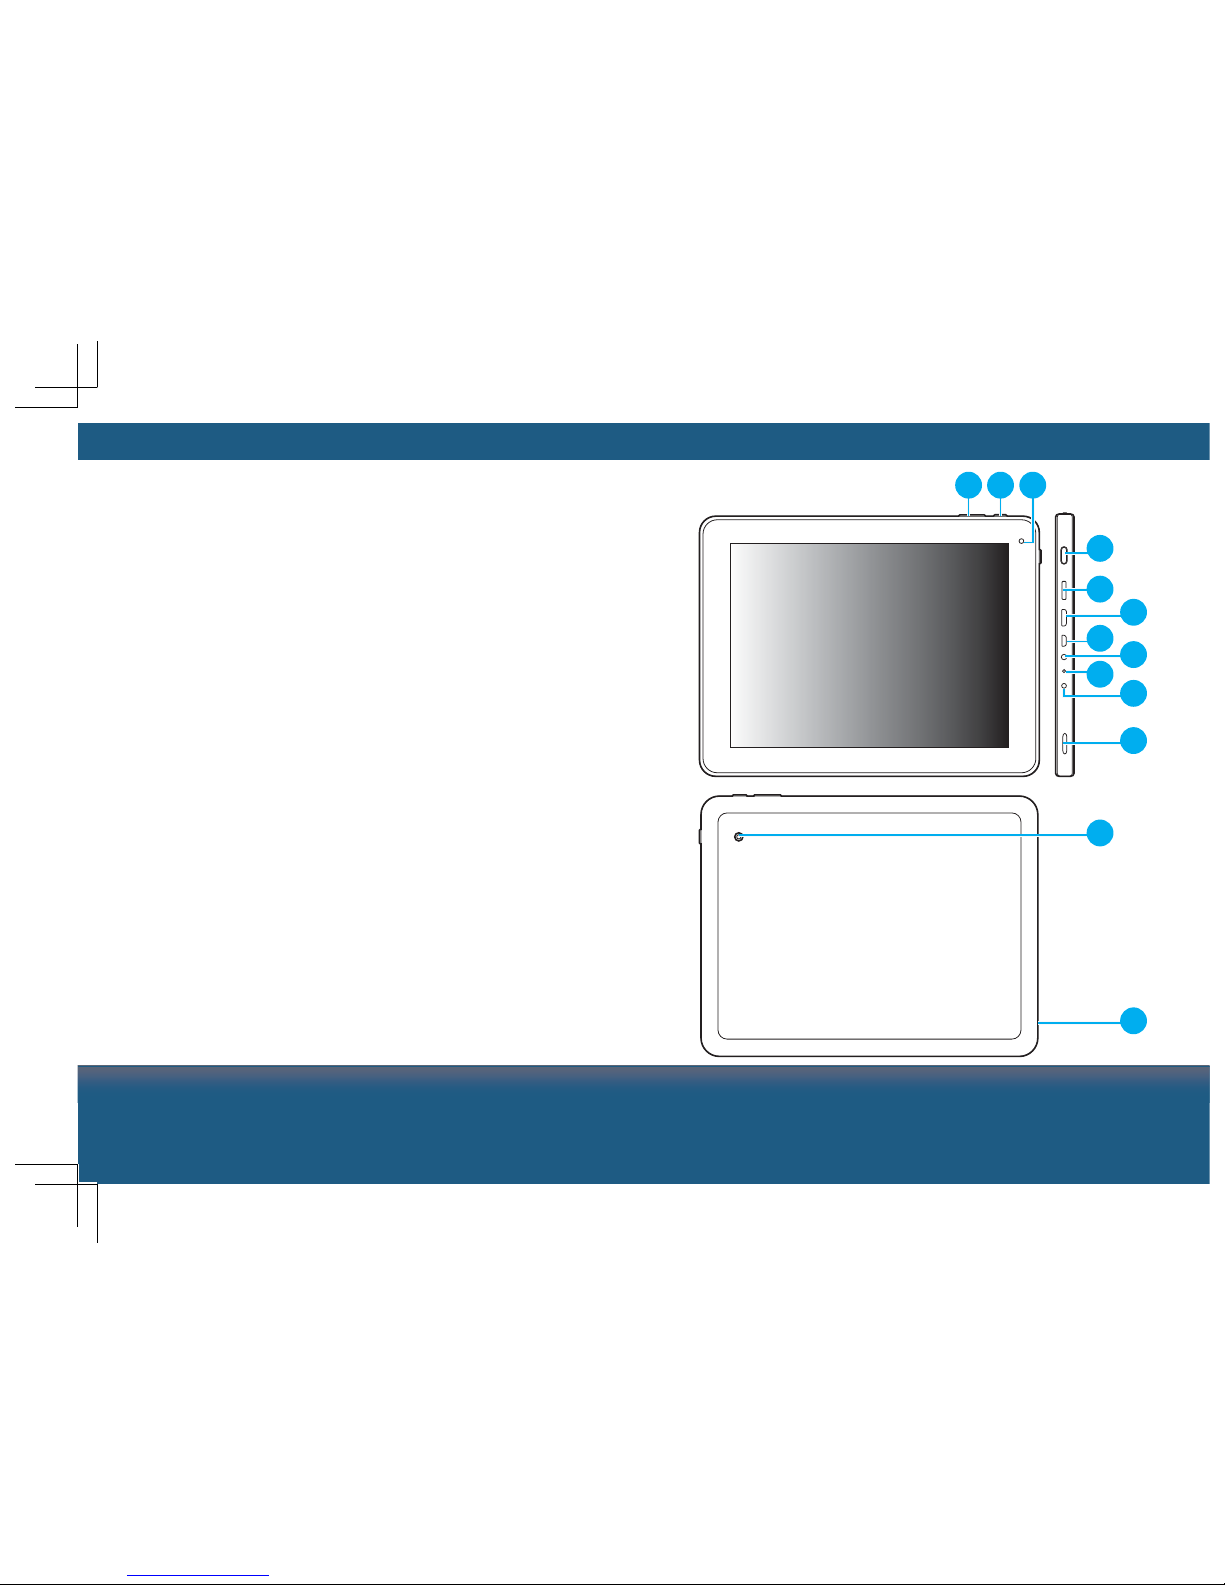
PRODUCT OVERVIEW
1 2 3
4
5
6
78
9
12
10
11
11
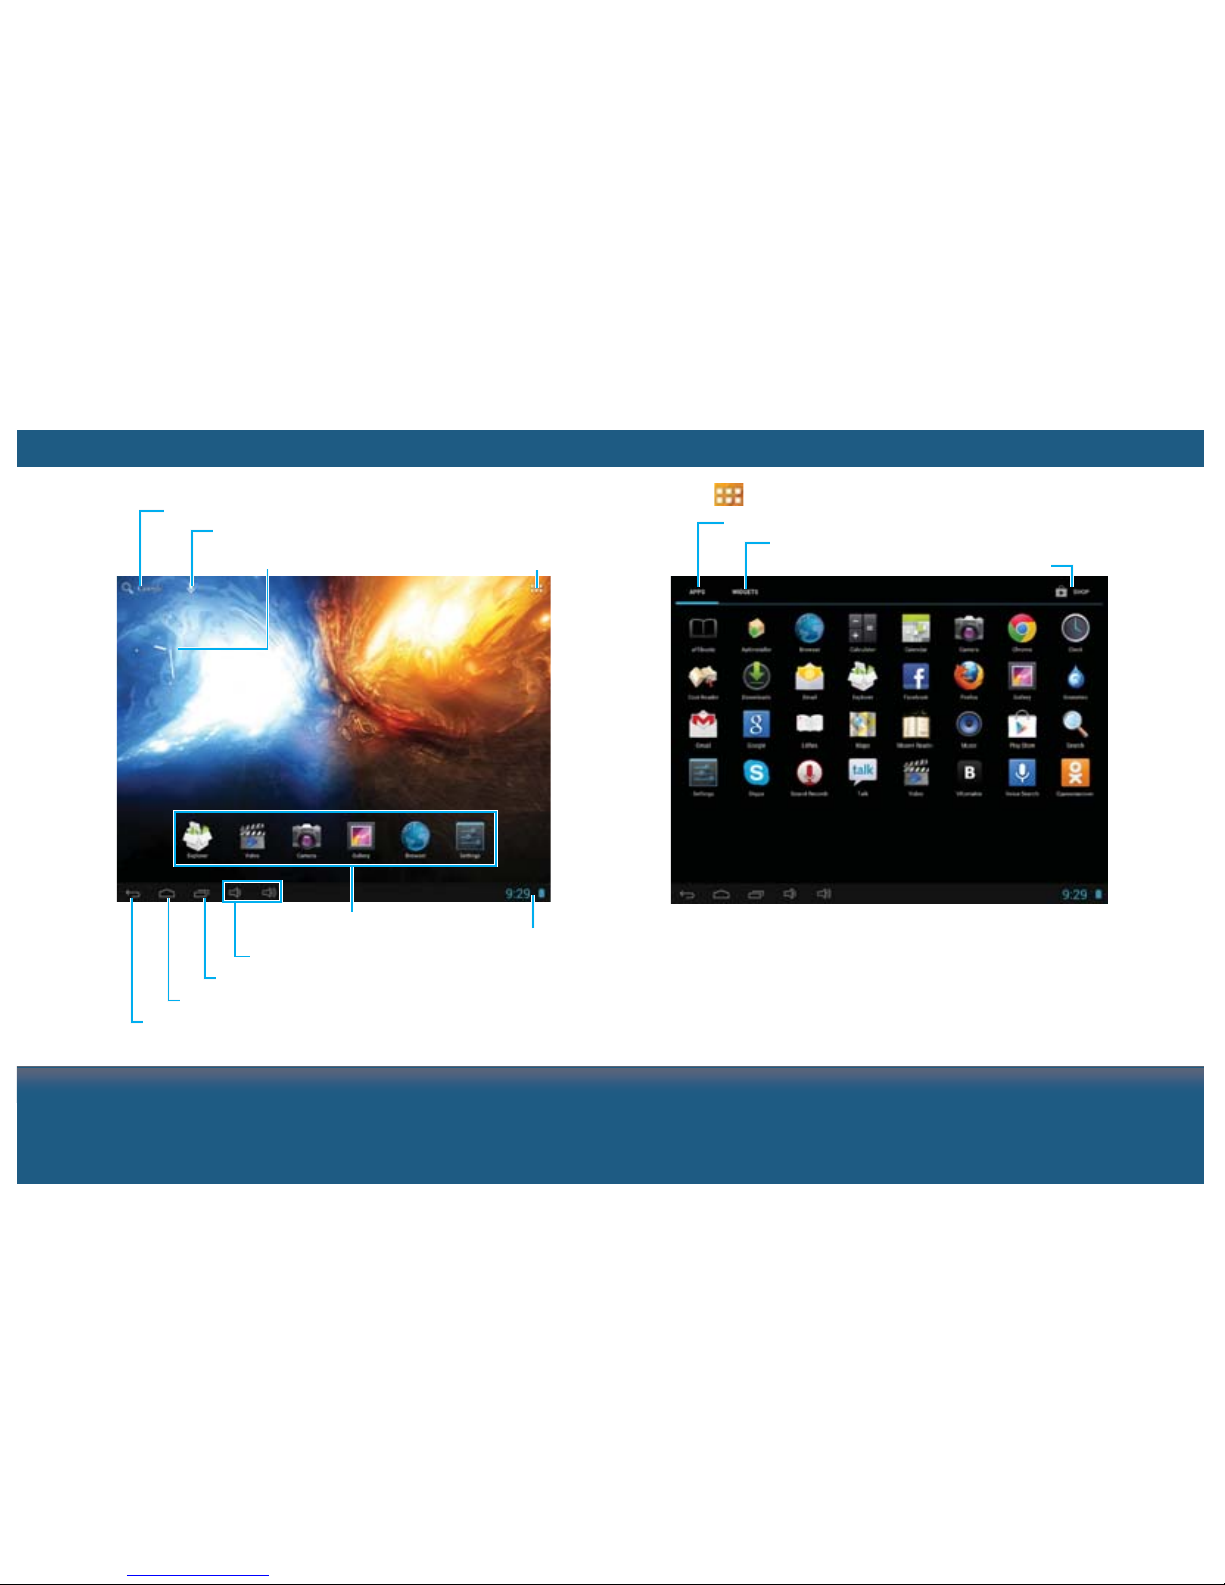
Illustrations contained within this user manual are for
representation only and subject to change.