DryShield DS1 User manual
Page 1
User Guide
Instructions for the use of:
DS1 Isolation System
DryShield Autoclavable Mouthpieces
DryShield Single-Use Mouthpieces

Page 2
Autoclavable Mouthpieces
Single-Use Mouthpieces
X-Pedo Pedo Small Medium Large
Pedo Small Medium Large

Page 3
“
“
Thank you for joining the community of dental professionals discovering the joy of dentistry with DryShield! My name is Dr. Lan and I’ve been a prac-
ticing general and pediatric dentist for almost 20 years. I’m also the founder of DryShield, a company specializing in isolation, which was developed
to serve a need that I and many of my colleagues faced - creating a comfortable, all-in-one isolation device that is simple to use, and which fits every
practice.
DryShield combines the tasks of a high-suction evacuator, bite block, tongue shield, cheek retractor, and oral pathway protector in one elegant
device. It was designed with the dentist in mind, offering total control by keeping the working area dry and visible. We made DryShield so you can
focus on what you do best: providing high-quality dentistry for your patients.
Patients love it too - the soft, flexible mouthpieces are designed for maximum comfort and available in multiple sizes to accommodate every mouth,
including children. Patients especially enjoy the shorter procedure times that come from using DryShield.
Installation of the portable DryShield is quick and easy, transforming your practice in seconds. With shorter procedure times, you’ll find you can
schedule more patients in a day and do more with each appointment. Whether you are a practice owner, associate, dental hygienist or
assistant, I know you will love DryShield and the freedom it offers.
From The Founder.
Founder
DR. LAN
Dr. Lan

Page 4
Table of Contents
Product Contents
DS1 Installation
Portable Operatory Kit
Y Connector Kit Installation
Time Savings Chart
7
8
9
10
12
20
22
23
24
25
26
27
28
29
30
3
5
31
The Autoclavable Mouthpiece
Product Contents
Warnings & Precautions
Mouthpiece Sizes
Interchangeable Bite Block
Cleaning, Sterilization and Maintenance
The Single-use Mouthpiece
Product Contents
Warnings & Precautions
Mouthpiece Sizes
Letter from the Founder
Symbols Glossary
Troubleshooting
Section 1: DS1 Isolation System
Section 2: Mouthpiece Setup
Section 3: Autoclavable Mouthpieces Section 4: Single-Use Mouthpieces
Miscellaneous
6 19 27
Step 1: Connect
Step 2: Place
Step 3: Fit
14
15
16
Page 5
Caution
User:
DryShield is intended to be used by a dental professionals.
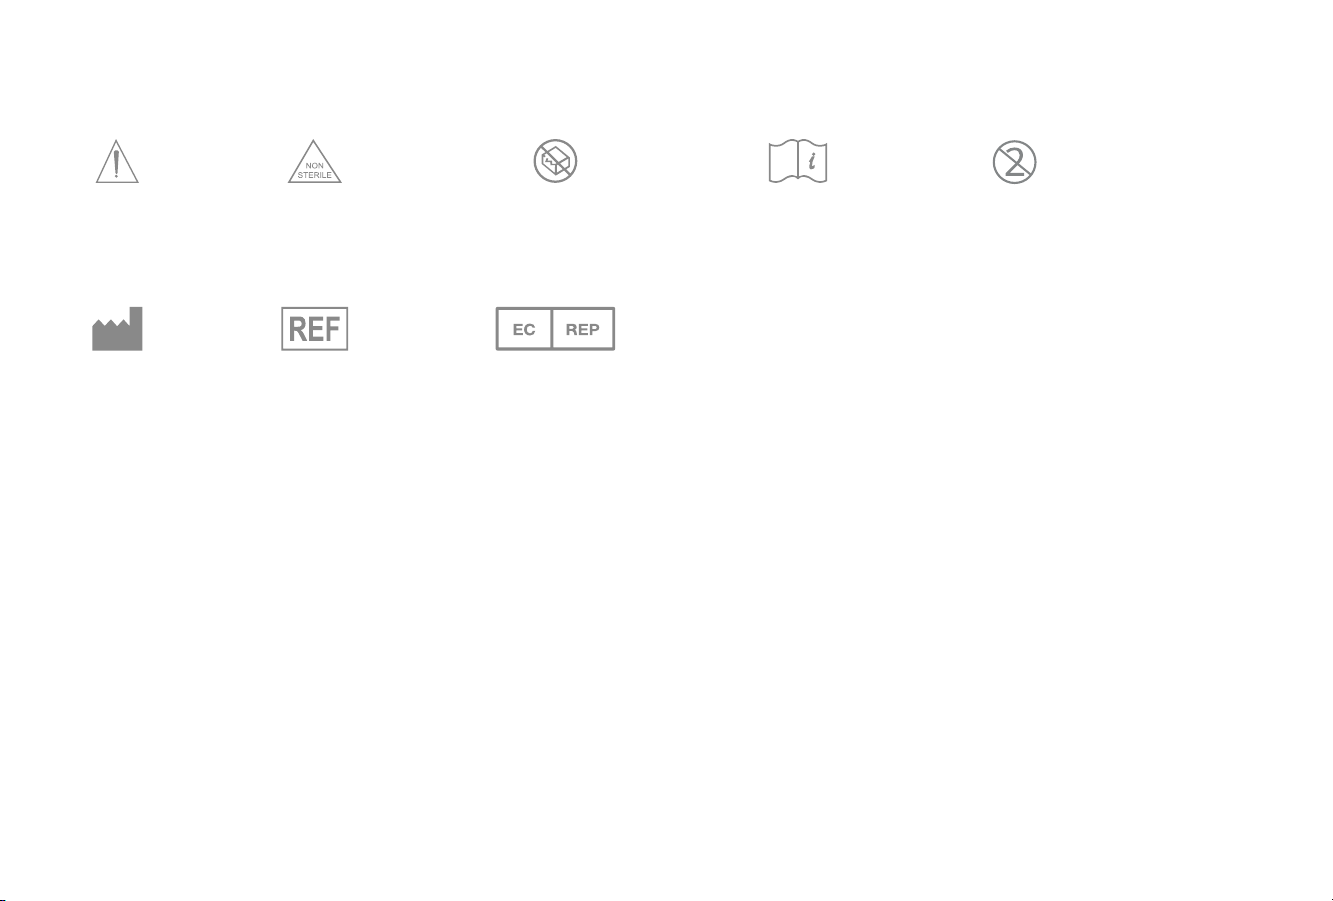
Symbols Glossary
Non-sterile Do not use if package
is damaged
Consult instructions
for use
Manufacturer Catalog number Authorized representative in
the European Community
Single-use only
Page 6
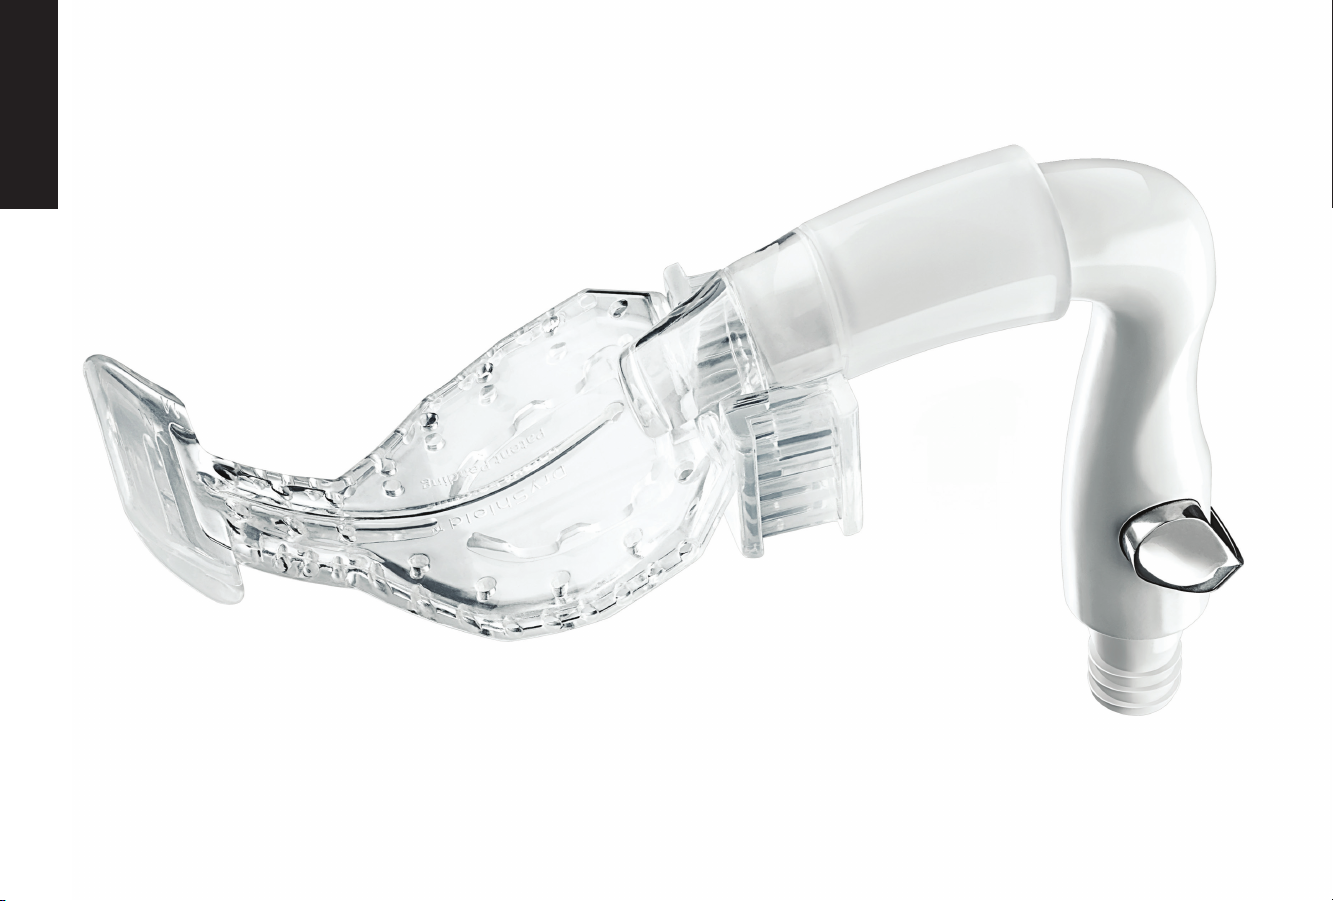
DS1 Isolation System
Section 1
DS1 Isolation System
(pictured with mouthpiece attached)
Page 7Page 7
DS1 Isolation System
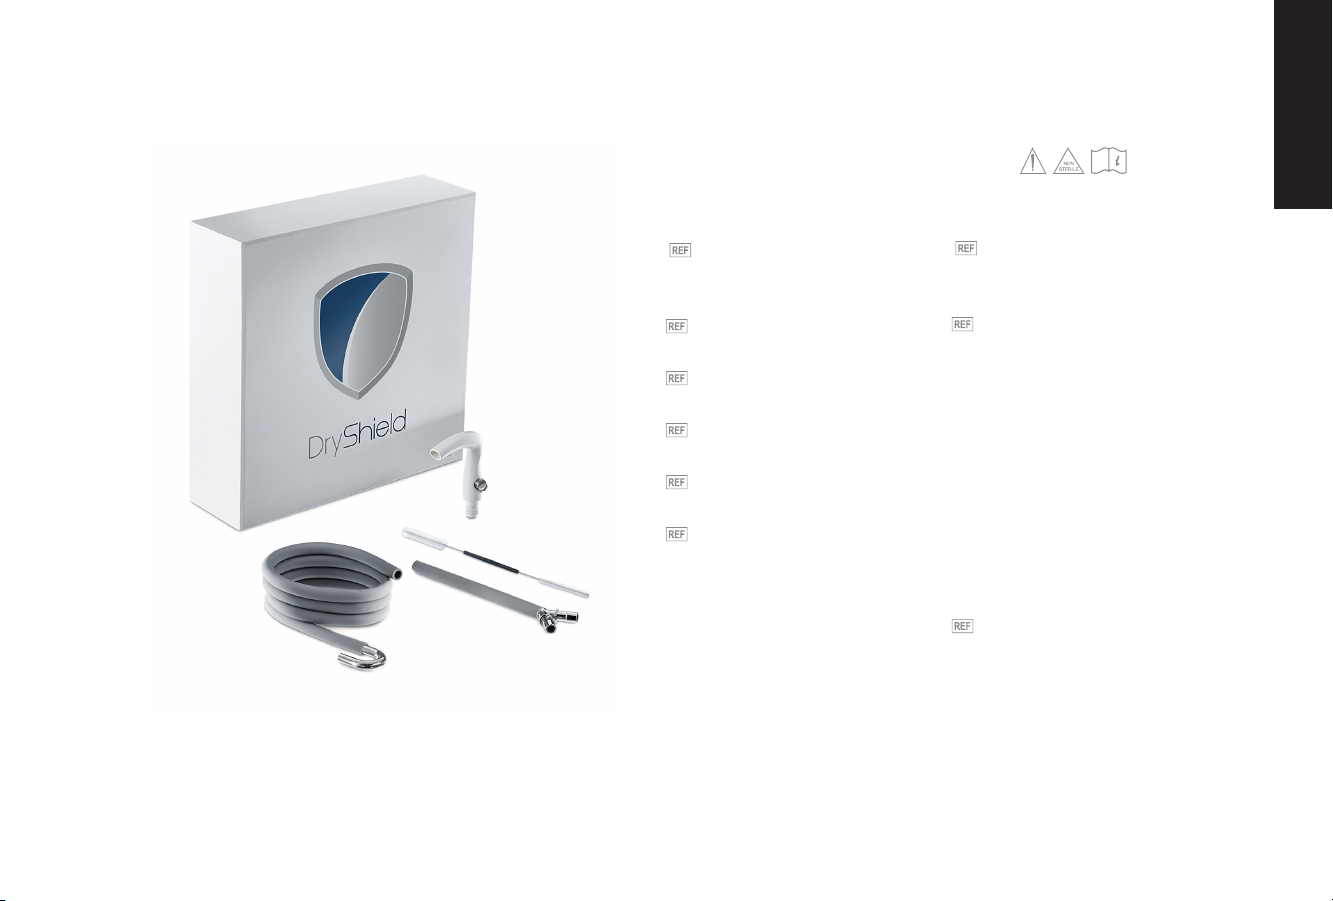
Product Contents
DryShield Isolation System:
DS-SYS- 001
Includes:
DryShield Evacuation System DS1
DS-SYS-001-D
Portable Operatory Kit
DS-SYS- 001-P
Y Connector Kit
DS-SYS- 001-Y
Cleaning Brush
DS-SYS- 001-B
DryShield O-Ring
DS-SYS- 001-R
DS Lite:
DS-SYS- 002
Includes:
DryShield Evacuation System DS1
DS-SYS-001-D
Accessories sold separately:
Whisper Hose
DS-SYS-001-W

Page 8
DS1 Isolation System
DS1 Installation
3 Easy Steps
Twist off standard HVE
with attached coupler
from hose.*
Attach DS1 to existing
hose by twisting into
place.
Place DS1 with attached
hose onto the assistant
toolbar.
*Confirm dental air compressor and vacuum system are operating prior to using DryShield.
123

Page 9Page 9
DS1 Isolation System
Portable Operatory Kit Installation*
2 Easy Steps
Attach one end of
portable kit to standard HVE.
Attach DS1 to other
end of portable kit.
1 2
*Included with DryShield Isolation System
Page 10
DS1 Isolation System
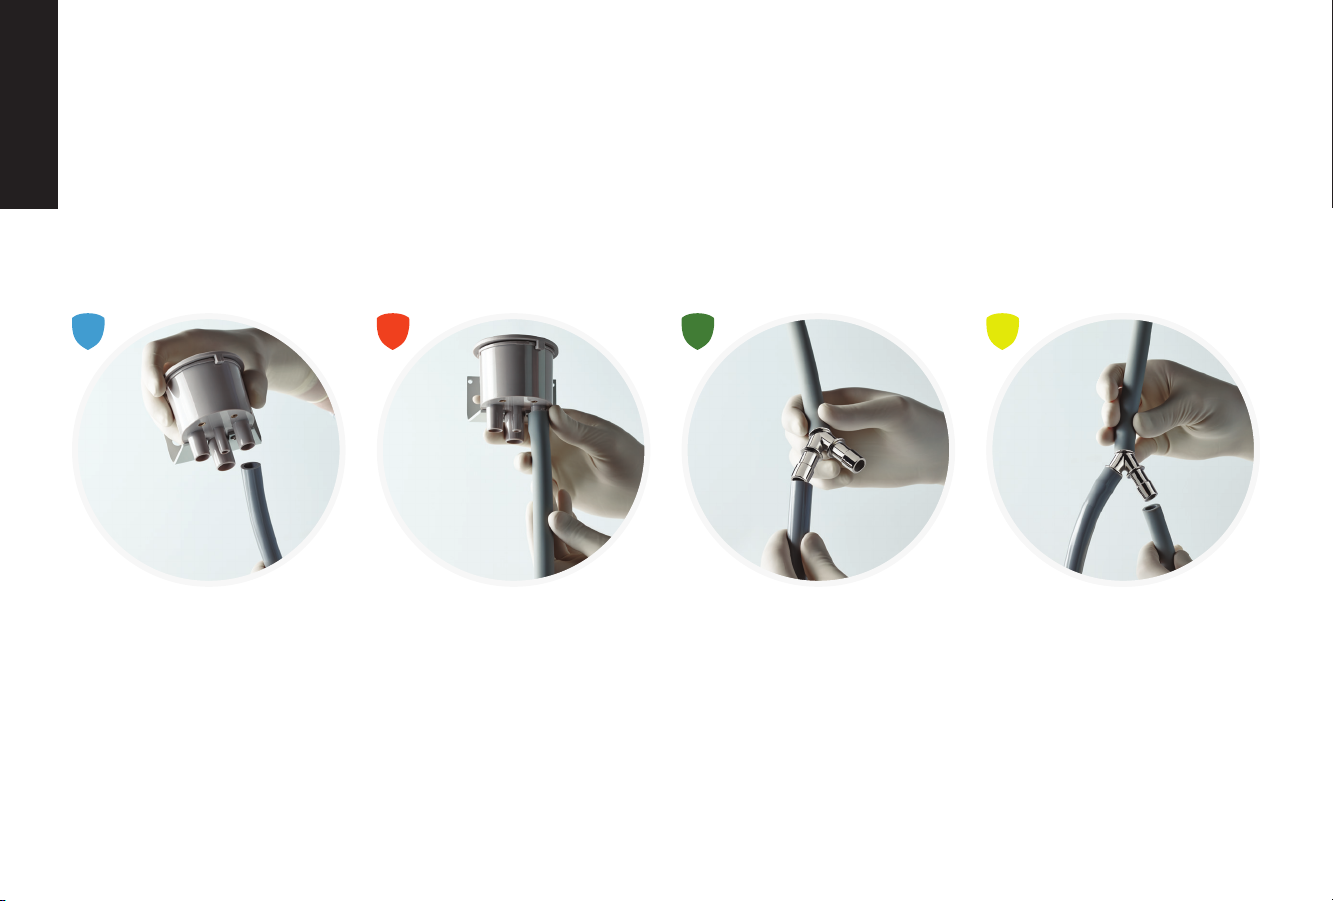
Y Connector Installation*
4 Easy Steps
Disconnect standard HVE hose
from main canister.
Attach standard HVE hose to one
end of the Y Connector.
Attach DryShield to the
other end of the Y Connector.
Connect Y Connector
hose to canister’s port.
1234
*Included with DryShield Isolation System
Table of contents
Popular Medical Equipment manuals by other brands


Getinge
Getinge Arjohuntleigh Nimbus 3 Professional Instructions for use

Mettler Electronics
Mettler Electronics Sonicator 730 Maintenance manual

Pressalit Care
Pressalit Care R1100 Mounting instruction

Denas MS
Denas MS DENAS-T operating manual

bort medical
bort medical ActiveColor quick guide

AccuVein
AccuVein AV400 user manual


