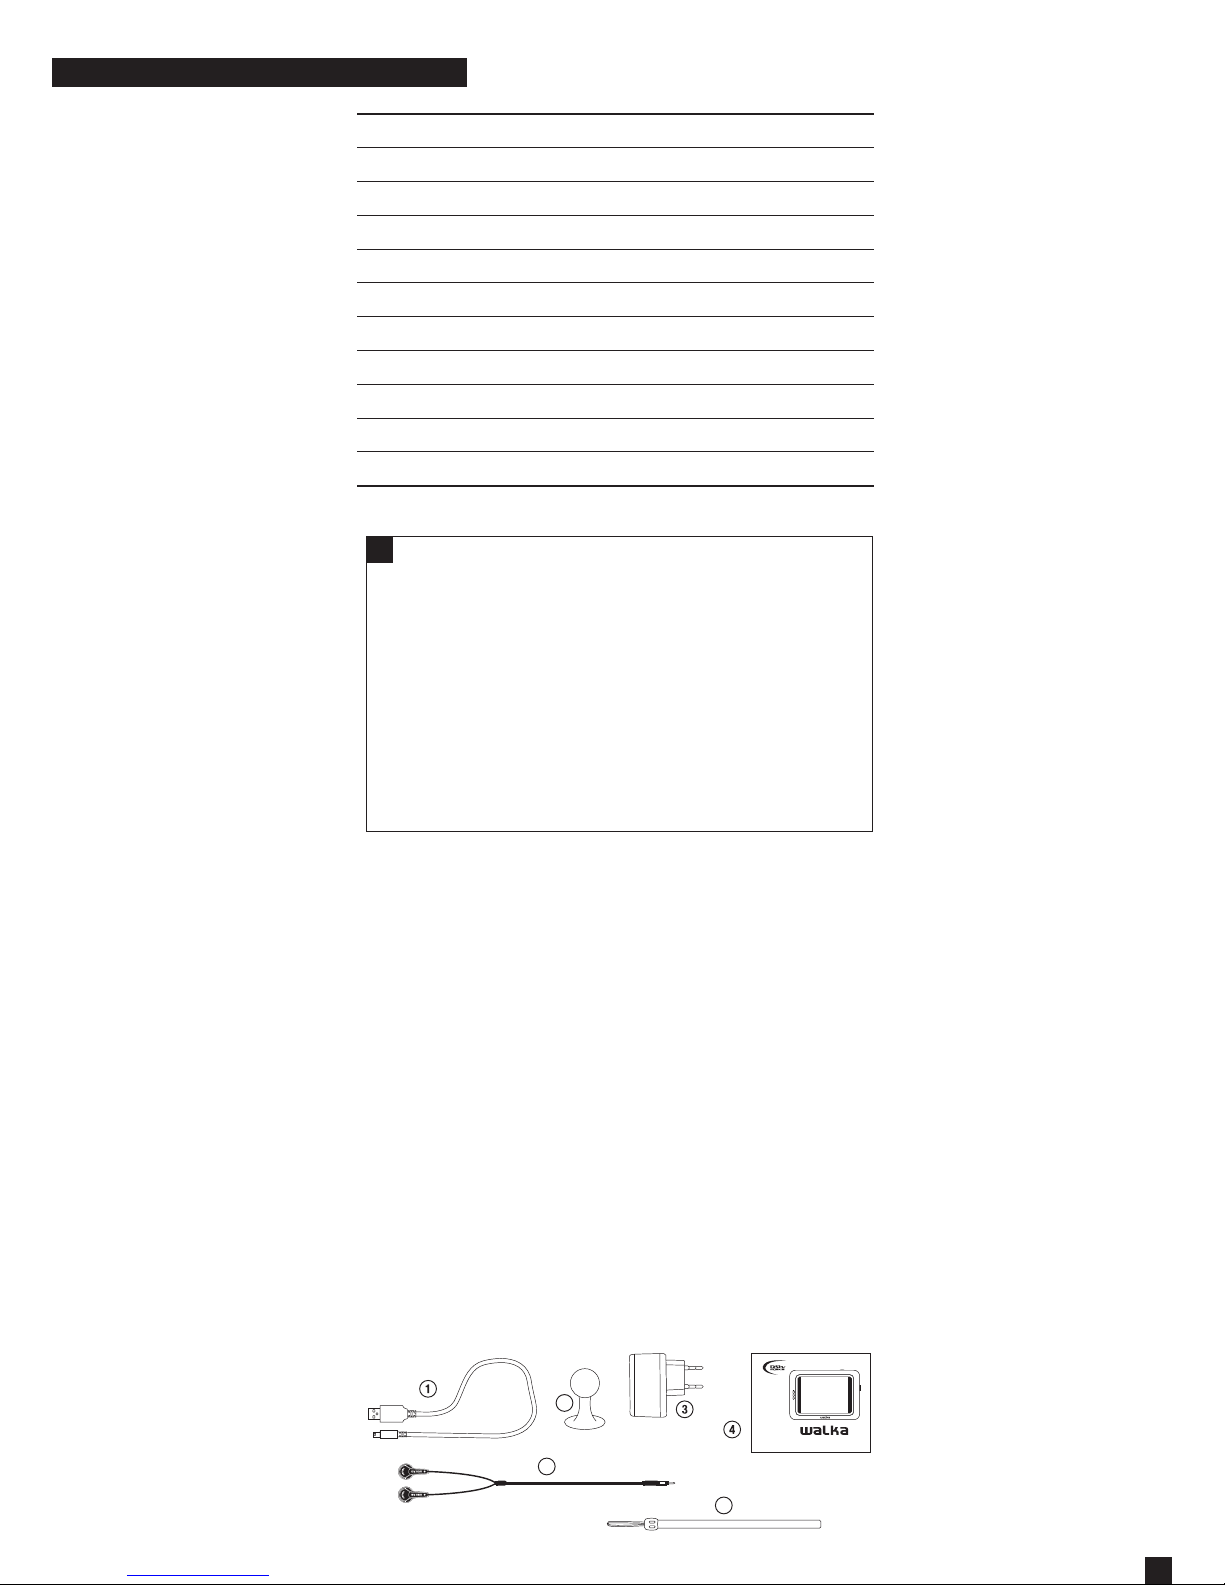
3
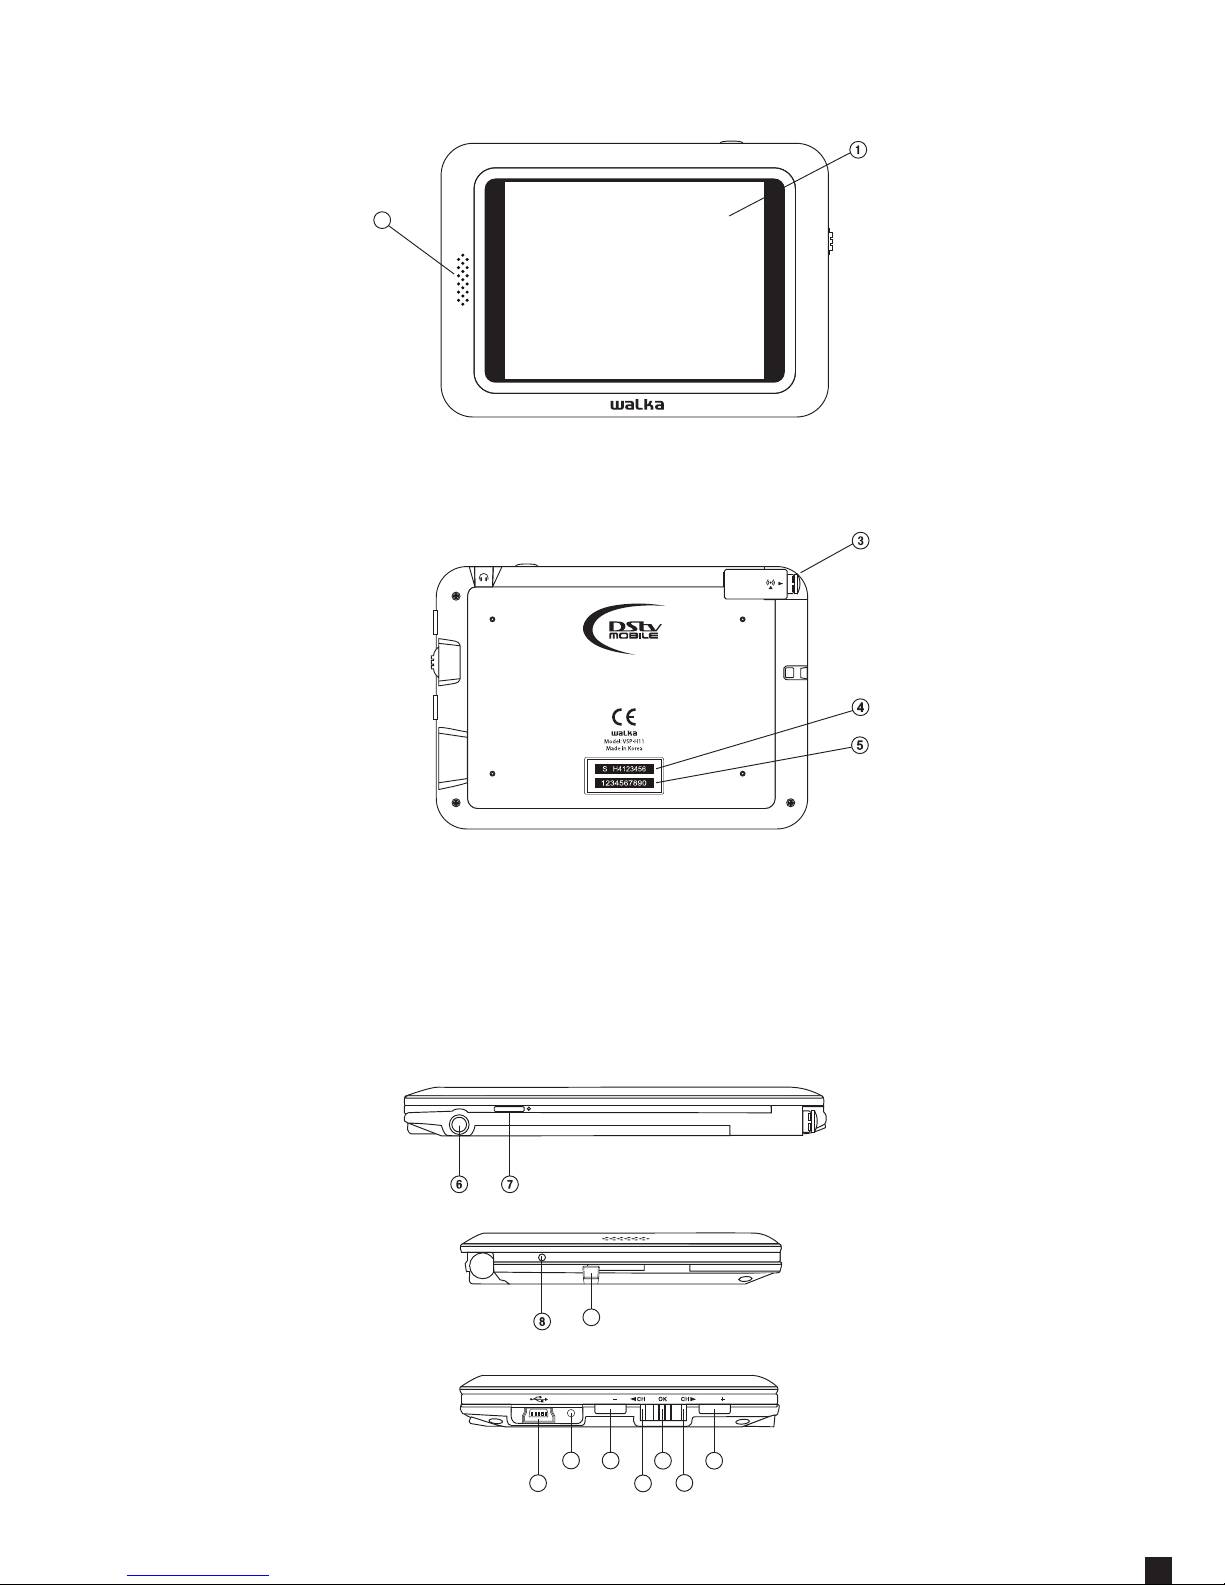
6. Earphone port.
7. Menu/Power button. Pressing and holding the
Menu/Power button will turn the device on or o.
A short press of the Menu/Power button once will
bring up or remove the menu on the device screen.
8. Reset button.
9. Lanyard loop.
10. USB port for charging the device or upgrading rmware.
11. Charge status LED, if the LED is green then the device
is charged. If the LED is red the device is charging.
12. Volume Down button.
13. Volume Up button.
14. Previous channel.
15. Next channel.
16. Selection Wheel, pushing the selection wheel will
select the on-screen menu item.
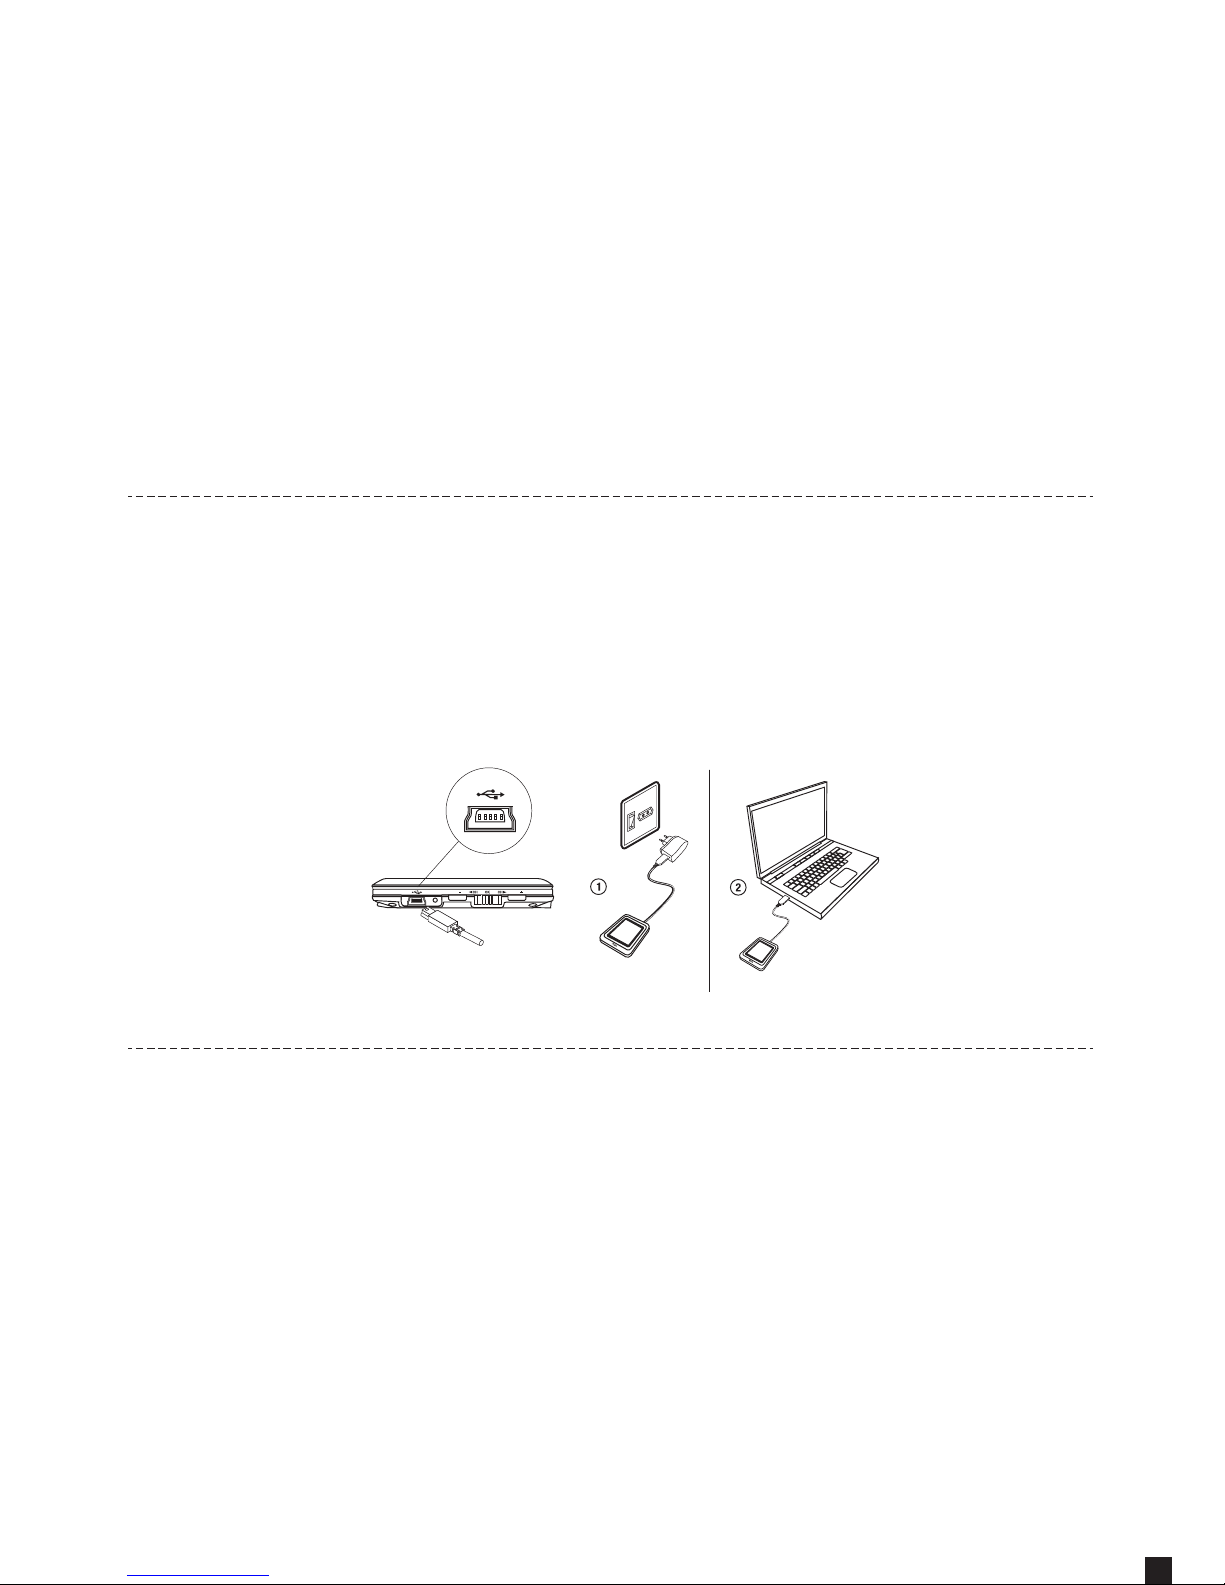
Step 2 : Charging your Walka
The Walka comes partially charged. There are 2 ways to
charge the Walka. Please note: charging via a power point
is faster than charging via the USB port on your computer.
1. Use the provided USB cable and charger.
2. Use the provided USB cable and plug the device into an
available USB Port on your computer.
VOL
VOL
Plug the USB cable into the USB port
Step 3 : Activate your Walka
You can activate your Walka using one of the two options
listed below.
Option 1:
Go to dstvmobile.mobi on your mobile phone, or
http://www.dstvmobile.com for a list of activation options.
Option 2:
Activate your Walka by calling MultiChoice customer care
(see customer care numbers on the next page) and
provide the customer service representative with the CA
number and the device serial number, found on the back
of the Walka.