Ducar DR40 User manual

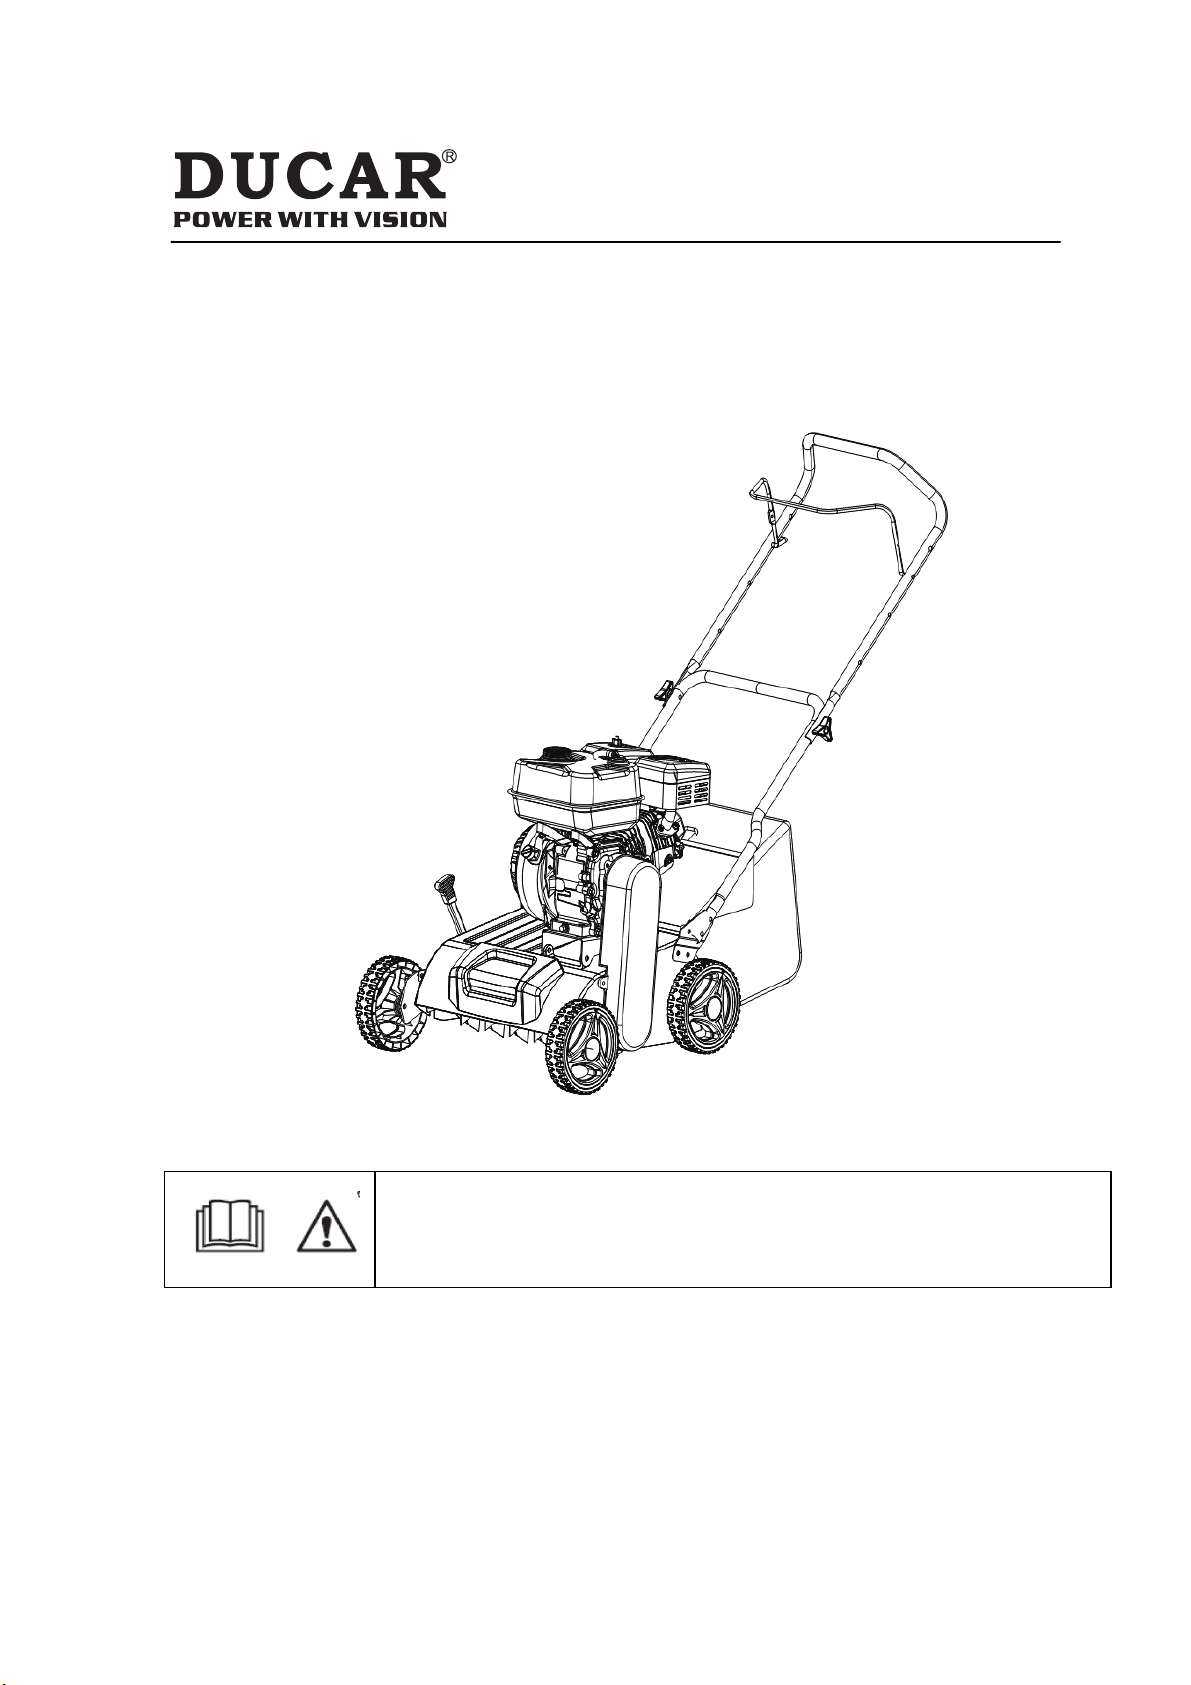
carer / Lawn dethatcher
eratr ana
de
Before using your scarifier, please read this
manual carefully to understand the proper use of
your unit. Keep this manual handy.

Contents
1. Know your scarifier ........................................................... 3
2. Symbols marked on the product ............................................. 3
3. General safety information ................................................. 4
3.1 Training....... ........................................................................ 4
3.2 Preparation ......................................................................... 4
3.3 Operation......................... .................................................... 5
4. Layout and items supplied ................................................. 9
4.1 Layout .............................................................................. 9
4.2 Items supplied .................................................................. 9
5. Proper use .......................................................................... 9
6. Technical data ................................................................... 10
7. Before starting the equipment .............................................. 10
8. Operation ........................................................................... 11
8.1 Starting the equipment (Fig.6-7) ....................................... 11
8.2 Adjusting the working depth (Fig.8) .................................... 11
8.3 Stopping ............................................................................... 11
9. Cleaning, maintenance, storage, transport and ordering of
spare parts ........................................................................ 12
9.1 Cleaning ......................................................................... 12
9.2 Servicing ....................................................................... 13
9.3 Preparing the equipment for storage ................................ 14
9.4 Preparing the device for transport .................................... 15
9.5 Ordering replacement parts ............................................. 15
10.
Cleaning, maintenance and ordering of spare parts .......... 15
11.
Troubleshooting guide ..................................................... 15
12.
Warranty......................................................................... 15
2
3.4 Maintenance and storage .................................................... 5

1.Knowyourscarifier
Readthismanualcarefully,observingtherecommendedsafetyinstructionsbefore,during
andafterusingyourlawnmower.Followingthesesimpleinstructionswillalsomaintainyou
lawnmoweringoodworkingorder.Familiarizeyourselfwiththecontrolsonyourmower
beforeattemptingtooperateit,butaboveall,besureyouknowhowtostopyourmowerin
anemergency.
2.Symbolsmarkedontheproduct
Readthisinstructionbookcarefullybeforeusingthelawnmower
andkeepitinasafeplaceforfuturereference
Keepbystandersaway.
Sharptines‐Bewareofcuttingfingersortoes
Removesparkplug leadbeforemaintenance
Wear eye protection
Wear ear protection
Carbonmonoxide (CO)danger
3

4
3. General safety information
IMPORTANT
READ CAREFULLY BEFORE USE
KEEP FOR FUTURE REFERENCE
Read the operating instructions carefully. Be familiar with the controls and the proper use of
the machine. Local regulations can restrict the age of the operator.
3.1 Training
a) Read the instructions carefully. Be familiar with the controls and the proper use of the machine.
3.2 Preparation
a) Never allow people unfamiliar with these instructions or children to use the machine. Local
regulations can restrict the age of the operator;
b) never operate the machine while people, especially children, or pets are nearby;
c) operators should take care to prevent accidents to themselves or other people and damage to
property;
d) wear ear protection and safety glasses at all times while operating the machine;
e) while operating the machine, always wear substantial footwear and long trousers. Do not operate the
machine when barefoot or wearing open sandals;
f) thoroughly inspect the area where the machine is to be used and remove all stones, sticks, wires,
bones and other foreign objects;
g) WARNING — Petrol is highly flammable;
h) store fuel in containers specifically designed for this purpose;
i) refuel outdoors only and do not smoke while refuelling;
j) add fuel before starting the engine. Never remove the cap of the fuel tank or add petrol while the
engine is running or when the engine is hot;
k) if petrol is spilled, do not attempt to start the engine but move the machine away from the area of
spillage and avoid creating any source of ignition until petrol vapours have dissipated;
l) replace all fuel tanks and container caps securely;
m) replace faulty silencers;
n) before using, always visually inspect to see that the tines, bolts are not worn or damaged. Replace
worn or damaged tines and bolts in sets to preserve balance;
o) for rear discharge appliances with exposed rear rollers, when used without a catcher, full eye
protection shall be worn.

5
b) operate the machine only in daylight or in good artificial light;
c) avoid operating the machine in wet grass or take additional precautions to avoid slipping;
d) always be sure of your footing on slopes;
e) walk, never run;
f) always work across the face of slopes, never up and down;
g) exercise extreme caution when changing direction on slopes;
h) do not operate the machine on steep slopes;
i) use extreme caution when reversing or pulling the machine towards you;
j) stop the tines if the machine has to be tilted for transportation. Do not operate the tines when crossing
surfaces other than grass, and when transporting the machine to and from the working area;
k) never operate the machine with defective guards, or without safety devices, for example deflectors
and/or catchers, in place;
l) do not change the engine governor settings or over-speed the engine;
m) disengage all tine and drive clutches before starting the engine;
n) start the engine carefully according to instructions and with feet well away from the tine(s);
o) do not tilt the machine when starting the engine, except if the machine has to be tilted for starting. In
this case, do not tilt it more than absolutely necessary and lift only the part which is away from the
operator;
p) do not put hands or feet near or under rotating parts. Keep clear of the discharge opening at all times;
q) never pick up or carry a machine while the engine is running;
r) avoid operating the machine in bad weather conditions especially when there is a risk of lightning;
s) stop the engine, disconnect the spark plug wire and for battery start machines remove the
ignition key:
1) before clearing blockages or unclogging chute;
2) before checking, cleaning or working on the machine;
3) after striking a foreign object. Inspect the machine for damage and make repairs before restarting
and operating the machine;
4) if the machine starts to vibrate abnormally (check immediately);
t) stop the engine, disconnect the spark plug wire and for battery start machines remove the
ignition key:
1) whenever you leave the machine;
2) before refuelling;
u) reduce the throttle setting during engine shut down and, if the engine is provided with a shut-off
valve, turn the fuel off at the conclusion of aerating or scarifying.
3.4 Maintenance and storage
a) Keep all nuts, bolts and screws tight to be sure the machine is in a safe working condition;
b) never store the machine with petrol in the tank inside a building where fumes can reach an open
flame or spark;
c) allow the engine to cool before storing in any enclosure;
d) to reduce the fire hazard, keep the engine, silencer, battery compartment and petrol storage area
free of grass, thatch, moss, leaves or excessive grease;
e) check the catcher frequently for wear or deterioration;
f) examine the machine regularly and replace worn or damaged parts for safety;
3.3 Operation

6
2 3
2 7 11 10 89
1 1 2
3
5
6
4
6
g) if the fuel tank has to be drained, this should be done outdoors. The drained fuel should be stored
in a container specifically designed for fuel storage or it should be disposed of carefully.

4
7
1
6
5
6
5
4b
3
4a 2
1
3 2 3
7
8
911
7
10

15
14
13
12
11
a
10
min. max.
A
B
9
4
8
8

4. Layoutanditemssupplied
4.1Layout(Fig.1/2)
4.2Itemssupplied
Pleasecheckthatthearticleiscompleteasspecifiedinthescopeofdelivery.Ifpartsare
missing,pleasecontactourservicecenterorthesalesoutletwhereyoumadeyourpurchase
atthelatestwithin5workingdaysafterpurchasingtheproductanduponpresentationofa
validbillofpurchase.Also,refertothewarrantytableintheserviceinformationattheend
oftheoperatinginstructions.
Openthepackagingandtakeouttheequipmentwithcare.
Removethepackagingmaterialandanypackagingand/ortransportationbraces(if
available).
Checktoseeifallitemsaresupplied.
Inspecttheequipmentandaccessoriesfortransportdamage.
Ifpossible,pleasekeepthepackaginguntiltheendoftheguaranteeperiod.
Danger!
Theequipmentandpackagingmaterialarenottoys.Donotletchildrenplaywithplastic
bags,foilsorsmallparts.Thereisadangerofswallowingorsuffocating!
5. Properuse
Theequipmentisdesignedforscarifyinglawnedareas.Thescarifyingprocessisdesignedfor
rippingmossandweeds‐completewiththeirroots.Outofthesoilandforlooseningthe
soil.Asaresultyourlawncanabsorbnutrientsbetterandiscleaned.Werecommendyouto
scarifyyoulawninthespring(April)andautumn(October).
Important!
Duetothehighriskofbodilyinjurytotheuser,theequipmentmaynotbeusedto
grindupbranchorhedgeclippings.Moreover,theequipmentmaynotbeusedasapower
cultivatortolevelouthighareassuchasmolehills.Forsafetyreasons,theequipmentmay
notbeusedasadriveunitforotherworktoolsortoolsetsofanykind.
Theequipmentistobeusedonlyforitsprescribedpurpose.Anyotheruseisdeemedtobe
acaseofmisuse.Theuser/operatorandnotthemanufacturerwillbeliableforanydamage
orinjuriesofanykindcausedasaresultofthis.
1. Enginestart/stoplever–enginebrake
2. Toppushbar
2fasteningnutsfortoppushbar
3. Bottompushbar
4fasteningscrewsforbottompushbar
4. Scarifyingdepth
4fasteningnutsforbottompushba
5. Ejectorflap
cablesecuringclips
6Grassbasket
2fasteningscrewsfortoppushbar
9
7.
8.
9.
10.
11. 1

Pleasenotethatourequipmenthasnotbeendesignedforuseincommercial,tradeor
industrialapplications.Ourwarrantywillbevoidedifthemachineisusedincommercial,
tradeorindustrialbusinessesorforequivalentpurposes.
6. Technicaldata
7. Beforestartingtheequipment
Theequipmentisdeliveredunassembled.Thegrassbasketandthecompletepushbarmust
beassembledandmountedbeforeusingtheequipment.Followtheoperatinginstructions
step‐by‐stepandusethepicturesprovidedasavisualguidetoeasilyassemblethe
equipment.
Fittingthetoppushbarholder(Fig.4a)
Positiontheupperpushbar(Fig.4a/Item2)suchthatitsholeslineupwiththeholesofthe
lowerbar.Screwthetubestogether,usingthescrews(Fig.4a/Item12)andnuts(Fig.4a/
Item8)sup‐plied.Usethesuppliedcableclips(Fig.4b/Item11)tosecurethethrottlecable
andtheengineStart/Stopcabletothelowerpushbar.
Fittingthedebrisbox(Fig.5)
Lifttheejectorflap(Fig.5/Item5)withonehandandattachthedebrisbox(Fig.5/Item6)
tothehandlefromaboveusingyourotherhand.
Important:Beforeyouattachthedebrisboxyoumustensurethattheengineisswitchedoff
andtherollerisnotrotating.
10
Engine DH212 1 cylinder, 4-stroke Engine oil (L) 0.6
Displacement (cc) 212 Blades (number) 18
Engine Power (kW) 4.3 Blade diameter (mm) 166
Engine rated speed
(r/min)
3600 Depth setting (mm) -15 - +5
Working speed (r/min) 2800 Working width(mm) 400
Fuel type Unleaded petrol Tank capacity (L) 3.6
Sound pressure level at
the operator position
dB(A)
82 Weight (kg) 34±5
Measured uncertainty k
dB(A)
2 Left handle vibration
(m/s2)
35
A-weighted sound power
level dB(A)
95 Right handle vibration
(m/s2)
35
Measured uncertainty k
dB(A)
2 Uncertainty k (m/s2) 0.5

8. Operation
Important!
Theenginedoesnotcomewithoilinit.Therefore,besuretoaddoilbeforestartingthe
engine.Theoillevelintheenginemustbecheckedeachtimebeforecarryingoutanywork.
Important!
Whentheenginebrakeleverisreleaseditmustreturntoitsinitialpositionandtheengine
muststop.Ifthisisnotthecase,donotusetheequipmentagain.
8.1Startingtheequipment(Fig.6–7)
Inordertoavoidanyunintentionalstart‐upsoftheengine,itcomesequippedwithan
enginebrake(Fig.6/Item1)whichmustbepressedatalltimeswhilstthedeviceisinuse,
otherwisetheenginewillstop.
Openthepetrolcock(Fig.7/ItemB).Setthecockto“ON”forthispurpose.
Setthechokelever(Fig.7/ItemC)tothe“Choke”position.
Note:Normallythechokeisnotrequiredtorestartawarmengine.
Movethethrottlelever(Fig.1/Item7)tothecenterposition.
Presstheenginebrakelever(Fig.6/Itemandpullthestartercable(Fig.7/ItemA)
forcefullyuntiltheenginestarts.
Allowtheenginetowarmupbrieflyandthensetthechokelever(Fig.7/ItemB)tothe
“RUN”Position.
Thespeedofthecutterunitcanbecontrolledusingthethrottlelever(Fig.6/Item7)
(tortoise=slow/rabbit=fast).
Important!
Alwayspullthestartercableslowlyuntilyoufeeltheinitialresistancebeforeyouthenpullit
quicklytostarttheengine.Donotallowthestartercabletowhipbackofitsownaccord.
Important!
Thescarifierrollerbeginstorotateassoonastheengineisstarted.
Important!
Neveropentheejectorflapwhenthemotorisrunning.Arotatingcuttingunitcancause
injuries.
Alwaysfastentheejectorflapcarefully.Theflapflipsbacktothe“Closed”positionbythe
tensionsprings!
Alwaysensurethatasafedistance(providedbythelonghandles)ismaintainedbetweenthe
userandthehousing.Beespeciallycarefulwhenscarifyingandchangingdirectiononslopes
andinclines.Maintainasolidfootingandwearsturdy,non‐slipfootwearandlongtrousers.
Alwayssca‐rifyalongtheincline(notupanddown).
Forsafetyreasons,thescarifiermaynotbeusedtoscarifyinclineswhosegradientexceeds
15degrees.
Usespecialcautionwhenbackingupandpullingthescarifier(trippinghazard)!
8.2Adjustingtheworkingdepth(Fig.8)
Tosettheworkingdepth,pushtheleverforset‐tingthedepth(Fig.8/Item4)gentlyaway
fromthedevice,settherequireddepthandthenlocktheleverbackintoposition.
8.3Stopping
Whentheworkisfinished,releasetherotorengagementlever.
11

Important!
For transport move the lever for setting the depth to the highest position.
Tips for proper working
It is recommended that you overlap scarifying paths a little. Try to scarify in straight lines for
a nice, clean look. Insodoing, the aeration swaths should always overlap each other by a
few centimeters in order to avoid bare strips.
As soon as grass clippings start to trail the scarifiers, it is time to empty the grass basket.
Important!
Before taking off the grass basket, switch off the motor and wait until the roller has come to
a stop.
To remove the grass basket, lift up the ejector flap with one hand, while unhooking the
basket with the other.
How frequently you should scarify your lawn is determined primarily by the speed at which
the grass grows and the hardness of the soil.
Keep the underside of the equipment clean and remove soil and grass build-up. Deposits
make it more difficult to start the aerator and decrease the quality of the scarifying.
Always scarify along inclines (not up and down). Switch off the motor before doing any
checks on the roller.
Important!
The roller rotates for a few seconds after the motor is switched off. Never attempt to stop
the roller. In the event that the rotating roller strikes an object, immediately switch off the
equipment and wait for the roller to come to a complete stop. Then inspect the condition of
the roller. Replace any parts that are damaged.
9.Cleaning,maintenance,storage,transportandorderingofspareparts
Important!
Never work on or touch conducting parts on the ignition unit with the engine running.
Always pull the spark plug boot from the spark plug before starting any work of care or
maintenance. Never perform any work on the machine while it is run- ning. Any work not
described in these Operating Instructions must be performed by an authorized service
workshop only.
9.1Cleaning
The scarifier should be cleaned thoroughly every time after it has been used. This
particularly applies to its underside and the blades. To do so tip the scarifier slightly on to its
side and remove the dirt.
Important. Before you tip the equipment, the fuel tank must be emptied to prevent petrol
leaking out. Ideally you should use a conventional petrol extraction pump for this purpose.
9.2Servicing
Checkingtheoillevel
Set the equipment down on a flat, level surface.
Unscrew the oil dipstick by turning it anti-clockwise. The oil level must be as shown in
Figure 10.
12

13
Maintenance Chart
First 5 Hours
• Change oil
Every 8 Hours or Daily
• Check engine oil level
• Check air lter
Every 50 Hours or Annually
• Change engine oil
• Check muer and muer guard and spark arrester (if applicable)
Annually
• Replace spark plug
• Check valve cleareance
9.2 Servicing
Checking the oil level
Set the equipment down on a flat, level surface. Unscrew the oil dipstick by turning it anti-clockwise.
The oil level must be as shown in page 8 - Figure 10.
Oil
Oil Recommendations
• We recommend the use of our Warranty Certied oils for best performance. Other high-quality
detergent oils are acceptable if classied for service SF, SG, SH. SJ or higher.
• Do not use special additives.
• Outdoor temperatures determine the proper oil viscosity for the engine. Use the chart to select
the best viscosity for the outdoor temperature range expected.
Note : Below 40°F (4 °C ) the use of SAE 30 will result in hard starting.
Above 80°F (27 ° C) t he use of 10W-30 may cause increased oil consumption.
Check oil level more frequently.
Before adding or checking the oil
• Place engine level.
• Clean the oil ll area of any debris.

/ŵƉŽƌƚĂŶƚ
Never run the engine with no or too little oil. This can cause serious damage to the engine.
Changingtheoil
a) Change the engine oil every year before the start of the season (in addition to the
informa- tion in the petrol service manual) when the engine is warm.
b) Use only recommended engine oil.
c) Place a suitable oil drip tray beneath the oil drain screw.
d) Remove the oil filler screw (Fig. 9 / Item A).
e) Undo the oil drain screw (Fig. 9 / Item B) and drain the oil into a suitable container.
f) Close the drain screw again when all the used oil has been drained.
g) Pour engine oil into the equipment as shown in page 8 - Figure 10.
h) Dispose of the used oil in accordance with applicable regulations.
Careandadjustmentofthecables
Oil the cables at regular intervals and check that they move easily.
Servicingtheairfilter
Soiled air filters reduce the engine output by supply too little air to the carburetor. Regular checks
are therefore essential. The air filter should be checked every 8 hours of use and cleaned if
necessary and replaced after 50 hours. If the air contains a lot of dust, the air filter should be
checked more frequently.
a) Remove the air filter as shown in Fig. 11-13.
b) Clean the air filter only by tapping it.
c) Assemble in reverse order
Important!
Never clean the air filter with petrol or inflammable solvents.
Servicing/Replacingthesparkplug
Check the spark plug for dirt and grime after 10 hours of operation and if necessary clean it with a
copper wire brush. Thereafter service the spark plug after every 50 hours of operation.
a) Pull off the spark plug boot (Fig. 14) with a twist.
b) Remove the spark plug using a spark plug wrench (Fig. 15).
c) Assemble in reverse order.
9.3Preparingtheequipmentforstorage
Caution
Do not empty the petrol tank in enclosed areas, near fire or when smoking. Petrol fumes can
cause explosions and fire.
a) Empty the petrol tank with a petrol suction pump.
b) Start the engine and let it run until any remai- ning petrol has been used up.
c) Change the oil at the end of every season. To do so, remove the used engine oil from a
warm engine and refill with fresh oil.
d) Remove the spark plug from the cylinder head. Fill the cylinder with approx. 20 ml of oil
from an oil can. Slowly pull back the starter handle, which will bathe the cylinder wall
with oil. Screw the spark plug back in.
e) Clean the cooling fins of the cylinder and the housing.
f) Be sure to clean the entire machine to protect the paint.
g) Store the machine in a well-ventilated place.
14

9.4Preparingthedevicefortransport
a) Drain the petrol tank using a petrol extraction pump.
b) Always let the engine run until it has used up the remainder of petrol in the tank.
c) Empty the engine oil from the warm engine.
d) Remove the spark plug boot from the spark plug.
e) Clean the cooling fins of the cylinder and the housing.
f) Remove the push bars if necessary. Ensure that the cables are not kinked.
9.5Orderingreplacementparts
Please quote the following data when ordering replacement parts:
a) Type of machine
b) Article number of the machine
c) Identification number of the machine
d) Replacement part number of the part required ( For our latest prices and
information please go to www.mticanada.ca )
10. Cleaning,maintenanceandorderingofspareparts
The unit is supplied in packaging to prevent its being damaged in transit. This packaging is
raw material and can therefore be reused or can be returned to the raw material system.
The unit and its accessories are made of various types of material, such as metal and plastic.
De- fective components must be disposed of as spe- cial waste. Ask your dealer or your local
council.
11. Troubleshootingguide
Fault Possible causes Remedy
The motor does
not start
Engine brake lever not
pressed
Spark plug defective
Fl k
Press the engine brake lever
Replace spark plug
Top up fuel
Engine does not
run smoothly
Air filter dirty
Spark plug worn
Choke open
Clean the air filter
Clean/Replace the spark plug
Set choke lever to “Run” position
The equipment
does not
operate
smoothly and
- Blades imbalanced - Have the blades replaced by a customer
service workshop.
Motor is
running, roller
- V-belt torn - Have the V-belt replaced by a cus- tomer
service workshop.
15
12. Warranty
Ducar power products are covered by a one-year limited consumer warranty.
Table of contents