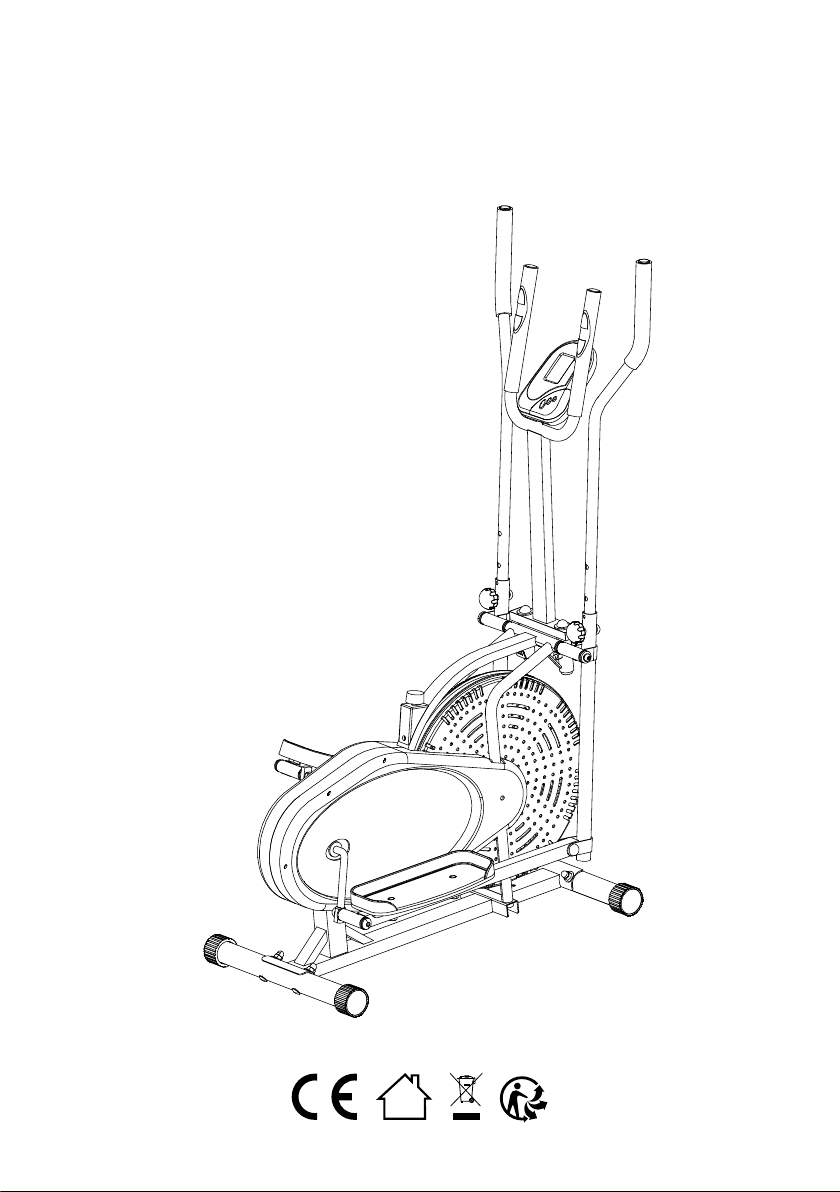
(NL) ELLIPTISCHE FIETS (K8.2D)
Dit apparaat is een stationair trainingsapparaat dat een combinatie
van fietsen, stappen en lopen simuleert zonder overmatige druk op de
gewrichten uit te oefenen, waardoor het risico op impactletsel afneemt.
Op dit apparaat kunt u een non-impact cardiovasculaire workout uitvoeren
met een lichte tot hoge intensiteit, afhankelijk van de weerstand die door de
gebruiker wordt ingesteld. Hierdoor worden de spieren van het boven- en
onderlichaam versterkt, terwijl de cardio-capaciteit wordt verhoogd en ook
uw lichamelijke fitheid wordt behouden.
GEBRUIKERSHANDLEIDING
ALGEMENE INFORMATIE
Lees alle instructies aandachtig door voordat u dit apparaat gebruikt. Bewaar
de handleiding om deze in de toekomst te kunnen raadplegen. De specificaties
van dit apparaat kunnen enigszins afwijken van de afbeeldingen en kunnen
zonder voorafgaande kennisgeving worden gewijzigd. Lees de veiligheids-
waarschuwingen en instructies zorgvuldig door voordat u het apparaat
monteert en voor het eerst gebruikt. Het niet opvolgen van de veiligheidswaar-
schuwingen en de instructies kan leiden tot persoonlijk letsel of schade aan
het apparaat. Bewaar alle waarschuwingen en instructies voor toekomstig
gebruik. Het apparaat is uitsluitend geschikt voor privégebruik, binnenshuis.
Het apparaat is niet geschikt voor semi-professioneel gebruik (zoals in zieken-
huizen, clubs, hotels, scholen, enz.) en commercieel of professioneel gebruik
(zoals fitnessclubs). Dit apparaat is niet bedoeld om gebruikt te worden door
personen (inclusief kinderen) met een handicap, fysieke, zintuiglijke of gees-
telijke gebreken of een gebrek aan ervaring en kennis, tenzij zij onder toezicht
staan van iemand die verantwoordelijk is voor hun veiligheid of deze persoon
hen heeft laten zien hoe het apparaat moet worden gebruikt. Dit apparaat is
uitsluitend bedoeld voor gebruik binnenshuis.
VEILIGHEIDSINFORMATIE
Neem de volgende voorzorgsmaatregelen in acht voordat u het apparaat
monteert en gebruikt.
1. Monteer het apparaat precies zoals beschreven in de gebruikershandleiding.
2. Controleer alle schroeven, moeren en andere verbindingen voordat u het
apparaat voor de eerste keer gebruikt en zorg ervoor dat het apparaat
veilig staat.
3. Plaats het apparaat op een droge, stabiele en vlakke plaats en houd het
uit de buurt van vocht en water.
4. Om vuil, enz. te voorkomen, moet u het apparaat plaatsen op een
geschikte ondergrond (zoals een rubber mat, een houten plank, enz.) in
het gebied waar het wordt gemonteerd.
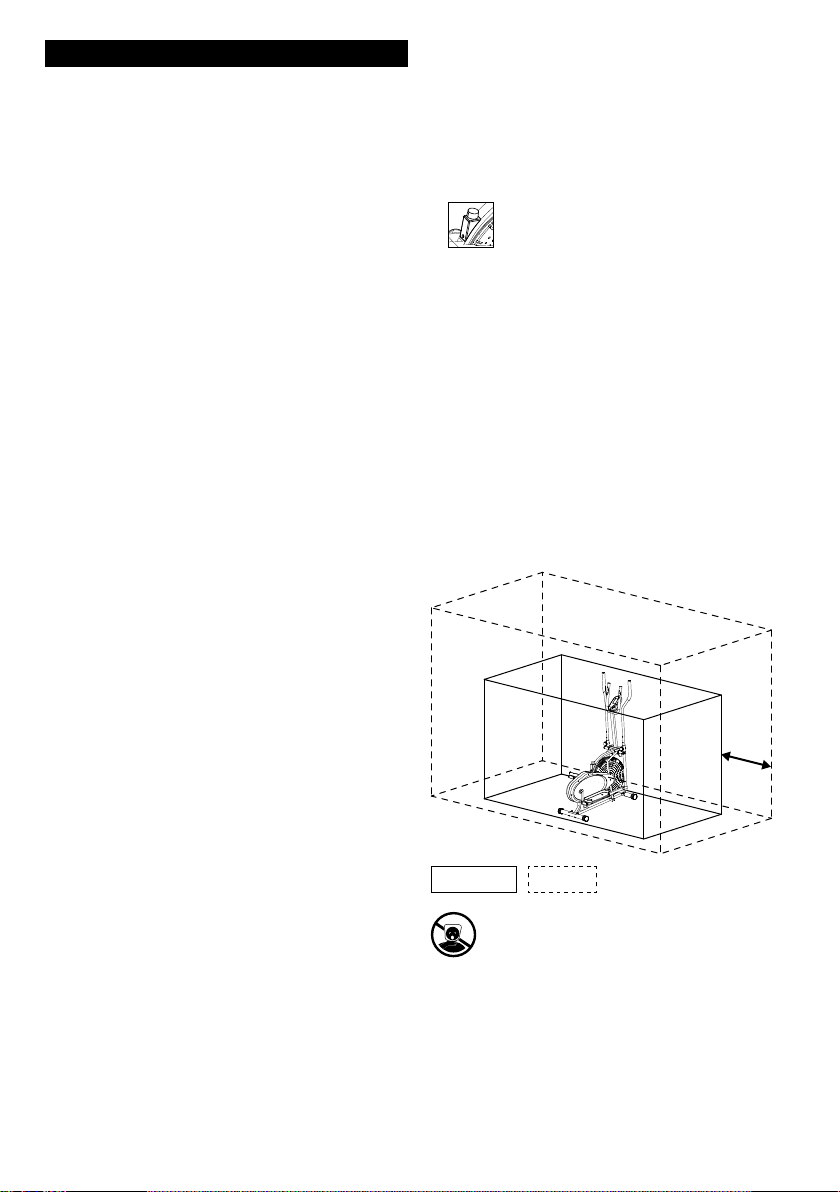
5. Verwijder alle voorwerpen binnen een straal van 2 meter van het
apparaat voordat u met een training begint.
6. Gebruik geen agressieve reinigingsmiddelen om het apparaat te reinigen;
gebruik alleen het meegeleverde gereedschap om het apparaat te
monteren of om onderdelen ervan te repareren. Verwijder zodra u klaar
bent met de training onmiddellijk alle zweetdruppels van het apparaat.
7. WAARSCHUWING! Voordat u met trainen begint, is het verstandig om uw
huisarts te bezoeken voor een gezondheidscontrole. Deze kan de maxima-
le inspanning (hartslag, watt, duur van de training, enz.) bepalen waaraan
u zichzelf kunt blootstellen en u nauwkeurige informatie geven over de
juiste houding tijdens de training, de doelen van de training en uw dieet.
8. Te veel oefenen kan leiden tot ernstig letsel of de dood. Stop onmiddellijk
met trainen als u zich slap voelt.
9. In geval van misselijkheid, duizeligheid, pijn op de borst of een ander
lichamelijk ongemak, moet u onmiddellijk stoppen met uw workout en
een arts raadplegen.
10. Het apparaat mag uitsluitend worden gebruikt voor het beoogde doel,
d.w.z. workouts voor het hele lichaam voor volwassenen.
11. Zorg ervoor dat het apparaat slechts door één persoon tegelijk wordt
gebruikt. Het maximale gebruikersgewicht is 100 kg.
12. Dit apparaat mag worden gebruikt door kinderen vanaf 14 jaar, evenals
door personen met verminderde lichamelijke, zintuiglijke of geestelijke
vermogens, of mensen met weinig ervaring en kennis, mits zij worden
begeleid of geïnstrueerd over het veilige gebruik ervan en ook de
potentiële risico's van dergelijk gebruik begrijpen. Houd kinderen die niet
in de gaten worden gehouden uit de buurt van het apparaat.
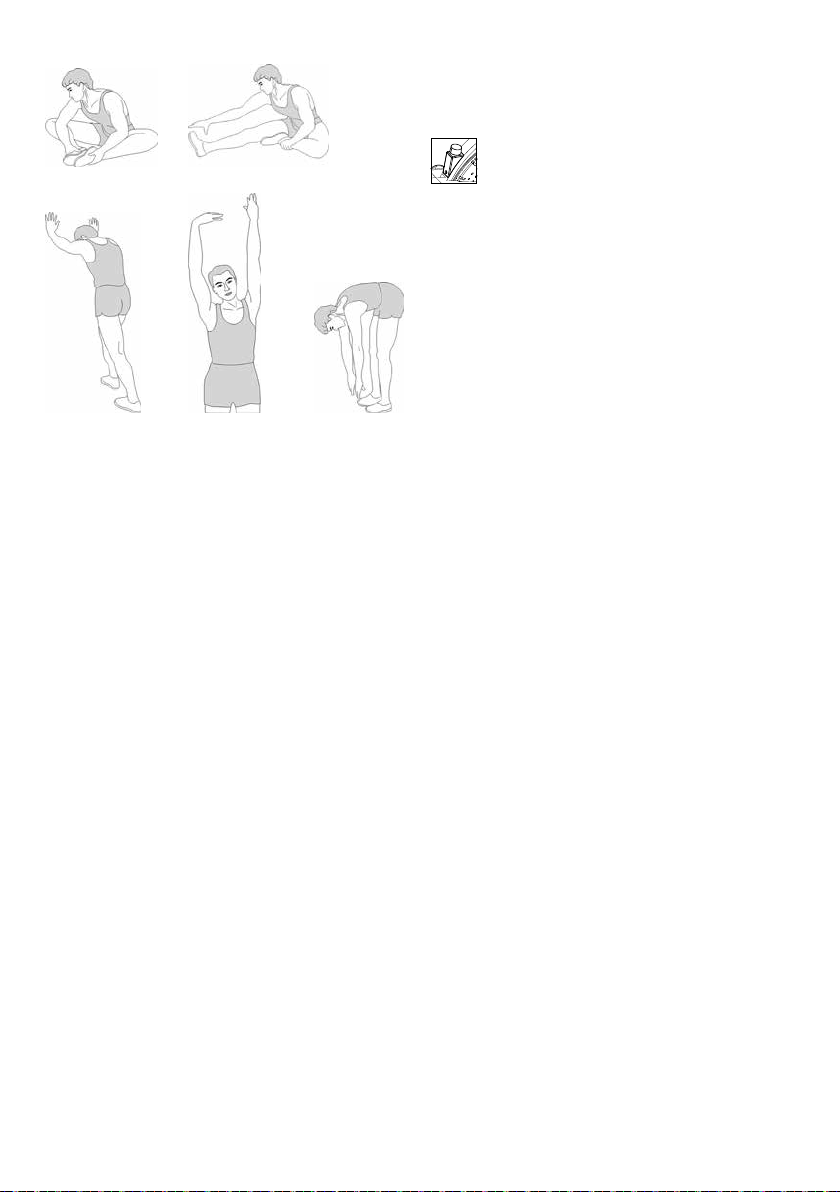
13. Om spierpijn en -kramp te voorkomen, moet u elke workout beginnen
met opwarmen en eindigen met afkoelen. Vergeet niet om aan het einde
van de workout te rekken en strekken.
14. Gebruik het apparaat alleen in omgevingen waar voldoende ventilatie is.
15. Gebruik het apparaat op een vlakke ondergrond en zorg ervoor dat er
minstens 100 cm vrije ruimte rondom het apparaat is.
16. Gebruik het apparaat niet wanneer onderdelen daarvan beschadigd of
defect zijn.
17. Houd uw handen, voeten en andere lichaamsdelen, haar, kleding,
sieraden en andere voorwerpen uit de buurt van de bewegende delen.
18. Open het apparaat niet zonder overleg met uw dealer. Train alleen op het
apparaat wanneer het in een goede staat is.
19. Draag op het apparaat sportkleding en -schoenen die geschikt zijn
voor fitnesstraining. Uw sportschoenen moeten geschikt zijn voor
deze hometrainer.
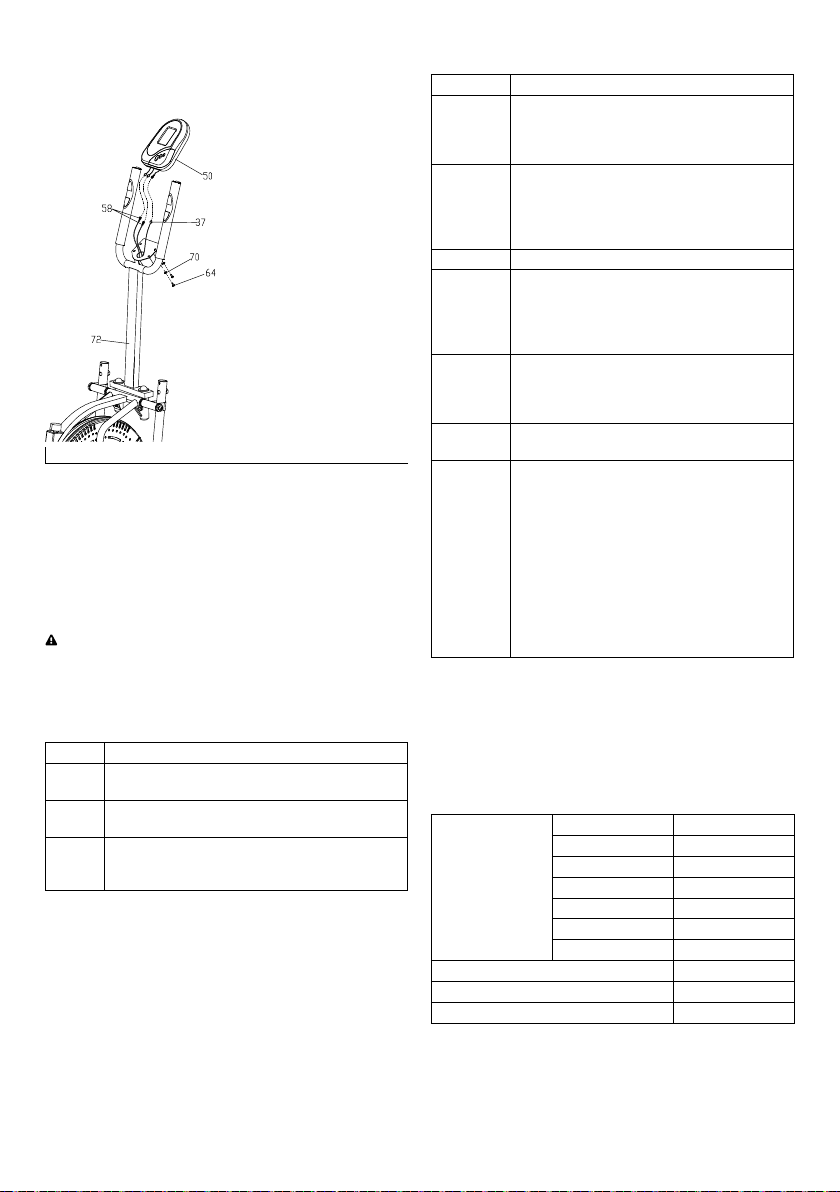
20. Het remsysteem kan worden afgesteld door de spanningsrege-
laar (36) rechtsom te draaien om de weerstand te verhogen
en linksom om de weerstand te verlagen.
21. Let vooral op de slijtage-gevoelige onderdelen, zoals de kettingkast,
pedalen, de schuimrubberen handgrepen, de frictieriem, de einddoppen
en de bouten die vaak de grond of de verbindingspunten raken. Het
veiligheidsniveau dat dit apparaat biedt, kan alleen worden gehandhaafd
als slijtage-gevoelige onderdelen regelmatig worden gecontroleerd en
gerepareerd. Vervang defecte onderdelen onmiddellijk en/of gebruik het
apparaat niet tot het is gerepareerd.
22. Het apparaat beschikt niet over een vliegwiel; daarom kunnen de bewegen-
de delen niet onmiddellijk tot stilstand komen. Houd tijdens een workout het
handvat goed vast om ongecontroleerde bewegingen te voorkomen.
23. Het apparaat moet volledig tot stilstand zijn gekomen, voordat u er
vanaf stapt.
24. De vrije ruimte moet in alle richtingen meer dan 1 meter bedragen vanaf
de punten in het trainingsgebied waar het apparaat wordt aangeraakt.
De vrije ruimte moet ook een ruimte bevatten waar u in geval van nood
kunt afstappen. De grootte van de vrije ruimte kan worden gedeeld als
apparaten naast elkaar worden geplaatst.
25. WAARSCHUWING! Systemen voor de bewaking van uw hartslag kunnen
onnauwkeurig zijn. Te veel oefenen kan leiden tot ernstig letsel of de
dood. Stop onmiddellijk met trainen als u zich slap voelt.
26. Wanneer u op het apparaat stapt of er af stapt, moet u er voor zorgen dat
het pedaal in de laagste stand staat.
1 m
Trainingsruimte Vrije ruimte
WAARSCHUWING! Laat verpakkingsmateriaal niet onbeheerd
rondslingeren. Het kan gevaar opleveren wanneer kinderen
ermee spelen. Kans op verstikking!


 Service manual")