Dutch Pinball –Technical Support TBL FAQ rev 0.51
Reseat the RAM memory on the PC-board ....................................................................................38
Rug Toy FAQ rel 0.50.........................................................................................................................39
Principle of operation....................................................................................................................40
Rugtoy makes noise when moving into third position....................................................................42
Rugtoy makes noise when moving into fourth and final position...................................................43
Shots to the rugtoy are not registered...........................................................................................44
The Rugtoy doesn’t run smoothly..................................................................................................45
Test the Rugtoy.............................................................................................................................47
Testing of the switches..............................................................................................................47
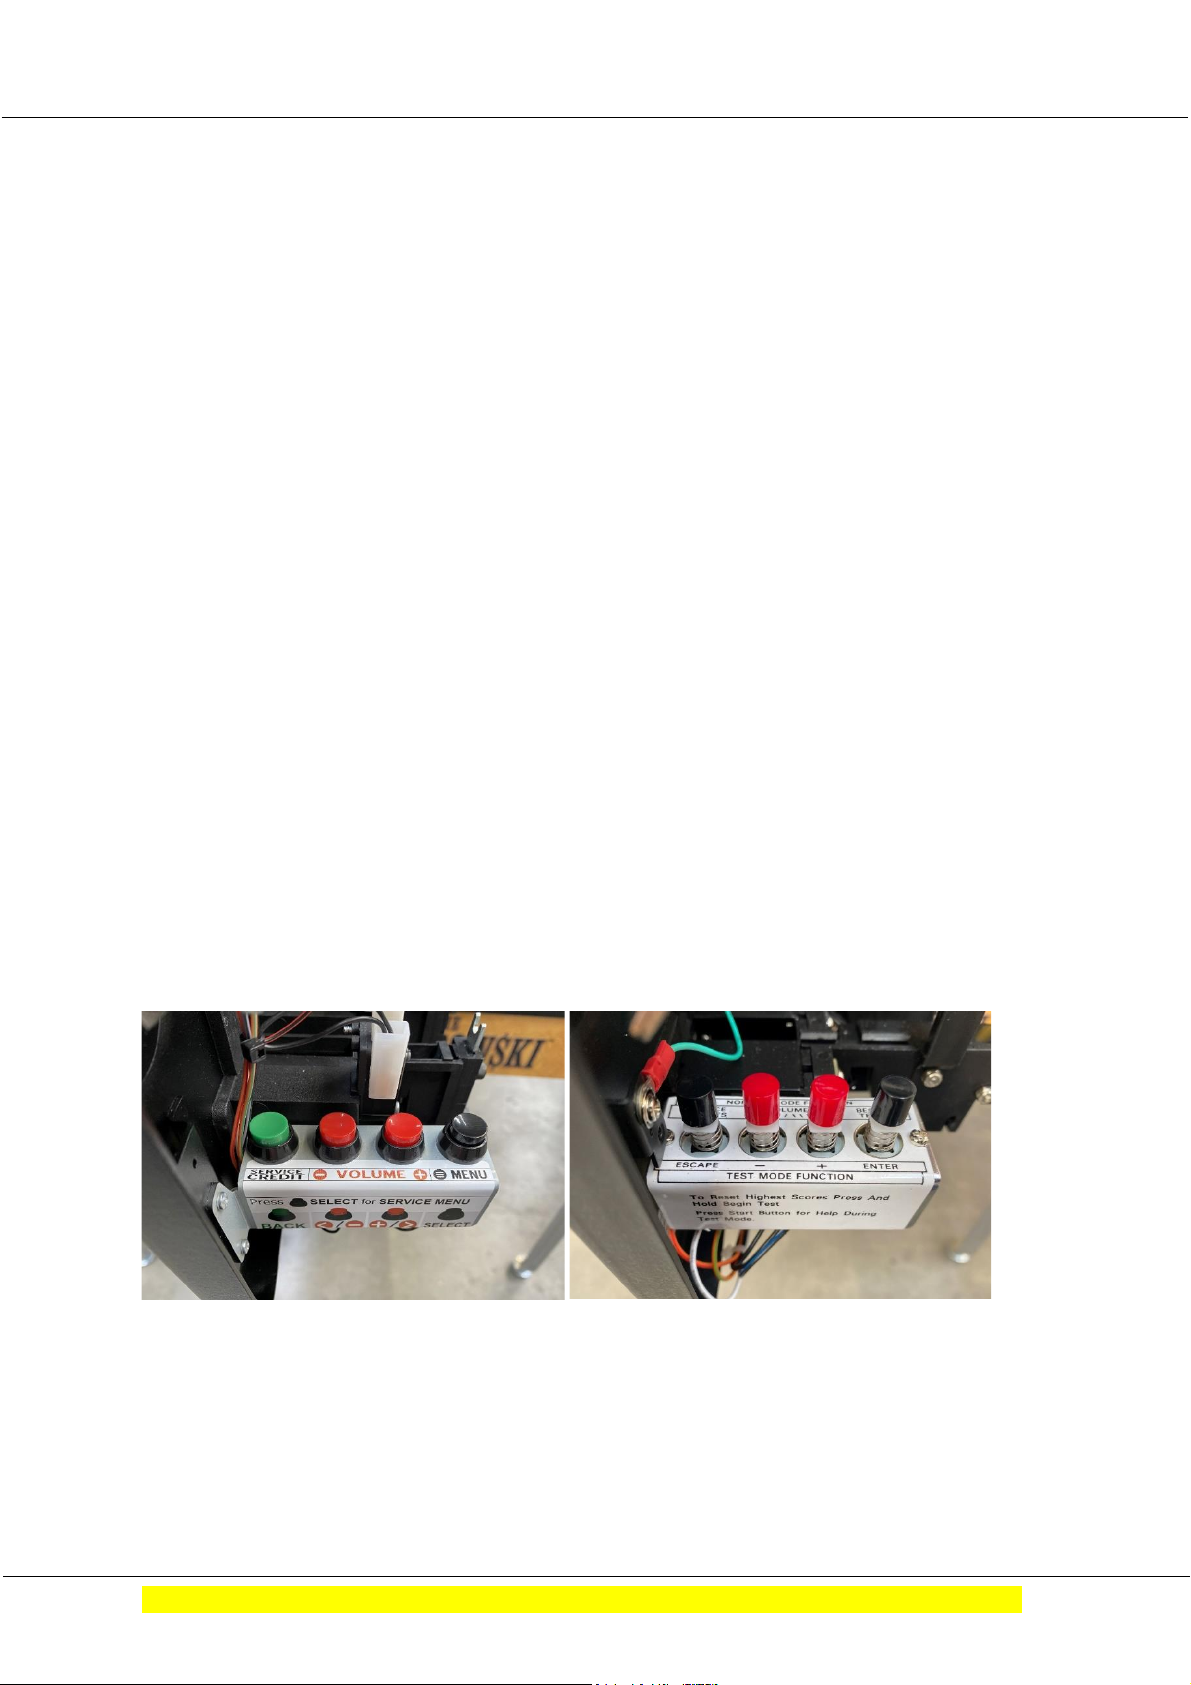
Coin Door buttons.........................................................................................................................47
Menu function ..............................................................................................................................48
Test Menu.....................................................................................................................................49
Switch test ................................................................................................................................49
Testing of the Rug Stepper motor..............................................................................................50
Mini PlayField (MPF) Operations FAQ rel 0.70...................................................................................53
General overview..........................................................................................................................54
Working of the Cartoy...................................................................................................................54
Switch overview............................................................................................................................55
Cardoor stutters in open position..................................................................................................56
Cardoor stutters in closed position................................................................................................57
MPF Overview in TBL ....................................................................................................................58
Upper flipper doesn’t work ...........................................................................................................59
Ball comes down Walter ramp after Jesus ramp was shot .............................................................59
Upper flipper is weak and difficult to make loopshots ...................................................................60
Test functionality ..........................................................................................................................63
Switch test ................................................................................................................................63
LED tests ...................................................................................................................................64
Stepper motor test....................................................................................................................64
Mini PlayField (MPF) Removal and installation guide rel 0.53............................................................67
MPF out of TBL..............................................................................................................................68
MPF back in the TBL......................................................................................................................73
Switch test ................................................................................................................................75
LED tests ...................................................................................................................................75
Stepper motor test....................................................................................................................76
Step 7 –Wrap up ..........................................................................................................................77
Operate TBL from keyboard rel 0.50 .................................................................................................78