Dynasonic MT-1
how to record
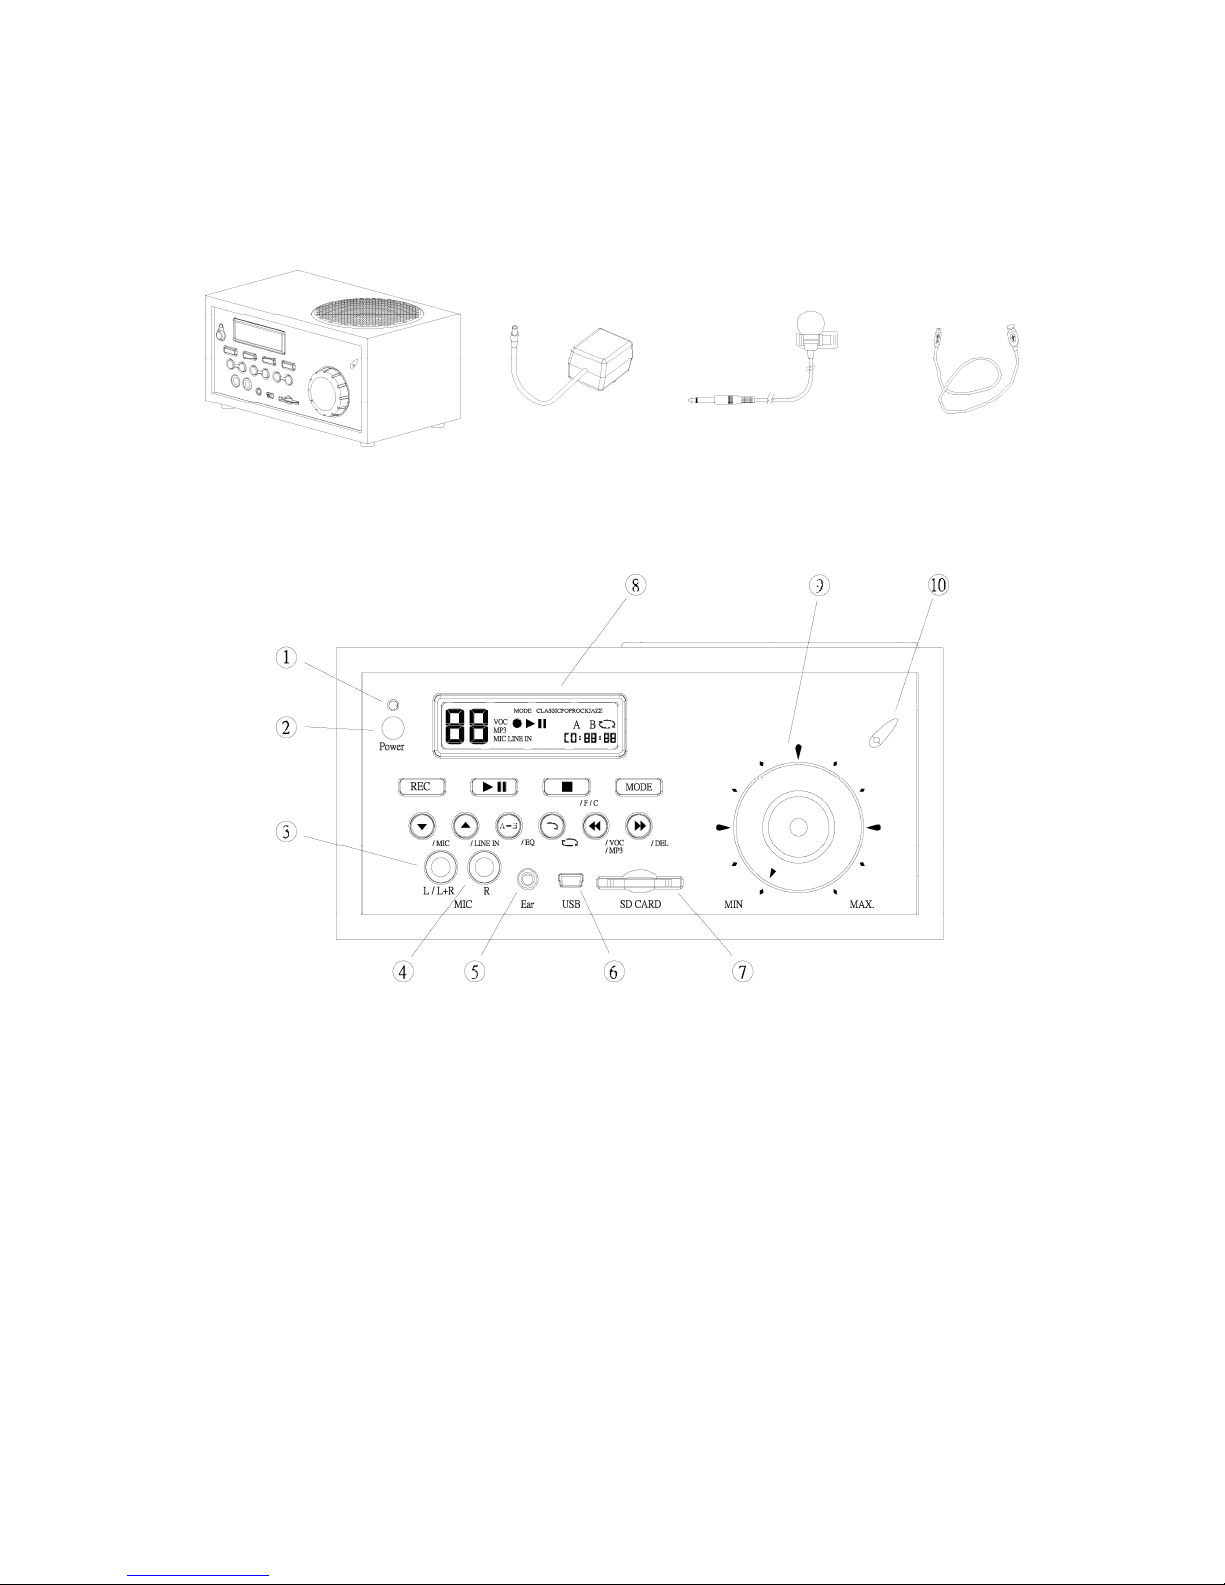
1. The machine can only record in VOC mode. To change to VOC mode, press + ;
when the LCD display shows VOC (1), you are in VOC mode.
2. After that you need to decide if you want to record onto the built-in flash memory or
into an installed SD card. Press + to change between flash memory (F) and SD
card (C) (2).
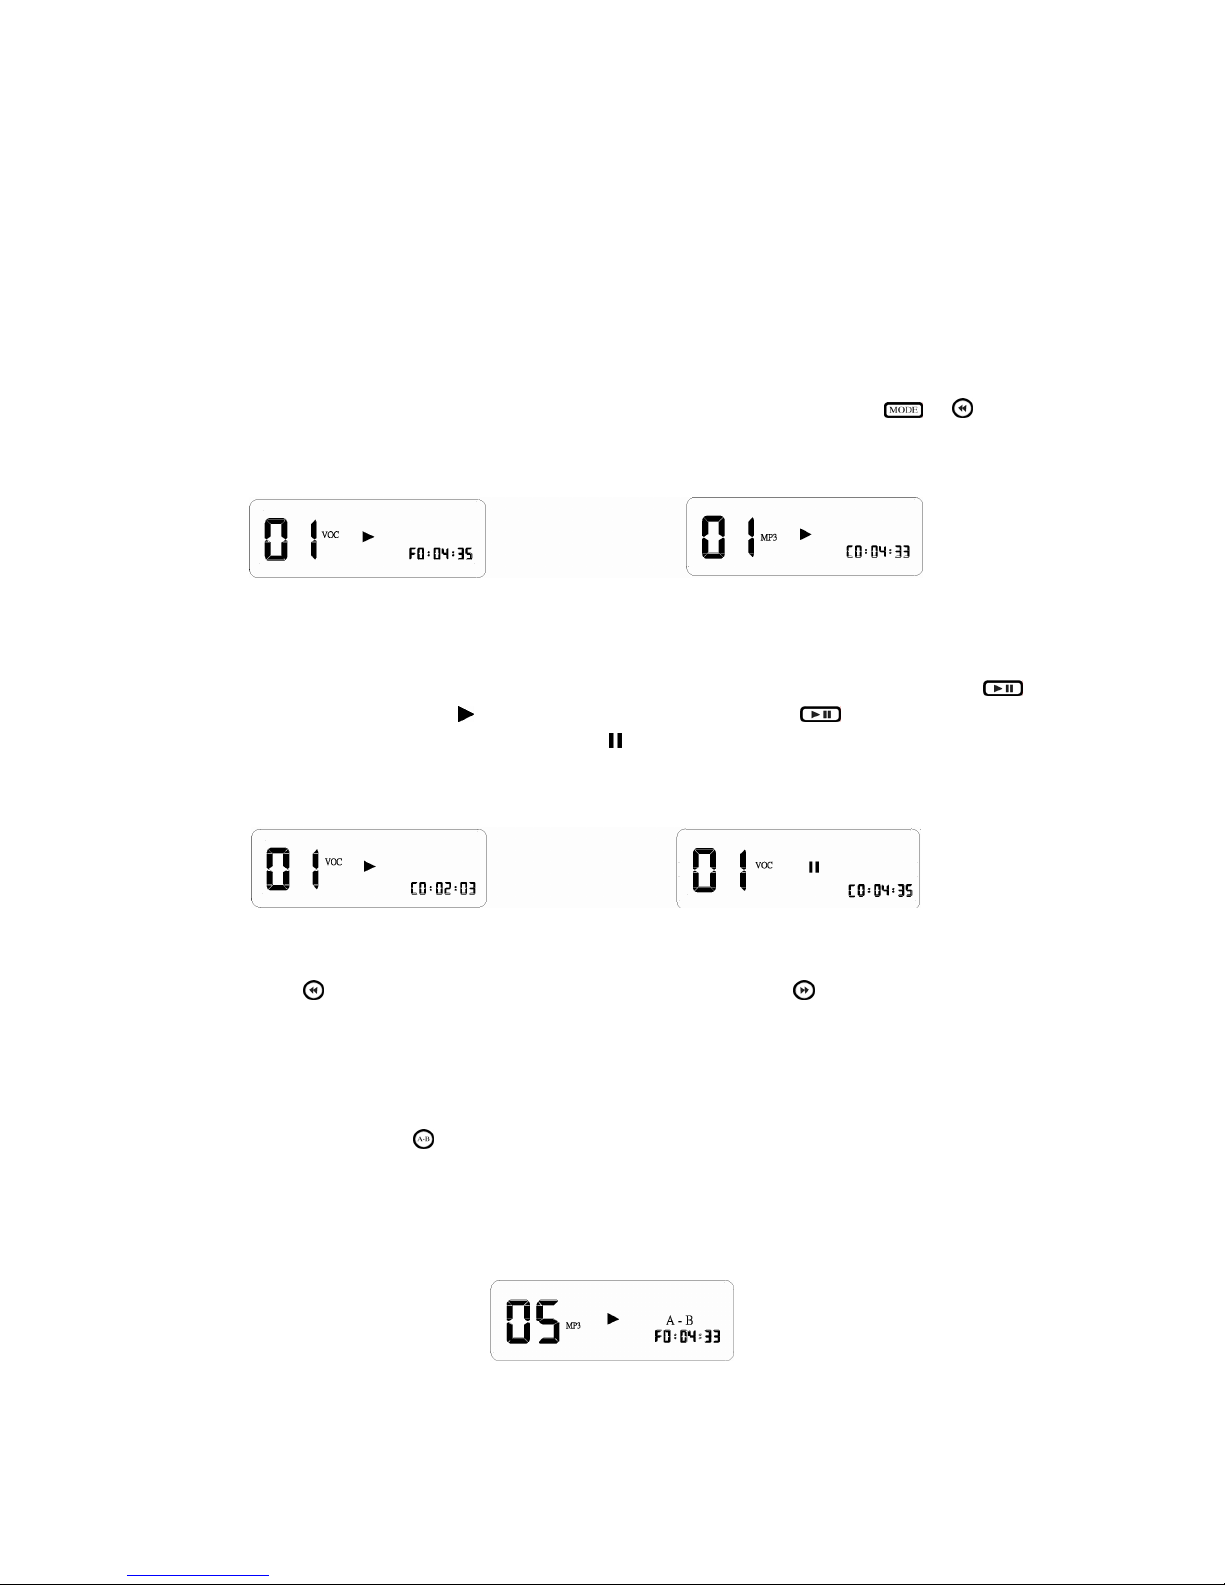
3. Press / to select the record track in the range from 01 to 99 (3), the press (4)
to start the actual recording. The clock will start running, which means that the
recording is in progress (5). Press to finish recording.
4. If the track you want to record has already been used, the LCD display will show to
remind you. You need to delete this file / track before you can start a new recording
instead recording (please check the Delete tracks section for more details).
5. When there are less than 30 seconds available for recording, the LCD display will start
to count down from 30 (29, 28, ...). Please use a new SD card or stop recording in that
case.
record from microphones
1. The device is equipped with an built-in microphone and two extension microphone
jacks. The three microphone sources will be mixed. You can turn off the built-in
microphone by pressing + – MIC will disappear in the display (6).
2. The signal provided by the installed microphone is stereo. If you use one external
microphone plugged into the left input jack, its signal will be recorded stereo. If you
plug in two microphones to the left and right input jacks, the two signals will be
recorded separated to the left and right channels.
record from Line In source
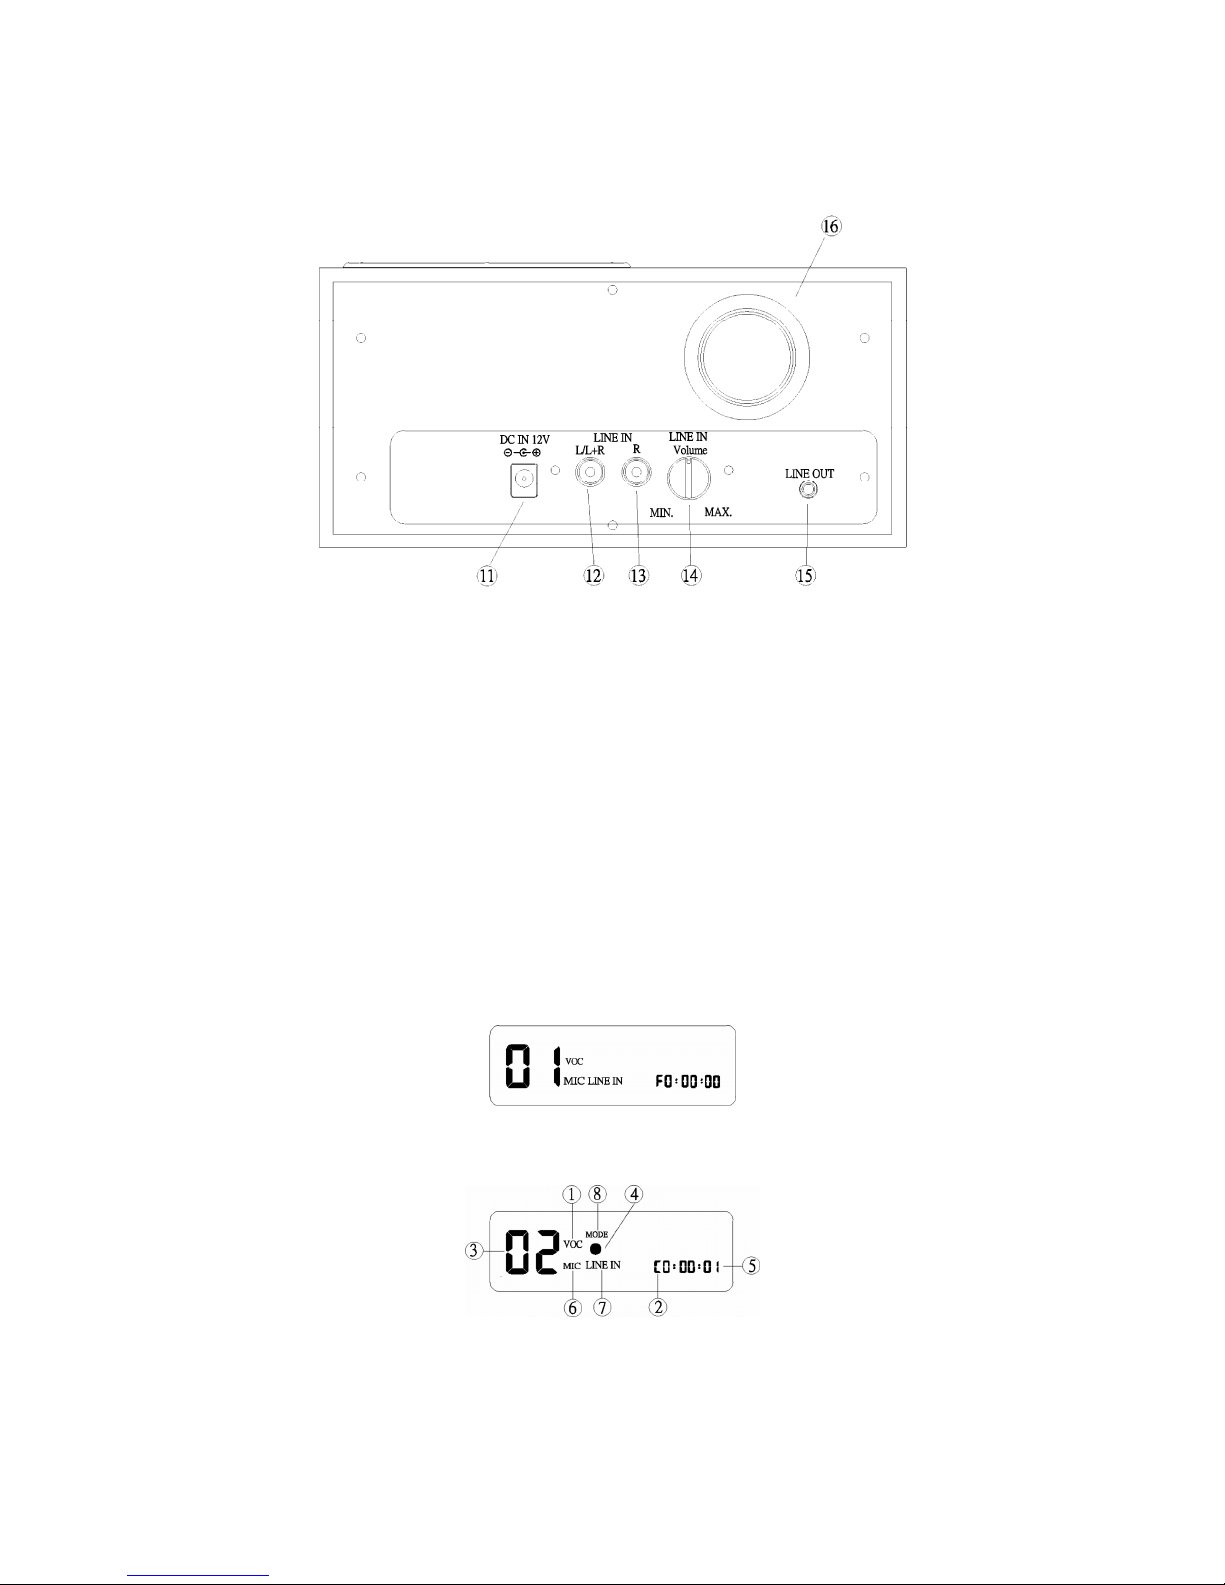
1. The machine may record from Line In sources, such as CD players, tape decks, radios,
etc. Connect a cable from the Line In jack on the back panel to the Line Out of your
source. If the LCD display shows LINE IN (7), the device is prepared to record from
the Line In, otherwise press + to activate recording from Line In.
2. The Line In record level is adjustable via the knob on the back panel of the unit.
3. The signal from the Line In will be mixed with the signal from the microphones. If you
don’t want that, turn the microphone input off as described in the last section.
suitable position to record instruments
1. To produce best recording results, we suggest that you to put the device at a distance of
around 60cm from the instruments, at table height.
2. As each instrument produces different sound levels, the position for the unit should be
adjusted, depending on the sound level of the instruments you are recording.
3. In situations where multiple instruments are played simultaneously, the unit should be
positioned near to instruments with smaller sound levels – or you need to use
microphones for the different instruments.
4. If you want to record speech (e.g. from a teacher) together with the playing of
instruments, it is best if the speaker uses the tie-clip microphone to improve the results.
9