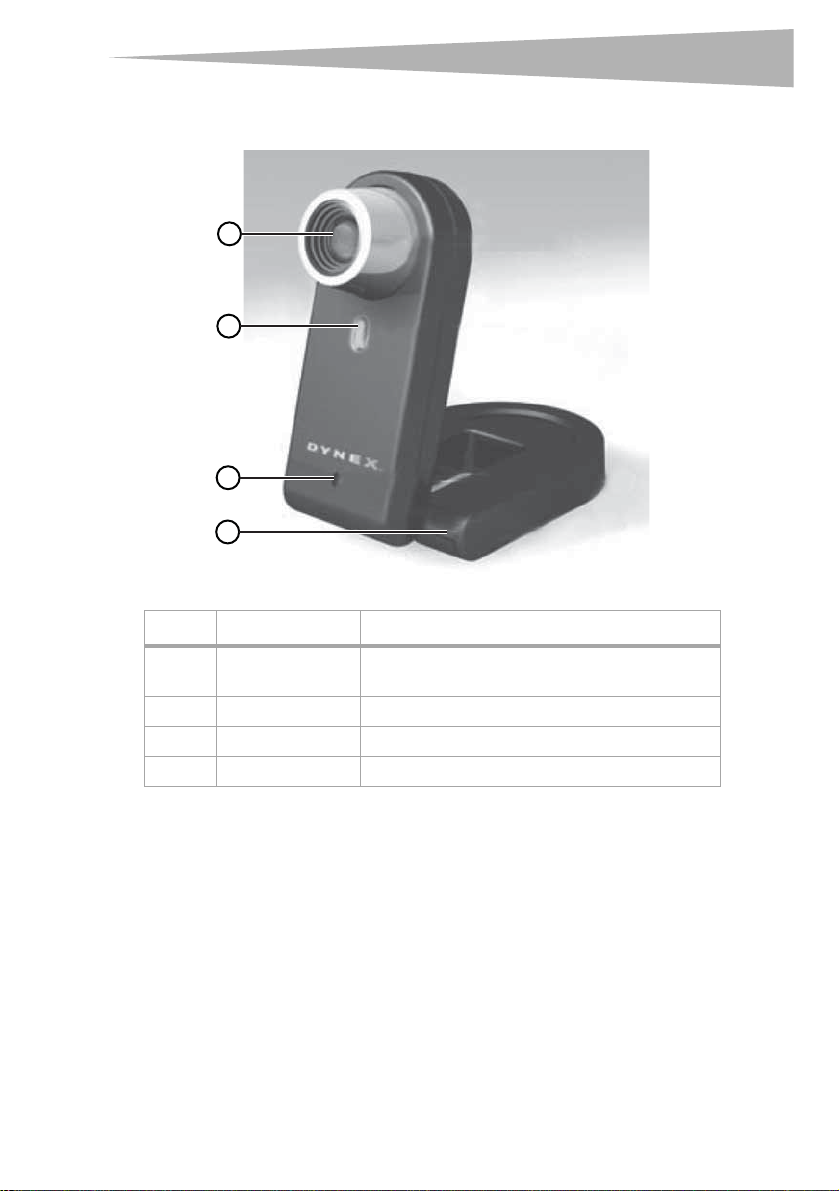
4Setting up the Web camera
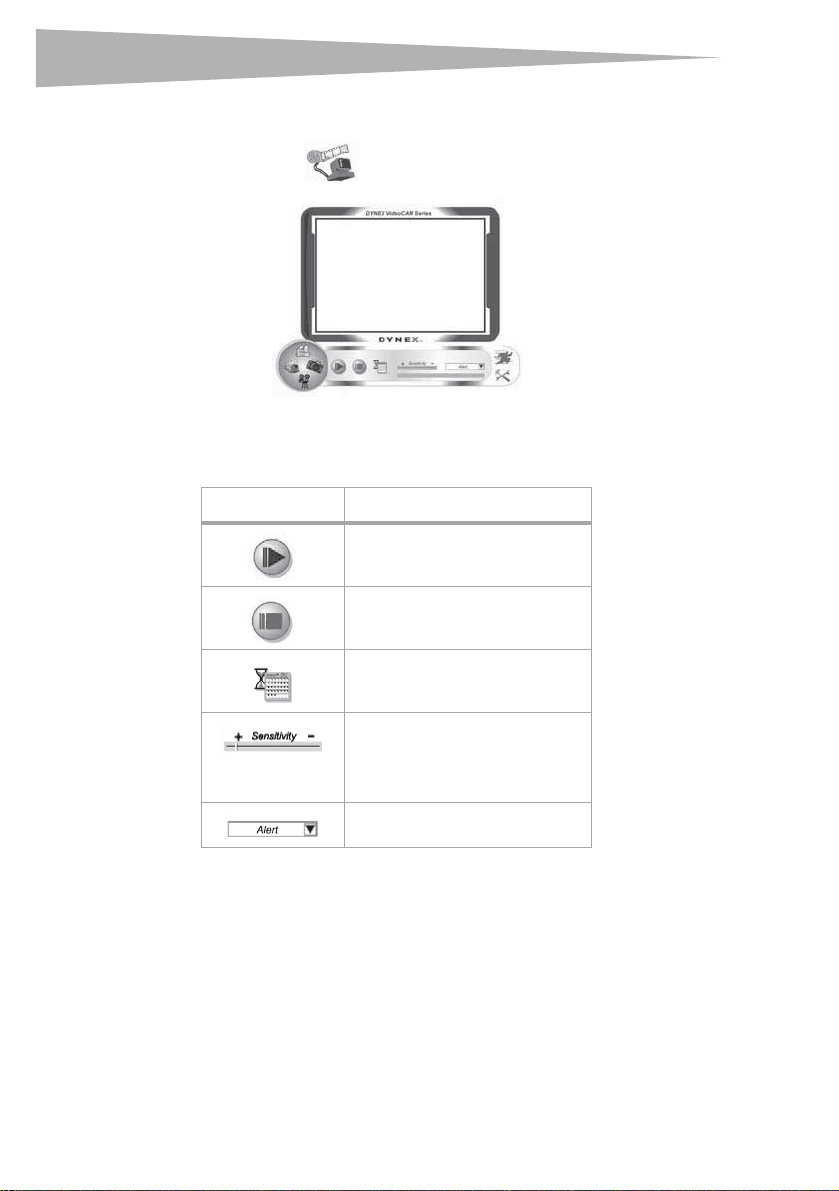
Setting up the Web camera
Installing the drivers
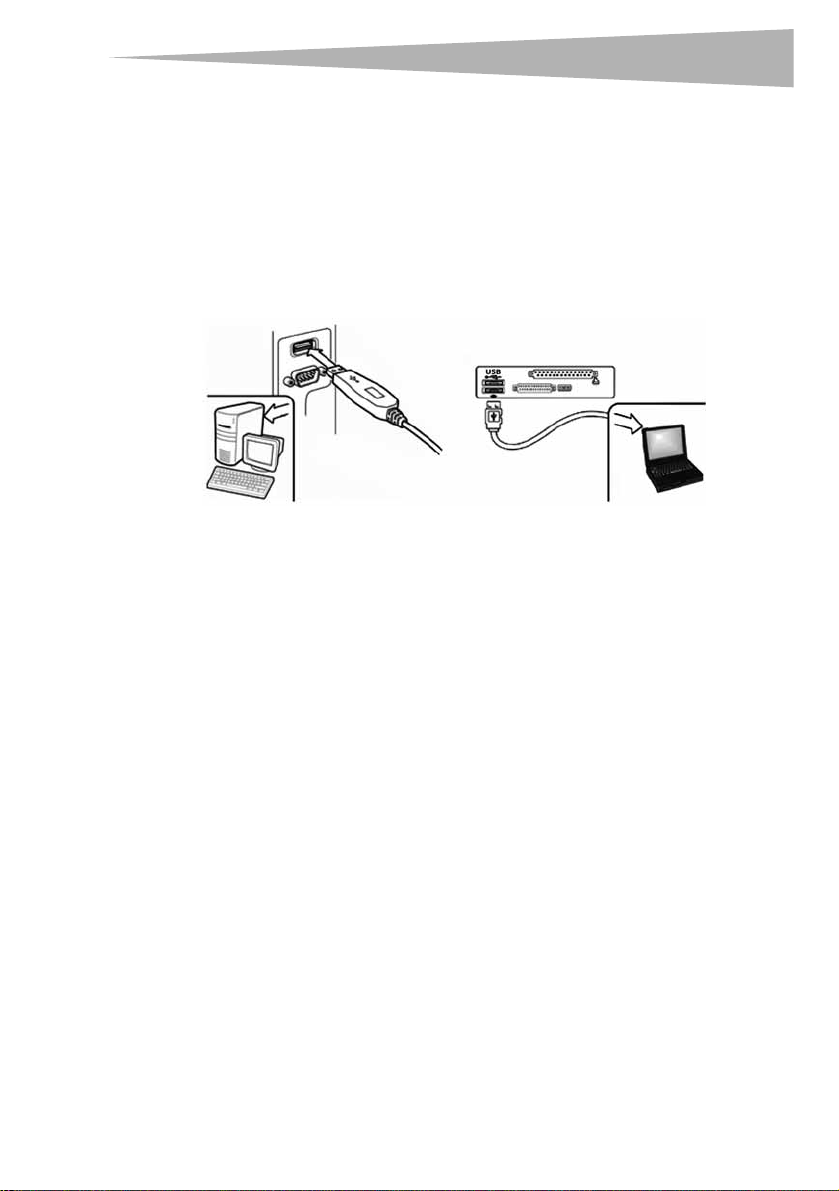
Note: Install the driver first, then connect the Web camera to a USB port on your computer.
Windows Environment
To install the Windows driver:
1Insert the Dynex Installation CD into the CD drive of your computer. The installation
program automatically starts.
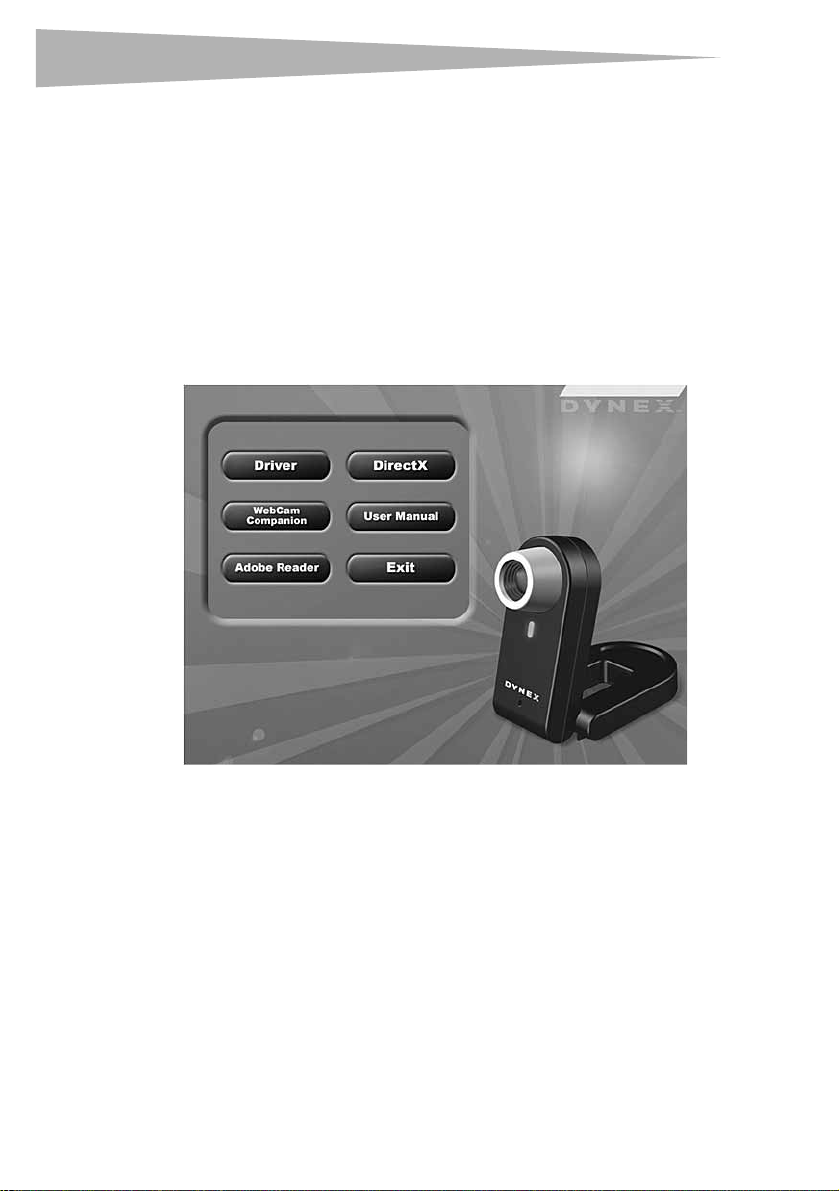
If the installation program does not start automatically, click Start, Run, type
D:\Setup.exe (where “D” is your CD drive), then press Enter. The Install screen
opens.
2Click Driver, then follow the on-screen instructions.
3Install “DirectX” from the CD, if necessary.
Note: To remove the Windows driver, click Start, All Programs, Dynex WebCam, then click
Uninstall. Follow the on-screen instructions to remove the driver.
Mac Environment
To install the Mac driver:
1Insert the Dynex Installation CD into the CD-ROM drive of your computer, then double
click on the CD-ROM drive.
2Click the Dynex Driver OSX 1.0 file folder.
3Click Dynex Driver Install, then follow the on-screen instructions.
Note: This Dynex Web camera is not compatible with iChat, because iChat only supports Apple’s Web
cameras or IEEE 1394 Web cameras.