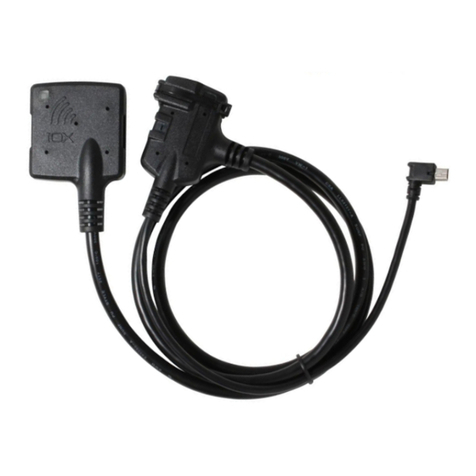
E-Service Payter User manual

Payter Installation Guide
2
1. Access the Control Module
Open the Machine and locate the Control Module, as seen in figure 1. Remove the bill
validator to gain access to the control module and open its hinged door.
figure 1
2. Replace the software chip
Remove the chip from the inside of the control module’s door, circled in red in figure 2.
Replace the old chip with the new software chip provided in the upgrade kit.
figure 2

Payter Installation Guide
3
3. Enable 10p coins for testing
On the large circuit board opposite to where the software was fitted, locate the four
switches marked ‘S2’, as seen circled in red in figure 3. Flip the fourth switch to the on
position.
figure 3
4. Test the newly activated software
Test the software by dropping a 10p coin, it should give change for the same value that the
Contactless tap value should be, i.e £5, £10 or £20. Insert all other coins and notes and check
the change given is correct.
If the change given is correct, close the control module, re-insert the note validator and
proceed to section 5. If the change is incorrect or you encounter other errors, replace the
old software chip and call E-Service support on 01707 280 050.
5. Close the Control Module
Close the Control Module, reposition the note validator and screw back into place.

Payter Installation Guide
4
6. Remove all hardware from the existing inner door of the machine
This will include coin validator and coin validator bezel, bill validator bezel, any cables
clipped onto the door. Illustrated in figure 4.
Figure 4
7. Replace the inner door
Remove the existing inner door and replace with the new inner door. To remove the inner
door, remove the nuts marked in figure 5.
Figure 5

Payter Installation Guide
5
8. Fit the new door onto the existing hinge
Fit the new door onto the existing hinge, as shown in figure 6.
Figure 6
9. Fit the Payter contactless device
Fit the outer Payter Bezel (figure 7) to the front of the inner door and then fit the Payter
contactless device from the rear. Screw nuts on to the threaded studs of the bezel to hold
the unit in place. Figure 8.
Figure 7 Figure j8

Payter Installation Guide
6
10.Connect the Payter pulse loom to the Payter device
Connect the white molex plug of the Payter pulse loom to the back of the Payter device,
figure 9, and connect the non-terminated end to Interface board as shown on the
connections page (the last page).
Figure 9
11.Reinstall the removed inner door hardware
Re-populate the inner door with the hardware taken off the old inner door in part 6,
however use the new coin mech provided.
12.Plug in the Payter Interface board into the coin mech
As illustrated in figure 10, so that the interface board sits over the back of the coin mech.
13.Plug the coin mech loom into the board
Plug the loom which was plugged into the coin mech into the interface board header pins.
Skip the first pin on the board header as demonstrated in figure 11.
Figure 11
Figure 10

Payter Installation Guide
7
14.Check that the board is correct
The board should now be connected to the back of the coin mechanism and the Payter loom
as shown in Figure 12.
15.Place the aerial inside the machine
Using the magnetic base of the aerial, attach the aerial closer to the top of the machine. Run
the aerial cable to the Payter unit and screw into back of Payter device.
16.Connect the mechanical meter to the board
Connect the mechanical meter to the board as shown on the connections page on the last
page of the manual. Locate the Payter mechanical meter in a suitable position.
17.Tidy the inner door cables
Tidy all the cables on the inner door using cable clips provided, as shown in figure 13.
Figure 12
Figure 13

Payter Installation Guide
8
18.Check that the Payter installation looks correct
The fitment of the new inner door is now complete, figure 14 illustrates how your new inner
door should look.
Figure 14
19.Fit the instruction label on the machine
Fit the contactless payment instruction label to the front of the machine.
20.Turn on and test the machine
Turn the machine on and test ALL coins and notes. Ensure that all 10p coins are being
rejected –and that all coins and notes vend the correct change.
21.Contact us to activate your Payter unit
Contact E-Service - 01707 280 050 and we will set the Payter unit up with you remotely and
then test the unit with you.

Payter Installation Guide
9
Payter Pulse Cable Connections to
Payter Interface Board
INHIBIT switch to be set to High –As shown on image below
Mechanical Meters supplied are not polarity sensitive and can be connected either way but must
be connected to pins 9 and 10
Pin 1
+12v
Pin 2
+12v
Pin 3
+12v
AC/DC+ (RED)
Pin 4
Payter Pulse In (Sits High Pulses Low)
PULSE (YELLOW)
Pin 5
Inhibit
INHIBIT (GREEN)
Pin 6
0v
Pin 7
0v
GND (BLACK)
Pin 8
0v
GND (WHITE)
Pin 9
0v
METER (marked by O)
Pin 10
Electromechanical Meter Pulse +ive
METER (marked by O)
Pin 11
Logic Meter +ive
Pin 12
Logic Meter -Ive

