Eachine EACHINE 3D X4 User manual

EACINE
4-CHANNEL
QUADCOPTER
Product code: EACHINE 3D X4
INSTRUCTION MANUAL
4
.1.1
if
401V-
Orientation mode
1.Main Features
1.
4 motors driven, leading to steady flight and rolling
2.
Easily install and fix
3.
Adopt 6-gyro, one key 3D flip. Easy control, better flight
AGES
1

Rear Rotor
Blade (BLACK)
Rear Rotor
Blade (BLACK)
■
7\
FRONT
Front Rotor
Blade (WHITE)
Front Rotor
Blade (WHITE)
Elevator Trim
(Forward/Backward)
Throttle Trim
•
Throttle Stick + Rudder
(Ascend/Descend
Turn RighVTum Left)
Rudder Trim (Rotation)
video(op
▪
tional feature)
photo{optional feature)
light •
speed adjustment: 1 00%
•
20%
• E
3D flip
key:
click once,
then control Direction
Stick from left, right,
forward to backward
•
Direction Stick
(Elevator+Aileron)
Aileron Trim
(Sideways-Left/Right)
2. Parts of the Quadcopter
3. Parts of the Transmitter
Power switch
2

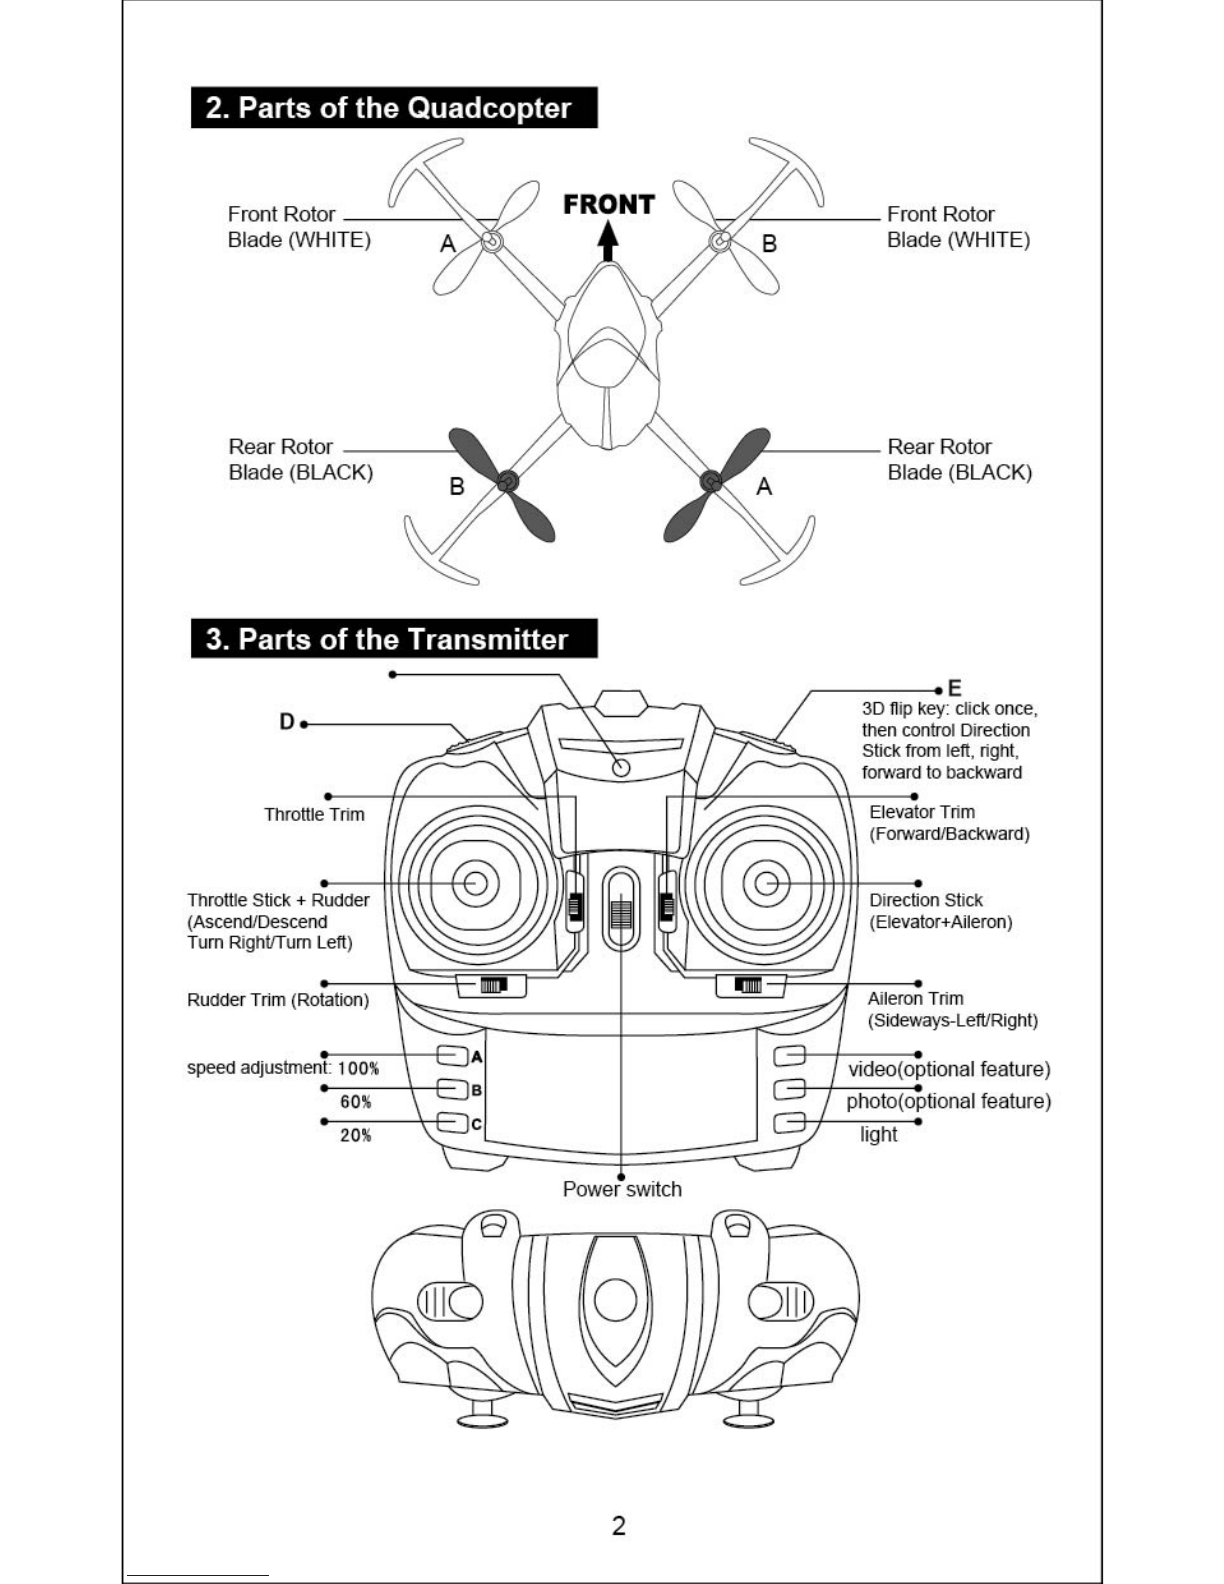
4. Safety Precautions
1.
Please read these Instructions carefully and follow them when
operating the Quadcopter.
2.
Fly the quadcopter within your line of vision for easier control.
3.
Never fly the quadcopter in crowded areas, near to toward
people or animals, to prevent property damage and/or personal
injury.
4.
Do not attempt to modify the product.
5.
Keep small elements of the product away from small children,
to avoid CHOKING accidents.
6.
Keep at least 1-2 meters distance from the quadcopter when it
is flying, to avoid injury.
7.
Do not dispose the batteries in the heat (fire, electronic heating
device, etc.).
8.
Do not dispose the quadcopter in wet ( rain, moisture, dust, fog
etc.) to avoid the parts malfunction.
9.
Parental guidance is highly recommended.
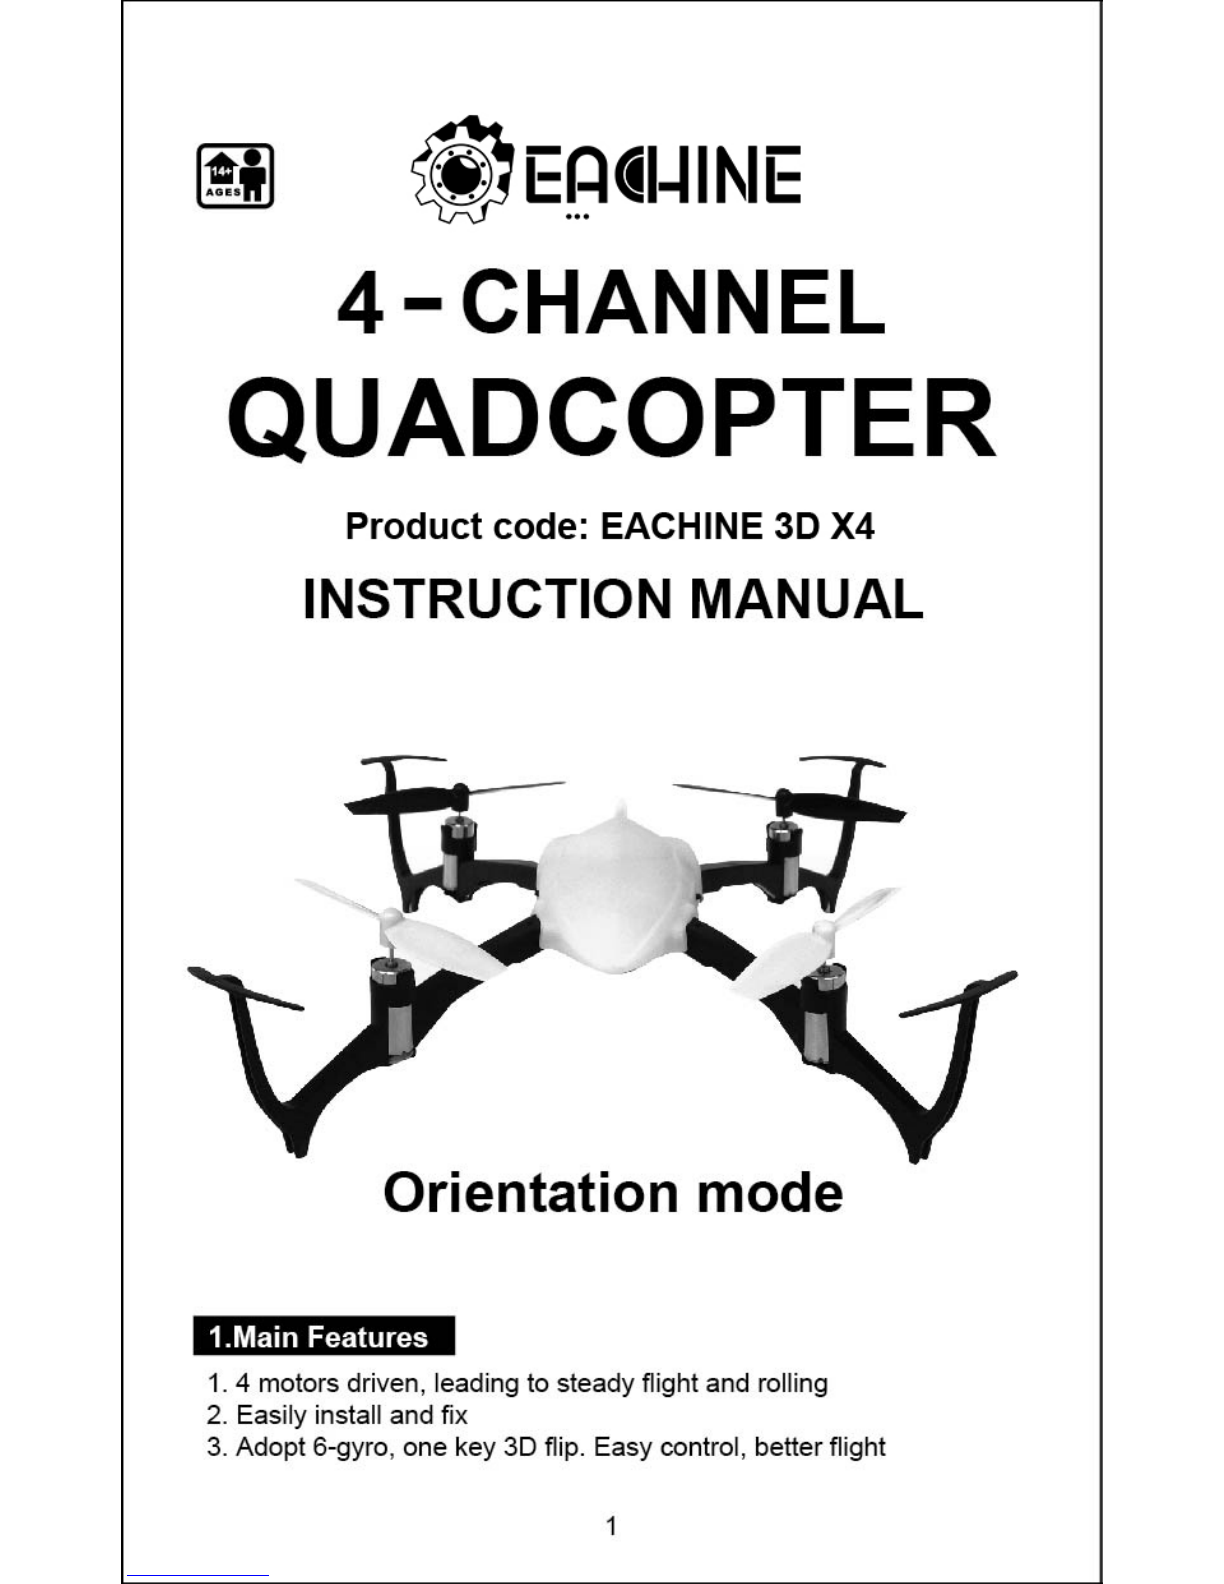
5. Preparation to Fly
1.
This quadcopter is designed for Outdoor, Indoor flight.
However it is important to note the recommended conditions
and flying environment.
Choose a place with a minimum of potentially hazardous
obstacles.
Recommended minimum flying area: 8m x 8m x 4m
2.
Make sure the batteries of the quadcopter and transmitter are
fully charged.
3.
Turn the transmitter "OFF". Push the Throttle Stick downwards
to the minimum position. Place the transmitter close to the
quadcopter.
4.
Connect the charged Li-PO battery to the PCB. LEDs start to
flicker. Do Not Move the quadcopter after this point. Switch
"ON" the transmitter. The binding process is on.
5.
Check carefully the batteries and motors. Make sure all in
condition.
6.
Recommended condition to Flip: battery voltage at 3.8V-4V.
3

6. Installing Transmitter Batteries
1.
Slide open the Battery Compartment Lid
2.
Insert 4 AA batteries, in the Polarity direction indicated. Do not
mix battery types. (Batteries not included)
3.
Close Battery Compartment lid.
7. Charging the Quadcopter Li-PO Battery
1.
Connect Li-PO Battery to the USB charger.
2.
RED LED on USB indicates charging is complete. RED
LED
off indicates charging
is in
progress.
REMARK: the USB in pack only can use in this quadcopter.
4

8. Binding the Quad Receiver with the Remote
1.
Turn the Transmitter 'OFF". Push the Throttle Stick downward to the
minimum position. Place the Transmitter close to the Quadcopter.
2.
Turn the Quadcotper upside down. The Main PCB is now visible,
facing upwards.
3.
Push the Battery into the enclosure under the PCB. Connect the
charged Li-PO battery to the PCB.
4.
Place the Quadcopter on a FLAT surface. WHITE LED starts to
flicker. Do Not Move the Quadcopter after this point!
5.
Switch "ON" the transmitter. The RED LED in the centre of the
Transmitter blinks rapidly, indicating the binding process is on.
6.
When the RED LED on the PCB and the LED in the transmitter
remain constant, the binding process is complete. Push the Throttle
Stick to the maximum position then to minimum position.
7.
When the Li-Po battery lacking power, the WHITE LED will flicker
until landing.
IMPORTANT: Do Not Move the Quadcopter while the Binding process
is on, as the Gyro is being Set to Neutral!
battery pack
battery installation instruction
connect the battery
with PCB. binding.
9. Important Information
1.
If the quadcopter moves sideways, using the transmitter to trim
adjustment. Push the Throttle Stick to lower right corner until the
WHITE LED of the quadcopter flickers. It is same with the Aileron
Trim on the transmitter. Recommended voltage while trimming is
above 4.0V.
2.
Orientation Mode Operation
Press the Orientation Mode key for once, after sounding Dee Dee
Dee, and then it set.
3.
Switch OFF the transmitter or
no
control for 50 seconds, the
Quadcopter will be Auto Sleep.
5

Aileron Trim
iSideways-LeftiRight)
Wded?iiatiabtid feature)
-•
photo{optional feature)
light
Throttle Trill
Throte Stick Rudder
?Ascend/Descend
Tum RightilTurn Left)
Rudder Trim {Sedation)
speed adjustment: 1 00
60
2011
E
3D kti, key, click on.,
then control Direction
Stick from left.
forward to backward
0.
Beksator Trim
(Fonwerrifilackward)
•
Direction Stick
(Eledrator.Aderon)
cathode
anode
cathode
Front
10. Setting Quadcopter Response
The 3 Response buttons on the Remote are used to change the
percentage of response of the Quadcopter.
C: 20% = Least Response (For Beginners)
B: 60% = Press to raise the level to 60% (For Skillful)
A: 100% = Press to 100%. Highest Response (For Expert Fliers)
11. 3D Flight Techniques
Rolls and flips are advanced flying techniques and should be
attempted once you have mastered the art of controlling the
quadcopter in flight. The speed should be in 100%.
1.
Select an open space OUTDOORS, clear of obstacles and
away from bystanders.
2.
With the Quadcopter hovering steadily (3m above the ground),
click the "Orientation Mode" (D) button on the left side of the
Transmitter with your index finger. Then click the "ROLL" button
(E) on the Right side of the Transmitter with your index finger.
Push the Stick to Forward, Backward, Left or Right, the
quadcopter will 3D Flip. (For Skillful Fliers)
Power switch
12. Receiver Board Instruction
The Receiver installation should as below pic, otherwise can not
work normally.
cathode cathode anode
6

7
5. When the throttle lever upward
movement,Aircraft flying forward_
6. When the throttle lever upward
movementAfter the aircraft flying inverted.
T When the throttle lever moves
down,Aircraft flying back.
8_ When the throttle lever moves down,
Aircraft flying forward inverted_
FLIGHT CONTROL
1. When the joystick to the left movement 2_ When the joystick to the left movement
around,Aircraft flying to the left_
around,Aircraft synchronous inverted to the right
3. When the joystick around right action,
Aircraft flying to the right
4_ When the joystick around right action,
Aircraft synchronous inverted to the left_
9_ When the left joystick (throttle) left,
aircraft The fuselage tilted to the left,
the aircraft to fly to the left.
1fr When the left joystick (throttle) left,
aircraft The fuselage tilted to the left,
flying of the aircraft to the right

I
11_ When the left joystick (gas) to the right 12_ When the left joystick (gas) to the right push,
push, aircraft Fuselage tilted to the right,
aircraft The fuselage tilted to the left, the
to the right side of the aircraft is flying_
aircraft to fly to the left.
13. per Parts (selective puschasing)
3D X4-01
blades
3D X4-02
canopy
3D X4-03
For
motor
components
3D X4-04
Inversion motor
components
3D X4-05
main frame
3D X4-06
receiver
3D X4-07
USB
3D X4-08
battery
3D X4-09
blade slier
8
Table of contents
Other Eachine Quadcopter manuals