manuals.online logo
Brands
  1. Home
  2. •
  3. Brands
  4. •
  5. Earth Way
  6. •
  7. Tiller
  8. •
  9. Earth Way 6500 User manual

Earth Way 6500 User manual

High-Wheel Cultivator
MODEL # 6500 ASSEMBLY INSTRUCTIONS
M52126_6500_Cultivator PAGE 1
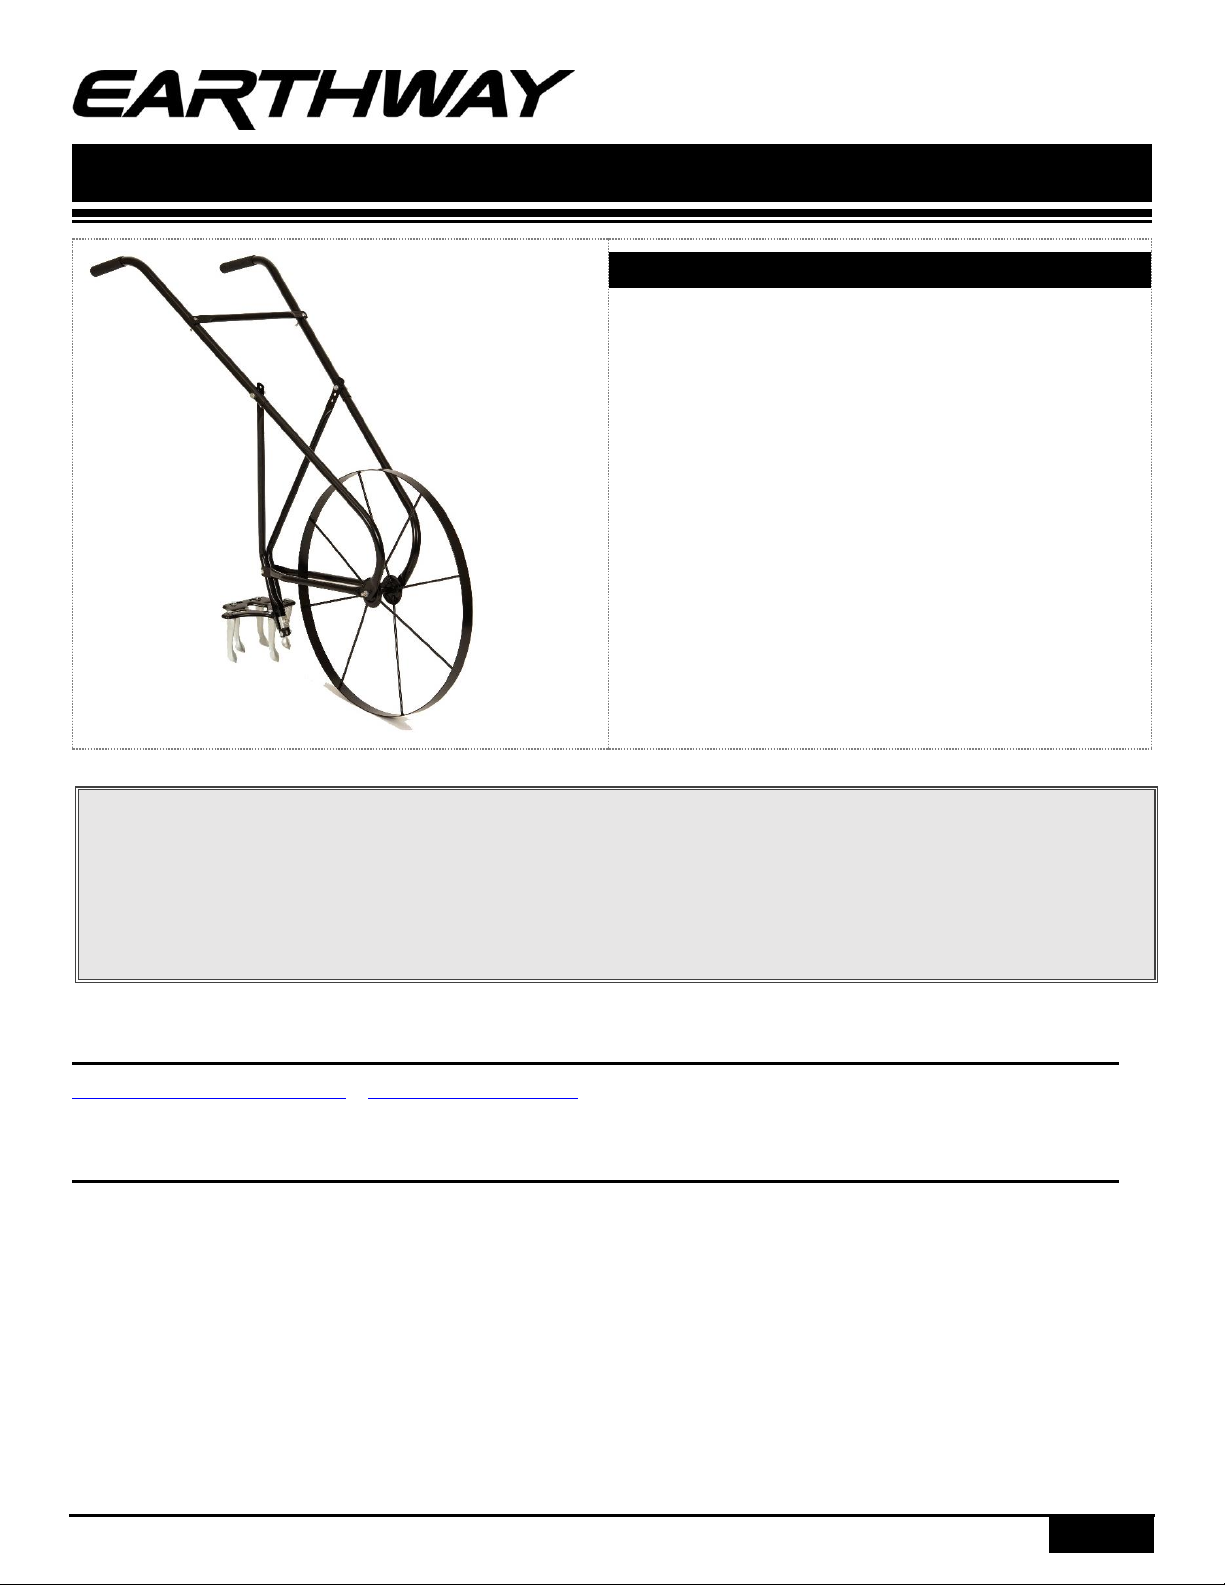
HIGH-WHEEL CULTIVATOR
Congratulations on the purchase of your new EarthWay
High-Wheel Cultivator.
Please contact us if you have any difficulty with assembly
or operation of this product.
We can be reached at [email protected]om or by
calling 574-848-7491 Monday - Friday 8:00am - 4:30pm or
visit us online at www.earthway.com
The 6500 comes with lifetime technical support.
HELPFUL HINTS
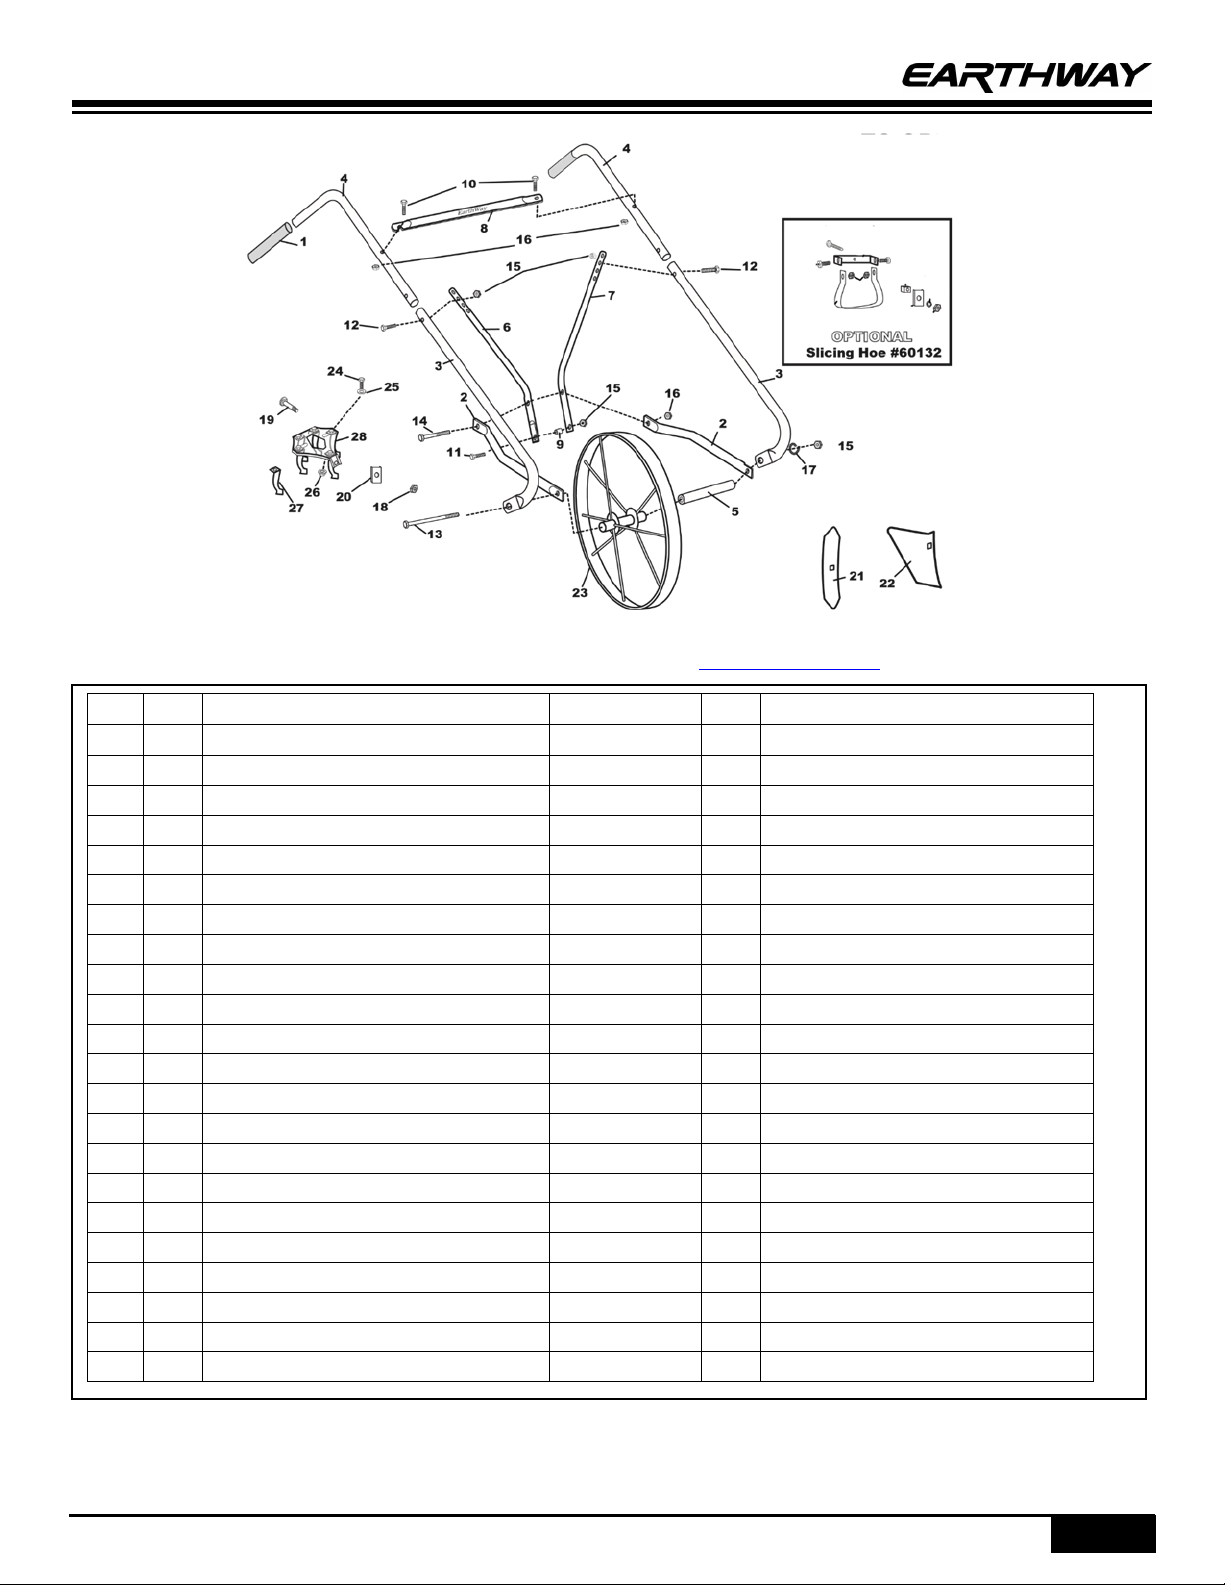
The 6500 will require approximately 30 minutes to assemble with common hand tools.
Remove and identify all loose parts from carton.
Clean and dry your Cultivator thoroughly after each use.
Coat all metal surfaces with a light oil to prevent corrosion.
CUSTOMER SERVICE
SUPPORT@EARTHWAY.COM | www.EARTHWAY.com | 1009 Maple Street, Bristol, IN 46507
ONE YEAR WARRANTY
EarthWay Products, Inc. warrants this product free of defects in original workmanship and materials for a period of one year to
the end user with the original purchase receipt. If a manufacturing non-conformance is found, EarthWay Products, Inc. at its
discretion will repair or replace the part(s)/product at no charge provided the failure is not the result of incorrect installation,
mishandling, misuse, tampering, or normal wear and tear as determined by EarthWay.
EarthWay at its discretion may require that the part(s) or product be returned along with the original purchase receipt for
examination and compliance with the terms of this warranty. Do not return any product without first receiving authorization from
EarthWay Products, Inc.
To seek remedy under this warranty, contact EarthWay Products, Inc. at 574-848-7491, support@earthway.com or write to
EarthWay Products, Inc. 1009 Maple Street, Bristol, IN 46507 and describe the nature of the manufacturing defect.
SPECIFIC LIMITATIONS: This warranty covers only the part(s) or product; any labor charges associated with repair or
replacement of non-conformances are specifically excluded. Due to the corrosive nature of most fertilizers and ice melt
products, EarthWay Products, Inc. makes no warranty against and specifically excludes part(s) or product degradation or
failure due to corrosion or its effects.
Assembly Instructions
M52126_6500_Cultivator PAGE 2
ASSEMBLY HARDWARE
ASSEMBLY INSTRUCTIONS
1. Assemble both (#4) Upper and (#3) Lower Handles together and secure with (#12) hex bolt & (#15) hex nut –do
not tighten.
2. Assemble (#7) Left and
(#6) Right Tool Supports,
by positioning (#9) Tool
Support Spacer between
them at the end that has
only one hole as shown in
the exploded view, secure
using (#11) hex bolt and
(#15) hex nut and tighten.
Make sure you have the
Right and Left in the
correct position as shown
in the exploded view.
3. Connect (#2) Frame to
the Tool Support
Assembly from step 2
using (#14) hex bolt thru
the (#2) Frame and then
through both (#6 & #7) Tool Supports, then through (2) Frame on the other side and secure with (#16) lock nut,
and tighten.
4. Install (#8) Cross Brace on to the Upper Handle and secure with (#10) hex bolt and (#16) lock nut to each side,
loosely tighten.
5. Install (#5) Axle into (#23) Wheel and position between the (#2) Frame rails.
6. Now insert (#13) hex bolt through the hole in (#3) Lower Handle, (#2) Frame, then into (#5) Axle & (#23) Wheel,
then (#2) Frame, (#3) Lower Handle and secure with (#17) Lock Washer & (#15) hex nut, and tighten.
7. Now determine a comfortable operation height and then remove (#15) hex nut and select one of the four
adjustment holes in the top of (#6 & #7) Tool Supports and secure with (#15) hex nut and tighten.
(1) #13
HHCS
(2) #10
HHCS
(1) #11
HHCS
(2) #12
HHCS (1) #14
HHCS
(1) #19
CARRIAGE
BOLT
(5) #24
HHCS
(3) #16
Lock Nut
(5) #25
Washer
(4) #15
Hex Nut (1) #18
Lock Nut
(1) #17 Lock
Washer
(5) #26
Flanged Hex
Nut
Assembly Instructions
M52126_6500_Cultivator PAGE 3
ASSEMBLY OF TOOLS (see right)
FURROW PLOW
Place Furrow Plow in front of tool support slot. Put hex
bolt (#19) through square hole in the plow and through
slot in tool support. Next put formed washer (#20) over
carriage bolt (#19) and tool support: fasten with lock nut
(#18) and tighten fully.
HILLING / MOLD BOARD PLOW
Place Hilling Plow in position shown above. Put carriage
bolt (#19) through square hole and through slot in tool
support. Next put formed washer (#20) over hex bolt
(#19) and tool support: fasten with lock nut (#18) and
tighten fully.
MULTI-TINE ADJUSTABLE CULTIVATOR
Assemble Multi-Tine as pictured above. Put carriage bolt
(#19) through rear of the mounting plate (#28) and
through tool support and then the formed washer (#20)
and fasten with lock nut (#18), tighten fully. Next, attach
the tines (#27) with bolt (#24) through flat washer (#25) and secure with hex nut (#26), leave loose until you determine
tine width as required. Tighten fully.
6502 Parts List
KEY
DESCRIPTION
QTY
A
Left Tool Support
1
B
Right Tool Support
1
C
Wood Handle
2
D
Hardware Package
1
6502 Optional Wood Handle Kit
C
A
B
D
Assembly Instructions
M52126_6500_Cultivator PAGE 4
Updated parts diagrams and ordering can be accomplished by visiting www.earthway.com
KEY
QTY
DESCRIPTION
KEY
QTY
DESCRITION
1
2
1"ID X 4.5"IL BLACK GRIP
17
1
M8 LOCK WASHER ZINC
2
2
FRAME
18
1
M10 LOCKNUT
3
2
LOWER HANDLE
19
1
M10 X 50MM CARRIAGE BOLT ZINC
4
2
UPPER HANDLE
20
1
FORMED WASHER
5
1
AXLE
21
1
FURROW PLOW
6
1
RIGHT TOOL SUPPORT
22
1
HILLING (MOLDBOARD) PLOW
7
1
LEFT TOOL SUPPORT
23
1
WHEEL ASSEMBLY
8
1
CROSS BRACE
24
5
M8 X 25MM HHCS ZINC
9
1
TOOL SUPPORT SPACER
25
5
M8 FLAT WASHER ZINC
10
2
M6 X 40MM HHCS ZINC
26
5
M8 FLANGED HEX NUT ZINC
11
1
M8 X 30MM HHCS ZINC
27
5
CULTIVATOR TINE (5 REQUIRED)
12
2
M8 X 40MM HHCS ZINC
28
1
MOUNTING PLATE
13
1
M8 X 120MM HHCS ZINC
14
1
M6 X 50MM HHCS ZINC
15
4
M8 HEX NUT ZINC
16
3
M6 LOCKNUT ZINC
60132
OPTIONAL SLICING HOE ASSEMBLY
29
1
SLICING HOE BLADE
30
1
1/4-20 X 3/4" HHMS ZINC
31
1
SLICING HOE BRACKET
32
1
5/16-18 X 2" HX TAP BOLT ZINC
33
1
TOOL ADAPTOR FOR SLICING HOE
PARTS DIAGRAM

Other Earth Way Tiller manuals

Earth Way 6500 HIGH-WHEEL User manual

Earth Way

Earth Way 6500 HIGH-WHEEL User manual

Earth Way 6500W User manual

Earth Way

Earth Way 6500W User manual

Popular Tiller manuals by other brands

Simplicity 990021 Instructions and parts list

Simplicity

Simplicity 990021 Instructions and parts list

Powermate P-RTT-196MD-[E] Operator's manual

Powermate

Powermate P-RTT-196MD-[E] Operator's manual

EarthQuake 6014V CRT Operator instructions and parts

EarthQuake

EarthQuake 6014V CRT Operator instructions and parts

McCulloch MRT6 instruction manual

McCulloch

McCulloch MRT6 instruction manual

Hologram KJ600TA Manual instruction

Hologram

Hologram KJ600TA Manual instruction

Texas EC7900 user manual

Texas

Texas EC7900 user manual

Jonsered ANLEITUNGSHANDBUCH CT2105 R instruction manual

Jonsered

Jonsered ANLEITUNGSHANDBUCH CT2105 R instruction manual

Black & Decker GXC1000L manual

Black & Decker

Black & Decker GXC1000L manual

Mikron HEM 1000 operating instructions

Mikron

Mikron HEM 1000 operating instructions

KLIPPO ES 03 B Operator's manual

KLIPPO

KLIPPO ES 03 B Operator's manual

Troy-Bilt 12234 owner's manual

Troy-Bilt

Troy-Bilt 12234 owner's manual

KRISHITEK POWERTEK 5.5WP user manual

KRISHITEK

KRISHITEK POWERTEK 5.5WP user manual

Craftsman 247.298770 owner's manual

Craftsman

Craftsman 247.298770 owner's manual

Stihl MM 55 instruction manual

Stihl

Stihl MM 55 instruction manual

Craftsman Incredi-Pull 316.292640 Operator's manual

Craftsman

Craftsman Incredi-Pull 316.292640 Operator's manual

AL-KO Solo 7505 VR Instructions for use

AL-KO

AL-KO Solo 7505 VR Instructions for use

Craftsman 917.293340 owner's manual

Craftsman

Craftsman 917.293340 owner's manual

Blastrac BMC-335EHY manual

Blastrac

Blastrac BMC-335EHY manual

manuals.online logo
manuals.online logoBrands
  • About & Mission
  • Contact us
  • Privacy Policy
  • Terms and Conditions

Copyright 2025 Manuals.Online. All Rights Reserved.