earVenture saVvy User manual

User Manual
22744_A

The User Manual guides you in how to use and maintain your new hearing aid. Please read
the User Manual carefully. This will help you achieve the full benet of your new hearing aid.
Your hearing healthcare provider has adjusted your hearing aid to meet your specic
needs. If you have additional questions please contact your hearing healthcare provider.
Introduction to this booklet

Table of Contents
QuickReference..........................................................................................................................1
Your Hearing Aid at a Glance .................................................................................................. 2
Battery Information ................................................................................................................... 3
Wearing Your Hearing Aid ………......…………...............…......................................………. 4
Turning Your Hearing Aid On and Off ………..................……................................................. 5
Labeling......................................................................................................................................6
Program Instructions .....................................……………...................................................….. 7
Maintaining Your Hearing Aid ...........……...........................................................…..…... 8-10
Removal of D-Ring ........................................................…….......................................…..… 11
Using with Telephones and Cellular Phones ….......................................................................... 12
Caring for Your Hearing Aid ……………..........................................................……….……. 13
Troubleshooting........................................................................................................................14
Warnings to Consumer ….................………………………........................................……… 15
Service and Warranty ............................................................................................................... 16
Precautions…………………....……………………..................................................………..17
Compliance Information …………………….............................................................…........ 18
Warnings to Dispenser .....................………………......................…………...............…….. 19
Important Notice for Prospective Hearing Aid Users ............................................................. 20

Quick Reference
Changing Batteries Battery Warnings
Plus (+) sign
indicators
Low Battery
3 double beeps every 8 minutes
Replace Battery
(Device Shutdown - 6 double beeps)
On/O Program Change Operations
On O
1
Tap twice on outer
part of ear to change
programs.
Number of beeps
indicates program
selected

2
For additional information on the use and operation
of these hearing aid after reviewing the contents of
this instruction guide, contact your hearing healthcare
provider or visit www.earventure.net
Your Hearing Aid at a Glance
1. Microphone – sound enters the hearing aid
through the microphone.
2. Speaker and wax guard lter – the speaker
delivers amplied sound. The wax guard lter
protects the hearing aid from ear wax damage.
Wax guard lters should be changed monthly or
more frequently as needed.
Left/Right – Blue wax guard lter is for the left
ear. Red wax guard lter is for the right ear.
3. Battery door – holds the battery and functions
as an on/off switch. Upon opening the battery
door, a “+” sign indicates battery positive terminal
location.
4. Serial number – each hearing aid has a unique
serial number.
5. Retention ring – curls along the body of your ear
and holds the hearing aid in place. Red and blue
dots are located on the ring to indicate right (red)
and left (blue) side.
1
3
2
5
4

3
Battery Information
The hearing aid uses a size 10 battery. The battery life varies
depending on the amount of hearing aid use. Battery life is typically
about 85 hours, or one week.
Low battery indicator
A warning of three double beeps every eight minutes indicates that
the battery needs to be replaced. If you do not change your battery,
you will hear another warning of six double beeps, at which time
your hearing aid will automatically turn off.
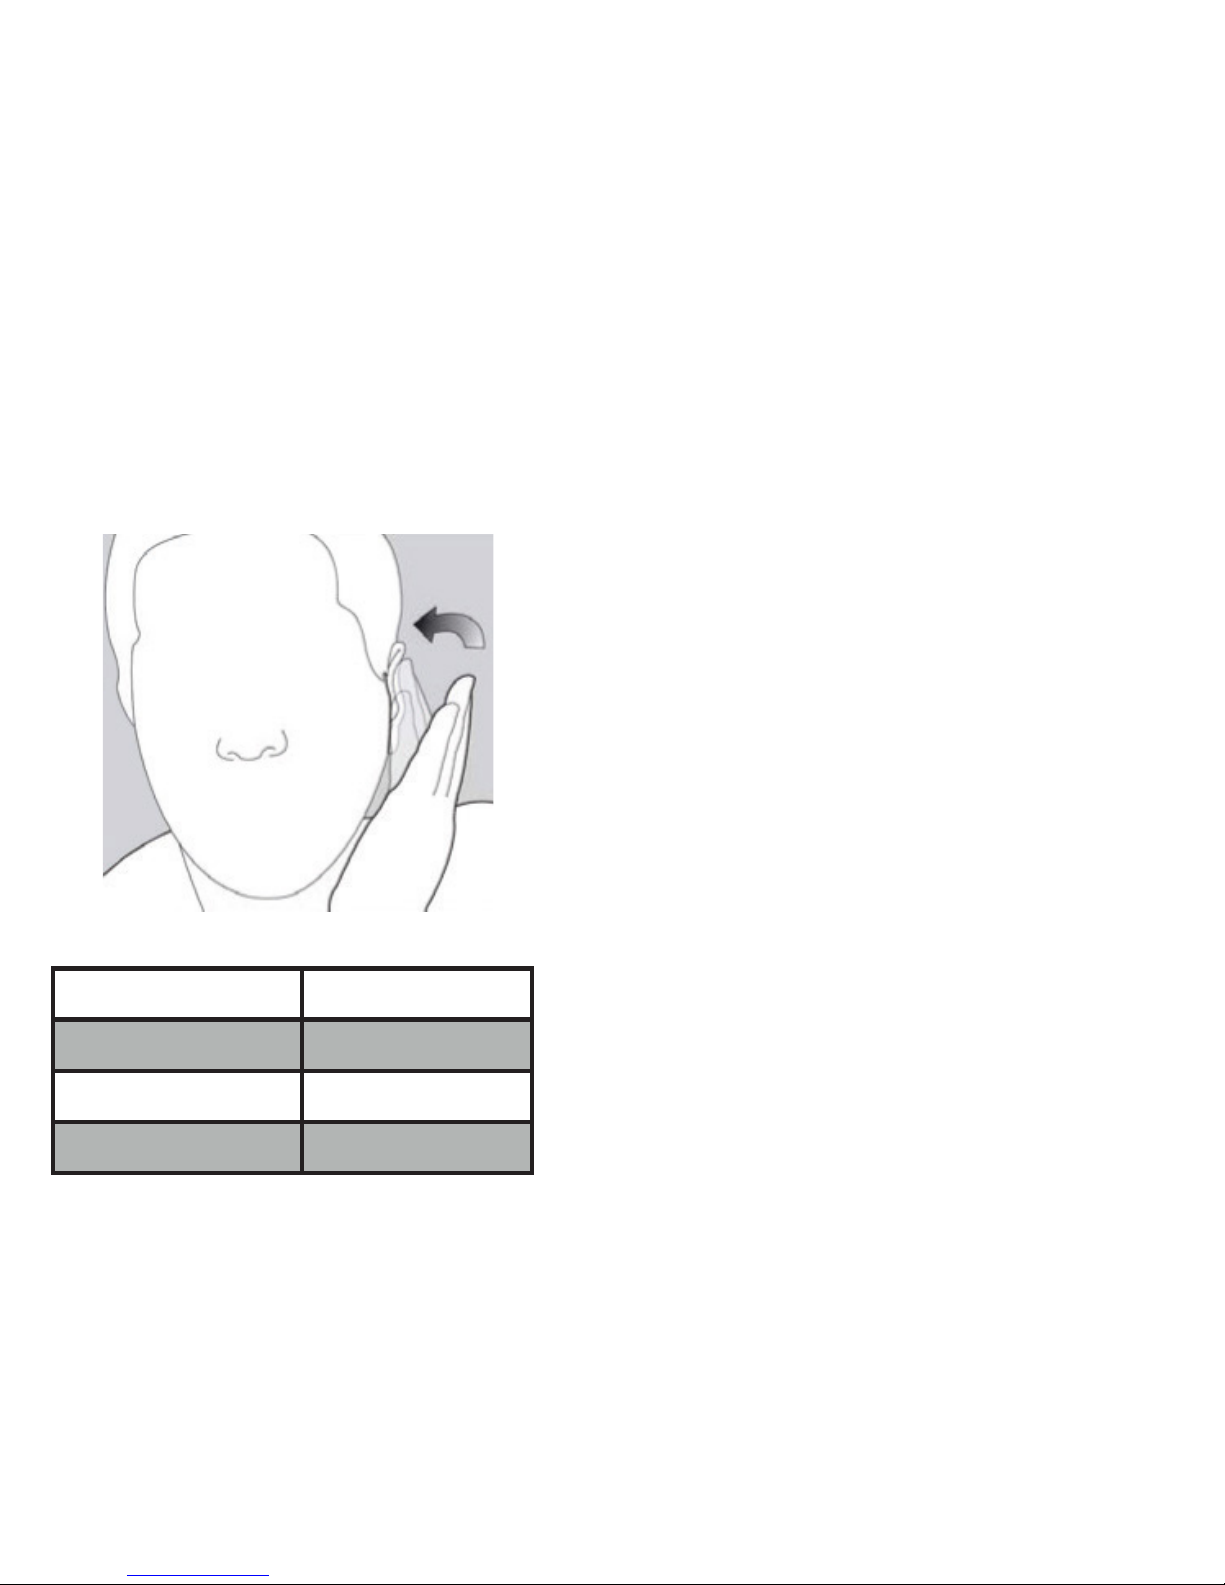
Inserting/replacing the battery
Gently pull open the battery door with your ngernail. If a used
battery is currently in the compartment, grasp the battery with your
thumb and index nger and remove.
Insert the new battery into the battery compartment with the (+) sign
on the battery facing the same way as the (+) sign on the battery
door. While holding the battery in place, peel off the plastic tab.
Dispose used batteries as you
would other electronic waste that
potentially contains rare earth
metals.
Do not place batteries in your
mouth or swallow them under
any circumstances. If batteries
are swallowed, contact your
physician or local poison control
center immediately.
Tip: Wait for a few seconds
before closing the battery door
after peeling the plastic tab. If
the door does not close easily,
check to see if the battery was
inserted properly.
Tip: To prolong battery life,
remember to turn your hearing
aid off when not in use.
Remove the batteries and keep
the battery door open will not
only conserve the battery’s
life but also allow internal
moisture to evaporate.

4
Wearing Your Hearing Aid
1. Hold the hearing aid by the bottom of the retention ring.
2. Place the hearing aid in the ear canal with the speaker pointed toward the eardrum.
3. The retention ring will prevent the hearing aid from being inserted too deeply into the canal.
4. Curl the retention ring along the body of your ear.

Turning Your Hearing Aid On and Off
Your hearing aids have a battery door that acts as an on/off switch that allows access to the battery compartment.
1. ON: Close battery door fully. 2. OFF: Open the battery door.
It may take several seconds before the hearing
aid turns on after inserting the battery. Your
hearing healthcare provider can change the
start up delay if required.
When turning your hearing aid on and off,
grasp the top and bottom of the device with
your index nger and thumb. Use your thumb
to open and close the battery door.
5

Labeling
The serial number (S/N) is located on the hearing aid as a 8-digit number. The rst two digits of the S/N represent the
year of manufacture (i.e. “15” refers to 2015). The last six digits is a unique identier. All eight numbers create the
serial number of the device.
6
Serial Number
Device Name
Company Name

7
Program Instructions
To change the program, tap the outer part of your
ear twice. This will advance the hearing aid to the
next highest program. When already in the highest
program, the device will loop back to Program 1.
The ngers should be held together, and the nger
tips should lightly tap the outer part of the ear. The
tap should be a at pat on the ear. It is the pressure
generated by the pat that triggers the switch. The pat
should be soft and never painful or severe enough to
cause ringing in your ear.
The hearing aid does not need to be touched to
change the program. The hearing aid will beep and
alert you which program has been selected.
Program Control
Program Beeps
Program 1 ♪ 1 beep
Program 2 ♪♪ 2 beeps
Program 3 ♪♪♪ 3 beeps

8
Maintaining Your Hearing Aid
CAUTION: Not following the list below may cause damage to your hearing aid and accessories
• Do not use alcohol to clean your ear molds or dome tips.
• Do not use sharp tools to dislodge ear wax.
• If your physician prescribes ear drops, clean any moisture that may get into the ear molds
or tubing.
Ear wax is natural and common. Ensuring that your hearing aid is free of wax obstruction is an
important part of the cleaning and maintenance of your hearing aids. Remove ear wax as needed by
following the steps on page 9 of the manual.

Maintaining Your Hearing Aid
9
Changing the wax guard
The wax guard contains a tiny screen that prevents wax from entering the hearing aids. Wax guards
are delicate and must be replaced, not cleaned. A broken wax guard can allow wax to enter the hearing
aids and damage them.
Given that earwax is natural and common, replace the wax guard on your hearing aids every month
or more frequently as needed. This is easy to do with the wax guard dispenser and changing tool you
received with your hearing aids.
Gently screw in the threaded end of the changing tool into the old wax guard and pull out the old wax
guard.

Maintaining Your Hearing Aid
10
To dispose of the wax guard, push the changing tool with the old wax guard into the center of the
wheel dispenser, and slip off the wax guard by sliding the tool to the side.
Use the other end of the changing tool to pull out a new wax guard from the dispenser and insert it
into your ITC.

Removal of D-Ring
11
Step 1 - Use your ngernail to push on each clip
to release the latch inside the pocket
Step 2 – Grasp the D-ring and pull out to remove
from the device
D-Ring
Step 1:
Push through
Step 2:
Pull Out
Damage to device may occur if Step 1 is not completed before Step 2.

Using with Telephones and Cellular Phones
Traditional corded phones, cordless phones and cellular phones.
First, try to use the phone as you normally would hold it. If you cannot hear well, move the handset up slightly to nd
the position that sounds best to you. If you encounter whistling, tilt the phone handset at an angle until the whistling
stops. It may help to turn the volume up on your phone.
Practice using the telephone with someone familiar to you. Try moving the phone around to get the best sound.
12

Caring for Hearing Aid
Open battery door when not in use.
Regular use of a dehumidier can help prevent corrosion and prolong the life of your hearing aid.
Protect your hearing aid from excessive heat.
Always remove your hearing aid when using hair care products. The hearing aid can become clogged and cease to function
properly.
Do not wear your hearing aid in the bath or shower or immerse them in water.
If your hearing aid gets wet, do not attempt to dry them in an oven or microwave. Do not adjust any controls. Open the
battery door immediately, and allow your hearing aid to dry naturally for 24 hours.
In the event of unexpected operation or events, consult with your hearing healthcare provider or visit
www.earventure.net for support
Handle with care. Do not drop your hearing aid or knock them against hard surfaces.
During transport or storage, the temperature should not exceed the limit values of 14° to 158° Fahrenheit (-10°to 70°
Celsius) for a long period of time.
The air pressure range between 500 and 1100 hPa is appropriate.
During transport or storage, the relative humidity should not exceed the limit values of 10% to 95% for a long period of
time.
70°C
-10°C
1100
500
10%
95%
13

14
Troubleshooting
CAUSE POSSIBLE REMEDY
1. No sound or not loud enough
Not turned on Turn on by closing the battery door
Low/Dead Battery Replace battery
Ear Wax Clean as necessary
Battery upside down Insert battery, plus side (+) up
Moisture Open battery door and allow to dry
2. Whistling or feedback
Device not inserted properly Remove and re-insert
Poor tting device Consult your hearing healthcare provider
Hair or clothes near ear Move hair or clothing near ear
3. Device falling out of ears
Poor t Contact your hearing healthcare provider

Warnings to Consumer
15
• Hearing aids should only be used as directed by your physician or hearing healthcare professional.
• Do not use your hearing aid in explosion hazardous areas.
• Allergic reactions to hearing aids are unlikely. However, if you experience itching, redness, soreness,
inammation or a burning sensation in or around your ears, inform your hearing healthcare professional and
contact your physician.
• In the unlikely case that any parts remain in the ear canal after the removal of the hearing aid, contact a
physician immediately.
• Remove your hearing aid(s) for CT and MRI scans or for other electromagnetic procedures.
• Special care should be exercised in wearing hearing aid when maximum sound pressure levels exceed 132
decibels. There may be a risk of impairing your remaining hearing. Speak with your hearing healthcare
professional to ensure the maximum output of your hearing aid is suitable for your particular hearing loss.
• Never leave your hearing aid(s) or batteries where small children and pets can reach them. If batteries are
swallowed, consult your physician or local poison control center immediately
• If you feel pain in or behind your ear, if it is inamed, if skin irritation or accumulations of ear wax occur,
please check with your hearing healthcare provider or physician
• Hearing programs in the directional microphone mode reduce background noises. Please be aware that warning
signals or noises coming from behind, e.g. cars, are partially or entirely suppressed

Service and Warranty
earVenture offers you a comprehensive warranty, valid starting from the date of purchase. Please ask your hearing
healthcare provider about the term of the warranty. The warranty covers manufacturing defects. Warranty does not
cover accessories (thin tubes, earhooks, batteries, etc.).
No warranty claims will be considered if the hearing aid shows abnormal wear and tear, improper handling or care, exposure to chemicals,
immersion in water or undue stress. In case of damage caused by third parties or non-authorized service, the earVenture warranty is null and void.
This warranty does not cover services performed by a hearing care professional at his or her workplace.
Serial number of the left hearing aid:
Serial number of the right hearing aid:
Purchase date:
16

Precautions
17
• Hearing aids will not restore normal hearing and will not prevent or improve a hearing impairment resulting
from organic conditions. The use of hearing aids is only part of hearing rehabilitation. Auditory training, lip
reading instruction, and learning to interpret gesture cues may be required as well.
• In most cases, infrequent use of hearing aid does not provide full benet. Once you have become used to
wearing your hearing aid, wear your hearing aid all day every day.
• Your hearing aid uses the most modern components to provide the best possible sound quality in every listening
situation. However, communication devices such as digital cell phones can create interference (a buzzing
sound) in hearing aids. If you experience interference from a cell phone being used close by, you can minimize
this interference in a number of ways. Switch your hearing aid to another program, turn you head in a different
direction, or move away from the cell phone.
Table of contents
Other earVenture Hearing Aid manuals