1 of 11
USER MANUAL
STOCK NO.: 384-16A-11-12
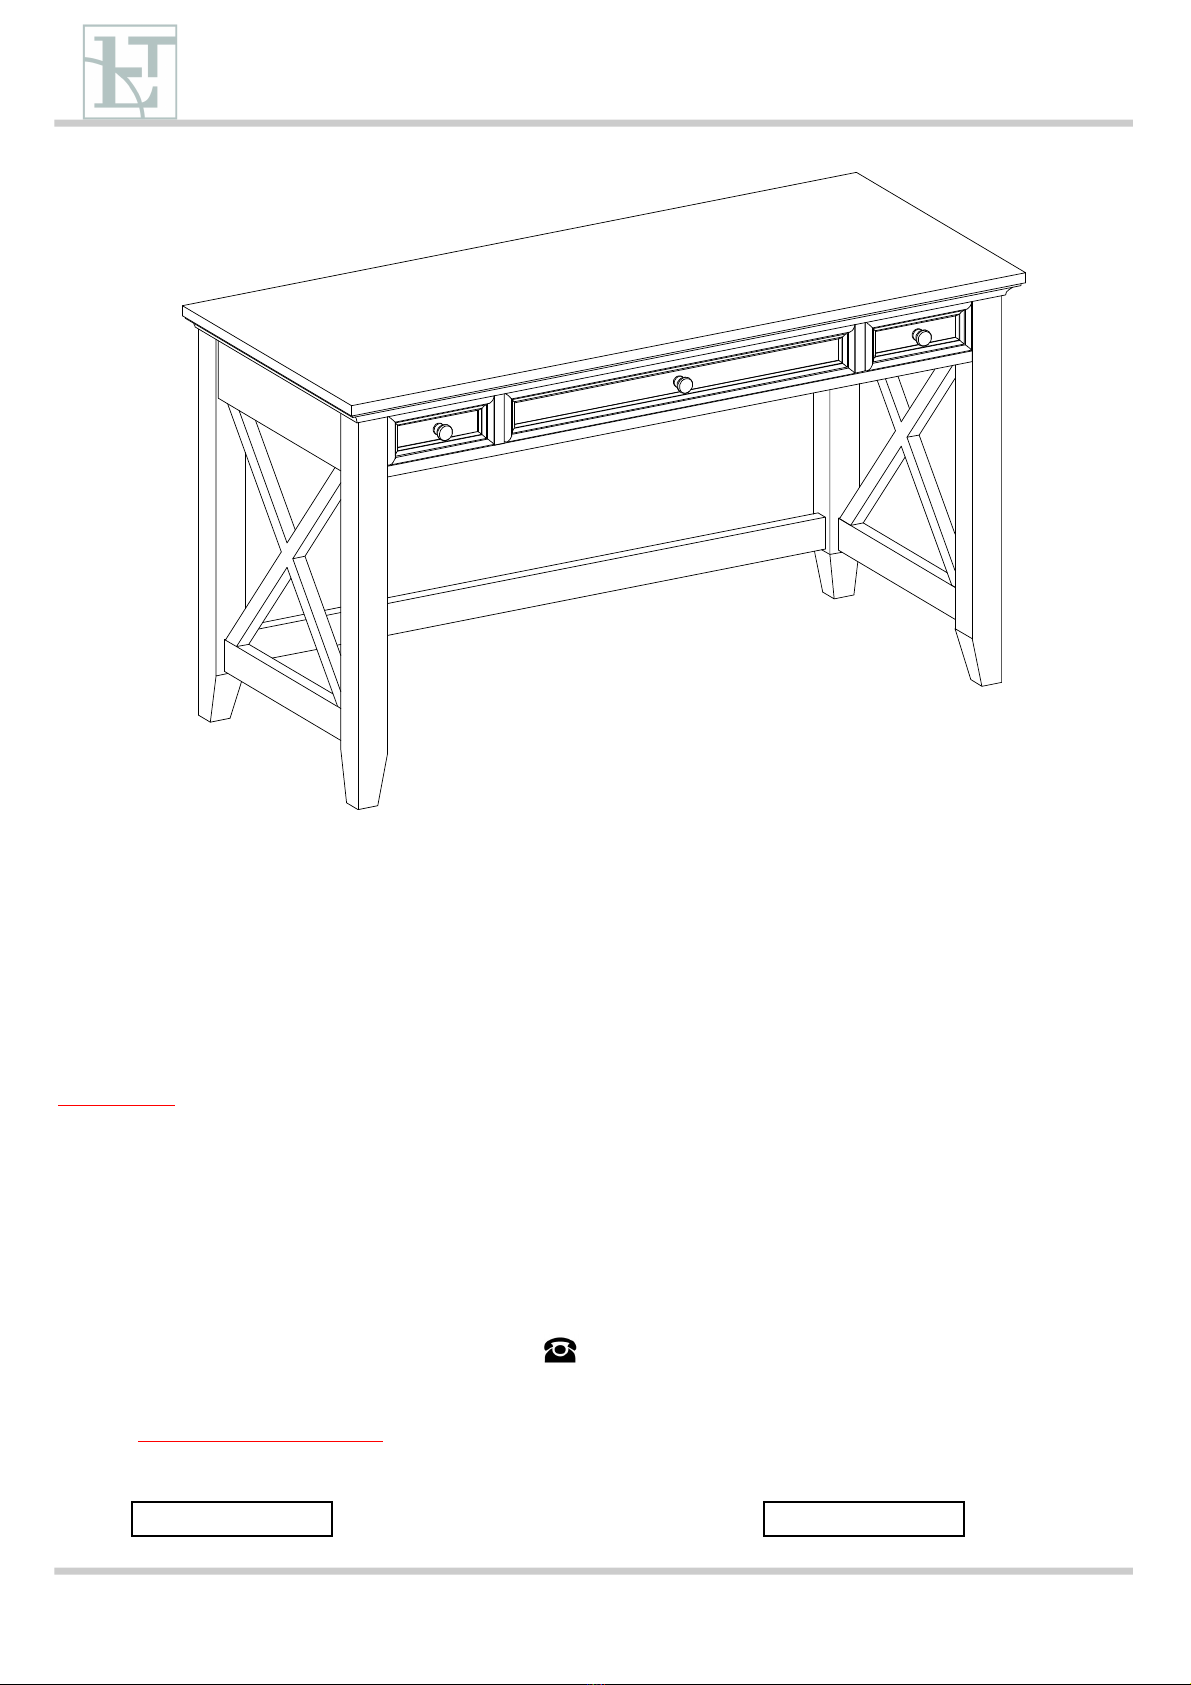
DELANEY WRITING DESK
THIS INSTRUCTION BOOKLET CONTAINS IMPORTANT SAFETY INFORMATION.
PLEASE READ AND KEEP THIS MANUAL FOR FUTURE REFERENCE.
PLEASE DO NOT RETURN ANY PRODUCT TO STORE. ANY MISSING PARTS, HARDWARE OR ASSEMBLY PROBLEMS.
PLEASE
CONT
ACT
WITH
OUR
TOLL
FREE
CUSTOMER
SER
VICE
CENTER
A
T
TEL (1-866-949-3838) OR E-MAIL ([email protected])CAUTION:
* Adult assembly only.
* Assemble on a soft and clean surface to prevent damage to the product finishing.
* Recommended number of people needed to assemble: 2 adults
* Estimated assembly time: Approx. 15-20 minutes
* Before using the furniture, please check all nuts/bolts and screws are tighten properly.
* Failure to tighten all nuts/bolts and screws can cause the furniture unsafety to use and may cause personal injuries.
* Ensure that all parts and components are located properly before assembly.
* Toll free customer service number: 1-866-949-3838
* Service time: Monday~Friday, 9:00am~5:00pm (Central Standard Time)
* 1 Year Limited Liability Warranty.
LOT#: DATE: