manuals.online logo
Brands
  1. Home
  2. •
  3. Brands
  4. •
  5. Easydoor
  6. •
  7. Intercom System
  8. •
  9. Easydoor VM 7T User manual

Easydoor VM 7T User manual

VM 7T User Manual
1. Parts and Functions
CALL
UNLOCK
TALK/MON
IN-USE
LCD Touch Screen
LED indicator
UNLOCK button
CALL button
TALK/MON button
Speaker
Connection Port
Ventilation Vent
Mounting Hook
Mounting Hook
Microphone
1 2 3 4 5 6
ON
DIPS
L1
BT1
BT2
EH
GND
VD
L2
Dimensions
: 155(H)×225(W)×28(D)
2. Operation Instructions
2.1 Basic Video Door Phone Functions
1. When visitor presses the Call
Button on the Outdoor Station,
the monitor rings, at the same
time, the screen displays the
visitor image, and IN-USE LED
turns to red.
2. Press TALK/MON Button(or touch
TALK
icon on the screen), you
can talk with the visitor for 90 seconds. During talking state, press
TALK/MON Button (or touch
EXIT
) to end the conversation. If
nobody answers the phone, the screen will be turned off automatically
after 30 seconds.
3. When Monitor is in standby, press TALK/MON Button(or touch
anywhere on the screen, then touch
monitor
), the screen will display
the view of the Outdoor Station. During monitoring state, press the
2.2 Intercom function
1. During the standby, press
CALL Button to enter Intercom
Function page.
2. Intercom Call: calling other
apartments in the system.
Press the item to enter the
Name List
page. (the name list
will be created automatically by
the system). Selete a name on
the screen then press icon
to call. Use / icon to
scroll to Last / Next name list
page.
3. Inner Call: If multi Monitors are installed in the same apartment, select
Inner Call all the other Monitors will ring at the same time, whichever
Monitor answers the call, conversation is started.
4. Direct Dial Guard unit: A Monitor can be assigned as Guard Unit
Monitor; when the Guard Unit Monitor answers the call, conversation
with the guard person is started..
Home Intelligent System
Intercom Function
Intercom Call
Inner Call
Direct Call Guard Unit
Exit
Home Intelligent System
- Name List -
[01] Mr A
[02] Mr B
[03] Mr C
[04] Mr D
[05] Mr E
1
2
3
4
or icon to get into the
Auto-switching mode, if multi
Door Stations are installed, the
monitor will switch the camera
automatically. you can press
the 1/2/3/4 to monitor the
specific Door Station or CCTV
camera.
4. During the monitoring, press UNLOCK Button(or touch ) to
release the Electronic Lock,press the CALL Button(or touch
rec
) to
record the current picture. Touch will show the creen settings.
5. Touch the icon will hide all the icons on the screen, touch
anywhere on the screen again, the icons will showed up.
DT-ENG-692-V1
5. The ADVANCED SET...item is for
advance settings. a password
will be asked before entering.
The defoult password is 2008.
6. Input the password by touching
the digital keypad on the screen
to enter.
7. The Slave Addr Set item is for
Monitor address setting, if there
is only one Monitor installed in
the apartment, set to 0.
8. Guard Unit Set: if the item is set
to 1, the Monitor is assigned
as a Guard Unit Monitor, for
normal users, it should be set
to 0.
9. Date/Time Set...: Touch the
keypad on the screen to input
the numbers. Touch the #
icon(on the number key pad)
to save and exit or touch the *
icon to cancel.
10. Other Settings...: this item is for
adding and deleting Remotes.
11. Information...: this item will show
the hardware/software version
and voltage information of the
Monitor. Press Restore to default item will restore all the settings to
default.
2.4 Basic Setup Instructions
1. During standby state, touch
anywhere on the screen,
the date/time page will be
dispalyed. The first line show
the current time, the second
line shows the current date
and weekday.(the date/time
page will close in 3 munite if no
operation).
2. Touch the screen again to enter
the MAIN MENU, press
setup
to enter SETUP MENU.
3. T h e O U T D O O R T O N E a n d
INTERCOM TONE item are for
chord ring selection. Touch
/ to increase/decrease
the value. (alternatively, press
the item itself in sequence to
increase/decrease the value)
4. AUTO RECORD:If the item is set
to ON, the Monitor will record the image automatically in 2 seconds
after the visitor pressed the CALL Button on the Outdoor station.
Intelligent Home S y s t e m
Outdoor Tone -- 01
Intercom Tone -- 05
Monitor Time -- 1min
Advanced Set...
Auto Record -- OFF
Exit
Intelligent Home S y s t e m
8
7
6
#
0
9
3
0
2
1
*
* * *
5
4
Password:
Intelligent Home S y s t e m
Slave Addr Set -- 0
Guard Unit Set -- 0
Date/Time Set...
Other Settings...
Information...
Exit
Intelligent Home S y s t e m
monitor
intercom
setup
exit
Intelligent Home S y s t e m
8
7
6
##
0
9
3
2
1
**
5
4
Time
Date
2009 02 14
1 1 3 5
:
: Cancel
: OK
Home Intelligent System
Hardware ver 0302
Software ver 0168
Voltage 22.4V
Manufacture 00.0T
Restore to default
Exit
2.3 Image and Volume adjustments
1. During monitoring or talking,
press icon, the ADJUST
MENU will be displayed.
2. Touch the
+
/
—
icons to
increase or decrease current
value; touch the icon to
switch to the next adjustment item.
3. The first item is Scene mode selection: Total 4 SCREEN modes
can be selected in sequence: NORMAL, USER, SOFT and BRIGHT.
Whenever you modify BRIGHTNESS or COLOUR, SCENE item will be
set to USER mode automatically.
4. RATIO can be shifted from 16:9 to 4:3.
5. The BRIGHTNESS and COLOR item is for the image quality setting,
adjust the value to get the best image you like.
6. The Ring Volume and Talk Volume items are for ring tone and talking
volume adjust.
7. Note that all the modifications will be done immediately after the
operation. Touch the icon to exit out the setting.
Home Intellegent System
+
—
Scene
soft
3. Specications
●
●
●Power●consumption:● ● Standby●0.5W;●Working●15W
●
●Monitor●screen:● ● 7●Inch●color●TFT-LCD
●
●Display●Resolutions:● ● 800(R,G, B) x 480 pixels
●
●Dimensions:● ● 155(H)×225(W)×28(D)mm

Other Easydoor Intercom System manuals

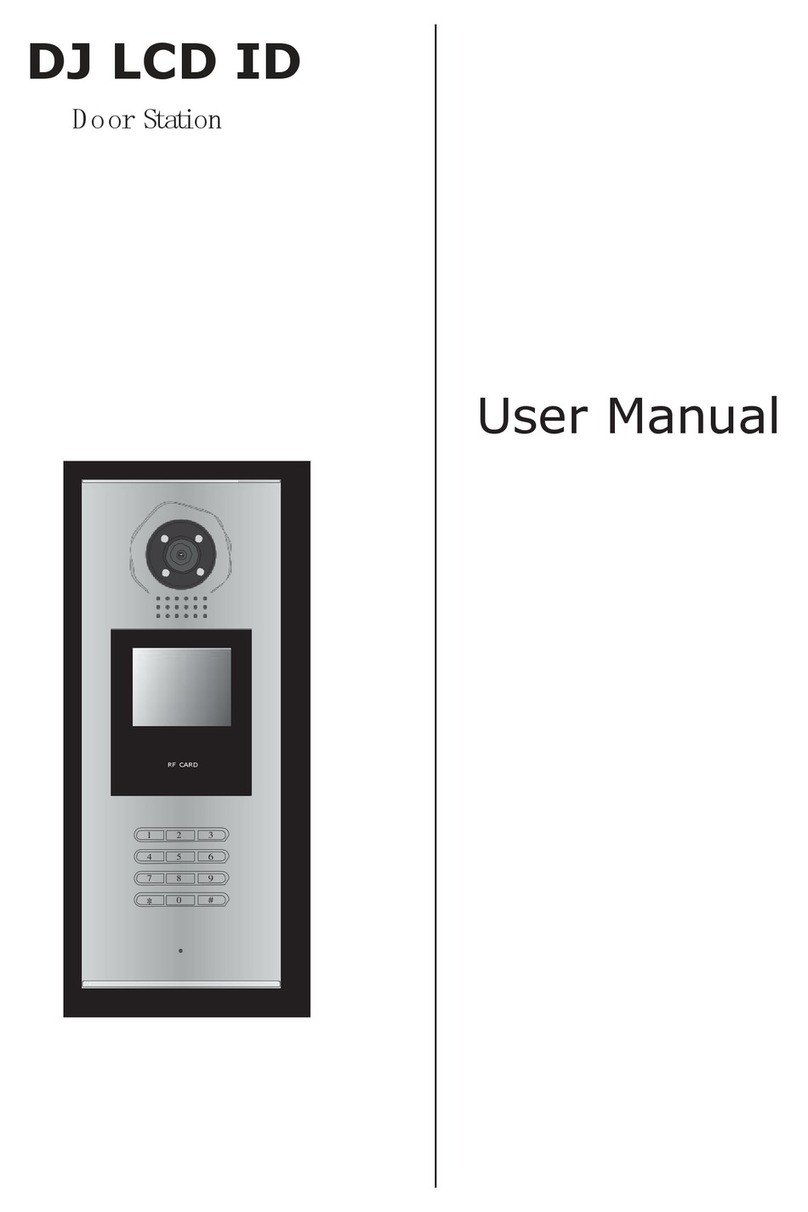
Easydoor DJ LCD ID User manual

Easydoor

Easydoor DJ LCD ID User manual

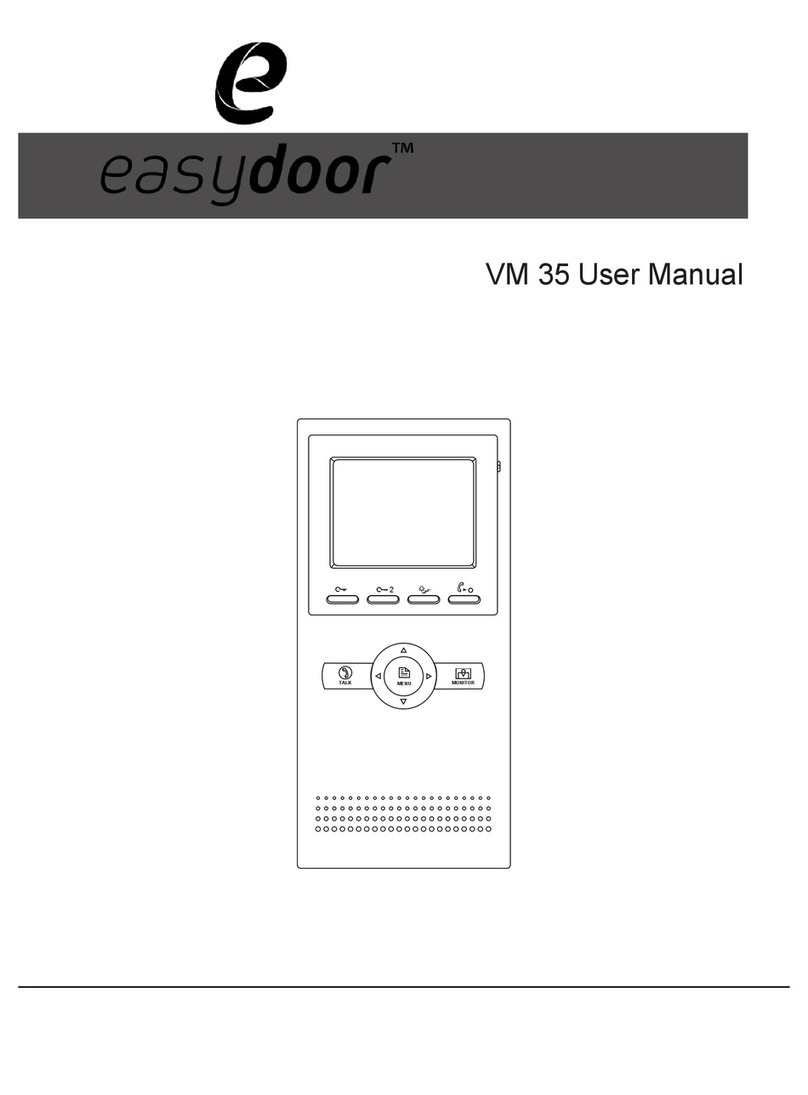
Easydoor VM 35 User manual

Easydoor

Easydoor VM 35 User manual

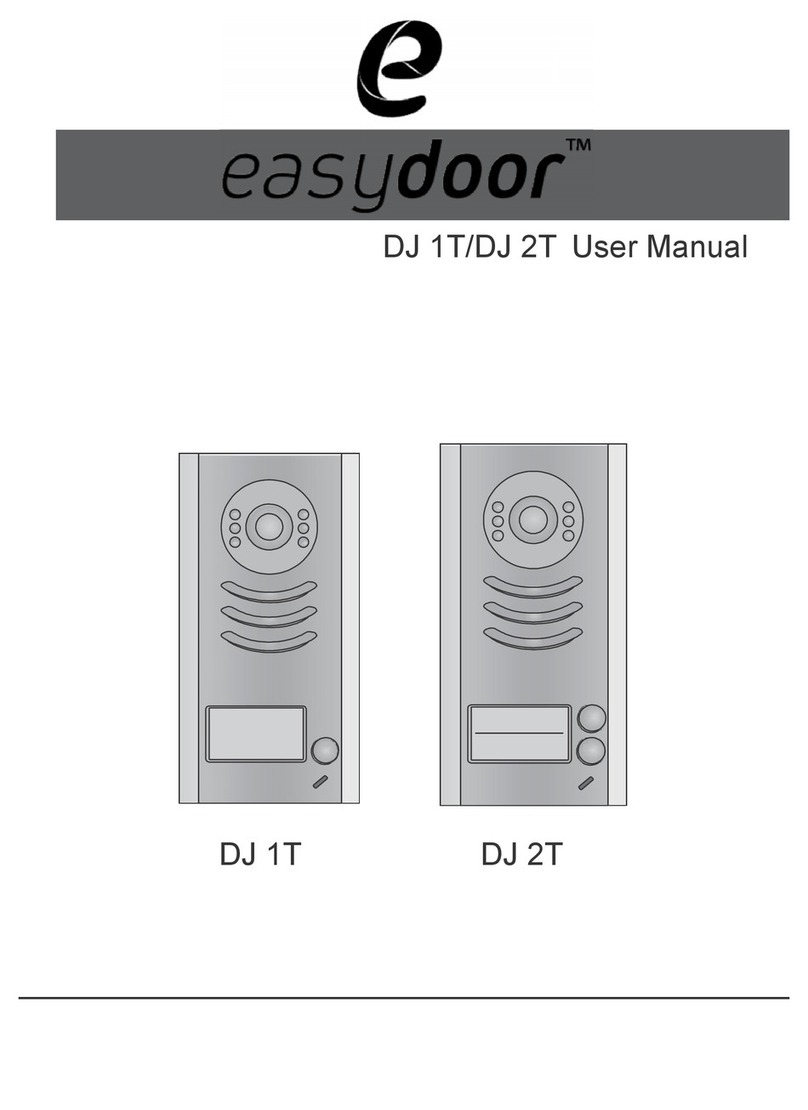
Easydoor DJ 1T User manual

Easydoor

Easydoor DJ 1T User manual

Popular Intercom System manuals by other brands

golmar Platea Uno Installation

golmar

golmar Platea Uno Installation

Profile PAVANE PAC-300 quick start guide

Profile

Profile PAVANE PAC-300 quick start guide

Vimar ELVOX K40505.R Installer manual

Vimar

Vimar ELVOX K40505.R Installer manual

Vimar ELVOX 930A quick start guide

Vimar

Vimar ELVOX 930A quick start guide

Bticino 323004 quick start guide

Bticino

Bticino 323004 quick start guide

Toa CPU-55 Installation handbook

Toa

Toa CPU-55 Installation handbook

Commax DRC-41UN user manual

Commax

Commax DRC-41UN user manual

Slinex Design Direct Series user manual

Slinex

Slinex Design Direct Series user manual

Aiphone DA-1AS Installation and operation manual

Aiphone

Aiphone DA-1AS Installation and operation manual

Valcom VE9894-1-Finish Specifications

Valcom

Valcom VE9894-1-Finish Specifications

Mircom 9500 Series Installation, programming, and troubleshooting manual

Mircom

Mircom 9500 Series Installation, programming, and troubleshooting manual

TCS VPES Series Product information

TCS

TCS VPES Series Product information

Comelit Simplebus FT/SB/06 quick start guide

Comelit

Comelit Simplebus FT/SB/06 quick start guide

Bticino Terraneo 332550 instruction sheet

Bticino

Bticino Terraneo 332550 instruction sheet

2N Helios IP Uni installation manual

2N

2N Helios IP Uni installation manual

Comelit 6741W Technical manual

Comelit

Comelit 6741W Technical manual

ASL INTERCOM PS 19 AM user manual

ASL INTERCOM

ASL INTERCOM PS 19 AM user manual

CDVI CDV-91IP manual

CDVI

CDVI CDV-91IP manual

manuals.online logo
manuals.online logoBrands
  • About & Mission
  • Contact us
  • Privacy Policy
  • Terms and Conditions

Copyright 2025 Manuals.Online. All Rights Reserved.