Easylife R1 LITHIUM User manual

EASYLIFE MOBILITY CARE LTD
R1 LITHIUM

Table of Contents
1. Safety Instructions ······················ 2
2. Your Scooter ····························· 3
3. Adjustment of Comfort ················ 9
4. Use of Battery ···························· 12
5. Operating Procedures·················· 20
6. Installation and Disassembly ········· 23
7. Common Troubleshooting ············ 26
8. Overhaul and Upkeep ·················· 30
9. Underwriting ···························· 35

Specification
Overall Dimension: 1100(L)*520(W)*970(H)mm
Packing size: 1070×525×575mm
N.W. / G.W: 42KG / 45KG
Turning Radius: 1200mm
Max speed: 8km/h
Climb Degree: 12 degrees
Max Load: 150kg
Motor: 24V 220W
Battery Capacity: 12AH*1 lead-acid battery
Max Range: 18-25km
Battery Capacity: 24V 12AH*1 lithium battery
Max Range: 18-25km
Battery Capacity: 24V 20AH*1 lithium battery
Max Range: 28-35km
Battery Capacity: 24V 30AH*1 lithium battery
Max Range: 40-50km
Ground Clearance: 90mm
Charger: 2.0A 24V
Front wheel: 190X54mm
Rear wheel: 215X70mm

1.
Safety Instructions
1.
Before using the scooter, please completely read and understand this
User Manual.
2.
For your and others' safety, please abide by road traffic laws when using the scooter.
3.
Please do not privately modify the scooter. Otherwise, you may damage the scooter
and the vehicle cannot obtain quality guarantee services.
4.
Before using the scooter, please conduct the following safety check:
① Check conditions of the tire and ensure that the tire is not damaged nor excessively
worn.
② Check all electrical connections and ensure the connection is tight, with no erosion.
③ Check the brake and ensure that it normally works.
④ Check all the wire harness connections and ensure they are solidly connected.
⑤ Check the battery indicator and ensure that the battery is filled with power.
⑥ Before getting on the scooter, ensure that the manual free bar is at the driving pattern.
5.
When using the scooter, please do not exceed the maximum load bearing. The individual
seat may merely hold one person. Otherwise, it may lead to personal injury and vehicles
cannot obtain quality guarantee services.
6.
When using the scooter, please do not exceed the rated obstacle height. When crossing
obstacles, please remain a low speed and the angle between the vehicle body and obstacles
is 90°.
7.
When using the scooter on the uneven ground, please slow down. The scooter cannot
wade into the water. If the water level submerges the controller, electric motor or circuit, it
may lead to short circuit and damage the electrical appliance.
8.
Please slow down when going uphill and downhill and making a turn. Please do not back
up on the rampway and drive on the slope beyond the maximum stipulated by the scooter.

2. Your Scooter
1.
Instrument panel
Instrument panel includes: Key switch, throttle control, horn button, speed regulation
knob and indicator of battery power, seen in Figure 1.
Please Attention! The console of the tiller cannot be exposed to the humid
environment. If it is exposed to the humid environment accidentally, please do not
operate the scooter before the tiller Console is utterly dry.
Figure 1: Tiller console
① Horn button
Press this button to start the warning horn. The warning horn cannot be used after launching
the scooter. In order to prevent accidents or injuries, please timely use the warning horn.
② Key switch
Insert the key to the key switch and rotate it clockwise. Then the scooter may be launched.
Rotate the key anticlockwise to extinguish the scooter.
Please Attention! When the scooter is operated, if you rotate the key to the position of
"Off", the electronic brake will mesh, thus making the scooter suddenly stop!
③ Indicator of battery power
After the scooter is launched, the indicator of battery power will show the rough battery
power.

④ Speed regulation knob
You may select the maximum and the minimum speed of the scooter through the speed
regulation dial.
⑤ throttle control
You may control the speed of advance and astern speed of the scooter through the throttle
control. Hold the right hand and the left hand on the right knob and the left knob respectively;
Pull the right side of the throttle control with the thumb of the right hand, and then the scooter
moves ahead. Pull the left side of the throttle control with the thumb of the left hand, and
then the scooter moves backwards. Totally loosen the throttle control with both hands to
make it return to the middle "stop" position. Then the scooter brake meshes.
⑥ Light switch
You may control the lighting system of the scooter with the light switch
2.
Rear components
The rear components include manual free bar, anti-rollover wheel and motor. Refer to
Figure 2.
Figure 2: Rear components
① Manual free bar
You may use the manual free bar to adjust the scooter to the freewheel mode (if you want
to push the scooter, you may turn off the power of the scooter and adjust it as the free wheel
mode). Push the manual free bar forward and the driving system and the braking system are
closed; the scooter enters the freewheel mode. Then you may push the scooter. Push the
manual

free bar backward and the driving system and the braking system re-meshed. Then the
scooter exits the mode of freewheel.
Please Attention! Before the scooter enters or exits the freewheel mode, please take
down the key from the key switch and stand at one side of the scooter to start or cancel
the freewheel mode. When starting or canceling the freewheel mode, please do not sit
on the scooter; When the scooter is under the mode of the freewheel, please do not sit
on the scooter. Do not set the scooter as the mode of the freewheel on the slope. After
the process of pushing the scooter is finished, remember to readjust the scooter to the
driving pattern, so as to lock the brake.
② Anti-rollover wheel
The anti-rollover wheel is an important safety device of the scooter. Forbidden! Users
shall not dismantle the anti-rollover wheel nor modify the scooter in any case.
Please Attention! When going up and down the slope, the anti-rollover wheel of the
scooter may disturb the stable operation of the scooter.
3.
Battery pack
The top of the battery pack is equipped with the handle. You may easily raise the battery
pack up from the scooter with the single hand. The battery pack includes two rechargeable
cells, as well as the power cord jack of the charger, overload circuit breaker (reset button)
and fuse of the battery pack. Refer to Figure 3.
Component identification
1.
Battery pack
2.
Handle of the battery pack
3.
The power cord jack of the charger
4.
Fuse of the battery pack
5.
Main circuit breaker (reset button)
6.
Wire harness of battery cable
7.
Wire terminal

Figure 3: Battery pack
① The power cord jack of the charger (located at the tiller and battery pack) Insert the side
with tripod of the power wire plug of the charger into the power wire jack of the charger.
② Main circuit breaker (reset button)
When the scooter is hard to operate out of low battery voltage or overload and abrupt
slope, the main circuit breaker may trip, so as to prevent the motor and electronic device
from damage. If the main circuit breaker trips, the reset button of the main circuit breaker
may pop up and the entire electrical system will be totally closed. After tripping, please
leave one or two minutes to make the electronic device rest, and then boost the reset button,
so as to recover the main circuit breaker. If the main circuit breaker frequently trips, you
need the authorized supplier to conduct a load test to your scooter. If the main circuit breaker
repeatedly trips, please contact the authorized supplier to repair it.
③ Fuse of the tiller console
The fuse of the tiller console below the battery pack may protect the electronic device of
the tiller console. If any component of the tiller console does not respond, please check the
fuse of the tiller console.
4.
Off-board battery charger
Connect the off-board battery charger to the power wire jack of the charger and one
standard power outlet to charge the battery of the scooter. Refer to Figure (4-5).
(Platform of the travel scooter)
Type A of battery pack

Figure 4: The power
cord jack of the
charger
5.
Fixed point
Figure 5: Off-
board
battery
charger
The scooter must be fixed in the forward direction
position within the motor vehicle. Please tie the four
fastening belts to designated fixed points. Refer to
Figure 6. The fastening belt needs to be fully fastened,
without any slack place. Do not tie the fastening belt to
the adjustable, movable, or detachable and washable
component of the scooter, such as handrail, cover plate
or wheel. These components may be dismantled. The
fixed point of the rear fastening belt may be determined
as the right astern of the rear fixed point on the travel
scooter. The front fastening belt shall be fixed on the
wider and segregative point and surface than the scooter,
so as to strengthen lateral stability.
Please Attention! In the process of
transforming the scooter, please ensure that the
scooter is correctly fixed on the motor vehicle. If
the fixation is improper, it may turn over or slide out
of the site in the process of the motor vehicle's traffic
collision, sudden stopping or turning, which may lead
danger to users and passengers of other motor
vehicles.

Figure 6: Fixed point (black point in the picture)
Component identification
Front fixed point (four-wheel vehicle)
Rear fixed point

3. Adjustment of Comfort
1.
Adjustment of the tiller angle (refer to Figure 7)
Attention: In order to fully turn down the tiller, you must dismantle the chair and the
battery pack. Straightly pull the chair upwards, so as to make it separate from the travel
scooter.
Warning! Before adjusting the tiller or the
chair, please firstly take down the key from the key
switch. In the operation process of the travel scooter,
please do not adjust the tiller or chair.
Figure 7: Adjusting knob of the tiller
2.
Chair rotation adjustment
When the chair is rotating, the rotating rod of the right chair
at the bottom of the chair may fix the chair to several positions.
(Refer to Figure 8).
1.
Pull up the rotating rod
of the chair to loosen the
chair.
2.
Rotate the chair to the
ideal position.
3.
Loosen the rotating rod
of the chair to fix the chair.
Figure 8: Chair adjustment
3. Adjustment of handrail width
The handrail width may be adjusted inward or outward.
1.
Loosen the adjusting knob of the handrail. Refer to
Figure 8.
Component identification
1. Adjusting knob of the handrail
2. Location pin
3. Rotating rod of the chair

- 10 -
2.
Use the attached ring to pull and dismantle the location pin.
3.
Slide the handrail inward or outward to the ideal width.
4.
Target at the regulation hole of the seat frame and handrail, and re-insert it into the
location pin.
5.
Tighten the adjustment knob.
Attention: Rotate the handrail upwards to help you get on or off the car.
4. Height adjustment of the chair
The chair may be adjusted to different heights. (Refer to Figure 9).
Figure 9: Adjustment of chair height
① Dismantle the battery pack on the travel scooter.
② Use the attached ring to pull and dismantle the lower seat post of the seat post.
③ Adjust the upper seat post upwards or downwards to the ideal seat height.
④ When maintaining the upper seat post at the ideal height, target at the regulation hole of
the upper and the lower seat post.
⑤ Fully insert the location pin.
⑥ Lay back the battery pack and the chair.
Component identification
Upper seat post
Lower seat post
Location pin

- 11 -
4. Use of Battery
1.
The scooter has two maintenance-free tight 12-V deep-cycle battery with a long life.
2.
Please charge the battery with the off-board charging system provided by us. In order to
ensure to recharge the scooter battery in the safest and the most effective way, please use
the original charger provided along with the product. Forbid using any recharging method
of independently recharging each battery.
3.
Before the first use, recharge the battery of the scooter for at least 8-14 hours. To
recharge the battery each time, please recharge the battery, so as to ensure the stable
operation of the scooter.
Please Attention! Please do not use any extended line to connect the battery
charger. Please insert the battery charger into the normal
standard power outlet of the wiring. When the battery is being recharged, children with
no caretaker shall not play around the scooter. Do not recharge the battery when there
is someone sitting on the scooter. There may be the explosive gas in the battery charging
process. When it is recharged, please ensure that the scooter and the battery are away
from fire sources like flame and spark, and provide sufficient ventilation. Before each
use, please check whether the battery charger, wiring and connector are damaged or
not. If they are damaged, please contact the authorized supplier. Do not try to open the
shell of the battery charger. In the charging process, the shell of the battery charger
may emit heat. Please avoid making the battery charger contact the skin. Do not place
the battery charger on the surface that may be possibly affected by the high
temperature. Do not expose the battery to the unfavorable or extremely terrible
weather conditions. If it is exposed by accident, before indoor use, the adjustment time
shall be left, so as to adapt to the difference of the environmental conditions.

- 12 -
4.
On the battery electricity meter of the tiller console, from right to left, green indicates
that the battery has been fully recharged; yellow indicates that the electric energy is about
to run out; red indicates that it needs to be immediately charged. (Seen in Figure 10):
Figure 10: Battery electricity meter

- 13 -
5.
Please charge the battery according to steps shown in Figure (11).
Figure 11: Step diagram of battery charging
Please Attention! The scooter has the inhibition function of the charger.
When the battery is being charged (the battery pack is charging
on the scooter), the scooter stops operating; the battery condition meter stops work.
6.
Answers to frequently asked questions
① How does the charger work?
When the battery voltage of the travel scooter becomes low, the charger works better, for
it transmits more current to the battery, so as to increase the electric charge of the tram. When
the battery is going to be fully charged, the charger gradually reduces the transmission of
current. After the battery is fully charged, the current transmitted by the charger is close to
0A. Therefore, after inserting the charger, the charger may maintain the electric charge
within the battery of the travel scooter, but it won't conduct excessive charging to the battery.
As to the charging instructions, please refer to the instructions of battery charger provided
along with the battery charger.
② Can I use other chargers?
According to specific applications, we provide the charger with accurately matched
battery type, capacity and chemical nature. In order to ensure the safest and the most
effective charging to the battery of the travel

- 14 -
scooter, we suggest that you should use the original charger provided by us along with the
product. Forbid using any recharging method of independently recharging each battery.
③ If the battery of the travel scooter cannot be charged, what to do?
※ Please ensure that the fuse on the battery pack is at the work status. Refer to Figure 3.
※ Please completely insert both sides of the charger power wire to the connected jack or
socket.
④ How often is the battery charged for once?
To judge how often the battery of the travel scooter should be charged, two main factors
need to be considered:
※ It is used every day all day long.
※ It is used sometimes or from time to time.
By considering these factors, you may judge how often the battery of the travel scooter
should be charged for once and how long each charging shall last. The battery charger is
designed not to excessively charge the battery of the travel scooter. Even so, if the battery is
not frequently charged or not regularly charged, you may also meet some problems. To abide
by the following instructions may help you realize safe and reliable battery operation and
charging:
※ If you use the travel scooter every day, please immediately charge the
battery after using it every day. In this case, your travel scooter will be fully charged every
morning. We suggest that you should charge the battery for at least 8-12 hours after using
the travel scooter every day. You are suggested to continue to charge the battery for four
hours after the battery charger shows that charging has been finished.
※ If you use the travel scooter once a week or less frequently, please charge
the battery at least for once per week, and at least 12 hours per time.
Attention: Please maintain the battery fully charged and avoid in-depth
discharge of the battery. As to the charging instructions, please
refer to the instructions of battery charger provided along with the battery charger.
If you use the scooter for only once or less frequently

- 15 -
one month, please continuously charge the battery for at least 12 hours, so as to
maintain and improve the performance, and prolong the battery life.
⑤ How to maximize the extension of battery life?
Charge the deep cycle battery fully can make the battery play a reliable performance and
prolong its life. Please keep the battery of the travel scooter in a state of being fully charged
as much as possible. It is also necessary for you to keep the travel scooter and its battery far
away from the extremely cold or hot environment. The battery may be permanently
damaged, in unreliable performance and be shortened in its service life, if the battery is
always in a deep discharge state, not often charged and stored in extreme temperatures or
stored not in the state of being fully charged.
Attention: Please turn off the travel scooter and remove the key when you don't
use it in order to extend the battery's life.
⑥ How to achieve the maximum mileage or distance of a single charge?
It's hard for you to obtain ideal driving conditions smooth, flat, hard,
not winding and straight pavements. Generally, you may meet with hillside, cracked
pavements and uneven, loose, winding and curved roads, all of which may influence the
maximum driving mileage of a single charge.
※Please charge the battery fully firstly when you use the travel scooter every
day.
※ Plan the driving route in advance and steer clear of hillside and cracked, damaged and
soft pavements as far as possible.
※Control the luggage weight and only carry essential items.
※ Try to maintain a constant speed in the operational process of the travel scooter.
※Avoid the conditions of moving and stopping the scooter suddenly.
※ If the scooter is used only once or less within one month, it is suggested that the battery
shall be charged continuously for at least 12 hours in order to maintain and improve the
battery's performance and extend its life.

- 16 -
※Make sure that all wire harness has been fixed properly.
⑦Which type and capacity of the battery should I use?
Your travel scooter needs two cycling batteries. We suggest you use the sealed
maintenance-free battery, such as AGM battery or gel battery. Please do not use the wet
battery with a removable protective cover. The capacities of the batteries of different
manufacturers are different, please refer to the product specifications table.
Warning! Batteries contain corrosive chemicals. Please use AGM battery or gel
battery in order to reduce the risk of battery leakage and
explosion.
Attention: Sealed battery can not be repaired by users. Please do not remove the
protective cover of the battery.
⑧ Why does the new battery seem to be in poor performance?
The chemical technology adopted by deep cycle batteries is different to that of
automotive batteries, nickel-cadmium batteries and other ordinary batteries. Deep cycle
battery is specially used to supply power and let out electric charge, then it can be charged
quickly (8 to 14 hours).
We are in close coordination with the battery manufacturers and strive to provide the
most suitable battery that meet the power demands of certain travel scooter. New battery is
fully charged before delivery to customer. New battery may encounter extreme temperatures
in transit, which will affect its initial performance. High temperature can reduce the electric
charge of the battery. Low temperature can reduce the available power of the battery and
extend charging time at the same time. It may take a couple of days for the battery
temperature in a travel scooter to be stabilized and adapt to new temperature or ambient
temperature. More importantly, it needs several charging periods (partially discharged after
being fully charged) to establish the vital chemical equilibrium, which is essential to
maintain the best performance and longest life of the battery.

- 17 -
⑨ The following steps contribute to adjusting the battery in the travel scooter to its
maximum efficiency and service life.
1.
Please make the new battery fully charged before it is used for the first time. The first
charging period can make the performance of the new battery reach about 88% of its
maximum performance.
2.
Operate the travel scooter in the familiar and safe area. Please drive slowly at first and
do not drive far away from your home or other familiar environment before you adapt to the
operating methods of the travel scooter and adjust well the battery in the travel scooter.
3.
Make the battery fully charged once again. This charging period can make the
performance of the new battery reach above 90% of its maximum performance.
4.
Operate the travel scooter again and then make the battery fully charged all over again.
5.
The electric charge received by the battery can reach 100% of its maximum performance
after 4-5 charging periods, and the service time of one single charge is relatively extended.
(10) Public transport methods can be used or not?
If you intend to transport the travel scooter with public transport methods, please consult
the public transport providers of its special requirements.
How to replace the battery in the travel scooter?
Compulsory execution! Battery post, battery terminal and relevant parts all
contain lead and lead compound. Please wear
protective goggles and gloves when handling the battery and wash your hands after
the completion of the process.
Warning! The type, chemical property and ampere-hour (Ah) of the two batteries must
be exactly the same. As for the suggested battery type and capacity, please refer to the
product specification insert and relevant insert of the battery charger instructions.
Warning! Please do not mix the old and new batteries for use simultaneously. Two
batteries must be replaced simultaneously.

- 18 -
Warning! If you have any questions about the battery of the travel scooter, please
consult the supplier.
Warning! The battery of the travel scooter must be maintained or replaced by the
authorized suppliers or qualified technicians.
Forbidden! Tools and other metal items must be far away from the battery terminals.
They may lead to electric shock if touched the battery terminals.
The following tools are needed to replace the battery:
※Metric/standard plus screw driver;
Warning! Please do not try to lift the parts that are beyond your physical
strength. Please ask for help if necessary when install or disassemble the
travel scooter.
Warning! Please do not directly pull the wire harness when remove them
from the travel scooter. Please seize the joint when disconnect the wire
harness, so as not to damage the wires.
Steps of replacing the battery pack of type A (refer to Figure 3):
1.
Dismantle the battery pack on the travel scooter.
2.
Place the battery pack carefully on the opposite face.
3.
Remove the eight screws around the battery pack.
4.
Place the battery pack face upward and remove the cover of it.
5.
Disconnect the battery terminals of the black (-) and red (+) batteries.
6.
Remove the old battery.
7.
Put new batteries into the battery pack.
8.
Connect the red battery to every positive terminal (+) of the battery.
9.
Connect the black battery to every negative terminal (-) of the battery.
10.
Put the battery pack cover back in place and make sure all wires are all inside of the
battery pack and not tightened.
11.
Turn the battery pack back carefully.
12.
Reinstall and tighten all the screws.
Table of contents
Other Easylife Lawn And Garden Equipment manuals

Easylife
Easylife EL 3074 User manual

Easylife
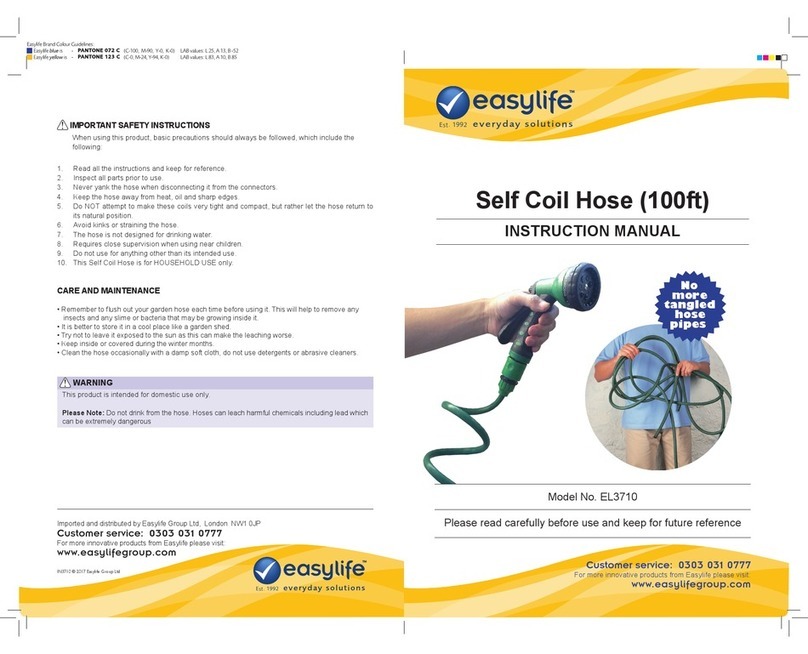
Easylife EL3710 User manual

Easylife
Easylife EL6145 User manual

Easylife
Easylife EL6145 User manual

Easylife
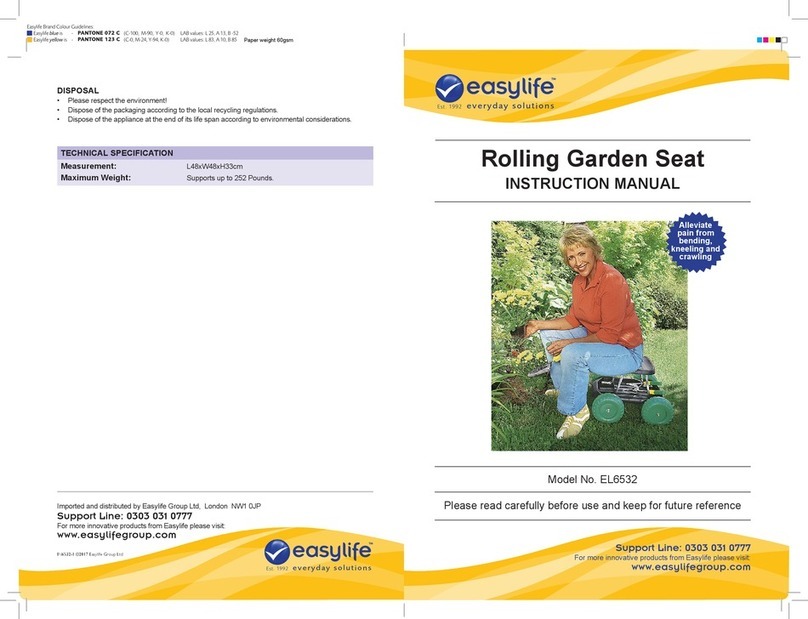
Easylife EL6532 User manual

Easylife
Easylife EL4559 User manual

Easylife
Easylife 6291 User manual

Easylife
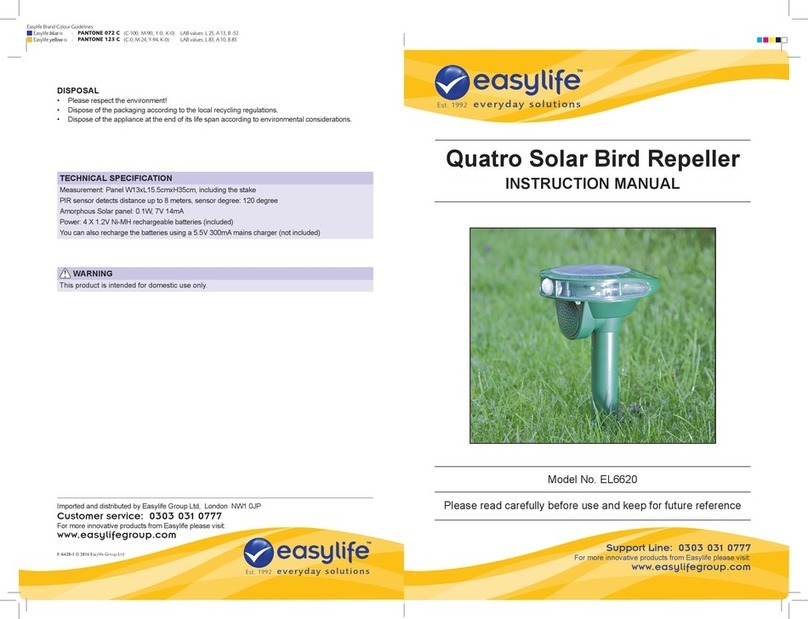
Easylife EL6620 User manual
Easylife
Easylife EL 2779 User manual
Easylife
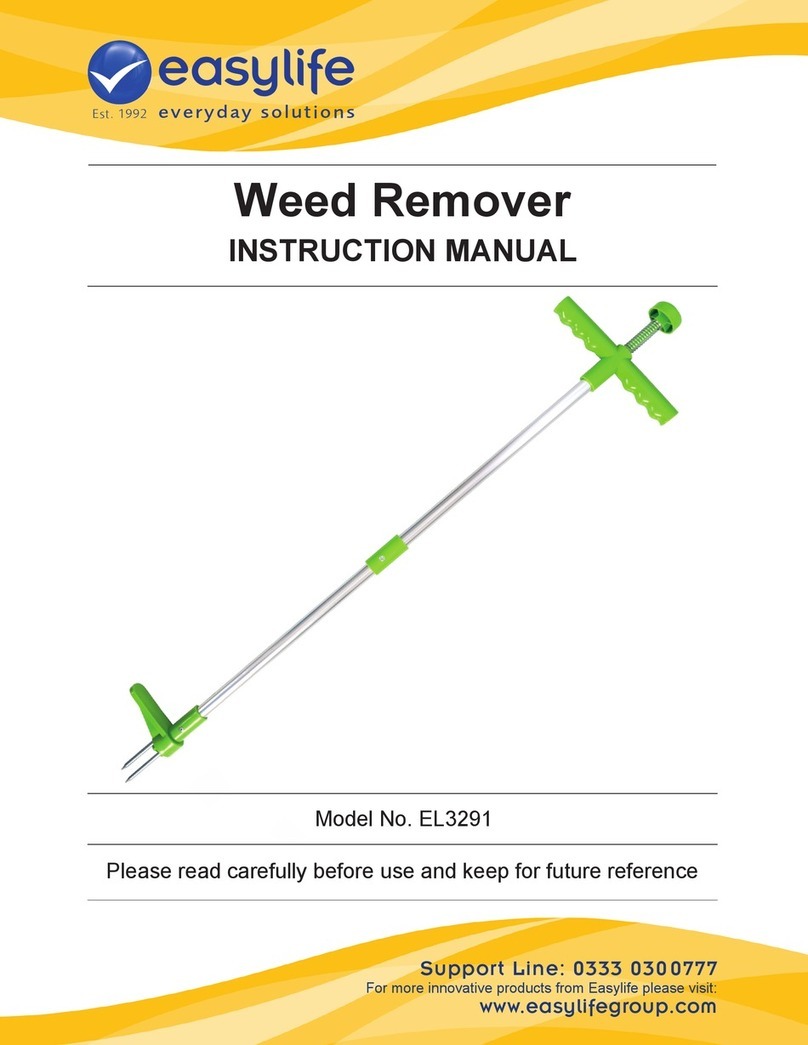
Easylife EL3291 User manual