EccoBike GAZELLE User manual

USER's MANUAL
GAZELLE
Thank you for purchasing the EccoBike™ Gazelle electric bike.
EccoBike™ are one of the best electric bike companies based in New
Westminster, BC Canada. We produce high-quality and unique style
electric bike with high-profile components.
After receiving your new bike, firstly please check exterior of package. If
you found severe damage on the surface or at the corner, please contact
EccoBike™ by email to contact@eccobike.ca or call 1-888-401-3226 to
check whether you need a return and refund. Get more information
about warranty and refund policy on our website at https://eccobike.ca/
return/
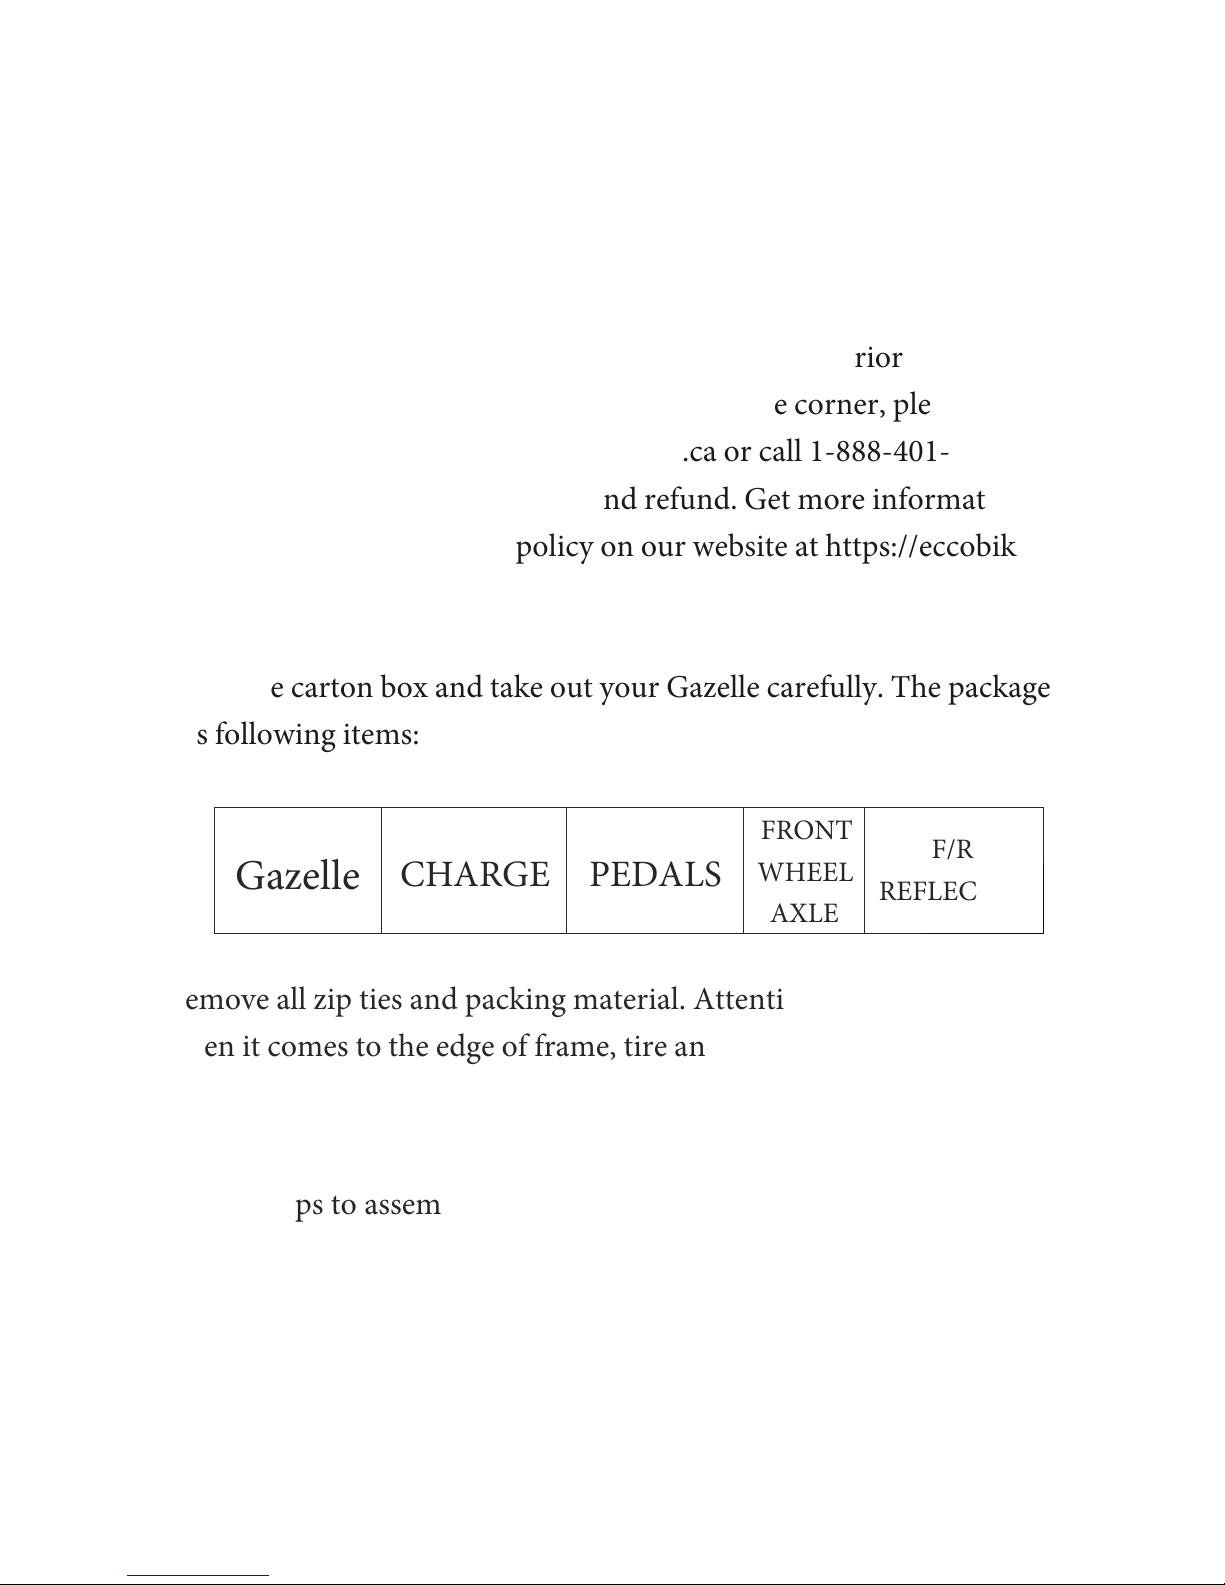
Open the carton box and take out your Gazelle carefully. The package
has following items:
Gazelle CHARGE PEDALS
FRONT
WHEEL
AXLE
F/R
REFLECTOR
Remove all zip ties and packing material. Attention: be careful
when it comes to the edge of frame, tire and rim..
Follow steps to assembly your front wheel!

Install Front Wheel
Make sure the brake disc is placed in the center of caliper gap and front wheel can rotate
freely without any noise.
When the brake disc is not in the gap, DO NOT pull brake lever.

Install Pedals
Use the pedal marked with an “L” on the left side and the right pedal marked with an “R”
o
n the right side (side with drivetrain gears). The right-side pedal has a right-hand threa
d
(removes counterclockwise, installs clockwise); the left side pedal has a left-hand
thread (removes clockwise, installs counterclockwise). Be careful to not cross thread
the pedals.
LR

Insert, Remove or Adjust Saddle Height

Charge Battery before Your First Ride
*On charger adapter, red light stands for charging, while green light stands for
charging finished.
Some Battery Tips
Lithium battery capacity drops down with times they’ve been used. With
EccoBike™ genuine batteries provides 600~800 charging cycles.
Stay away from extreme environment. Most suitable temperature for
battery is 14 °F~113°F. Do not approach heat, fire, inflammable and
prevent battery from falling and getting wet. Do not insert metal into
battery.
Battery indicator bar on LCD display sometimes is biased. If you want to
get more accurate indication, try to run totally out of battery then charge
it charged to full. BMS will reset the indicator randomly.
Frequent accelerating and brake drain your battery much more quickly
than you expected. When you don’t have enough battery, twist throttle
gently to be safe back.
8 hours not using the battery still consumes around 5% battery capacity
to standby and support BMS.
If you are not going to use the battery for long time ,take out the battery
out of your EccoBike™ and store it with 50% battery left. Do not use
battery when it has less than 10% capacity left.
Our bike is water proof but only splash proof. Please do not put the bike
in water deeper than 7.0 inch, otherwise the controller box has risk of
mould.
If you keep charging your battery for more than 12 hrs and the battery
doesn't charge fully, stop charging and contact EccoBike™ as soon as
possible.
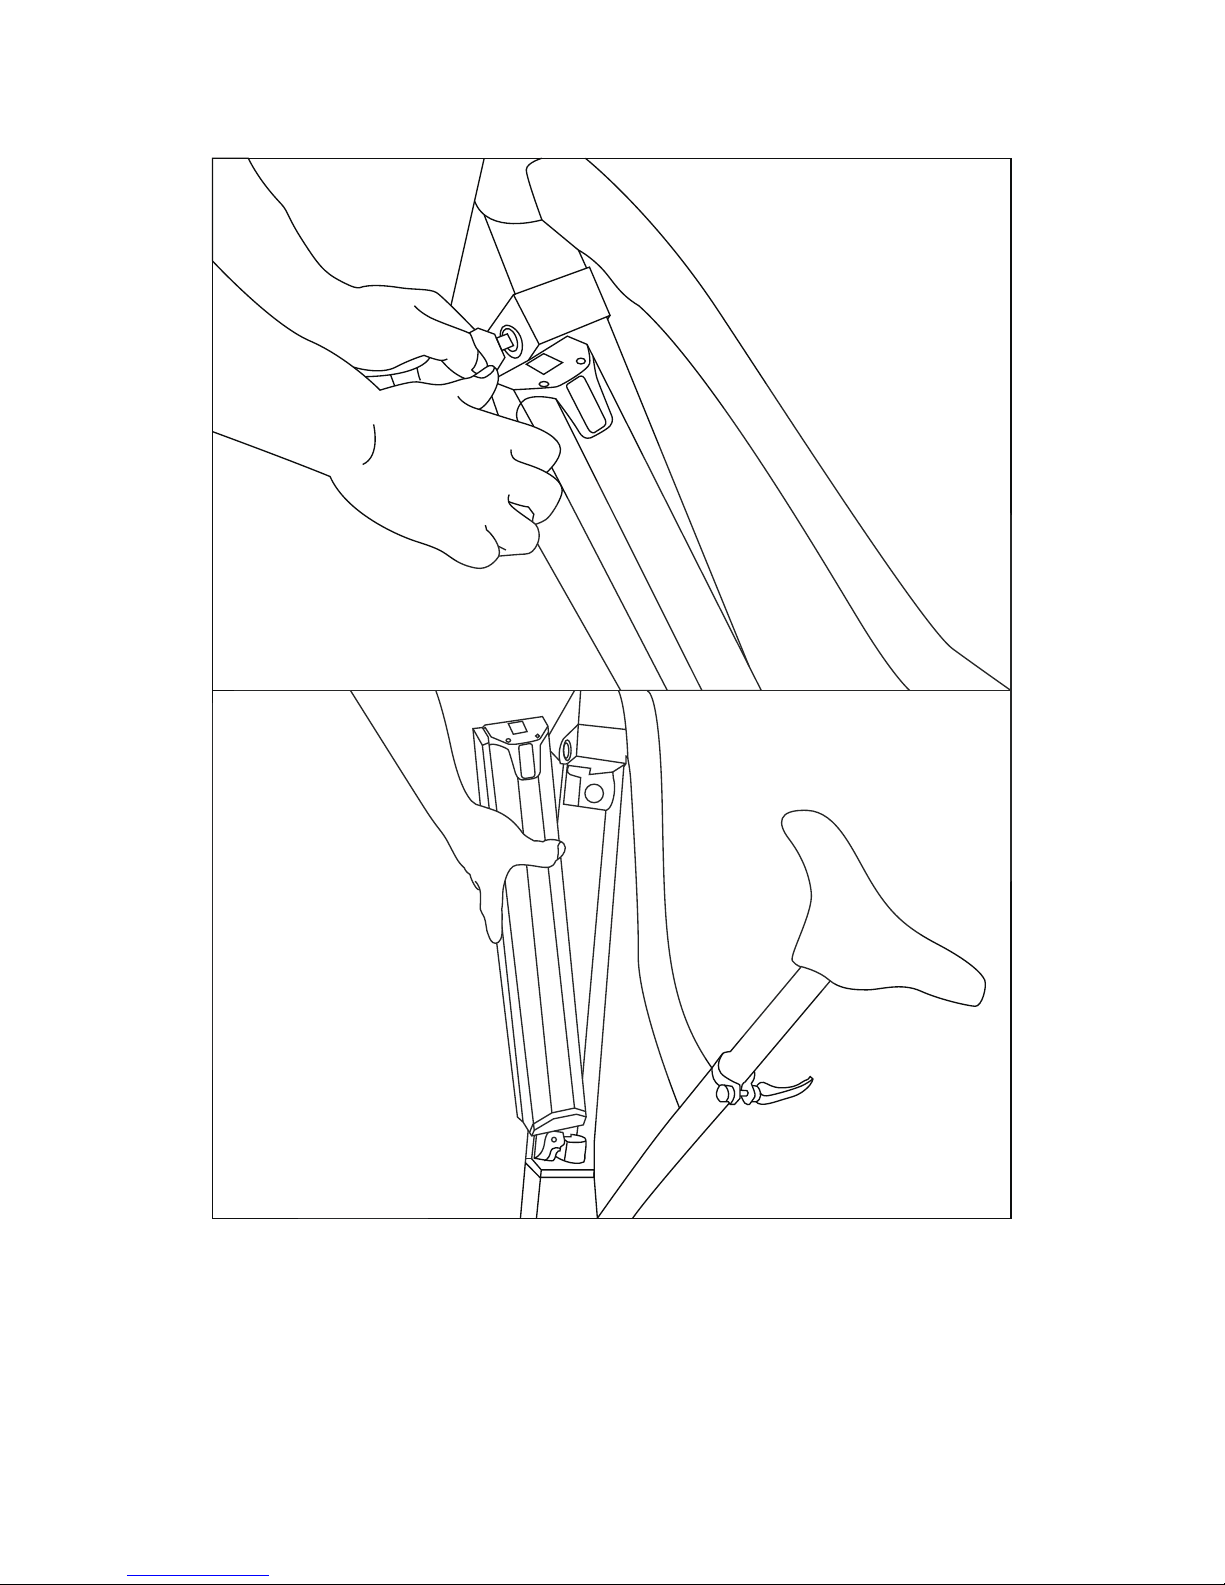
Uninstall & Install Battery
Besides charging the battery with it’s in the ebike, you can also take out the battery home
or office to find a safe place to charge. Turn the key to unlock position, then PULL the
lever on top of battery to remove battery.
When you install battery, do the same but start from the bottom part.

C300S Manual

General:
This Display should be used between -20℃to 60℃.
Dimension(Unit:mm)
Button
3 buttons, including M, + and -
M is for on/off switch and display switch.
+ is for up level and –is for down level.
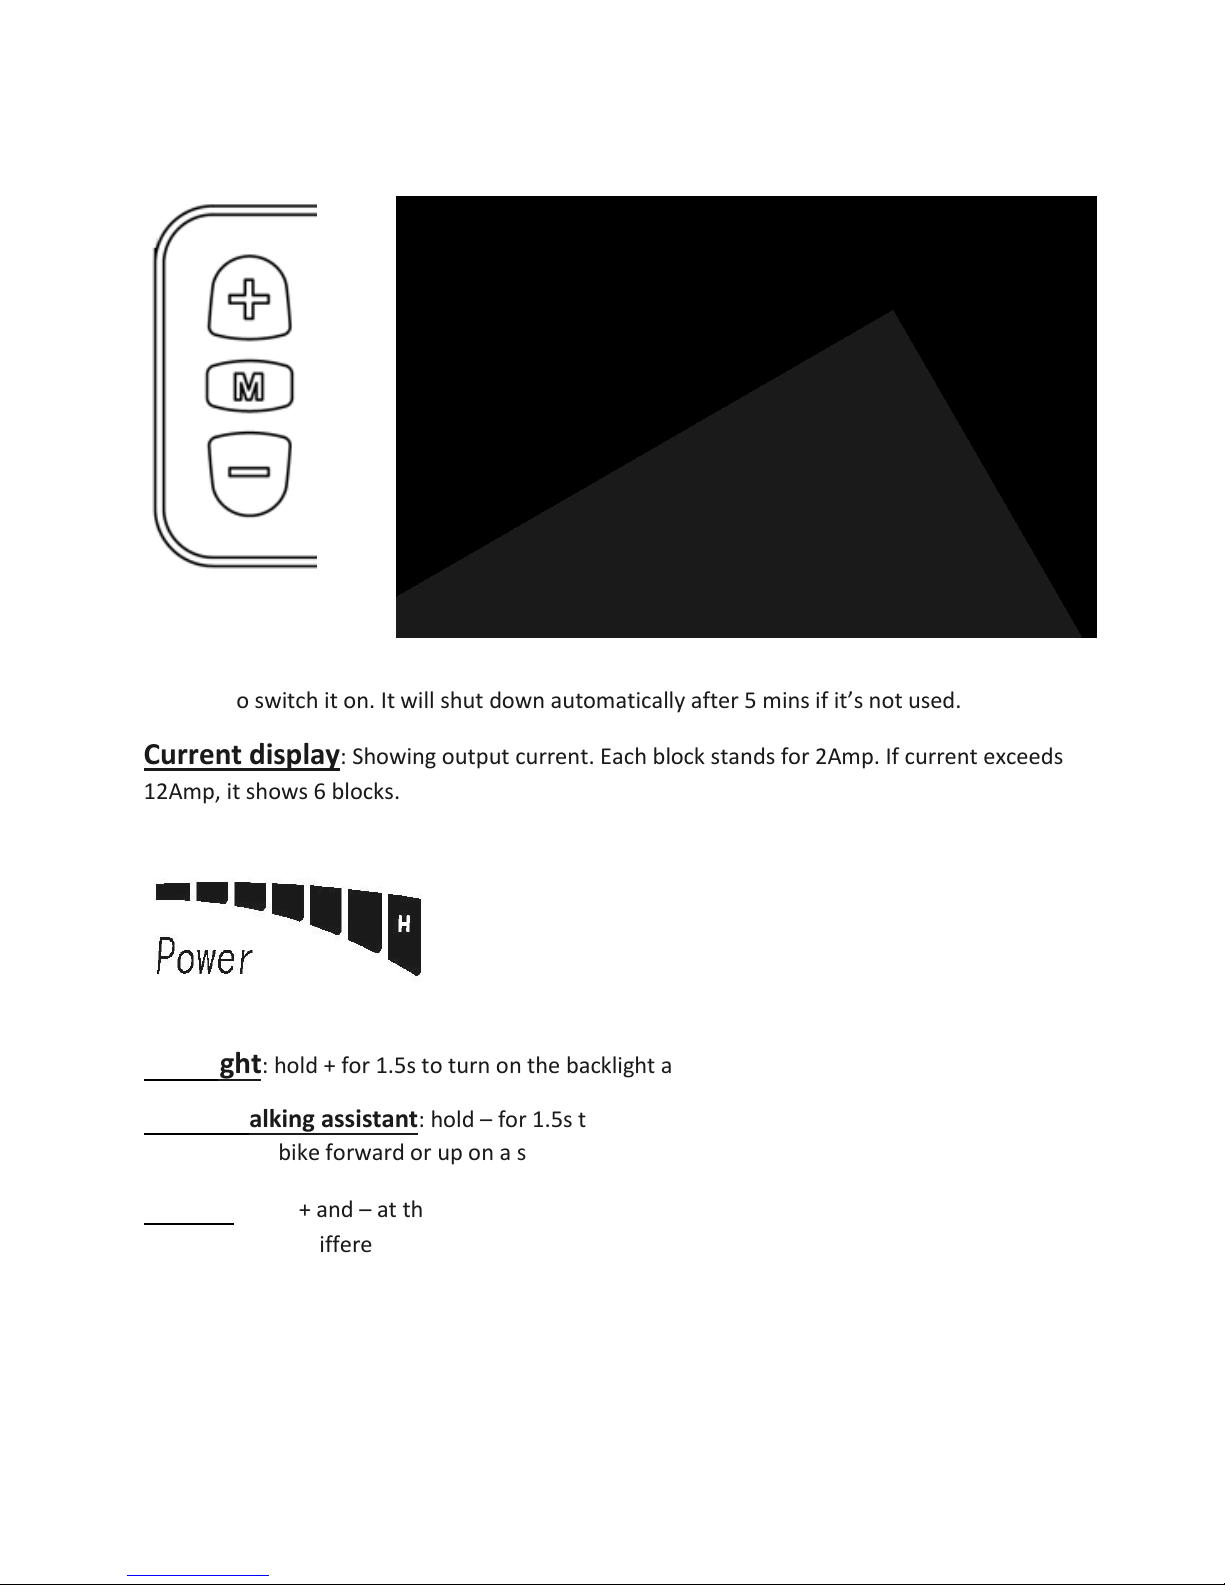
Press M to switch it on. It will shut down automatically after 5 mins if it’s not used.
Current display: Showing output current. Each block stands for 2Amp. If current exceeds
12Amp, it shows 6 blocks.
Backlight: hold + for 1.5s to turn on the backlight and front light.
6KM/H walking assistant: hold –for 1.5s to activate walking assistant. It can assist you when
you push the bike forward or up on a slope.
Setting: Hold + and –at the same time for 2 seconds to enter setting interface. Press M to
switch between different settings. Press + or –to change settings. Hold + and –at the same time
to quit setting interface.

In setting interface:
Press –to erase ODO, riding time and max speed
Set speed limit.
Switch between KM/H and MPH
Set wheel diameter. For beach cruiser, please set 26inch. For 26inch fat tire models, please
choose 28inch.
Display:
Under use interface, press M to switch to display: ODO, single time distance,
riding time, max speed, or circularly display all.
: Circularly display.
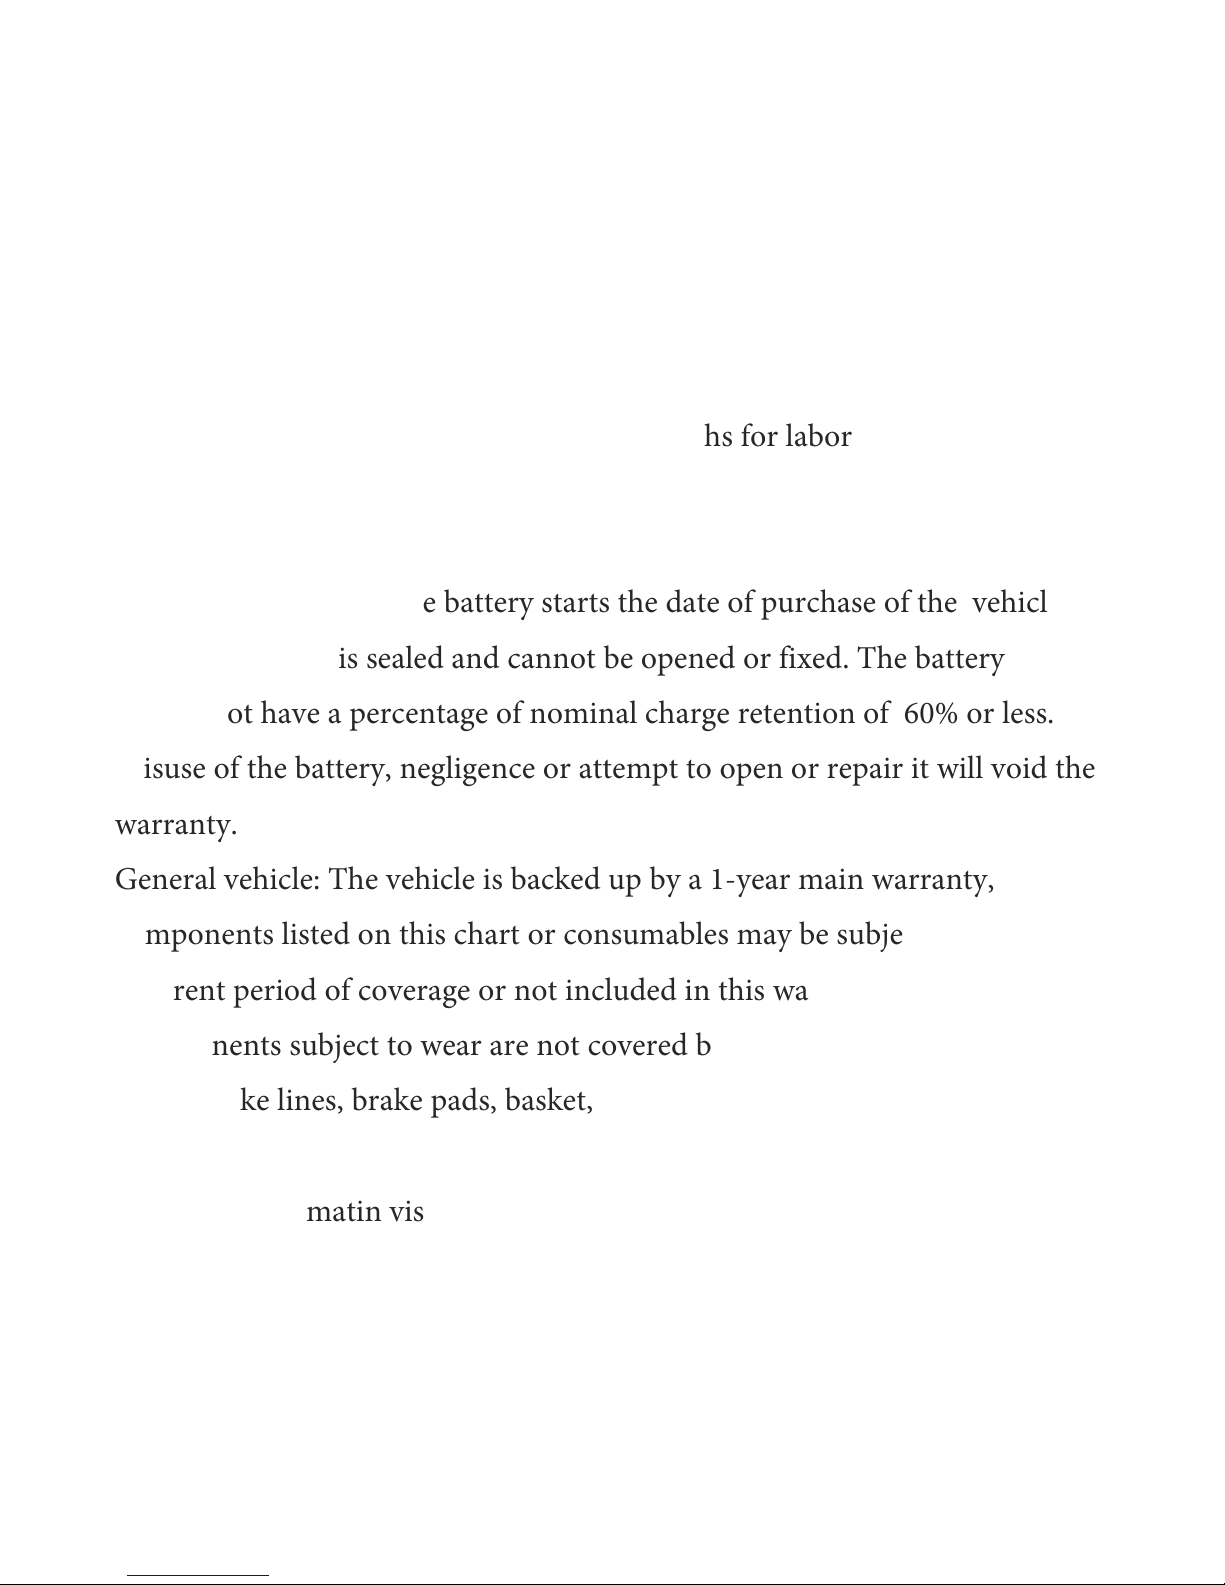
Battery Display
Six blocks: full battery
Last block twinkle: really low battery. Must stop and charge immediately.
low battery twinkle
Shooting Brake
ERROR 01: Current abnormal or MOSFET broken
ERROR 02: throttle abnormal
ERROR 03: motor phase abnormal

ERROR 04: Hall sensor signal abnormal
ERROR 05: Brake signal abnormal
ERROR 06: under voltage
ERROR 07: Motor protection, please do not block the motor from rotating.
ERROR 08: Controller communication abnormal.
ERROR 09: LCD communication abnormal.
ECCOBIKE™ LIMITED WARRANTY
To make a warranty claim always keep handy the vehicle model, date of
purchase, vehicle serial number as well as information from the retailer
where you purchase the vehicle from.
The warranty is limited to the terms listed below:
Motor and controller: 1 year for parts. 3 months for labor
Frame: 3 years, 1 year for labor
Charger: 1 year for parts
Battery: Warranty on the battery starts the date of purchase of the vehicle as
new. The battery is sealed and cannot be opened or fixed. The battery
should not have a percentage of nominal charge retention of 60% or less.
Misuse of the battery, negligence or attempt to open or repair it will void the
warranty.
General vehicle: The vehicle is backed up by a 1-year main warranty, certain
components listed on this chart or consumables may be subject to a
different period of coverage or not included in this warranty. Consumables:
Components subject to wear are not covered by the warranty: Tires, inner
tubes, brake lines, brake pads, basket, wheel lining tape, light bulbs, LEDS,
fuses, etc.
For more informatin visit: https://eccobike.ca/warranty
If the warranty is void for any reason the customer shall bear any repair or
replacement costs resulting from vehicle misuse, negligence or abuse.
Always follow care and preventive maintenance procedures
Always keep receipts from any services performed to the vehicle by an
authorized distributor or service center.
The warranty will be voided by any of the following circumstances:
(1) Failure to follow all directions or recommendations listed in this
warranty and user’s manual.
(2) Cycling collision, accident or vehicle damage caused b y careless
parking or storage.
(3) Acts in violation of laws and regulations.
(4) Never performed service or maintenance on components
(5) DIY repairs on electronic components.
(6)A busive use the vehicle in o - road terrain, mud, snow, water, sand,
g ravel and water puddles.
(7) If vehicle is used as rental unit or taxi
(8) Damages caused by natural disasters such as earthquakes, lightning,
fire, flooding and other hazards .
(9) Rust and/or paint fading caused to heavy exposure to rain, hail,
snow or sunlight.
(10)Overloading beyond recommended capacity .
(11)Damages caused by nails, needles, broken glass , debris , sharp
rocks or other foreign objects
(12)If vehicle is used but not limited to stunts, jumping from ramps,
stairs or elevated surfaces.
(13)If vehicle is used in competitions or racing
(14) If vehicle has been modified for any purposes on the motor,
electrical system, suspension frame, wheels.
(15) Use of other components not approved by the manufacturer
(16) Damages resulted from improper transportation

Due to the nature of the product some components must be exclusive from
the manufacturer such as but not limited to the battery, motor, main gauge c
luster, controllers, Led headlights, brake drums or disc rotors and pads etc.
Other components such as tires, tubes, saddle, racks, baskets may be used
from market-ready or compatible prod-ucts previous approval from the
retailer or manufacturer.

BEFORE EACH RIDE: CHECKLIST
Ensure all bolts and washers are secured and torqued correctly based on the
instructions in our owner’s manual.
Warning: An electric bicycle that does not operate correctly can decrease
your control and cause you to fall. Thoroughly check all of your e-bikes
before each ride, and do not ride your e-bike until you correct any problem.
Check to see that all externally visible connectors are securely connected and
pressed. All Eccobike™ e-bikes come with easy plug-in adaptors.
Ensure the battery is in the locked position with the key switch lock.
Check the saddle and seat post.
Make sure the saddle is correctly attached. Try to turn the saddle and seat post
in the frame and try to move the saddle up and down. The saddle should not
move or be loose.
Check the handlebar and stem.
It should be in alignment with the front wheel and correctly attached to the
fork and handlebar. To check the attachment, try to turn the handlebar from
side to side while you hold the front wheel between your knees. To check the
connection of the handlebar, try to twist in the stem. The handlebar should
not move or be loose. Make sure that no cables are pulled or caught when you
turn the wheel from side to side.
Check the frame and fork.
Carefully examine your frame and fork, especially near junctions of the
tubing and clamping or attachment areas.
Look for signs of fatigue stress: dents, scratches, discoloration, cracks,
deformation, unusual noises.
Check the wheels and tire inflation.
Inflate the tire to the air pressure recommended to the side wall of the tire. If
lower recommendation allies to the rim, inflate to a lower value. Warning:
Excess air pressure can cause the tire to explode off the rim, causing
permanent hearing loss, or if riding, a loss of control. Use a hand pump
with a reliable pressure gauge, and do not overinflate.
Make sure that the wheels are attached correctly.
Lift your bicycle and hit the top of the tire with a solid blow. The wheel
should not come off, be loose, or move from side to side. Your e-bike may use
one or more systems to attach the wheels to the frame. If you are not familiar
with the attachment devices on your wheels, we recommend getting the bike
into the nearest bike shop or contact us Immediately. Warning: A wheel
attachment device that is not correctly adjusted and closed can allow the
wheel to be loose or come off, suddenly stop the wheel, decrease control,
and cause you to fall.
Check the brakes.
Use the inspection instructions for the type of the break(s) on your bicycle.
Disc brake:
A cable or hydraulic hose connects a hand lever to the brake. The lever causes
the brake to apply pressure to a disc attached to a wheel hub. Make sure the
cables and housing are correctly secured to the frame or fork so that they
cannot interfere or get caught on the moving parts. Pull the lever to make
sure the brake moves freely and stops your bicycle. If the lever can be pulled
to the handlebar, the brake is to lose. When the brake is not applied, the brake
pads should be 0.25-0.75 mm away from the disk. If the pads are too near the
disc, the brake is not in alignment or the brake is to tight. With the hydraulic
brake system, there should be no leaks or brake fluid.
Warning: A brake system that is dirty, worn, damaged or not adjusted
correctly could decrease your control and cause you to fall. Make a full
inspection of the breaks before each ride. If the breaks do not operate
correctly, do not ride your bicycle. Adjust the brakes to take the electric
bicycle the nearest bike shop for adjustments. A disc brake and disc get
very hot during use and could burn skin. Also, the disc edges can be
sharp and could cut skin. Do not touch the disc or disc brake when hot or
when disc turns.
Applying an e-bike throttle. (not used for any mid-motor e-bike models)
The bike should not move since the brake is applied and e-brake cutoff
switch is then engaged. Test that the bike will now proceed with the brake
not engaged. Engage the throttle and release the breaks. This time the e-bike
should move forward, make sure you have a clear path in front of you or no
person stands in your path.
If the brakes do not cut off the power immediately discontinue use and
contact EccoBike™. If you believe that any other items in the above checklist
are out of order immediately stop use until the issue is serviced.
(PAS)
When riding with pedal assist active, you should always start in
( PAS )“Level 1”. Be sure you are in a bright area with no obstacles before
beginning with the PAS. Once you begin pedaling, the pedal sensor will
activate the motor after 1-2 seconds. If there are any obstacles in your path,
you could collide with them if you are not anticipating the power of the
pedal assist system to provide propulsion. Ensure you are firmly mounted
on the bike and ready to ride with power assist before starting to pedal.
Table of contents


