Echo EchoLink 917 User manual

EchoLink(IR)
Wireless TV System
(Now with integrated Digital to Analogue Converter)
Product
Code:
917
www.hear4you.com
TM

Contents:
1. Receiver 5. Power Supply
9. neckloop
2. Charging Base 6. Power Supply
10. Microphone
3. Transmier 7. Headset
11. Toslink
4. Scart 8. Phono lead
①
③
④
②
⑥
⑦
⑤
11
⑨
⑧
⑩
1

Safety Instructions and Precautions:
● Using this product inappropriately could adversely affect you hearing.
Please follow the step-by-step instrucons carefully!
●Listening to uncomfortable sound levels for prolonged periods could
adversely affect your hearing.
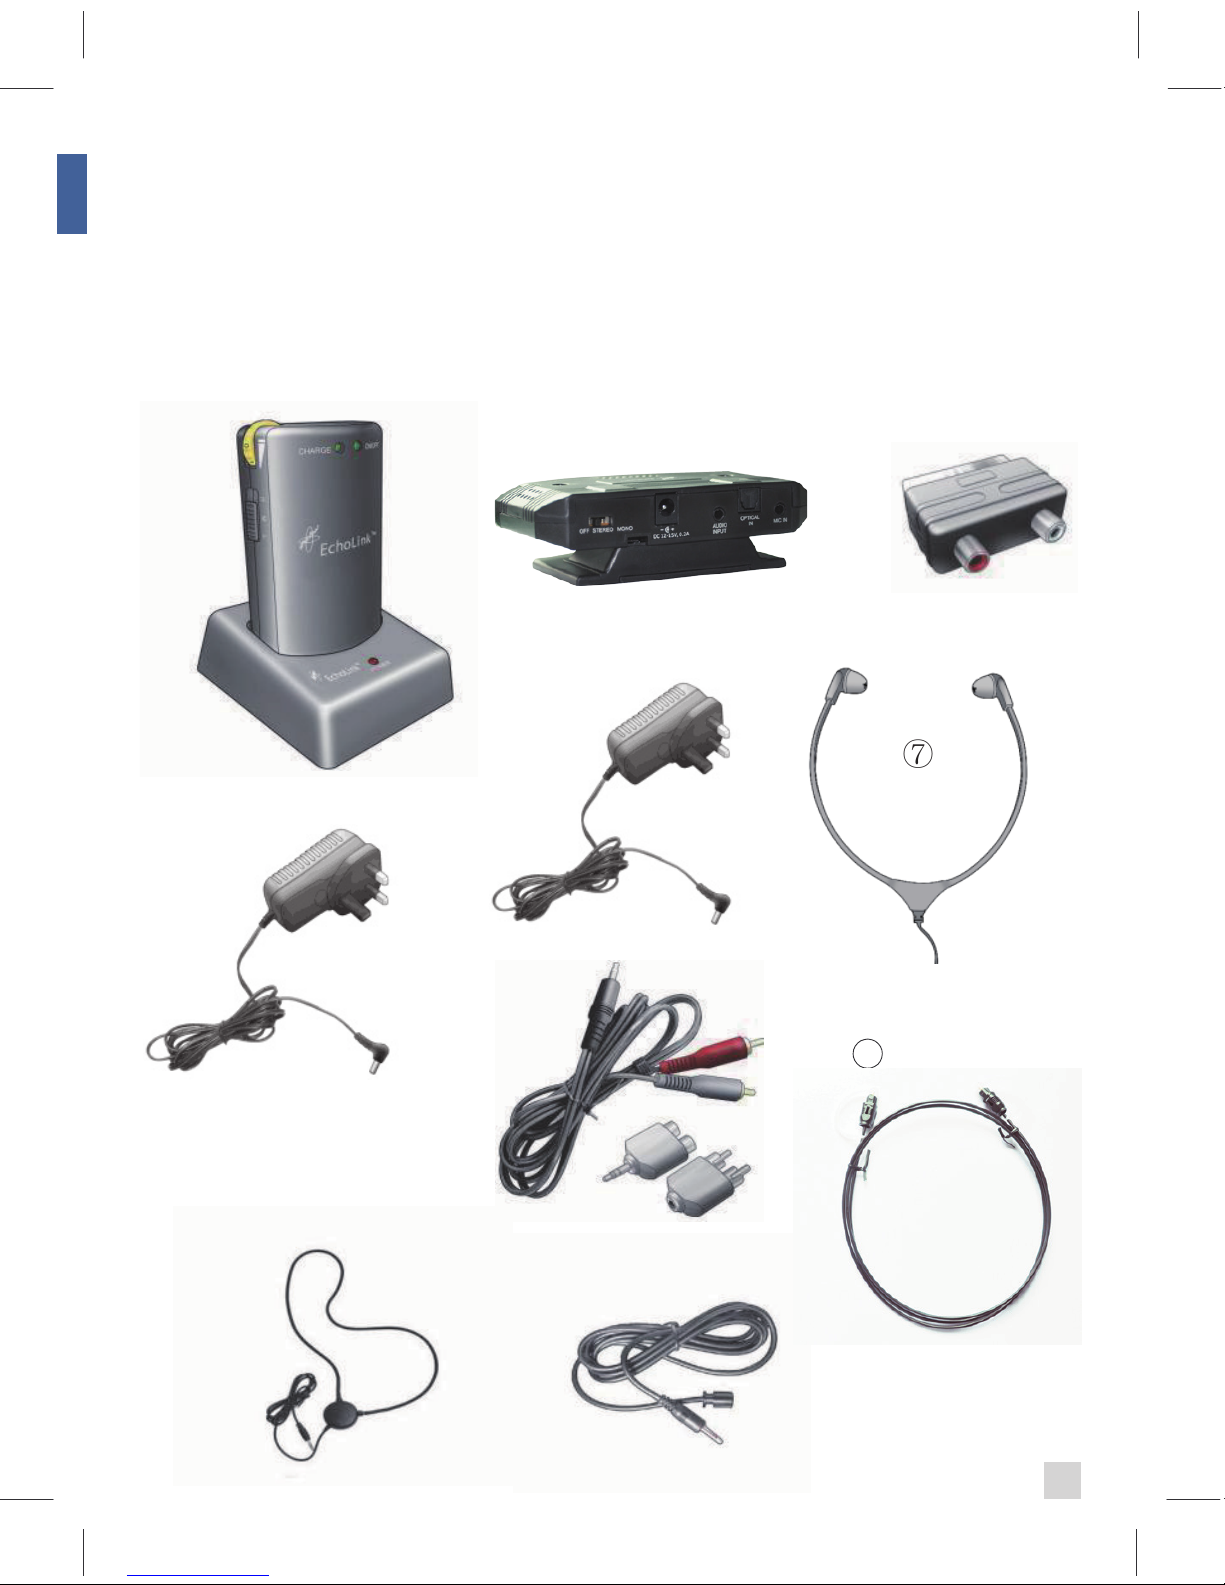
●If using a microphone, line input, headset or neck loop the plug MUST
be fully inserted into the correct socket and the volume turned to the
lowest level before turning the unit on. Failure to do so can result in
high sound levels that could adversely affect your hearing.
●If using a headset or neck loop it MUST be fully inserted into the
headset socket before turning the unit on. Failure to do so can result in
high sound levels that could adversely affect your hearing.
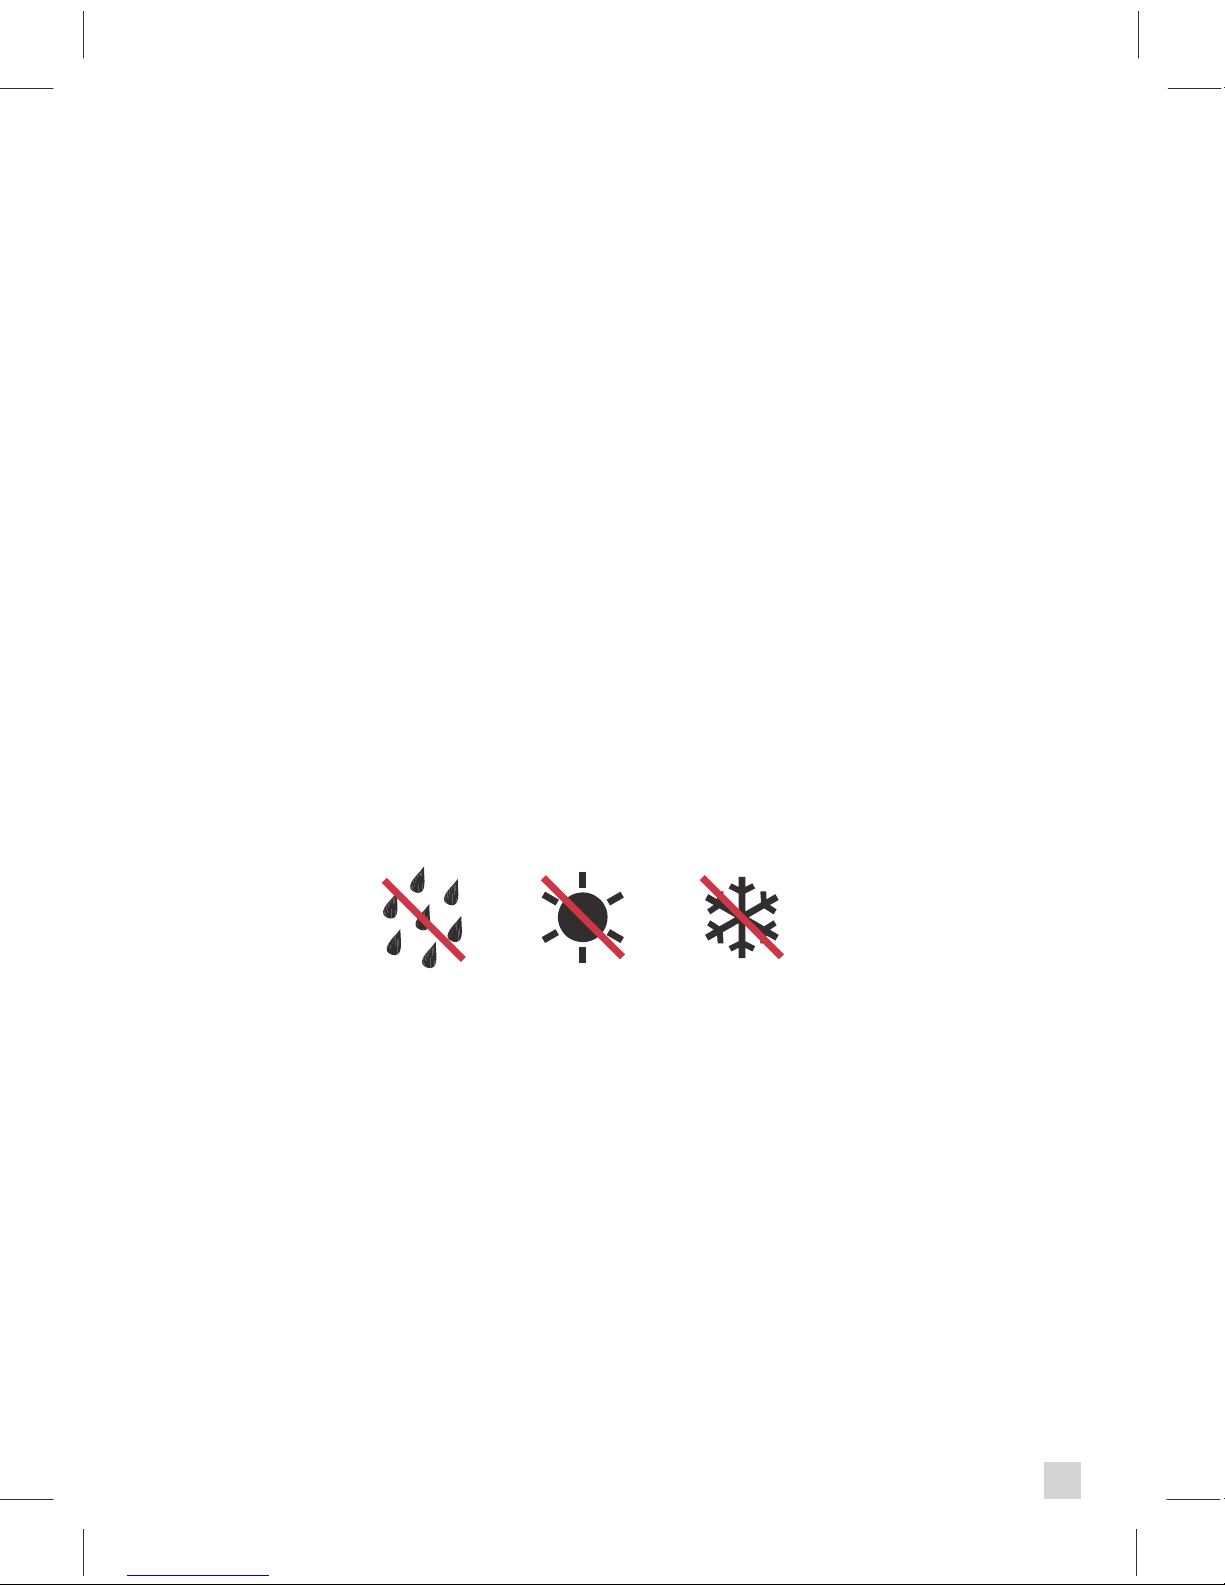
●Do not use in an environment that is damp, wet, very hot or very cold.
●To clean the EchoLink™ (IR) and its accessories use only a so cloth
and an inorganic cleaner.
●Only use the Hearing Products approved mains adapter. Do not use
any other type of mains adapter.
●When using this unit, basic safety precauons as below should always
be followed to avoid the risk of electrical shock or personal injury.
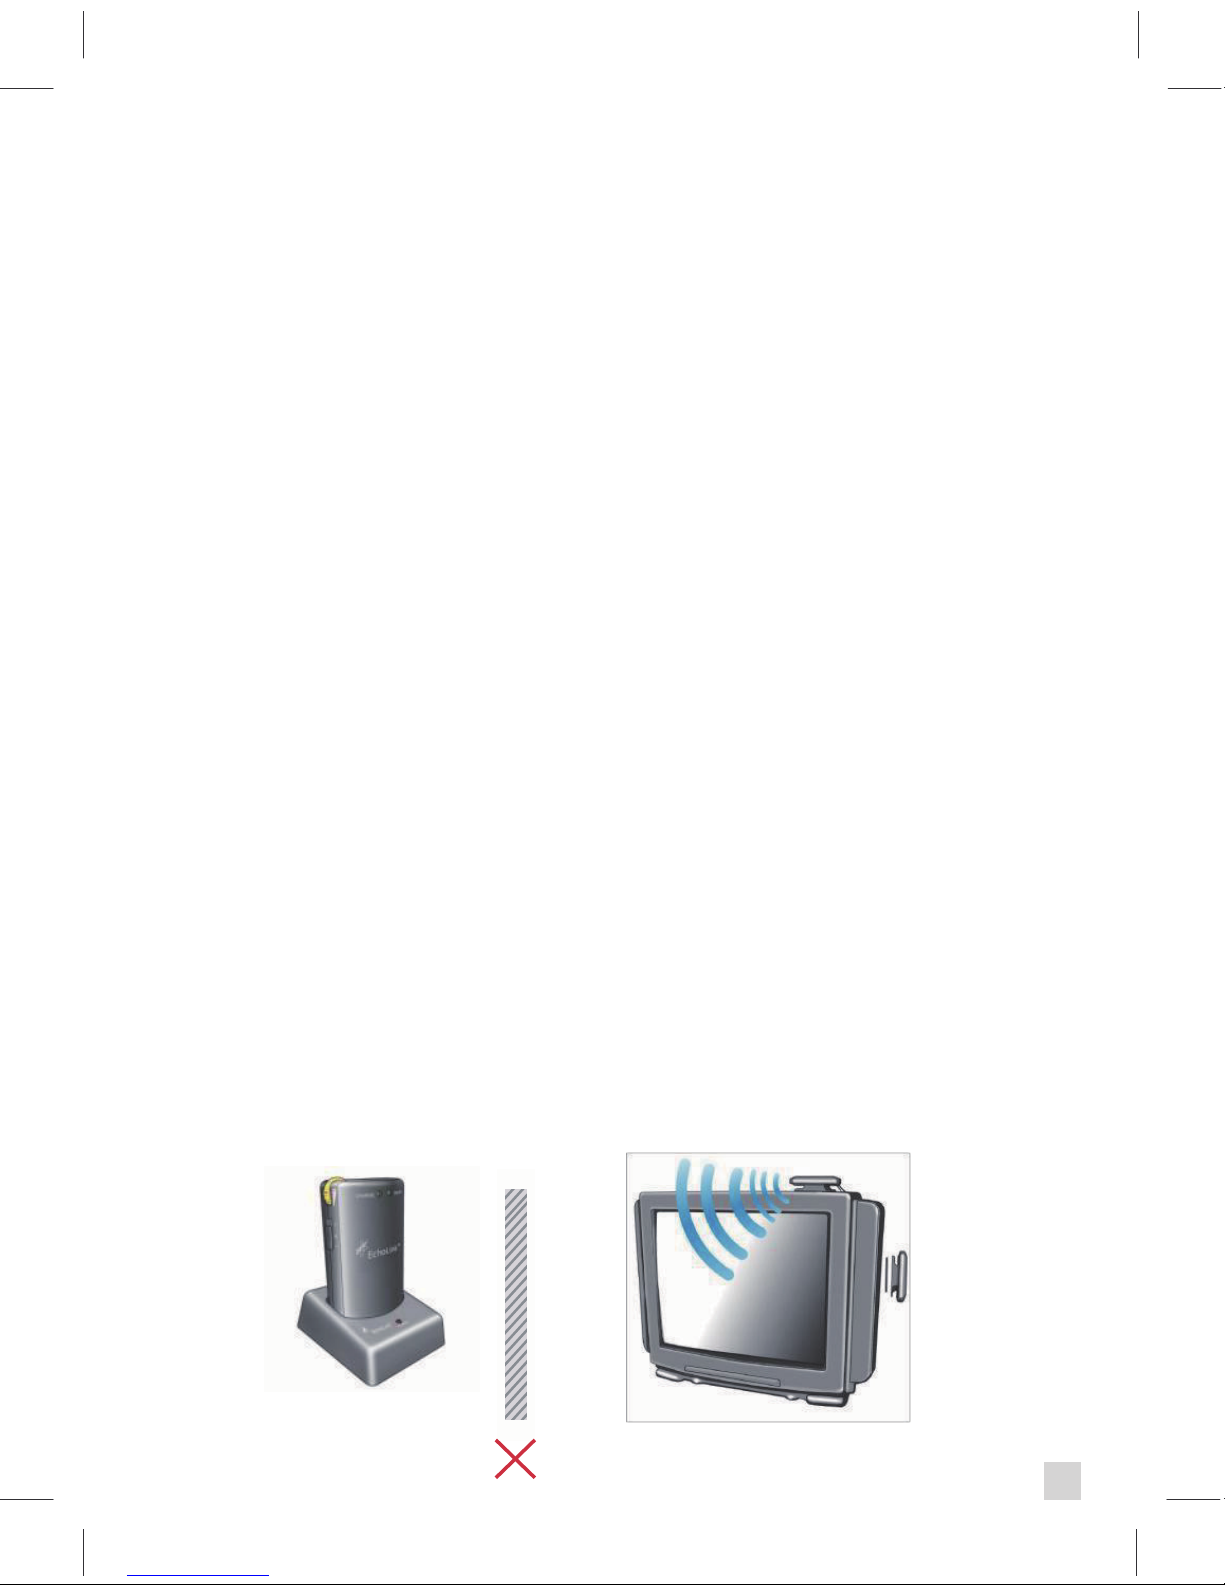
●Install the unit securely on a stable surface and install the unit where
the power cord will not be subject to damage or cause a tripping hazard.
2

Fig
1
●The unit may get warm when being used. Ensure the unit has adequate
venlaon.
● Please refer all servicing to qualified personnel only. Do not aempt to
open the unit, this will invalidate the warranty. Note: if the serial
numbers or labels are removed your warranty is invalid.
●The baery must be fully charged before use. It will take
about 5 to 7 uses and recharges before the baery is at full capacity.
The EchoLink™ consists of two parts:
1. Transmier
2. Receiver
The transmier picks up sound from the TV and this sound is transmit-
ted to the receiver via infra-red signals. The transmier is mains
powered and connecon of the transmier to the TV can be via digital
opcal or analogue audio out, as the EchoLink™ is compable with both
methods.
The receiver amplifies the sound sent from the transmier and sends it
to the user via either headphones or a neckloop (with hearing aid on the
‘T’ seng). The receiver is powered by a rechargeable baery.
3

NOTE: Make sure the receiver is facing the transmier and that there is
a clean line of sight for the infra-red signal, with no obstrucon.
Setup
1. Plug the 12V DC power adapter (5 or 6) into an electrical power
socket. Then plug the power lead into the transmier (3).
2. Place the EchoLink™ transmier on a shelf under or next to your TV
or fix to the side of your TV with the velcro pad. (To do this, remove the
stand by firmly pulling the transmier and stand apart).
3. Make sure the transmier is facing where you are sing and that
there is a clear line of sight between the transmier and receiver, with
no obstrucon (Fig 1).
4. When connecng the transmier to a TV that has digital opcal audio
output, use the Toslink cable (11) to connect from the TV digital (opcal)
output socket to the EchoLink™ digital socket (Fig 2).
4

5. When connecng to a TV that has analogue audio output
sockets, connect the lead (8) to the phono audio output sockets on the
TV and connect the other end to the line socket on the transmier (Fig
3).
6. If connecng via SCART socket, aach the SCART adapter (4) to the
phono lead (8) (Fig 4).
7. If using the microphone, plug the 3.5mm jack on the microphone (10)
into the microphone socket on the EchoLink™ , then fix the microphone
to the speaker of the TV see picture:
8. The transmier base has a switch that
allows you to switch between On (stereo/ mono)
and Off. The red LED will be lit if set to On
(stereo or mono).
9. Plug the EchoLink™ 12V DC power adapter
(5 or 6) into a standard wall socket and then plug its
power lead into the socket on the charging base (2).
The red power LED on the charger base will light up
when power is supplied to the base.
10. Place the receiver into the charging base to charge. The charge LED
on the receiver will turn RED and when the baeries are fully charged,
the charge LED will turn green.
NOTE: The receiver will only charge unl full and cannot be
overcharged. A full charge should last up to 25 hours.
5

11. When fully charged , ensure the volume
is at zero, put on the headset (7) or neckloop (9)
and plug into the phone socket on the receiver.
If you are using the neckloop, set your hearing
aids to the “T” seng. Adjust the volume to a
comfortable listening level using the yellow o
n/off volume wheel.
12. Tone can be adjusted via the three
posion switch on the side of the receiver.
13. When you are finished using the receiver
switch it off and place it back into the charging base.
14. When the receiver is in use and the baery level is low, the ON/ OFF
LED will flash RED. Then aer a few minutes the receiver will automa-
cally turn off to protect the baeries. The receiver must be recharged if
this occurs.
NOTE: if Audio and digital audio are in use together, the default signal
is digital.
6

Fig 3
Fig 4
7
Fig 2

Replacement Parts
P/N Qty
Desc
ri
p
tion
475-1002-02 1 Echolink
(
IR) Receiver
475-1000-02 1 Echolink (IR) Transmitter
465 Base
1 Universal Charging Base
570-1011-01 2 12V DC , 0.5A power supply
490-1008-01 1 Echolink sleeve
490-1005-01 1 Echolink carton
940-1009-01 1 EchoLink (IR) instructions
101 1 Headset under chin
910-1003-01 1 Echo ILoop
202/M 1 Microphone on a 1.5m lead
306/B 1 Phono Combo lead
201/B 1 Scart/ phono plug
8

Technical Specifications
Single channel 2.3 /2.8Mhz
Stereo or mono mode of operaon
1,060mAh LI-ION baery inreceiver
(not
serviceable
by the end user)
Volume (dB)0 ~ -20dB (receiver)
Power supply - t
ransmi
er
:
DC 12V- Posive Centre - min
500mA
Power supply -
receiver:Li-ion rechargeable
baery
Dimensions:
T
ransmier
115 x75 x20mm
Receiver 90mm x55mm x30mm
Cha
rging
base 75mm x85mm x30mm
9

RoHS
Conformity
Hearing Products Internaonal Limited declares that the EchoLink™
complies with all relevant EU direcves.
The full EU declaraon of conformance for the EchoLink™ is available
from Hearing Products Internaonal Limited.
UK: Waste electrical products and baeries should not be
disposed of with household waste. Separate disposal facilies
exist, for your nearest facility see www.recycle-more.co.uk or Hearing
Products Internaonal Limited for full details at www.hear4you.com
Hearing Products International Limited
Echo House, 26/27 Haigh Park, Stockport, SK4 1QR, England
Tel. +44 (0) 161 480 8003
Fax +44 (0) 161 480 8006
Hearing Products Internaonal Ltd. reserve sole right to alter prices,
design and/ or technical specificaons or colours without prior noce.
EchoLink™ Instrucons © Copyright Hearing Products Internaonal
Limited. E&OE 11/05/2017. Version 3.
www.hear4you.com
Table of contents
Other Echo TV Accessories manuals
Popular TV Accessories manuals by other brands

HDSX
HDSX TV SOUND OPTIMIZER user manual

ViewSonic
ViewSonic myViewBoard Box VBS100 quick start guide

Philips
Philips Flavors 42FDF6023 Specifications

Clas Ohlson
Clas Ohlson EMP600STV instruction manual

Philips
Philips SWV2559W Specifications

Universal Remote Control
Universal Remote Control MRF100B POWERPACK owner's manual

Samsung
Samsung LT-P326W Owner's instructions

Loewe
Loewe floor stand motor s.77 Assembly instructions

Sony
Sony KDL-46EX600 - 46" Bravia Ex Series Hdtv instructions

Phonak
Phonak TVLink S quick start guide

Safco
Safco 8933 Assembly instructions

Veebeam
Veebeam laptop-to-TV content streamer Getting started guide