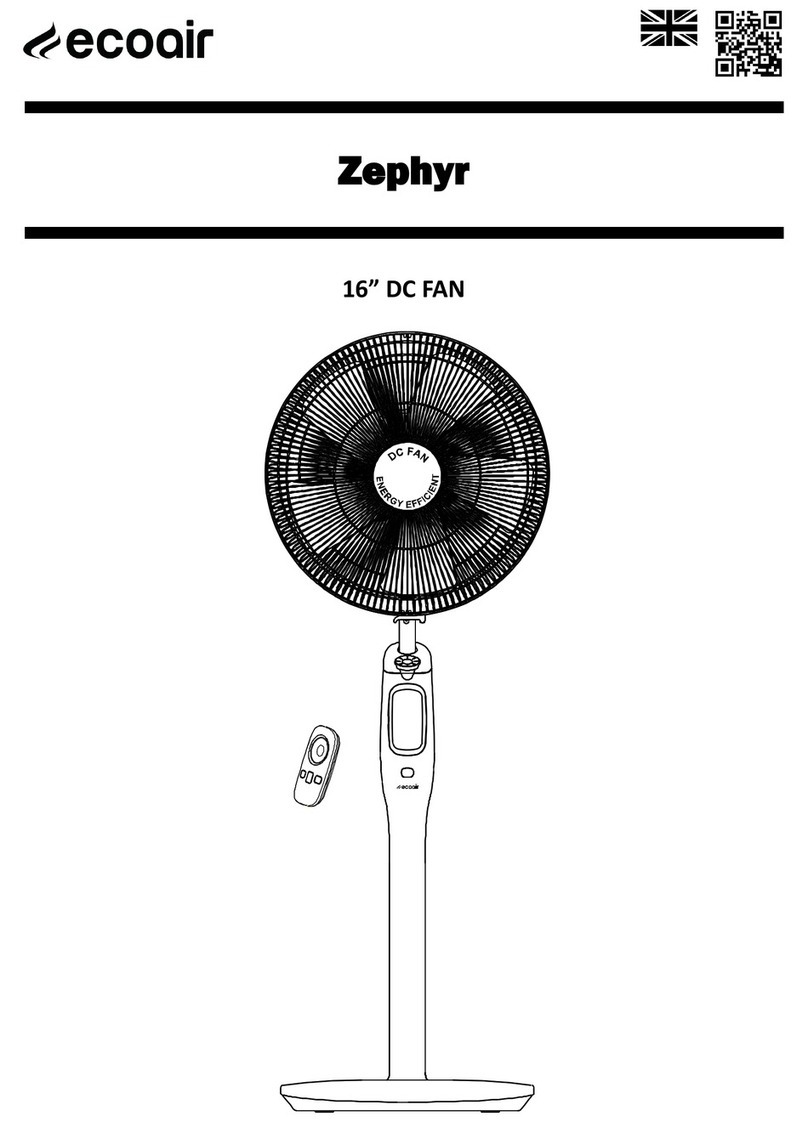
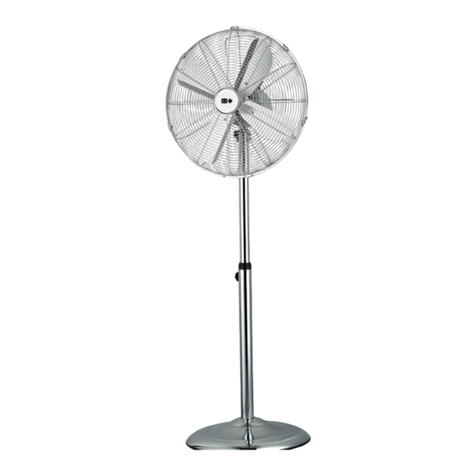
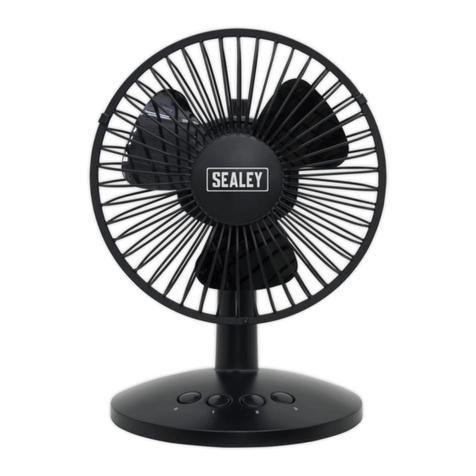
Ecoair Equinox User manual

Equinox
16” DC FAN
Domesc DC Fan C412/C413 - 20190115

2
INDEX
Congratulaons!
You have purchased the very latest in DC Fan technology. Your new EcoAir high
eciency room appliance will give you many years of dependable service. Many features have
been built into your EcoAir portable appliance to assure quiet operaon, funconal controls and
the most economical operaon.
When using this appliance in European countries, the following informaon must be observed:
Do not dispose of this product as unsorted waste.
It is prohibited to dispose of this appliance as domesc household waste. For disposal:
a. Contact your local council
b. The manufacturer will take back the old appliance for disposal when you replace
it with a new product.
c. Old products contain valuable resources, which should be recycled as scrap
metal.
Wild disposal of waste in forests and landscapes endangers your health when hazardous
substances leak into the ground-water and nd their way into the food chain.
BS Plug wiring .................................................................................Page 3
Important Safety Instrucons ...............................Page 4
Assembly Instrucons - Body .................................Page 5
Assembly Instrucons - Fan Head ...................Page 6
Operaon Instrucon - Control Panel.........Page 7
Operang Instrucon - Remote Control Page 8
Maintenance .....................................................................................Page 9
Specicaons ...................................................................................Page 9
Guarantee Card ............................................................................Page 10

© 2019 EcoAir 3 All rights reserved
BS PLUG WIRING
Wiring Instrucons: Should it be necessary to change the plug, please note the wires in the
mains lead are coloured in accordance with the following codes:
BLUE - NEUTRAL
BROWN – LIVE
GREEN AND YELLOW - EARTH
In the event that the colours of the wires in the mains lead of this appliance does not correspond
with the coloured markings idenfying the terminals in your plug, proceed as follows:
1. The BLUE wire is NEUTRAL and must be connected to the terminal which is marked with the
leer N or coloured BLACK.
2. The BROWN wire is LIVE and must be connected to the terminal which is marked with the leer
L or coloured RED.
3. The GREEN/YELLOW is EARTH and must be connected to the terminal which is marked with the
leer E or or coloured GREEN or GREEN/YELLOW.
4. Always ensure that the cord grip is posioned and fastened correctly.
If a 3A (BS 1363) fused plug is used it must be ed with a 3A fuse. If in doubt consult a
qualied electrician.
Wiring for a 3 Amp Plug (BS1363)
Please note. The Earth Terminal is marked with the leer E or Earth Symbol.
Earth - (Green/Yellow)
Neutral - N (Blue) Live - L (Brown)
3 AMP

© 2019 EcoAir 4 All rights reserved
IMPORTANT SAFETY INSTRUCTIONS
This appliance is not intended for use by persons (including children) with reduced physical,
sensory or mental capabilies, unless they have been given supervision or instrucon concerning
use of the appliance by a person responsible for their safety. Children should be supervised to en-
sure that they do not play with the appliance.
READ & SAVE THESE IMPORTANT SAFETY INSTRUCTIONS FOR FUTURE REFERENCE
PLEASE READ ALL INSTRUCTIONS CAREFULLY BEFORE OPERATING.
WARNING!
This appliance is intended for domesc use only. It is not suitable for outdoor use. Any other use is not
recommended by the manufacturer and may cause re, electrical shocks or other injuries to person or
property. EcoAir cannot be held liable for damage resulng from incorrect or improper use or operaon.
When using electrical appliances, basic safety precauons should always be followed:
1. Do not operate the appliance if there is a damaged cord, plug or aer it malfuncons if it has been
dropped or damaged in any way. Arrange for the appliance to be examined or repaired by an authorised
technician.
2. Always keep the appliance in an upright posion to avoid any damage. Place the appliance on an even
level surface during operaon.
3. Ensure the household voltage matches the rated specicaon for the appliance before use.
4. Ensure that the air inlets and outlets are not blocked or covered. Do not insert ngers or any objects into
the air inlet or outlet openings.
5. Do not place the unit too close to curtains or any other objects, keep minimum distance of 50cm.
6. Never place anything on top of the appliance and do not cover while in use.
7. To protect against electric shocks, do not immerse or spray the appliance or any of its parts in water.
8. Never unplug the power cord without switching OFF the appliance rst.
9. Always unplug the appliance when not in use or when moving locaon. To disconnect the appliance from
the power supply, grip the plug and pull from the power socket. Never pull by the cord.
10. Close supervision is necessary when the appliance is used in the presence of children and pets.
11. Do not run power cord under carpeng, or cover with rugs or runners. Arrange the cord away from areas
where it may become a trip hazard.
12. Never operate or store the appliance in direct sunlight.
13. Repairs must be carried out by an authorised technician, failure to do so may cause damage to the appli-
ance or injury to persons or property and will void the warranty. Always insist on original spare parts.
14. Do not connect via an extension lead or Mul-socket plug. Extension leads and Mul-socket plugs do not
guarantee the required safety of the appliance (e.g. danger of overheang).
15. Do not leave the appliance unaended over a long period of me. Leaving your appliance unaended for
long periods of me may lead to a re hazard.
16. At the end of its working life dispose of the appliance responsibly, in accordance with local regulaons.
17. Before cleaning or maintaining the appliance, please turn o the power and unplug.
18. Do not insert or pull out the power plug with wet hands.
19. Do not operate heang equipment around the appliance.
20. Keep a safe distance from re source, inammable and explosive objects.
21. Keep children from playing with or climbing on the appliance.
22. Never open the unit casing yourself and aempt to repair. This will void the warranty and is a potenal
health and safety risk.
23. This appliance is not for use in a Server Room or any other similar environment.
24. Do not use fan near an open window as rain may create an electrical hazard.
25. Do not run the fan without the rotor guards.
26. Prevent blowing the air heavily towards a human body, especially for children or elderly people.
27. Do not use the fan outdoors.
28. Do not operate the fan towards a stove or gas directly.

© 2019 EcoAir 5 All rights reserved
1. Remove the Right-Angle Bolt and Washer from the Pole. Posion the Pole into to the Base
ensuring the pole is aligned into the groove in the base.
2. Tighten the Pole to the base using the Right-Angle Bolt. Ensure you posion the Washer be-
fore ghtening. To ghten turn the Right-angle bolt clockwise.
3. Slightly loosen the Spinner Lock and raise the Internal Chrome Bar to its maximum and then
ghten the Spinner Lock.
4. Loosen the Tighten knob on the back of the Motor Arm and then posion onto the Internal
Chrome Bar. Once in place ghten the Tighten knob rmly.
Assembly Instrucon - Body

© 2019 EcoAir 6 All rights reserved
5. Remove the Plasc Nut and the Spinner Nut from the sha. Note, to loosen the Spinner Nut
turn clockwise.
6. Fit Rear Grill onto the Sha, ensure locaon lugs are all lined up (Fig1) before ghtening up
the plasc nut. To ghten the plasc nut rotate clockwise.
7. Insert the Blade into the Sha ensuring Blade groove is locked into the locang Sha Pin
(Fig2) then ghten with the Spinner Nut. To ghten the Spinner Nut rotate an- clockwise.
8. Secure the Front Grill to Rear Grill (the circlip has a locang lug). Fix the top rst ensuring the
top lug (Fig3) is behind the outer ring of the rear grill. Secure the circlip all the way round the
grill and then lock into place with the grill clip.
Tilt Adjustment. To adjust the air ow upward or downward, manually move the motor via the
motor handle gently to the desired direcon.
Height adjustment. To adjust the height, loosen the fastening knob, with your other hand li or
lower the inner tube using the motor handle. Tighten the fastening knob when the desired height
is achieved.
Assembly Instrucon - Fan Head
Fig1 Fig3Fig2

© 2019 EcoAir 7 All rights reserved
On/O Buon.
Press this buon to switch the fan on. Press the
buon again to switch o.
Fan Speed Buon.
There are a total of 12 fan speeds you can select
from. The fan runs at a constant speed based on
your selected wind speed seng.
Timer Display
When a mer is set via the remote control the mer
symbol will be displayed.
Oscillaon Buon
Aer the fan starts, press this buon to start or
stop oscillaon.
Operating Instruction - Control Panel
PLUG FAN INTO THE MAINS POWER, A BEEP WILL SOUND SIGNIFIYING THAT THE FAN IS READY
TO BE USED
USEFUL INFORMATION
Storage
The product can be stored when not in use. We recommend using the original box. It is important to keep it
safe in a dry environment. You must remove the baery from the remote control. Prior to storage.
Display Auto O - Energy Saver Funcon
When the fan is running, the display will automacally switch o in approximately 30 seconds.
The display will switch back on when you make any
changes to the seng.

© 2019 EcoAir 8 All rights reserved
Operating Instruction - Remote Control
PLUG FAN INTO THE MAINS POWER, A BEEP WILL SOUND SIGNIFIYING THAT THE FAN IS READY TO BE
USED
On/O Buon
Press this buon to switch the fan on and o.
Fan Speed Buon
Press this buon to increase your fan speed from 1 to 12. The fan runs at a constant speed based
on your selected wind speed seng.
OSC KEY
Aer the fan starts, press this buon to start or stop oscillaon.
Timer Buon
This is a On/O mer. Whilst the fan is o, press this buon to set the on-mer. Press the mer
buon to increase the me intervals, 0.5 to 12 (1/2 hrs to 12 hrs).
When the fan is running, press this buon to set the o-mer by repeang the same steps above.
Timer mode can be cancelled by pressing the mer buon unl you reach the 0.0 interval.
Front Back
Using the Remote Control
- Point towards the front of the fan
(Within 5 meters)
- Use size “AAA” manganese or al-
kaline baeries
- Do not use rechargeable baeries.
USEFUL INFORMATION
Baeries
Please note baeries for the remote control are not included and must be purchased separately.
Baery Disposal
Do not dispose of baeries in re, baeries may explode or leak. Do not Mix old and new baeries. Do
not mix alkaline, standard (carbon-zinc) or rechargeable (nickel-cadmium) baeries.

© 2019 EcoAir 9 All rights reserved
MAINTENANCE + CLEANING
1.Switch o and unplug from the power supply before cleaning
2.Clean the surface with a moist so cloth. Avoid using abrasive detergent or solvents.
3.Do not allow water or other liquid to run into the interior of the product, as this
could create re or electrical hazard.
4.It is recommended to periodically clean this appliance by carefully vacuuming the fan guards to re-
move any dust or dirt that have accumulated.
Maintenance & Cleaning
MODEL Equinox
Voltage 220 - 240V - 1Ph
Wind Speed 140 M/Min
Wind Volume 42 M3/Min
Noise 38 - 61 dB(a)
Net Weight 5.6 Kg
Gross Weight 6.9 Kg
Net Dimension (W x H x D) 400mm x 1300mm x 400mm
Gross Dimension (W x H x D) 589mm x 627mm x 154mm
In the unlikely event of a problem with your product,
please refer in the rst instance to:
ECOAIR TECHNICAL SUPPORT
Web: www.ecoair.org/support
Email: [email protected]
Specicaons

© 2019 EcoAir 10 All rights reserved
GUARANTEE CARD
EcoAir guarantees this product to be free from defects in materials and workmanship for a
period of One (1) year from the date of purchase. Coverage is valid only with proof of pur-
chase.
Warranty Terms and Condions
The condions below apply to our warranty. They do not aect your statutory rights or the
obligaons of your retailer and your contract with them.
We provide warranty cover for this appliance subject to the following condions:
1. We will recfy defects aecng the appliance which are clearly aributable to material and/or
manufacturing faults, provided they are reported immediately aer being idened within the
Warranty Period supported by proof of purchase.
2. Service may not be available to all the islands around the UK. Please check with your retailer or contact
our customer service department.
3. The warranty will not extend to consumables such as air lters.
4. Warranty liability will not be triggered by minor variances from nominal features which are of no signi-
cance to the appliance's value or tness for purpose, nor damage caused by wear and tear, exceponal
environmental condions and inappropriate operang condions.
5. No warranty liability will be accepted:-
a. If the defects stem from transport damage for which we are not responsible.
b. Improper installaon and assembly or non– compliance with the safety regulaons and warnings
given in the operang instrucons.
c. Improper use, to also include poor maintenance caused by insucient aercare or
cleaning and failure to observe operang or assembly instrucons or use with improper voltage
recommendaons.
d. Use in a non-domesc environment, to include appliance for rental.
6. No rights are given under this warranty to a person acquiring the appliance second hand.
7. We reserve the right to invalidate the warranty: -
a. If repairs or other intervenons are performed by persons not authorised by us.
b. If our appliances are ed with non-original spare parts, extras or accessories.
c. If our appliance has been altered and damaged by owner or third pares.
d. In the event of abuse (whether physical or verbal abuse) towards any member of sta.
8. Warranty provision will be free of charge and we will decide whether this will take the form of a repair or
the replacement of the appliance. Small appliances that can be reasonably transported or posted may
need to be handed over or shipped to our customer service centre. A purchase receipt must be present-
ed in each case. Replaced parts pass into our ownership.
9. Under no circumstances shall the applicaon of this warranty give rise to the complete
replacement of the appliances. In the event of a replacement appliance being supplied at our discreon,
we reserve the right to charge an appropriate monetary oset in respect of the
period of use already enjoyed.
10. The provision of services under warranty neither extends the term of the warranty nor sets in moon a
new Warranty Period. The Warranty Period for spare parts ed ends with the expiry of the warranty on
the appliance as a whole.
11. EcoAir shall not be liable for loss of goods, loss of use, or any special, indirect, consequenal or pure eco-
nomic loss, costs, damages, charges or expenses.
12. Our Warranty service is on a return to base basis.
13. This unit is only for domesc use.
14. The Customer acknowledges and agrees that details of the Customer’s name, address and payment
method will be held and used by EcoAir to provide the services and to send to the Customer further In
formaon. EcoAir may disclose your informaon to third pares and agents in order to perform the ser-
vices.
These warranty condions apply to appliances purchased in the United Kingdom. If appliances shipped to other countries
feature the appropriate technical condions (e.g. voltage, frequency, gas-types etc.) for the climac and environmental
condions in the country concerned, the terms of the warranty will apply, provided a local customer service network ex-
ists. Appliances purchased outside the United Kingdom are subject to the warranty condions published by the appropri-
ate local representave oce of that country. These can be obtained via the specialist dealer from whom you bought
appliance.
www.ecoair.org
C412/C413 — 20190115
Table of contents
Other Ecoair Fan manuals
Popular Fan manuals by other brands
atomi smart
atomi smart Smart WiFi quick start guide
Casablanca
Casablanca Marrakesh owner's manual
Monte Carlo Fan Company
Monte Carlo Fan Company 5HM52 Series Owner's guide and installation manual

EDM
EDM 33952 instruction manual
Dantherm
Dantherm HCV 4 installation manual
Chore-Time
Chore-Time 50576 Installation and Operators Instruction Manual
