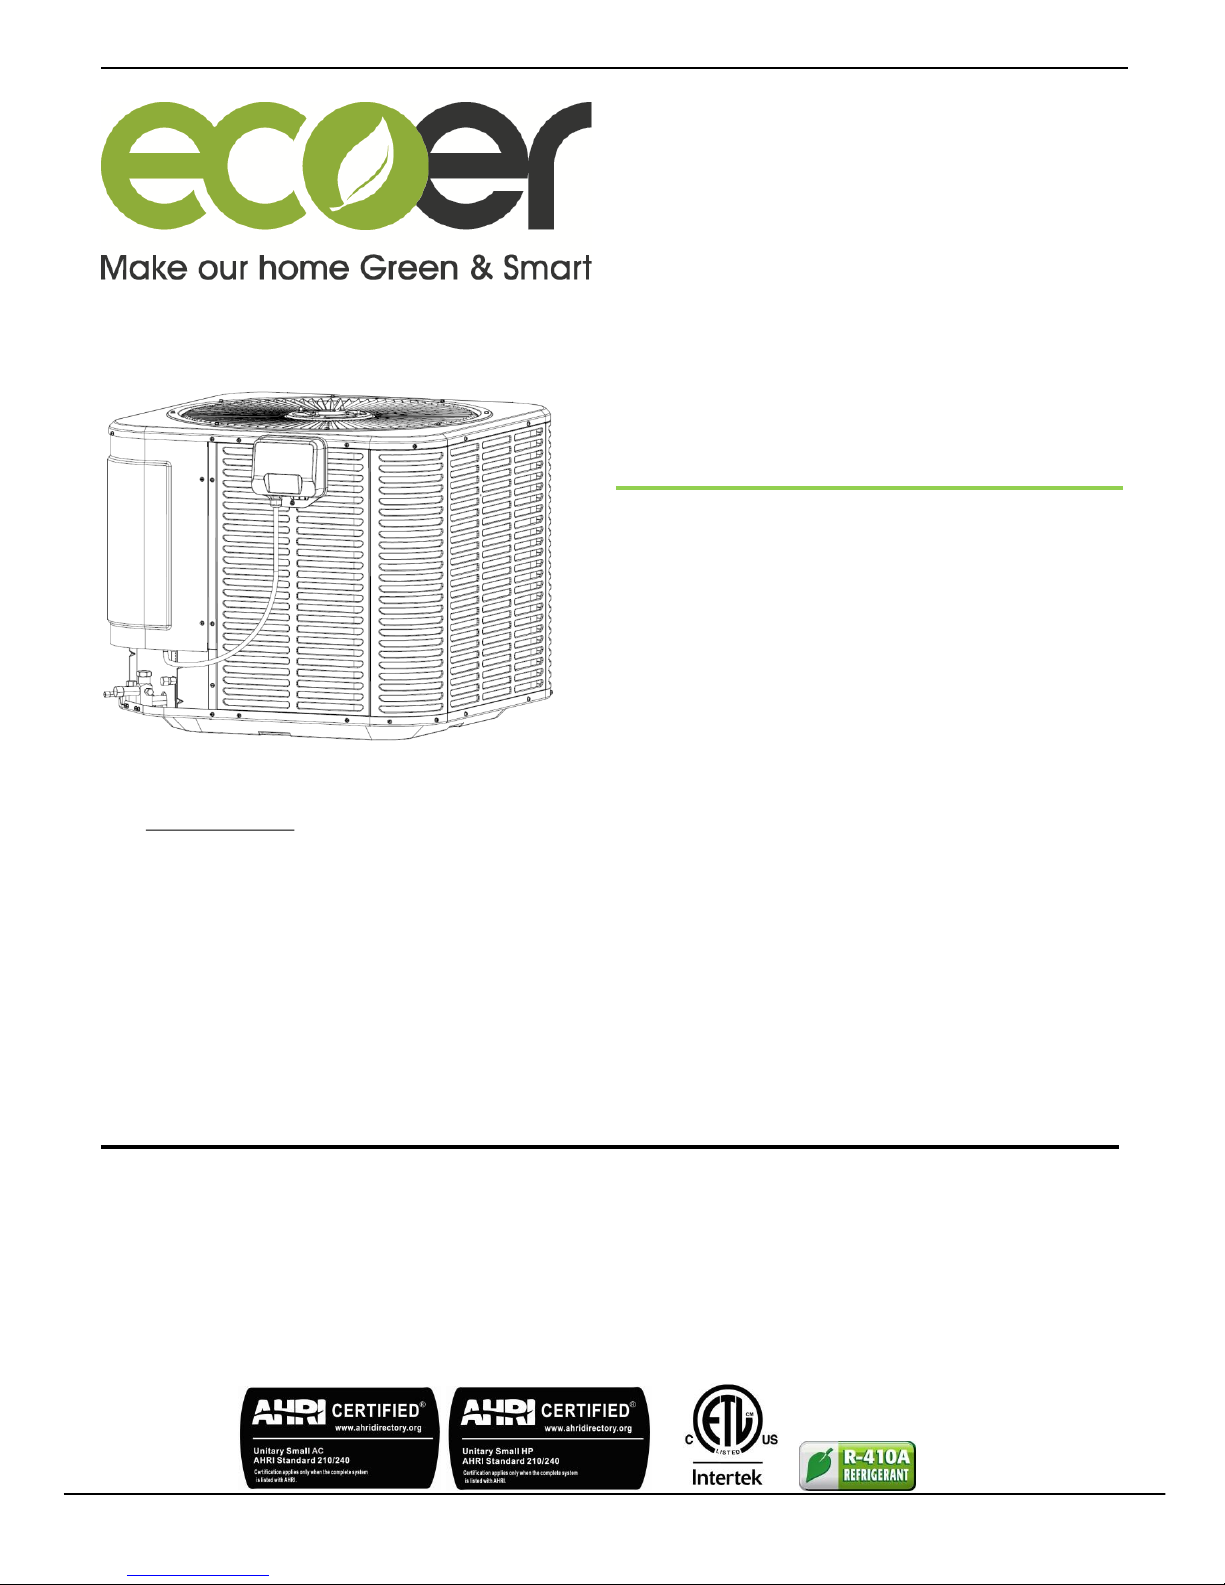
Ecoer 2436 User manual

1/31
ESI Outdoor Unit Installation Instruction
08.2018
www.ecoer.com
Manufacturer reserves the right to change specifications or designs without notice.
NOTE: Appearance of unit may vary.
The IoT gateway does not ship with outdoor unit.
Visit www.ecoer.com to get IoT installation guide.
Installation must be performed in accordance with
the requirements of NEC and CEC by authorized
personnel only.
Installation Instructions
Inverter Split Heat Pump
Up to 20 SEER
2-3-4-5Ton Capacity
R410A
Contents
1. Safety--------------------------------------------------
2. Unit Location Considerations--------------------
3. Position the Unit--------------------------------------
4. Refrigerant Line Considerations-----------------
5. Refrigerant Line Routing--------------------------
6. Refrigerant Line Brazing---------------------------
7. System Leak Check---------------------------------
8. Evacuation--------------------------------------------
9. Service Valves---------------------------------------
10. Electrical - Low Voltage----------------------------
11. Electrical - High Voltage---------------------------
12. Start-up------------------------------------------------
13. System Charge Adjustment----------------------
14. System Operation----------------------------------
15. Troubleshooting-----------------------------------------
16. Wiring Diagram----------------------------------------
2
4
6
7
9
10
11
11
12
13
14
15
16
21
28
30
All phases of this installation must comply with National, State and Local Codes.
IMPORTANT
This document is customer’s property and is to remain with this unit. Please return it to customer
with service information upon completion of work.
These instructions do not cover all variations in systems or provide for every possible contingency
to be met in connection with the installation. Should further information be desired or should
particular problems arise which are not covered sufficiently for the purchaser’s purposes, the
matter should be referred to your installing dealer or local distributor.

2/31
ESI Outdoor Unit Installation Instruction
08.2018
www.ecoer.com
Manufacturer reserves the right to change specifications or designs without notice.
1. Safety
WARNING
HAZARDOUS VOLTAGE
Failure to follow this warning could result in property damage, severe personal injury, or death.
Disconnect all electric power, including remote disconnections before servicing. Follow proper lockout/
tagout procedures to ensure the power cannot be inadvertently energized.
REFRIGERANT OIL
Any attempt to repair central air conditioner and heat pump products may result in property damage,
severe personal injury, or death.
These units use R-410A refrigerant which operates at 50~70% higher pressures than R-22. Use only R-
410A approved service equipment. Refrigerant cylinders are painted a “Rose” color to indicate the type
of refrigerant and may contain a “dip” tube to allow for charging of liquid refrigerant into the system. All
R-410A systems with variable speed compressors use a PVE oil that readily absorbs moisture from the
atmosphere. To limit this ‘hygroscopic“ action, the system should remain sealed whenever possible. If a
system has been open to the atmosphere for more than 4 hours, the compressor oil must be replaced.
Never break a vacuum with air and always change the driers when opening the system for component
replacement.
SERVICE VALVES
Failure to follow this warning will result in abrupt release of system charge and may result in personal
injury and/or property damage.
Extreme caution should be exercised when opening the liquid service valve. Turn valve stem
counterclockwise only until the stem contacts the rolled edge. No torque is required.
BRAZING REQUIRED
Failure to inspect refrigerant lines or use proper service tools may result in equipment damage or
personal injury. If using existing refrigerant lines, make sure that all joints are brazed, not soldered.
HIGH CURRENT LEAKAGE
Failure to follow this warning could result in property damage, severe personal injury, or death.
Grounding is essential before connecting electrical supply.
CAUTION may lead to injury or structural damage under some conditions.
WARNING may cause personal death or serious injury.
Read the following safety instructions before installing the unit or doing servicing work.

3/31
ESI Outdoor Unit Installation Instruction
08.2018
www.ecoer.com
Manufacturer reserves the right to change specifications or designs without notice.
CAUTION
AUTHORIZED
PERSONNEL ONLY
This information is intended for use by individuals possessing adequate backgrounds of electrical and
mechanical experience. Any attempt to repair central air conditioner or heat pump products may result
in personal injury and/or property damage.
INDOOR UNIT REQUIRMENT
The indoor units must be matched with R-410A TXV.
The model of TXV can be changed according to the system capacity.
HOT SURFACE
May cause minor to severe burning.
Failure to follow this caution could result in property damage or personal injury.
Do not touch top of compressor.
GROUNDING REQUIRED
Failure to inspect or use proper service tools may result in equipment damage or personal injury.
Reconnect all grounding devices. All parts of this product that are capable of conducting electrical
current are grounded. If grounding wires, screws, straps, clips, nuts, or washers used to complete a path
to ground are removed for service, it must be returned to their original position and properly fastened.
CONTAINS REFRIGERANT
Failure to follow proper procedures can result in personal illness or injury or severe equipment damage.
System contains oil and refrigerant under high pressure. Recover refrigerant to relieve pressure before
opening the system.

4/31
ESI Outdoor Unit Installation Instruction
08.2018
www.ecoer.com
Manufacturer reserves the right to change specifications or designs without notice.
Unit Dimensions
Model H xW xL(Inches)
2436 24-15/16 x29-1/8 x29-1/8
4860 33-3/16 x29-1/8 x29-1/8
2.2 Unit Dimensions
2. Unit Location Considerations
Table 2-1 Outdoor unit dimensions
L
H
W
Units are packaged for shipment to avoid damage during
normal transit and handling. It is the receiving party’s
responsibility to inspect the equipment upon arrival. Any
obvious damage to the carton box should be reported on
the bill of lading and a claim should be filed with the
transportation company, and the factory should be noticed.
All units should be stored in the factory shipping carton
with internal packaging in a dry place until installation.
Carefully remove the packaging and inspect for hidden
damage. Any hidden damage should be recorded and the
factory should be notified. The gauge port can be used to
check the refrigerant charge has been retained during
shipment.
2.1 Inspect Units
Figure 2-1 Check damage
Figure 2-2 External dimensions
Two models with the same chassis suit for most of
residential air conditioning applications, only have height
difference for external dimensions.

5/31
ESI Outdoor Unit Installation Instruction
08.2018
www.ecoer.com
Manufacturer reserves the right to change specifications or designs without notice.
2.3 Location Restrictions
Cold Climate Considerations
Precautions must be taken for units being installed in
areas where snow accumulation and prolonged
below-freezing temperatures occur.
Depending on local weather, units should be elevated
at least 3~12 inches above the pad or rooftop. This
additional height will allow drainage of snow and ice
melted during defrost cycle to flow out smoothly prior
to its refreezing.
A snow drift barrier should be installed around the
unit to prevent a build-up of snow on the unit sides.
Figure 2-3 Clearance requirement
Figure 2-4 Unit location choose
Figure 2-5 Consideration to prevent refreezing
Min. 20” to
shrubbery
Min. 20”
to wall
Access panel
Min. 20”
3~12” elevation
Pad
Snow legs
Min. 20” to
shrubbery
Min. 24”
unrestricted
Min. 60”unrestricted
Avoid to install
near bedrooms
Access panel
Position unit so water, snow, or ice from roof
or overhang cannot fall directly on unit.
Installation Clearance Requirement
Ensure the top discharge area is unrestricted for at
least 60 inches above the unit.
Do not locate outdoor unit near bedrooms since
normal operational sounds may be annoying.
Position unit to allow adequate space for
unobstructed airflow, wiring, refrigerant lines, and
serviceability.
Allow a minimum of 20 in. clearance on one side of
access panel to a wall and a minimum of 24 in. on
the adjacent side of access panel. Maintain a
distance of 24 in. between units.

6/31
ESI Outdoor Unit Installation Instruction
08.2018
www.ecoer.com
Manufacturer reserves the right to change specifications or designs without notice.
3. Position the Unit
When mounting the unit on a roof, be sure the roof will
support the unit’s weight obtained from nameplate.
Properly selected isolation is recommended to prevent
sound or vibration transmission to the building structure.
When installing the unit on a support pad, such as a
concrete slab, consider the following:
•The pad must be 1~2” larger than the unit on all sides.
•The pad must be separated from any structure.
•The pad must be level.
•The pad must be high enough above grade to allow for
drainage.
•The pad location must comply with National, State and
Local codes.
IMPORTANT NOTE:
These instructions are intended to provide a method to tie-down unit to cement slab as a securing
procedure for high wind areas. Check local codes for tie-down methods and protocols.
Figure 3-1 Position the unit on pad
Figure 3-2 Fasten the outdoor unit
#7 ×3/8” self tapping screws
(Do not exceed 3/8” length.)
DETAIL A
Brackets:
2" width, 1/16" thickness,
height as required.
Available from distributor
or in market store.
1/4” × 1-1/2” hex washer head concrete screws
(3/16” pilot hole needed. Pilot hole should be1/4” deeper
than the fastener embedment.)
Refer to the unit dimensions.
DETAIL A

7/31
ESI Outdoor Unit Installation Instruction
08.2018
www.ecoer.com
Manufacturer reserves the right to change specifications or designs without notice.
4. Refrigerant Line Considerations
Use only the line sizes indicated in Table 4-1 and determine required line length.
4.1 Refrigerant Line and Service Valve Connection Sizes
4.2 Refrigerant Line Limits
Model Suction line Liquid line Suction line connection Liquid line connection
2436 3/4 3/8 3/4 3/8
4860 7/8 7/8
Figure 4-1 Line length limit
Figure 4-2 Elevation difference limit
• Maximum line length = 100 feet.
Max.100ft
• Maximum elevation difference = 50 feet.
Max.50ft
Max.50ft
Table 4-1 Line sizes

8/31
ESI Outdoor Unit Installation Instruction
08.2018
www.ecoer.com
Manufacturer reserves the right to change specifications or designs without notice.
For retrofit applications where the existing
refrigerant lines will be used, the following
precautions should be taken:
•Ensure that the refrigerant lines are the correct
size according to Table 4-1.
•Ensure that the refrigerant lines are free of leaks,
acid, and oil.
4.4 Reuse Existing Refrigerant Lines
CAUTION
If using existing refrigerant lines, make sure that all
joints are brazed, not soldered.
IMPORTANT:
The manufacturer recommends installing only approved matched indoor and outdoor systems. All of
the manufacturer’s split systems are AHRI rated with TXV indoor units. Some of the benefits of installing
approved matched indoor and outdoor split systems are maximum efficiency, optimum performance
and the best overall system reliability.
Figure 4-4 Use existing refrigerant lines
The suction line must always be insulated.
DO NOT allow the suction line and liquid line to
come in direct (metal to metal) contact.
4.3 Refrigerant Line Insulation
Figure 4-3 Line insulation
liquid line
suction line
Insulation

9/31
ESI Outdoor Unit Installation Instruction
08.2018
www.ecoer.com
Manufacturer reserves the right to change specifications or designs without notice.
8 Feet Maximum
Side View 8 Feet Maximum
Wall
Isolator
Line Set
Secure suction line using isolators every 8 ft. Secure liquid line directly to insulated suction line
using tape, wire, or other appropriate method every 8 ft.
Figure 5-2 Isolation in wall spaces
Sealant
Suction line
Insulation
Wall
Figure 5-3 Isolation through wall
Ductwork
Isolator
Line Set
Figure 5-4 DO NOT hang line sets from ductwork
5. Refrigerant Line Routing
Comply with National, State, and Local Codes when isolating line sets from joists, rafters, walls, or
other structural elements. Take precautions to prevent noise within the building structure due to
vibration transmission from the refrigerant lines. For Example:
•Use isolation type hangers when the refrigerant lines have to be fastened to floor joists or other framing.
•Isolation hangers should also be used when refrigerant lines traverse stud spaces or enclosed ceilings.
•Where the refrigerant lines pass through a wall or sill, it should be insulated and isolated.
•Isolate the lines from all ductwork.
•Minimize the number of 90ºturns.
Figure 5-1 Isolation from Joist/Rafter
8 Feet Maximum
Side View 8 Feet Maximum
Joist/Rafter
Isolator
Line Set
Secure suction line from joists using isolators every 8 ft. Secure liquid line directly to insulated
suction line using tape, wire, or other appropriate method every 8 ft.

10/31
ESI Outdoor Unit Installation Instruction
08.2018
www.ecoer.com
Manufacturer reserves the right to change specifications or designs without notice.
6. Refrigerant Line Brazing
Refer to below figures marked with digital number for line brazing procedures. Every figure is
corresponding to the following illustration.
①Remove caps or plugs . Use a tool to deburr the line ends. Clean both internal and external surfaces of the
tubing using an emery cloth.
②Remove the pressure tap cap from both service valves.
③Purge the refrigerant lines and indoor coil with dry nitrogen from gas service valve.
④Wrap a wet rag around the valve body to avoid heat damage and continue the dry nitrogen purge. Braze
the refrigerant lines to the service valves. Install a bidirectional filter drier in liquid side to protect the heat
pump system. Do not remove the wet rag until all brazing is completed.
⑤Put the pressure tap caps back after the service valves cooled down.
①②
A thimble
is required
③
⑤
Figure 6-1 Refrigerant line brazing work
Field supplied
3~4" from valve
④

11/31
ESI Outdoor Unit Installation Instruction
08.2018
www.ecoer.com
Manufacturer reserves the right to change specifications or designs without notice.
7. System Leak Check
Leak check is required for the brazed line connections.
1. Pressurize the brazed refrigerant lines and indoor coil to at least 150 PSIG using dry nitrogen.
2. Check for leaks by using a soapy solution or bubbles at each brazed location.
150PSIG
8. Evacuation
Figure 7-1 Charge dry nitrogen to the system Figure 7-2 Leak check
Do not open the service valves until the leak check and evacuation are complete.
1. Evacuate until the micron gauge reads no higher than 350 microns, then close the valve to the vacuum
pump.
2. Evacuation is complete if the micron gauge does not rise above 500 microns in one minute.
1 MIN
Figure 8-1 Evacuation the refrigerant system

12/31
ESI Outdoor Unit Installation Instruction
08.2018
www.ecoer.com
Manufacturer reserves the right to change specifications or designs without notice.
9. Service Valves
Leak check and evacuation must be completed before opening the service valves.
The Suction Service valve must be opened BEFORE opening the Liquid Service Valve!
1. Remove service valve cap.
2. Fully insert hex wrench into the stem and back out counterclockwise until valve stem just touches the
rolled edge (approximately five turns.)
3. Replace and tighten the valve stem cap to prevent leaks. Additional 1/6 turn may be required.
Repeat 1 to 3 for Liquid Service Valve.
Figure 9-1 Open the service valves
Service Port
Rolled edge to captivate stem
Cap
3/16” Hex Wrench for Liquid Service Valve
5/16” Hex Wrench for Suction Service Valve
WARNING
Extreme caution should be exercised when opening
the Liquid Service Valve. Turn counterclockwise until
the valve stem just touches the rolled edge. No torque
is required.
Failure to follow this will result in abrupt release of
system charge and may lead to personal injury and
/or property damage.

13/31
ESI Outdoor Unit Installation Instruction
08.2018
www.ecoer.com
Manufacturer reserves the right to change specifications or designs without notice.
10. Electrical –Low Voltage
Define the maximum total length of low voltage wiring from
the outdoor unit to indoor unit and thermostat.
Field provided bushing or strain relief is required at the
low voltage wire entry point.
Figure 10-2 Schematic diagram for control wiring connection
10.1 Low voltage wire requirement
CONTROL WIRING
Wire Size Max. Wire Length
18 AWG 150Ft
16 AWG 225Ft
10.2 Low voltage hook-up diagrams
G R C W1 C Y O W
W2
O
C
R
G
Y
G2
G2
INDOOR UNIT OUTDOOR UNIT
THERMOSTAT
ONLY AVAILABLE TO ECOER THERMOSTAT
WITH EAHATN SERIES INDOOR UNIT
GREEN
RED
BLACK/BROWN
WHITE
BLACK
YELLOW
WHITE
ORANGE
Figure 10-1 Low voltage control wiring connection
Notes:
1. Be sure power supply agrees with equipment nameplate.
2. Power wiring and grounding of equipment must comply with local codes.
3. Low voltage wiring to be No. 18 AWG minimum conductor.
4. “ “ means the electric auxiliary heater connection.
Table 10-1 Low voltage control wiring requirement
Thermostat wiring
connector

14/31
ESI Outdoor Unit Installation Instruction
08.2018
www.ecoer.com
Manufacturer reserves the right to change specifications or designs without notice.
11. Electrical –High Voltage
The high voltage power supply must agree with the
equipment nameplate. Power wiring must comply with
National, State and Local codes.
Follow instructions on unit wiring diagram located on
the inside of the control box cover.
11.1 High voltage power supply
11.2 High voltage disconnect switch
Figure 11-1 Read the Warning Label
Figure 11-2 Install an independent switch
WARNING
During installation, testing, servicing, and trouble-
shooting of this product, it may be necessary to
work with live electrical components. Failure to
follow all electrical safety precautions when
exposed to live electrical components could result
in death or serious injury.
Figure 11-3 Unit grounding
11.3 High voltage ground
Install a separated disconnect switch at the outdoor unit.
Field provided flexible electrical conduit must be used for
high voltage wiring.
Ground the outdoor unit according to National, State, and
Local code requirements.
Power Supply
Model Voltage MCA Switch Size
2436 208/230V-1Ph-60Hz 24.4A 40A
4860 208/230V-1Ph-60Hz 32.5A 50A

15/31
ESI Outdoor Unit Installation Instruction
08.2018
www.ecoer.com
Manufacturer reserves the right to change specifications or designs without notice.
12. Start-up
Refer to IoT Installation and Warranty Guide by ESS APP, connect the IoT gateway before start-up.
At the same time, ensure chapters 5~11 have been completed.
1. Set the thermostat to OFF. 2. Turn on disconnect switch to apply power
to the indoor and outdoor units.
3. Wait one hour before starting the unit if the
outdoor ambient temperature is below 59 ºF.
60 MIN
4. Set the thermostat to ON.
Note:
It may take up to 45 minutes in the first time for heating operation to exit start-up control. This is normal
function to preheat lubricants in the bottom of compressor.

16/31
ESI Outdoor Unit Installation Instruction
08.2018
www.ecoer.com
Manufacturer reserves the right to change specifications or designs without notice.
13. System Charge Adjustment
Weigh-in method can be used for the initial installation, or anytime a system charge needs to be replaced.
Weigh-in method can also be used when power is not available on job site or ambient temperature is not
sufficient for refrigerant coefficient and sub-cooling charge method.
13.1 Weigh-in Method
A B C D
Model
Factory
charge Indoor Model
Charge amount for
indoor unit(oz)
Charge multiplier for interconnecting
refrigerant tube length *2
2436
The data on
nameplate
24K 0
0.6 oz/ft
36K 14 *1
4860
36K 0
48K 8 *1
60K 22 *1
For new installation
Calculate additional charge for liquid line which is greater than 25 ft.
1. Total line length = ft (A)
2. Standard line length = 25 ft (B)
3. A minus B = ft (C)
4. Refrigerant multiplier = 0.6 oz/ft (D)
5. Additional refrigerant amount(C*D) = oz (E) *E=0 if line length is less than 25ft.
For system repairs
Calculate the total system charge amount.
1. Total line length = ft (A)
2. Standard line length = 25 ft (B)
3. A minus B = ft (C)
4. Refrigerant multiplier = 0.6 oz/ft (D)
5. Additional refrigerant amount(C*D) = oz (E) *E=0 if line length is less than 25ft.
6. Factory charge on nameplate = oz (F)
7. Total system charge amount = oz (G) G=E+F
Table 13-1 Charge amount table
1. Invalid for system with electric heaters or other third-party heaters whose capacity is 1.2 times
of heat pump nominal heating capacity.
For example:
3 Ton system equips a 15KW electric heater.
15/(3*3.516)=1.42>1.2 Note: 1Ton=3.516KW
2. Only take line length over 25ft into consideration.
Every condensing unit pre-charged up to 25 feet of standard size interconnecting liquid line.

17/31
ESI Outdoor Unit Installation Instruction
08.2018
www.ecoer.com
Manufacturer reserves the right to change specifications or designs without notice.
13.2 Auto charge mode
Off
Blinking
On
1 minute
1second
SEG1 SEG2 SEG3
Turn on the power supply for the system, select cooling mode from thermostat . Make sure the setting
temperature is lower than room temperature for at least 5゜F to finish this charging mode.
Press and hold BS4 button for five seconds until SEG1 displays blinking 7. After one minute, the
system will go into AUTO charge mode *Note.
Note: Start-up control is enforced to complete prior to activate the AUTO charge mode. It may take 4 to 10
minutes to exit start-up control procedure and fix the compressor frequency(RPS).
[Refrigerant coefficient]
0 0.4 0.6 1.0
Undercharged Overcharged
Proper
The refrigerant coefficient is used to evaluate the refrigerant level in the system.
[Use either way below to end AUTO charge mode]
Press BS4 once/ After 2 hours running (Automatically EXIT)/ Turn off the system from thermostat
This AUTO charge mode is suitable for ambient temperature between 20~122ºF. But for the best
results, indoor temperature should be kept between 70~80ºF. For outdoor ambient temperature is
below 20゜F, use weigh-in charge method only. It is always suggested to check the charge amount and
indoor TXV opening when outdoor ambient temperature is above 20゜F.
120ºF
20ºF
80ºF
70ºF
Figure 13-1 LED display in AUTO charge assistant
Figure 13-2 Temperature limit for AUTO charge assistant
a) Outdoor ambient b) Indoor ambient
Run the system for 20 minutes and check refrigerant coefficient number(here short for “X”, 0<X<1)
from the LED display. If X > 0.6, call back; or X < 0.4, add more refrigerant. Then wait for 5 minutes to
allow system pressure balanced. Check the new coefficient number to make sure you get 0.5. Basically,
0.4-0.6 is acceptable if SH is no greater than 20゜F.
When the LED displays “--” for more than 20 minutes, stop charging and check the TXV
adjustment to ensure required compressor suction superheat(Refer to the following page).

18/31
ESI Outdoor Unit Installation Instruction
08.2018
www.ecoer.com
Manufacturer reserves the right to change specifications or designs without notice.
Tips:How to adjust indoor TXV opening
To keep the best Ecoer Smart Inverter(ESI) systems’ performance and reliability, be sure the compressor suction
superheat(SH) meets our requirement.
•If the LED displays “--” in AUTO charge mode for more than 20 minutes, stop charging and use a wrench
to clockwise the TXV to ensure SH is no less than 7゜F.
•In case that the cooling performance is abnormal due to improper superheat(i.e. SH >20゜F). It’s
required to adjust the TXV opening to allow more refrigerant flow into indoor coil. Adjust the TXV
opening according to
1. Activate AUTO charge mode from outdoor condensing unit to fix compressor frequency(RPS) by
press BS4 for 5 seconds on PCB, add refrigerant until the LED of outdoor LED displays 0.6 for
refrigerant coefficient.
2. Open the front panel of the indoor coil, then remove the TXV nut.
3. Use a wrench to counterclockwise the TXV until SH ≤ 20゜F.
NOTE:
Maintain a minimum of 5 minutes’ operation after every refrigerant charge or TXV opening
adjustment, then check live SC and SH from Ecoer Smart Service Mobile App.
Clockwise
Counterclockwise
Remember:
Put back the panel after TXV adjusted.
SH
7~20゜F
SC
6~18゜F
Target values
in cooling mode

19/31
ESI Outdoor Unit Installation Instruction
08.2018
www.ecoer.com
Manufacturer reserves the right to change specifications or designs without notice.
13.3 Sub-cooling charge
Refer to the following step to charge refrigerant by sub-cooling in cooling mode.
Model 2436 4860
Designed sub-
cooling degree 10ºF(±2ºF) 8ºF(±2ºF)
STEP1 Calculate superheat value on suction valve.
Measured suction line temperature = ___________ºF
Measured suction line pressure = ___________PSIG
Calculate superheat value = ___________ºF
STEP2 Calculate sub-cooling value on liquid valve.
Measured liquid line temperature = ____________ºF
Measured liquid line pressure = ____________PSIG
Calculate sub-cooling value = ____________ºF
Add refrigerant if calculated sub-cooling value is lower
than the designed one. Repeat the steps above.
Suction line
TEMP (ºF)
Final Superheat (ºF)
8 10
12
14
16
18
20
22
Suction Gage Pressure (PSIG)
40
101
97
93
89
86
82
78
75
42
105
101
97
93
89
86
82
78
44
110
105
101
97
93
89
86
82
46
114
110
105
101
97
93
89
86
48
118
114
110
105
101
97
93
89
50
123
118
114
110
105
101
97
93
52
128
123
118
114
110
105
101
97
54
133
128
123
118
114
110
105
101
56
138
133
128
123
118
114
110
105
58
143
138
133
128
123
118
114
110
60
148
143
138
133
128
123
118
114
62
153
148
143
138
133
128
123
118
64
159
153
148
143
138
133
128
123
66
164
159
153
148
143
138
133
128
68
170
164
159
153
148
143
138
133
70
176
170
164
159
153
148
143
138
72
182
176
170
164
159
153
148
143
Liquid line
TEMP (ºF)
Final Sub-cooling (ºF)
6 7 8 9 10
11
12
13
Liquid Gage Pressure (PSIG)
55
173
176
179
182
185
188
191
195
60
188
191
195
198
201
204
208
211
65
204
208
211
215
218
221
225
229
70
221
225
229
232
236
239
243
247
75
239
243
247
251
255
259
262
266
80
259
262
266
270
275
279
283
287
85
279
283
287
291
295
300
304
309
90
300
304
309
313
318
322
327
331
95
322
327
331
336
341
346
351
355
100
346
351
355
360
365
370
376
381
105
370
376
381
386
391
397
402
407
110
397
402
407
413
418
424
430
435
115
424
430
435
441
447
453
459
465
120
453
459
465
471
477
483
489
496
125
483
489
496
502
508
515
521
528
Figure 13-3 Measure the superheat or sub-cooling
Table 13-2 Superheat calculation on suction service valve
Table 13-4 Designed sub-cooling degree
Table 13-3 Sub-cooling calculation on liquid service valve

20/31
ESI Outdoor Unit Installation Instruction
08.2018
www.ecoer.com
Manufacturer reserves the right to change specifications or designs without notice.
STEP5 Record system information for further reference.
Outdoor model number
Measured outdoor ambient temperature ºF
Measured indoor ambient temperature ºF
Liquid gage pressure PSIG
Suction gage pressure PSIG
Measured suction line temperature ºF
Measured liquid line temperature ºF
STEP4 Stabilize the system.
1. Wait five (5) minutes for the unit to stabilize between adjustments. When the sub-cooling matches the
chart, the system is properly charged.
2. Remove gages.
3. Replace and tighten service port caps to prevent leaks. Plus an additional 1/6 turn may be required.
STEP3 Adjust refrigerant level to attain proper gage pressure.
Add refrigerant if the sub-cooling is lower than the chart value.
1. Connect gages to refrigerant tank and unit as illustrated.
2. Purge all hoses.
3. Open refrigerant tank.
4. Stop adding refrigerant when sub-cooling matches the charging chart.
Recover refrigerant if the sub-cooling is higher than the chart value.
Figure 13-4 Measure the superheat or sub-cooling
Other manuals for 2436
3
This manual suits for next models
1
Table of contents
Other Ecoer Heat Pump manuals