Econo Heat OMNI EH-350 Manual

Waste Oil Fired Heater
Installation, operation and service instructions
EH-350 120v Manual
EconoHeat • 5714 E. First Avenue • Spokane Valley, WA 99212 • 800.255.1363 • www.econoheat.com • Rev 01/2017
Manufactured by
Econo Heater
240
Omni Heat NZ * P.O Box 112 Cromwell 9342 * 32 Ree Crescent Cromwell 9310 * 027 203 2121 * www.omniheat.co.nz

Page 2EconoHeater by EconoHeat
Table of Contents
Precautions ................................................................................... Page 3
Important Notice ......................................................................... Page 4
Specifications ............................................................................... Page 5
Installation Procedures .............................................................. Page 6
Stack Installation .......................................................................... Page 7
Oil Supply Tubing ......................................................................... Page 7
Wiring .............................................................................................. Page 8
Oil Burner ....................................................................................... Page 9
Oil Burner Technology .............................................................. Page 10
Initial Start Procedure ............................................................... Page 12
Maintenance Schedule .......................................................... Page 13
Figures 6 – 12 .............................................................................. Page 14
Troubleshooting ......................................................................... Page 17
EH-350 Ten Year Limited Warranty ........................................ Page 18
Warranty Card ........................................................................... Page 20

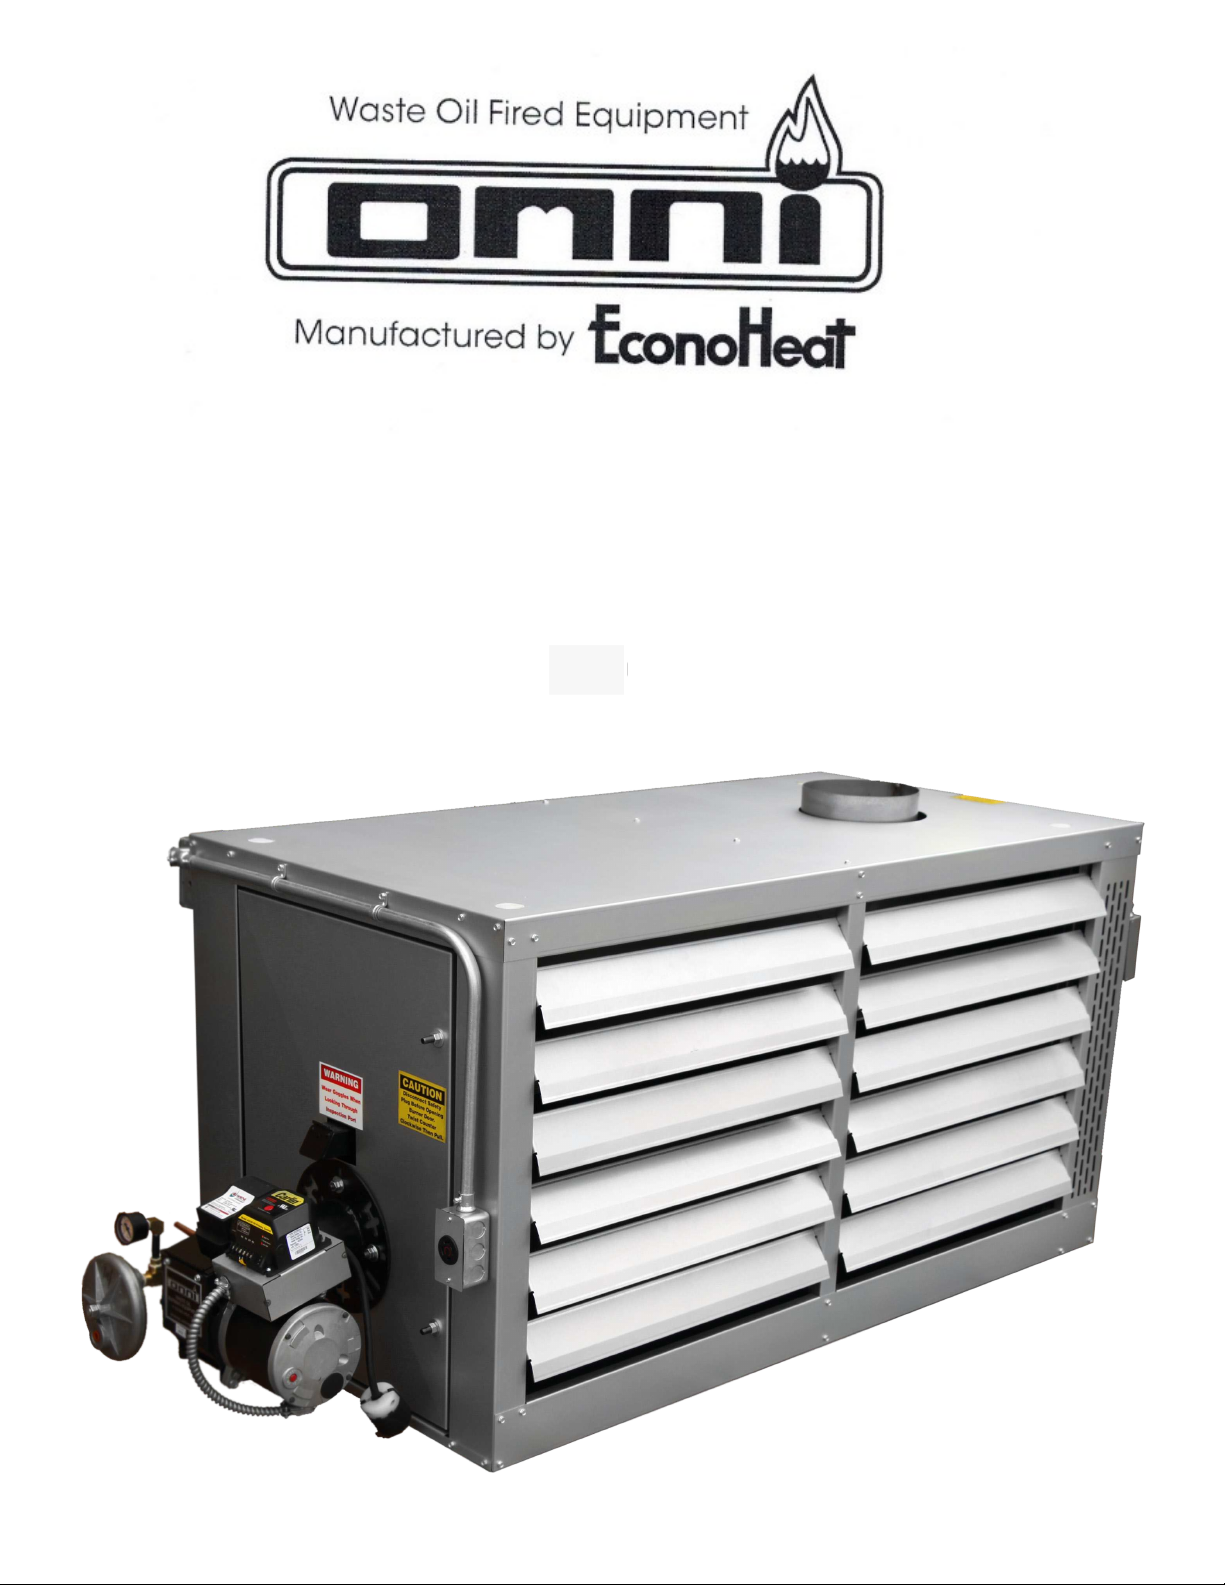
Page 3EconoHeater by EconoHeat
PRECAUTIONS
Waste oil may contain many foreign materials. Waste oil may also contain
gasoline. Therefore, specific precautions on the handling and storage of waste
oils are to be observed when using, cleaning, and maintaining this heater. Use a
screen in a funnel when pouring oil into storage tank to catch foreign material,
i.e., gasket material and sealant fibers, etc. WARNING: This appliance is not
designated for use in hazardous atmospheres containing flammable vapors
or combustible dust, or atmospheres containing chlorinated or halogenated
hydrocarbons. Do not expose this unit to rain or moisture. EconoHeat burns
the widest range of used and new oils including, but not limited to: used motor
oils up to 90 weight, transmission and hydraulic fluid, used synthetic oils, crude
oil, vegetable, fish, and mineral oil,all diesel fuel and many more. Do not use old,
contaminated oils that have been stored in underground tanks or outside barrels
for long periods of time. Excessive water and sludge may be present, causing
quick filter plugging.
NOTES: The instructions contained inthismanual applytotheinstallation,operation,
and service of EconoHeat Waste oil fired heaters. The following instructions should
be carefully followed for obtaining the best possible installation, operation, and
service conditions. Specifications are subject to change without notice. This
heater was designed to be a primary or auxiliary heat source, but not the only
source of heat. It also provides economical disposal of waste oil. Proper operation
depends on the consistency of the oil. Any water or foreign material in the oil may
cause the unit to shut down. If a continuous stream of oil cannot be guaranteed
at the heater, the main heating system should be set above freezing which will
prevent any building damage if the waste oil heater were to become inoperative
during subfreezing weather, i.e. supply tank empty, filter plugged, etc. .
UNCRATING: Immediately upon uncrating units, check rating plate for certainty
of electrical and mechanical characteristics. Also, check the unit for any damage
that may have been incurred in shipment, if any damage is found, file a claim
with the transporting agency. The unit has been tested and inspected at the
factory prior to crating and was in perfect condition at that time. If anything is
missing, check packing slip for indications of possible backorder of those parts or
components. Otherwise, a claim must be filed for those missing parts.

Page 4EconoHeater by EconoHeat
IMPORTANT
Notice to the owner and installer
To enjoy the long-term benefits of burning your used oil in an EconoHeat Waste Oil Burning
appliance, it is necessary to become familiar with the correct installation operation and
maintenance of your new furnace. Before installing or operating this appliance, make sure
you read and understand this manual.
IMPROPER INSTALLATION, ALTERATIONS, OR LACK OF MAINTENANCE WILL VOID THE
WARRANTY.
The most critical sections of this manual are in order of importance as follows:
• Basic Operation Knowledge
• Oil Suction Line Installation
• Correct Draft Over Fire
• General Maintenance Requirements
Identical to any gas or oil furnace, without adequate draft over the fire, the combustion
gases cannot escape the furnaces. The flame will lengthen resulting in an overheated
combustion chamber. Even if the heater is installed correctly and adequate draft achieved,
a flue passage blockage will affect the draft. Burning used oil is similar to burning wood. A
fine gray ash accumulates in the chamber and flue passage. This accumulation of ash will
eventually affect the draft. It is important to remove this ash before the draft is affected.
These topics are discussed in detail on the pages listed above. Please familiarize yourself with
these sections of your manual. Spending a few minutes to review this material will assure that
you receive the return on investment that you expect from your EconoHeat heater.

Page 5EconoHeater by EconoHeat
Specifications
BTU INPUT: 350,000
BTU OUTPUT: 300,000
GALLONS PER HOUR: 2.4
REQUIRED VOLTS: 115
AMPs FULL LOAD: 18.7
FAN MOTOR HP: 2 @ 1/4 each
FAN MOTOR RPM: 1075
CFM (FREE AIR): 6275
CFM w/ DUCTWORK @ 100 ft.: 1600
EFFECTIVE AIR FLOW: 80 ft
FLUE SIZE: 8"
WEIGHT: 400 lbs
L x W x H (including burner): 66” x 29.5” x 28.5”
SHIPPING WEIGHT: 575 lbs
SHIPPING DIMENSIONS (L x W x H): 76” x 38” x 49”
Notes:
1. All illustrations and specifications contained herein are based on the latest information
available at the time of publication approval. EconoHeat reserves the right to make
changes at any time without notice, in materials, specifications, and models or to
discontinue models.
2. These appliances are designed for commercial or industrial use only. Installation and
use of this waste-oil burning appliance shall be in accordance with the Standard for
the Installation of Oil Burning Equipment-ANS/NFPA 31-1987, and National Electric Code -
ANSI/NFPA 70-1990 and the requirements of the inspection authorities having jurisdiction.
3. Output depends on BTU content of oil used.
4. Atomizing Air Pressure for all fuels 10 P.S.I.
5. Furnace not to be used with air filters.
6. Intended maximum outlet air temp. 200 degrees F. (93 degrees C) or less.
7. Clearance from combustible materials on all models not to be less than:
TOP- 18” BOTTOM- 18” SIDES- 18”
REAR- 18” FRONT- 48” FLUE PIPE- 18”
Mounting Dimensions:
Heater (top)
35.5”
20”
240

Page 6EconoHeater by EconoHeat
Installation Procedures
Figure 1 – Installation Diagram
1/2 - 3/4 ID copper tubing
8” stack

Page 7EconoHeater by EconoHeat
Stack Installation
1. Install a barometric damper (NOT included) in the stack if the draft up the stack exceeds
-.08. Draft up the stack must be minimum -.04 to -.06 inches of water column. Check with
draft meter 12” from the top of the heater in (stack) or flue pipe. The over fire draft should
be a minimum of -.02- check through flame inspection port. Closing the damper door
can increase draft.
2. For optional draft inducers or power vent wiring, See Figure 2. One of these devices must
be installed where back draft is present. In building or correct draft cannot be achieved.
Oil Supply Tubing
1. Use ONLY 1/2” or 3/4” nominal ID copper tubing with flare fittings only on the fuel suction
from the tank to the heater. Do NOT use ferrule fittings or Teflon tape on any pipe-fit-
tings.
2. Keep suction line approximately 6” from bottom of oil tank to prevent suction of sludge.
Drain accumulated sludge and water from tank periodically.
3. Use only an inside oil storage tank to supply heater. Do not draw from an outside tank,
especially not an underground tank, directly to heater. A separate transfer pump from an
outside tank with proper filtration to the inside supply tank is acceptable and available
from EconoHeat.
4. Connect 1/2” or 3/4” oil supply line from the supply tank through the filter (figure 1) to the
pump inlet located same side as bleeder port (figure 4).

Page 8EconoHeater by EconoHeat
Wiring
Figure 2 – Wiring Diagram
1. Wire 120V into main electrical box mounted on burner backside of heater cabinet with
separate circuit 20-amp protection using 12-gauge wire. Connect power line to black
wire and all whites (NEUTRAL or COMMON) together. IMPORTANT, Connect ground wire to
ground mounting point in main junction box (green screw).
2. Wire low voltage thermostat into “T” marked terminals on oil primary control on burner (Box
on burner gun assembly with red reset button – figure 3).
240

Page 9EconoHeater by EconoHeat
Oil Burner
Installation and use of this used oil burning appliance shall be in accordance with
the standard for the Installation of Oil Burning Equipment – ANSI/NFPA 31 – 1987,
and National Electric Code – ANSI/NFPA 70 – 1990 and the requirements of the
inspection authorities having jurisdiction.
WARNING
Igniter Transformer
Air Band
Solenoid Valve
Vacuum
Gauge (oil)
Figure 3 – Oil Burner (Back View Closed)
Oil Primary Control
Power Indicators
Burner Motor
Terminals
Figure 4 – Oil Pump
Alternate
Outlet to
Heater 1/8”
Preferred
Outlet to
Heater 1/8”
I n l e t 1/4 ”
Vent Port
Bleed Valve
Pressure
Gauge (oil)
Oil Pump

Page 10EconoHeater by EconoHeat
This pressure system is 150-200 psi and has the ability to control flame even when various
viscosities are used- furnace or stove oil to 90 weight straight- flame remains stable
Figure 5 – Oil Pump Assembly
Oil Primary
Flame Cone
Solenoid Valve
Photo Eye/Flame Sensor
(CAD Cell)
Transformer
Oil Burner Technology
EconoHeat’s patented burner technology improves the efficiency of the oil burn process by
continuous stabilization of the oil viscosity. Optimum atomization (spray) is accomplished by
precisely pre-heating the oil prior to introduction to the combustion chamber. The waste oil
enters into the Oil Pre-Heater Block and is pre-heated to operating thermo set-point, and this
along with high pressure (100 psi to 500 psi depending on model) break up the oil droplets
into a finer mist or spray (atomization). Electrodes mounted just above the nozzle provides
continuous electrical arc across electrode to electrode igniting the fine oil mist as it sprays out
of the nozzle. Once ignited the flame is forced into a swirl caused by the burners blower and
specially designed flame cone providing a very efficient and thorough burn of the waste oil.
Flange
Oil Tank
Filter
Oil Preheater
Inside Burner Suction Line
Atomization Through Low Pressure
Preheat & Air Induction At Nozzle
Internal Pump Filter
Nozzle
Electrodes

P a g e 11EconoHeater by EconoHeat
Burner Components
• Igniter Transformer: (figure 3) Supplies high voltage to the electrodes generating electrical
arc igniting the oil.
• Oil Valve: (figure 3) energizes when burner is running and de-energizes when burner is not
running eliminating bleed back of oil out of the Pre-heater block.
• Oil Primary Control: (figure 3) Controls the oil burner ignition. Checks for flame in the
combustion chamber, if no flame is detected within 45 seconds, the oil primary will shutdown
the oil burner. To restart the unit, reset the red button on the oil primary.
• Oil Pre-Heater Block: (figure 9) Pre-heats the oil before entering combustion chamber.
• Photo Eye: (figure 5) Senses flame in combustion chamber and signals oil primary when
no flame is present (located under hinged transformer).
• Igniter Springs: (figure 5) Transfers the high voltage from the igniter transformer to the
electrodes (when door is closed)
• Pre-Heater Control Circuit Board: (figure 9) Precisely controls temperature of the Oil Pre-
Heater Block and controls safety feature of not allowing burner to energize until oil has
established operating thermo setpoint or shutdown burner if Pre-Heater Block temperature
falls below shutdown thermo setpoint.
• Electrodes: (figure 9) Provides continuous high voltage electrical arc from electrode to
electrode igniting the waste oil as it is being sprayed out of the nozzle.
• Nozzle: (figure 9) High-pressure nozzle for oil spray pattern.
• Flame Cone: (figure 5 & 6) Specially engineered flame cone forces the flame into a swirl
pattern improving the burn thoroughness.
• Burner Motor: (figure 3) Motor turns the burner blower (squirrel cage fan) and on-board
fuel pump.
• Gallons per Hour (GPH): Determined by pump pressure and nozzle profile size, varying by
model/unit size.
IMPORTANT:
• Power Indicator: (figure 3) Indicates when power is present at the burner.
• Run Indicator: (figure 3) Indicates that the burner is ready for operation after the initial pre-
heat time of approx. 5 minutes from initial power up.

Page 12EconoHeater by EconoHeat
1. IMPORTANT – Prior to starting the unit, pre-fill the filter and fuel line with oil to assist priming
procedure. Make sure the oil supply line fittings are air tight. Vacuum leaks are notoriously
hard to find. Pressurizing the line with oil in it can help to locate leaks.
2. Proper draft. Draft is the gases traveling through the heater and out the stack or flue. If
exhaust fans are present in your building, chances are a draft inducer will be needed. Call
our factory or see our website for help, www.econoheat.com
3. Switch the burner to the on position. During the initial power up process the burner is
locked out from energizing until the oil has been properly pre-heated to operating thermo
setpoint, approx 3 to 5 minute duration. Once the oil has been pre-heated, power is then
applied to burner. Burner operated via room thermostat.
4. Jump the “T” terminals (thermostat terminals) on the Oil Primary Control (figure 3). Once
the burner is running, temporarily jump the “F” terminals on the Oil Primary, not before
burner tries to run or operate. This will allow the burner to run during the pump priming
process – don’t forget to remove jumpers when primed.
5. Priming the oil pump: Open bleeder valve one turn until all air is expelled (figure 4). This
may need to be done twice to insure all air is removed. IMPORTANT: When fully purged and
flame is established remove the temporary jumpers on “F” terminals of the Oil Primary to
allow safety features of the unit to operate properly.
6. Pre-set at factory combustion air band (figure 3) should be open approximately 1/2” or
until flame is clear yellow, not orange. Opening the air band too far may cause delayed
in starting or even prevent the flame from establishing.
Inspect flame length through inspection door located above burner gun assembly. Flame
should reach no further than ½ to ¾ way down combustion tube. NEVER ATTEMPT TO
START HEATER WHEN COMBUSTION CHAMBER IS HOT AND A DELAYED START IS PRESENT.
Initial Start Procedure

Page 13EconoHeater by EconoHeat
Every application varies. Monitor your needed schedules.
WEEKLY
• Drain water from storage tank.
MONTHLY
• Check your ash accumulation for best performance, remove if excessive (the size of unit,
type of oil and run time are all contingent factors).
• Change or Replace Filter screen located in the pancake style housing (figure 12 below).
NOTE: every application is different and may vary depending on contamination of oils
being used.
ONCE EACH SEASON (or more often, depending upon usage or contamination of oil)
• Clean the nozzle, flame-cone and oil heater block. Remove one (1) x 9/16 nut from the
burner side of the cabinet to swing the burner away from the unit to easily access and
clean the nozzle and flame-cone. (figure 6 below).
• Open the bolt on door on clean-out sides of the furnace. The bolt-on door opposite of
the burner assembly requires the removal of the access panel allowing simple entry to the
combustion chamber and heat exchanger(s) to vacuum out the accumulated ash & soot
(hepa filter recommended) (figure 10 below).
• Check oil pump filter. Remove pump cover for access (figure 11 below). CAUTION: Be
careful of gasket; clean if needed.
YEARLY
• Clean flue pipe stack-to loosen soot remove stack at top of heater and tap thoroughly.
Then vacuum upper heat exchanger(s).
• Inspect electrode adjustment (figure 8 below). Due to erosion, adjustment may change.
• Replace nozzle as needed when flame deteriorates with no retention at flame cone,
depending on usage (figures 6, 7, 8 and 9 below). Will lose efficiency due to erosion. This
can be accessed by swinging the burner clean out door open (figure 6 below).
• IMPORTANT: TO TURN POWER OFF, Remove electrical plug from heater cabinet to burner.
Remove 9/16” burner securing nuts, remove the burner side clean-out door. Remove nozzle
with 5/8” socket (figures 6 and 7 below).
Suggested Maintenance Schedule

Page 14EconoHeater by EconoHeat
ELECTRODE ADJUSTMENTS
Electrodes are adjusted at time of manufacture. However, they should be checked periodically
and at time of installation, to be sure they are set as noted in the following dimensional drawing.
Swing burner clean out door back for inspection (figures 8 and 10 below). CAUTION: TURN
OFF MAIN ELECTRIC SUPPLY SWITCH BEFORE CHECKING OR ADJUSTING ELECTRODE SETTING.
NOZZLE POSITION IN RELATION TO ENDCONE/BURNER TUBE
Tip of nozzle must be ¼” ahead of inside radius of end-cone. If nozzle is behind inside radius of
end-cone, coking will occur and end cone can become clogged (figure 8 below).
IMPORTANT NOTE: be sure nozzle is centered, if nozzle is higher than center, press nozzle down
to bottom out pre-heater stand.
To adjust, remove burner from cabinet (figure 6 below), loosen Preheat Sink securing nut and
set screw, push fore or aft as needed. WARNING: This adjustment is done at the factory and
should not be moved unless figure 8 dimensions have been altered.
Figure 6 – Burner Door View
Flame Cone
Electrodes
Nozzle
Swing Out Burner

Page 15EconoHeater by EconoHeat
Pre Heater Oil Block
Pre-Heater
Control Board
Electrodes
Nozzle
Thermocouple
Figure 9 – Pre-Heater Block Detail (Removed From Burner for Clarity)
Figure 8 – Electrode Adjustment Detail
When cleaning, inspect all three pieces
thoroughly. When disassembling and
reassembling nozzle, keep facing up as shown.
Figure 7 – Nozzle Assembly Detail

Page 16EconoHeater by EconoHeat
Figure 11 – Oil Filter (Pancake Style Filter)
Remove 4 bolts for access to strainer filter.
CAUTION: must be careful not to destroy the
inner gasket during removal of the housing.
Figure 10 – Pump Strainer

P a g e 17EconoHeater by EconoHeat
Troubleshooting

Page 18EconoHeater by EconoHeat
Troubleshooting Continued
EH-350 Ten (10) Year Limited Warranty
EconoHeat (manufacturer) warrants to the purchaser of Unit Heaters listed above will be free
from defects in materials and workmanship for the durations specified below, which duration
begins on the date of delivery to the customer. Customer is responsible for maintaining proof
of date of delivery.
If return is deemed necessary for warranty evaluation and determination of repair or
replacement, unit heater is to be sent to the factory with freight prepaid. EconoHeat reserves
the right to determine appropriate action for repair or replacement.
No parts will be accepted by EconoHeat without RA# (return authorization number) clearly marked
on outside of shipping package. Obtaining RA# requires model and serial numbers, description
of part being replaced and nature of defect. Call factory to receive RA#.
Warranty Covers:
• Combustion chamber and heat exchanger ten (10) years limited, full repair or replacement
(parts only), first three (3) fullly covered / last seven (7) 50% coverage
• Oil heater block, one (1) years (parts only)
• Oil heater block controller PCB, three (3) years (parts only)
• All other components, one (1) year (parts only)

Page 19EconoHeater by EconoHeat
This warranty is void if:
• Warranty registration card is not returned within sixty (60) days of purchase
• Any part or component subject to abuse or altered from original manufactures specifications
• Installation not in accordance with instructions
• Has not been properly maintained, operated or has been misused
• Wiring not in accordance with diagram furnished with unit heater
• Unit heater is operated in the presence of chlorinated vapors
• Air through unit heater is not in accordance with rating plate and specifications
• Target plate or clean out door warped/discolored from excessive heat
Warranty is limited to the original purchaser and is non-transferable.
The above warranty is in lieu of all other warranties expressed or implied. EconoHeat does not
authorize any person or representative to make or assume any other obligation or liability that
is not in accordance with above warranty. EconoHeat is not responsible for any labor and/
or shipping cost, unless prior authorization in writing has been obtained.
NOTE: Combustion Chamber Warranty is specific to material and workmanship. Workmanship
means EconoHeat warranties the welds are good and will hold. Material means they will not
corrode through due to sulfur in the ash that accumulates during operation. Warranty does
not apply to units that experience overheating stress cracks. These are not incurred because
the materials are inadequate for the application nor are they results of a weld breaking lose
because of bad penetration, which is easily recognized by the metal left beneath the weld.
These cracks occur as a direct result of (1)improper draft, either by inadequate initial installation
and setup, which requires (a) establishing a proper draft during installation (b) back draft has
occurred due to ash buildup, backing up hot gas passageways in either the exchangers, the
stack, or both. (2) Over firing by setting oil supply pressure too high (see manual for proper
setting) these are all cases of thermal overload.
*Under normal use only. If misuse or abuse is deemed apparent after inspection, warranty is void.
EH-350 Ten (10) Year Limited Warranty Cont.

Page 20EconoHeater by EconoHeat
Warranty Card
Please fill out, tear off and return to manufacturer within sixty (60) days of purchase, or warranty will
not be valid. Please print or type.
Date of Purchase:
Serial #:
Model #:
Customer (Company) Name:
Address:
City: State: Zip Code:
Dealer:
Address:
City: State: Zip Code:
Installed By:
Table of contents
Other Econo Heat Heater manuals

Econo Heat
Econo Heat ENERGY EFFICIENT User manual

Econo Heat
Econo Heat OMNI OWH-500 Manual

Econo Heat
Econo Heat Eheater User manual

Econo Heat
Econo Heat OMNI OWH-250 Manual

Econo Heat
Econo Heat OMNI OWH-75 Manual

Econo Heat
Econo Heat OMNI OWH-350 Manual

Econo Heat
Econo Heat eheater 0603 User manual

Econo Heat
Econo Heat OMNI OWH-150 Manual

Econo Heat
Econo Heat eheater 0603 User manual