Eddy VT-1100 User manual


FEATURES OF HEAT GUN
::J
2
c
' '
= =:J
:J
:::JI
=0
=
=
1. Nozzle
2. Cooi air intake
3. Handle
4. Hanger
5. Switch
6. Power cord
7. Thermal control
8. Heat guard
VARIABLE THERMAL CONTROL
TURN LEFT TO RIGHT TO HIGH
LOW HIGH
IMPORTANT SAFETY I.NSTRUCTIONS
Before starting work, please take a few minutes to carefully read all
instructions. Pay close attention to safety guidelines and warnings included
for your protection. Save these instructions for future use.
WARNING
'* To reduce risk of fire or electric shock, do not expose to rain or moisture..
Store indoors.
* Nozzle gets extremely hot, wear gloves and eye protection.
* For safe operation, read manual thoroughly.
* When servicing, use only identical replacement parts.
* Never use the heat gun as a hair dryer!
* Never direct the hot airflow toward people or animals.
* Never use the heat gun near flammable materials or gases.
* Never obstruct the hot airflow by blocking or covering the air outlet
* Never touch the hot air nozzle. It becomes extremely hot.
* Wear protective work gloves at all times.
* Never touch the nozzle to any surface when running the gun or shortly
after running.
.* Always wear eye protection when removing paint from overhead positions.
* Do not wear loose-fitting clothing or jewelry; Wear nonskid footwear and a
protective hair covering to contain long hair.
* Maintain proper balance and footing at all times.
* Keep the gun handle dry, clean, and free from oil and grease.
2
* Do not force the tool or accessories, and use only for the purpose intended.
* Always stand gun in an upright position or hang it up by its convenient
hanger.
* Never use the tool in wet environments or areas of high humidity (for
example: bathroom, steam rooms, etc.)
* Never use the gun in the rain or on extremely damp days.
* Never poke anything down inside the hot air nozzle.
* Always allow the heat gun to cool down completely before storing it.
* Always store the gun in a safe place, out of the reach of children. It is not
a toy.
* Know the work environment. Areas behind ceilings; floors, and soffits may
contain highly flammable materials. Always check these areas before
applying heat.
* Keep work area clean and uncluttered.
* Keep work area well lighted.
* Keep children and visitors away from work area, the tool, and extension
cords.
* Guard against electric shock by preventing contact with grounded surfaces
(for example: pipes, radiators, ranges, refrigerator enclosures).
* Never carry the gun .by its power cord or yank the cord from an electrical
outlet.
* Use only properly rated extension cords. (see following sections.)
*Inspect extension cords periodically and replace if damaged.
* Inspect tool cords periodically and if damaged, have repaired by authorized
service personnel.
3
~
* When tool is used outdoors, employ only extension cords intended for use
outdoors and so marked "W-A".
* When working on small or irregular shaped objects secure work in a vise or
clamps.
* Disconnect the tool when not in use. Avoid unintentional starting. If the
gun stops during operating, disconnect from the power supply and have gun
serviced by authorized service personnel.
* Stay alert! always pay attention to the work at hand and use common
sense when operating this and all tools. Do not operate the tool when you
are tired or taking medication or drugs that may make you drowsy.
WHEN REMOVING PAINT OR VARNISH
* Never use the heat gun in combination with chemical strippers.
* Clean dry paint or varnish from the nozzle and scrapers after use. It could
ignite.
* Use in well-ventilated areas only. Peelings and residue from lead-based paints
are poisonouse.
POWER INFORMATION
Be sure the power supply you are using agrees with the nameplate marking
on the VT-1100 heat gun the guns are designed to run on 120 volt. GO-cycle.
alternating current (ordinary house current). Voltage decreases greater than
10% can Cause loss of power and possible overheating.
The tool is double insulated for added safety. This means there are two
separate layers of insulation between the operator and the tool's electrical
system. Warning: double insulation does not take the place of normal safety
precautions when operating the VT-1100 heat gun. double insu lation acts as a
safeguard against injury resulting from a possible electrical insulation failure
inside the tool.
4
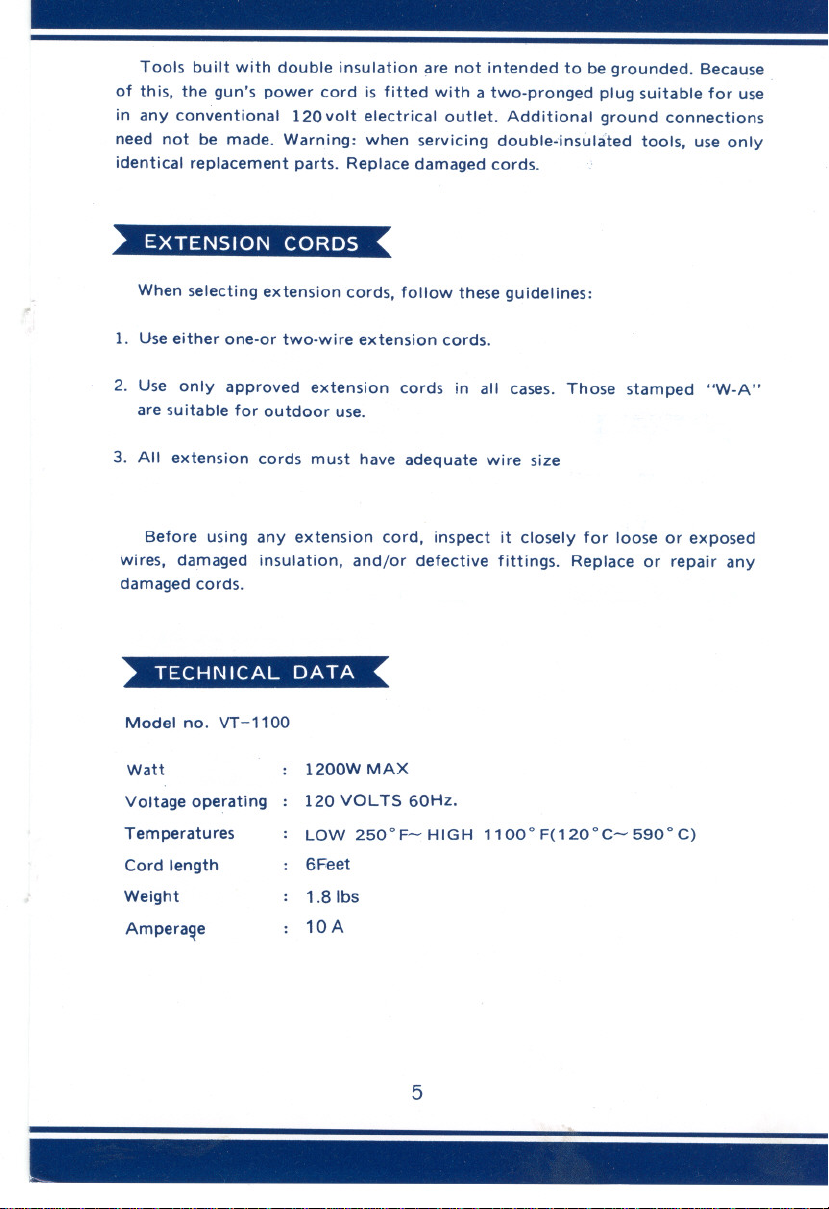
Tools built with double insulation are not intended to be grounded. Because
of this, the gun's power cord is fitted with a two-pronged plug suitable for use
in any conventional 120 volt electrical outlet. Additional ground connections
need not be made. Warning: when servicing double.insul.Hed tools, use only
identical replacement parts. Replace damaged cords.
EXTENSION CORDS
When selecting extension cords, follow these guidelines:
1. Use either one-or two-wire extension cords.
2. Use only approved extension cords in all cases. Those stamped "W-A"
are suitable for outdoor use.
3. All extension cords must have adequate wire size
Before using any extension cord, inspect it closely for loose or exposed
wires, damaged insulation, and/or defective fittings. Replace or repair any
damaged cords.
TECHNICAL DATA
Model no. VT-1100
Watt 1200W MAX
Voltage operating: 120 VOLTS 60Hz.
Tem peratu res
Cord length
: LOW 250°F-HIGH 1100°F(120°C-590°C)
: 6Feet
Weight
Ampera~e
: 1.81bs
: 10A
5
USING HEAT GUN
The VT-11 00 heat gun is very light and easy to use. The variable heat control
allows for low to high working temperature settings as well as an off setting.
The low setting is roughly 250°F and the high setting is roughly 1100° F
Before plugging into the electrical outlet, always make certain the power
switch is in the off position.
When ready to begin work, set power switch to on, and set variable heat
control to desired temperature settings. With the VT-1100'heat gun, always
allow a minute or so for it to reach its full operating temperature. Always wear
protective gloves and eye protection.
The VT-11 OOheat gun is designed with a built-in stand so it can be positioned
in an upright (vertical) position only, on any flat, level surface. This frees both
hands to easily shape and mold PVC pipe and other materials. Remember to
keep hands away from the immediate nozzle area.
PAINT AND VARNISH REMOVAL
Easy removal of paint and varnish requires some practice and the use, of
simple working techniques described here. In all cases, test results on a small
section of paint before moving on to larger areas.
Turn on the gun and allow it to reach full heating power. Hold the nozzle
3" to 4" from the paint to be removed. 'After a short time, paint will soften
and begin blistering. Do not overheat paint, as this will cause burning and make
the finish more difficult to remove. When stripping paint overhead, always
use eye protection.
Begin scraping the paint off working from top to bottom. Use scrapers.
Scrape with smooth, even strokes, warming the surface in front of the scraper
by moving the gun slightly from side to side. If paint is warmed properly, even
thick layers can be removed in a single pass. Paint should come off in a strip
equal in width to the scraper blade.
6
Clean the edge of scraper often to keep it clean and sharp and to prevent
paint from building up on the blade. Scrape the paint as soon as it softens
since it will quickly harden again.
Shaped or profiled surfaces can be stripped with a wire brush after softening
with the hot air jet.
Cover all surfaces not to be heated with nonflammable material. Never
concentrate tool's heat on a windowpanelor other glass surface.
~Note: The VT-1100 heat gun is designed to remove both oil-and latex-based
paints and varnishes. It will not remove stains or primer coats that have
impregnated the surface of wood.
CAUTION:
PROV IDE LEAD PAINT FUMES ARE VERY HARMFUL ALWAYS
ADEQUATE VENTILATlO'N WHILE WORKING INDOORS.
OTHER JOBS FOR THE HEAT GUN
1. Removing paint and varnish with hot air jet and scraper.
2. Removing self-adhesive sti'Ckers and trim.
3. Loosening rusted or overtightened nuts and metal screws.
4. Thawing frozen pipes, frozen door locks, padlocks, etc.
Warning: Do not attempt to thaw plastic pipes!
5. Highlighting the natural woodgrain of wooden surfaces before staining or
varnish ing.
6. Fast drying of paints and varnishes. This is especially useful when color
matching is required by adding several coats of the paint or varnish.
7. Softening old putty before removal and replacement.
8. Drying out wet, damaged timber prior to filling with compound and
refinishing.
7

9. Shrinking PVC shrink-wrap sheeting for packaging pr:otection
la.Waxing and dewaxing skis.
l1.Shrinking polyvinyl wire joints.
CARE AND MAINTI;NANCE
Keep the air intake and outlet opening clean and free of dirt and debris.
Use only a damp cloth and general household cleaning agent to wipe the gun
clean. Do not use turpentine, paint thinner, gasoline, or similar substances to
clean the gun.
OPTIONAL ACCESSORIES
014423 014415 014449
8
Table of contents
Other Eddy Power Tools manuals


