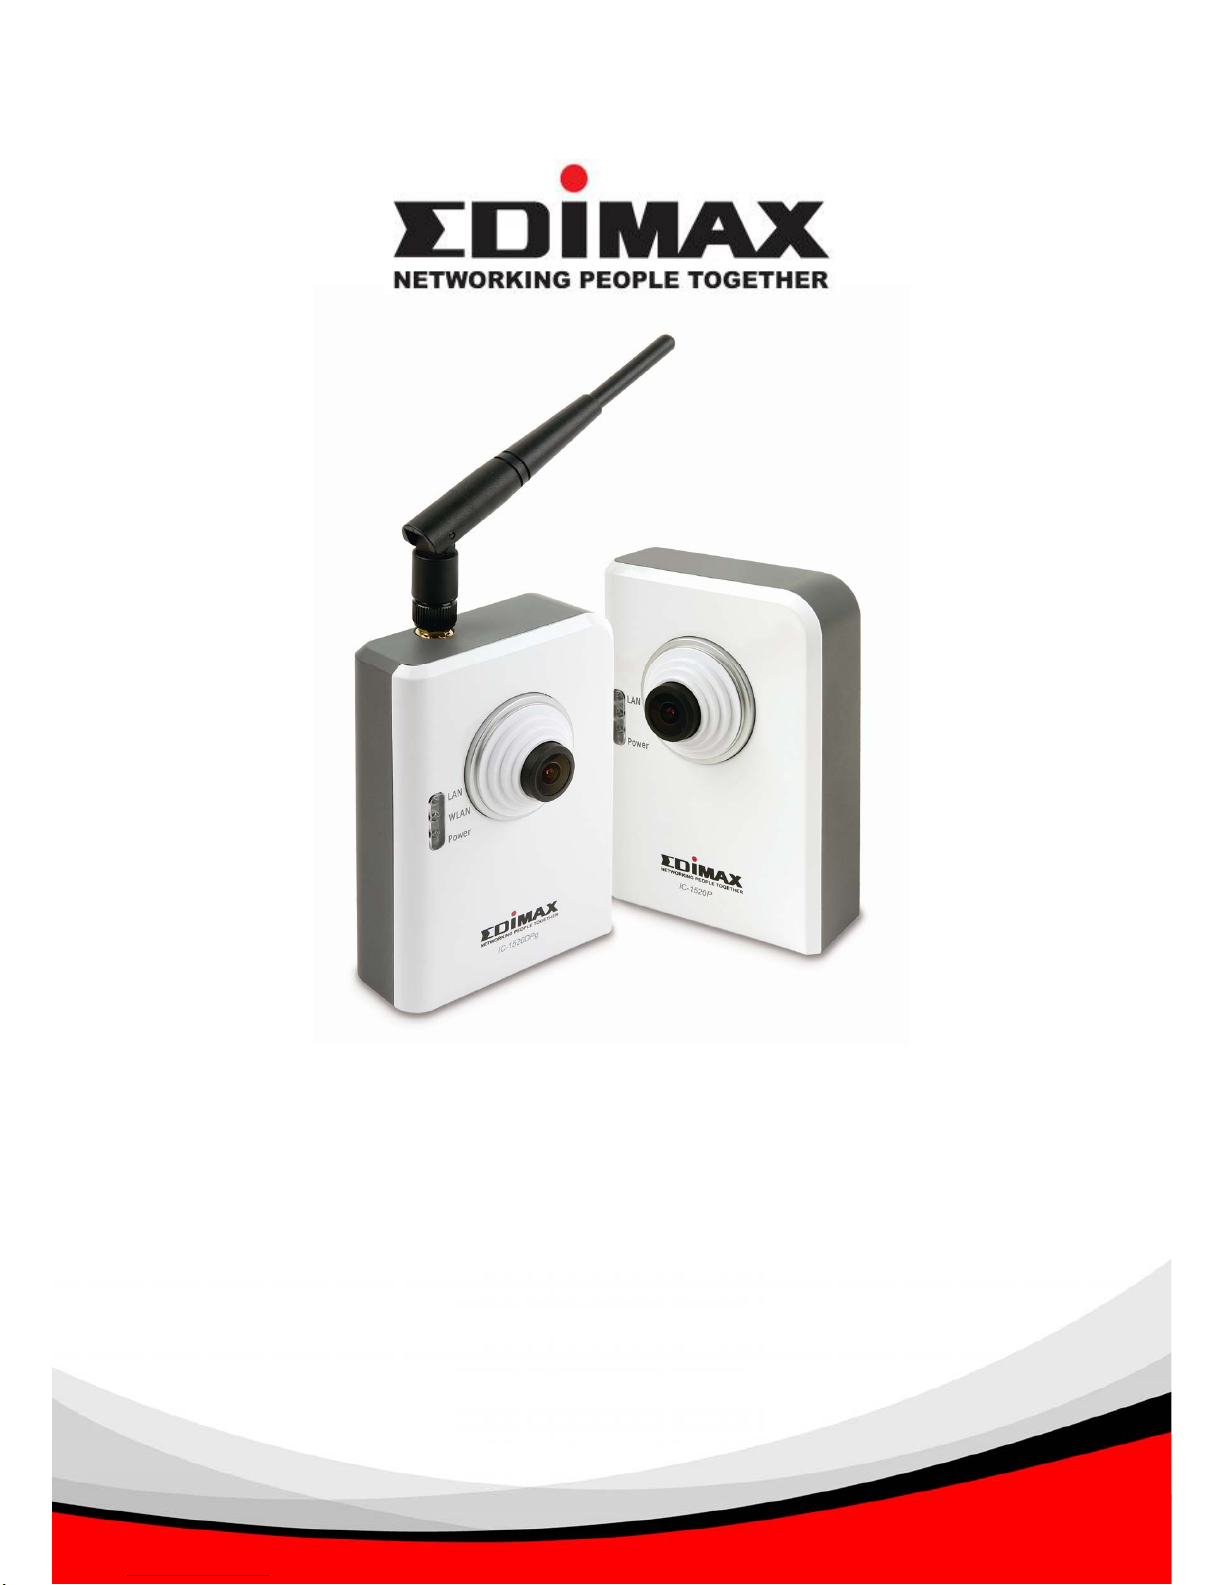
Edimax IC-1520DP User manual

Wire / Wireless / Power over Ethernet
Digital Pan/Tilt Internet Camera
IC-1520DP / IC-1520DPg / IC-1520POE
Quick Installation Guide
Version: 1.0 (October, 2007)

Content
Chapter I: Familiar with your Internet IP Camera........................... 1
1.1 Package Contents.............................................................. 1
1.2 Basic Introduction............................................................... 2
1.3 Product Highlights .............................................................. 3
1.4 Familiar with Key Components........................................... 4
1.5 Descriptions for LED Indicators.......................................... 6
1.6 Camera Installation ............................................................ 6
1.7 Locate the IP Address of this IP Camera ........................... 7
1.8 Log Onto Web Management Interface ............................. 12
Chapter II: Using Web Management Interface............................. 15
2.1 Camera Settings .............................................................. 15
2.2 PTZ .................................................................................. 23
2.2.1 Grand Tour .............................................................. 23
2.2.2 Cruise Tour Path ..................................................... 26
2.3 LAN Settings .................................................................... 27
2.3.1 IP Address............................................................... 27
2.3.3 Dynamic DNS ......................................................... 31
2.3.4 UPnP....................................................................... 32
2.4 WLAN Parameters ........................................................... 34
2.5 Email & FTP ..................................................................... 40
2.5.1 Email Settings ......................................................... 41
2.5.2 FTP Settings ........................................................... 43
2.6 Motion Detection .............................................................. 45
2.7 System ............................................................................. 47
2.7.1 Camera Information ................................................ 48
2.7.2 Date / Time Setting.................................................. 49
2.7.3 Utilities .................................................................... 50
2.8 Status ............................................................................... 52
2.9 Users................................................................................ 53

Chapter III: Windows-Based Utility............................................... 56
3.1 Install Windows-based Utility............................................ 56
3.2 Locate Camera on Local Network and Network Setting... 59
3.3.1 Network Settings..................................................... 64
3.3.2 Wireless Settings .................................................... 66
3.3.3 E-Mail Settings........................................................ 70
3.3.4 PPPoE Settings ...................................................... 72
3.3.5 FTP Settings ........................................................... 73
3.3.6 Date / Time Settings................................................ 75
3.3.7 Resolution ............................................................... 77
3.3.8 Advanced Settings .................................................. 78
3.3.9 Users....................................................................... 80
3.3.10 Tools...................................................................... 82
3.3.11 About ..................................................................... 84
3.4 Camera Viewer................................................................. 85
3.4.1 Connecting to IP Camera........................................ 88
3.4.2 Select the Camera to View and Control .................. 91
3.5 Advanced Camera Setting ............................................... 97
3.5.1 Setting..................................................................... 97
3.5.2 Recording (Scheduled) ........................................... 98
3.4.3 Status .................................................................... 102
3.4.4 General ................................................................. 103
3.4.5 About..................................................................... 105
3.6 Play Recorded Video...................................................... 106
Chapter IV: Appendix ................................................................. 109
4.1 Specification ................................................................... 109
4.2 Troubleshooting ............................................................. 110

English
Copyright©by Edimax Technology Co, LTD. all rights reserved. No part of this publication
may be reproduced, transmitted, transcribed, stored in a retrieval system, or translated into
any language or computer language, in any form or by any means, electronic, mechanical,
magnetic, optical, chemical, manual or otherwise, without the prior written permission of this
Company .
This company makes no representations or warranties, either expressed or implied, with
respect to the contents hereof and specifically disclaims any warranties, merchantability or
fitness for any particular purpose. Any software described in this manual is sold or licensed
"as is". Should the programs prove defective following their purchase, the buyer (and not this
company, its distributor, or its dealer) assumes the entire cost of all necessary servicing,
repair, and any incidental or consequential damages resulting from any defect in the software.
Further, this company reserves the right to revise this publication and to make changes from
time to time in the contents hereof without obligation to notify any person of such revision or
changes.
The product you have purchased and the setup screen may appear slightly different from
those shown in this QIG. For more detailed information about this product, please refer to the
User's Manual on the CD-ROM. The software and specifications subject to change without
notice. Please visit our web site www.edimax.com for the update. All right reserved including
all brand and product names mentioned in this manual are trademarks and/or registered
trademarks of their respective holders .
Linux Open Source Code
Certain Edimax products include software code developed by third parties, including
software code subject to the GNU General Public License ("GPL") or GNU Lesser
General Public License ("LGPL"). Please see the GNU (www.gnu.org) and LPGL
(www.gnu.org) Websites to view the terms of eachlicense.
The GPL Code and LGPL Code used in Edimax products are distributed without any
warranty and are subject to the copyrights of their authors. For details, see the GPL
Code and LGPL Code licenses. You can download the firmware-files at
http://www.edimax.com under "Download" page.

1
Chapter I: Familiar with your Internet IP Camera
1.1 Package contents
Thank you for purchasing this IP camera! Before you start to use this IP camera,
please check the package contents. If anything is missing, please contact the dealer
of purchase and return the package to claim for missing contents.
Item Name Quantity
1 IP Camera 1 □
2 3dBi Antenna ( For IC-1520DPg only) 1
□
3 Power Adapter 1 □
4 Ethernet Cable 1 □
5 Driver and User Manual CD-ROM 1 □
6 Quick installation Quide 1 □
7 Accessaries 1 □
Note:The User Manual is for three models as follows:
※ IC-1520DP is a wire internet camera .
※ IC-1520DPg is a wireless internet camera.
※ IC-1520POE is a wire internet camera with power over Ethernet function .
Wireless function is for IC-1520DPg and 802.3af is for IC-1520POE only.

2
1.2 Basic Introduction
Thank you for purchasing this Internet IP camera! This IP camera is an ideal product
for all kinds of video-surveillance purposes, like home/office safety, kid/pet monitoring,
and remote video acquire etc. Unlink conventional close-circuit vide camera, you’re
not limited to the length of cable! Once this IP camera is connected to Internet, you
can receive video from anywhere in the world where Internet access is available.
If you have problem installing a new cable from the place the camera is installed to
your monitoring computer, don’t worry! This IP camera also supports wireless
network, that is, you can link to this camera wirelessly! You only have to provide this
IP camera with 12V power by the power adapter that comes with the product
package, and you don’t have to set a new network cable between the IP camera and
monitoring computer.
Worry about the content will be intercepted by unauthorized person when the video is
transmitted over the air? That’s also not a problem! Unlink conventional analog
wireless camera, which video will be intercepted by anyone who got a compatible
video receiver, this IP camera supports data encryption (WEP & WPA), which will
provide ultimate data security level. All video transmitted over the air is encrypted;
therefore no one will be able to get the video captured by the IP camera, expect
yourself.
Some people may concern that there will be some places which will not be covered
by camera, but this problem is completely solved by this IP camera. With built-in
pan-tilt function, you can point the camera to the position where you wish to look at
with user interface. You can even define a preset path, and the camera will cruise
along the path you defined.
You can discover more useful functions in next section!

3
1.3 Product Highlights
No pre-loaded software required - all you need is a browser like Internet Explorer
6 (and above, with plugin installed).
Supports 3 video resolutions: VGA (640 x 480), QVGA (320 x 240), and 160 x
120.
Anti-flicker function (eliminates flash caused by fluorescent lights, 50 / 60Hz
selectable).
Video control functions, like brightness and zoom-in / zoom-out.
Pan-tilt control.
Wired and wireless network (802.11b / 802.11g) support, supports up to
100Mbps for wired network and 54Mbps for wireless network.
Wireless data encryption (WEP / WPA)
Supports DHCP and PPPoE protocol, you can also assign a fixed IP address to
the camera also.
Supports Dynamic DNS (used to allocate the IP camera’s Internet address,
when the ISP you’re using does not assign you with a fixed Internet address).
Supports UPnP, Windows XP (and above) will discover this IP camera in network
neighbor automatically.
Send captured picture by Email or FTP when motion is detected.
Configurable motion detection sensitivity (6 levels from most sensitive to least
sensitive).
Built-in real-time clock, date and time information will be recorded with every
captured picture / video clip (also supports auto time synchronization via network
time protocol).
Upgradeable firmware - enjoy new functions without buying a new camera!
Supports up to 4 users, and you can set different password to different user.
Usage and event logging.

4
1.4 Familiar with Key Components
LAN LED: Indicates LAN activity
WLAN LED: Indicates Wireless LAN activity
Power LED: Indicates power status
Camera: Video camera with lens
Focus Ring: Adjusts focus
Front View
Focus Rin
g
LED Green:
L
A
N Activit
y
LED Amber :
WLAN Activity
(IC-1520DPg only)
LED Blue:
Power On
Wireless SMA
Connector
(IC-1520DPg only)
Model name

5
Reset Button: Press and hold for 5 seconds to reset the camera settings to factory
default value.
LAN Jack: Connect to your local area network by network cable.
Power Jack: Connect to power adapter for power supply.
Bottom View
Reset Button
LAN Port
Power Jack

6
1.5 Descriptions for LED Indicators
LED Name Status Description
Off Network cable is disconnected
On Network cable is connected
LAN
Flash Transferring data via LAN port
Off No wireless LAN activityWLAN
On Transferring data via wireless LAN
Off Camera is not powered (camera off)Power
On Camera is correctly powered (camera on)
1.6 Camera Installation
Please follow the following instructions to set your IP camera up.
1. Unpack the product package and check if anything’s missing.
2. Connect the antenna to the antenna base, which is located at the top of this IP
camera.
Plug the power adapter to wall socket, and connect the power connector to the
power jack located at the bottom of the IP camera.
3. Connect the Ethernet cable to your local area network, and connect the other end
to the LAN jack of this IP camera.
NOTE: You can skip this step if you plan to use wireless LAN only.

7
4. Connect your tripod / camera holder, and point the camera to the place you wish
to monitor.
5. Launch Internet Explorer on your computer, and following the instructions given in
next section to set the IP camera.
1.7 Locate the IP Address of this IP Camera
Default IP address of this IP camera is 192.168.2.3. If you wish to assign another IP
address to this IP camera, you have to log onto the web configuration interface of the
camera first.
If the left three fields of the IP address of your computer is not 192.168.2, you’ll have
to change the IP address of your computer first:

8
1. Click ‘Start’ -> ‘Control Panel’

9
2. Double-click ‘Network Connections’ icon.
3. Right-click ‘Local Area Connection’, and click ‘Properties’.

10
4. Select ‘Internet Protocol (TCP/IP)’, then click ‘Properties’.

11
5. In ‘IP address’ field, please fill in any IP address begins with ‘192.168.2’, and ends
with a value greater than 2 and less than 254 (You can use the example in the
picture ‘192.168.2.339’). In Subnet mask field, please fill ‘255.255.255.0’. Please
keep all other fields empty, and click ‘OK’.
If you changed the IP address of this IP camera and you forget it, there’re 2 methods
to recover it:
a. Press and hold the ‘Reset’ button located at the bottom of this IP camera, to
clear all settings of the IP camera and reset the IP address back to
192.168.2.3. You’ll lose all settings in the IP camera.
b. Ask network administrator to check the DHCP release table, if the camera
was set to obtain the IP address by DHCP, a new record will be added to
DHCP release table on DHCP server when the IP camera is connected to the
local area network.

12
1.8 Log Onto Web Management Interface
Make sure the IP camera is correctly powered (Power LED is on), and then launch
Internet Explorer and type the IP address of the IP camera in address bar of Internet
Explorer. You should be prompted to input the user name and password:
Default user name is ‘admin’ (in lower case) and password is ‘1234’. Click ‘OK’ to
continue after user name and password has entered.
If you’re rejected, maybe the password has been modified previously. This should not
happen if this is a newly-purchased camera, however, if you get the camera from
someone else, the password would be changed. Please try to obtain the correct user
name / password, or you’ll have to reset the camera.

13
After logged on, you should see the following messages at the top of Internet
Explorer:
This IP camera requires a special ActiveX control (A.K.A. ‘Plugin’) to work. Please
click on the message, and select ‘Install ActiveX Control…’:
When you’re prompted, click ‘Install’ to continue.

14
You should be able to see the image from camera now:
Note: If you see one of these messages (or both):
Your computer may not have the display capability that this IP camera requires, or
you don’t have Microsoft DirectX® installed. Please download Microsoft DirectX®
from Microsoft’s website (http://www.microsoft.com), and try again.
In some cases, your computer is able to display the image from IP camera correctly,
but you’ll still see these messages. If this happens, just ignore them.
OR

15
Chapter II: Using Web Management Interface
2.1 Camera Settings
The first menu after you logged onto web management interface is ‘Camera’, and this
is the only menu you can see the real-time image from camera.
You can always back to this menu by clicking ‘Camera’ on the top of web
management interface.

16
The descriptions of every setting in this menu will be given below:
Item Description
Resolution Specifies the video resolution. Available options are
640 x 480, 320 x 240, and 160 x 120.
Higher resolution provides more details about the objects
captured by camera, but will consume more bandwidth,
which will make the image refreshes very slow. If you
have a slow Internet connection, you may want to use a
lower resolution to make the image refresh faster.
Selecting 160 x 120 (or 320 x 240) may cause the image
too small on a high-resolution computer monitor. If you
want to save bandwidth while selecting a high resolution,
please select a lower image quality (see below).
Image Quality Specifies the quality of image captured by camera. There
are 5 options from ‘Highest’ to ‘Lowest’.
Just like resolution, higher image quality will provide
more details about the objects captured by camera, but
the cost is bandwidth. Sometimes you just want to see if
there’s anything moving at the place where camera
points to, you can select a lower image quality to get a
higher image refresh rate.
Max Framerate The highest image refresh rate of this IP camera is 30,
which is the same as TV. However, if you are using an
Internet connection with limited bandwidth, and you don’t
need a fast image refresh rate, you can limit the
maximum refresh rate (frame rate) to a certain value.
Available options are 30, 25, 20, 15, 10, 5, 3, and 1.
Frequency If the place where this IP camera points to has a (or
Other manuals for IC-1520DP
2
This manual suits for next models
2
Table of contents
Other Edimax Webcam manuals