Edison PARTY SYSTEM 1220 User manual
PARTY SYSTEM 1220
Home Entertainment Bluetooth
and Karaoke System

2
WARNING: SHOCK HAZARD - DO NOT OPEN
AVIS: RISQUE DE CHOC ÉLECTRIQUE - NE PAS OUVRIR
The lightning flash with arrowhead symbol, within an equilateral triangle, is intended to alert
the user to the presence of uninsulated “dangerous voltage” within the product's enclosure that
may be of sufficient magnitude to constitute a risk of electric shock to persons.
The exclamation point within an equilateral triangle is intended to alert the user to the presence
of important operating and maintenance (servicing) instructions in the literature accompanying
the appliance.
Important Safety Instructions
1) Read these instructions.
2) Keep these instructions.
3) Heed all warnings.
4) Follow all instructions.
5) Do not use this apparatus near water.
6) Clean only with dry cloth.
7) Do not block any ventilation openings. Install in accordance with the manufacturer's instructions.
8) Do not install near any heat sources such as radiators, heat registers, stoves, or other apparatus (including
amplifiers) that produce heat.
9) Do not defeat the safety purpose of the polarized or grounding-type plug. A polarized plug has two blades
with one wider than the other. A grounding type plug has two blades and a third grounding prong. The wide
blade or the third prong are provided for your safety. If the provided plug does not fit into your outlet, consult
an electrician for replacement of the obsolete outlet.
10) Protect the power cord from being walked on or pinched particularly at plugs, convenience receptacles,
and the point where they exit from the apparatus.
11) Only use attachments/accessories specified by the manufacturer.
12) Use only with the cart, stand, tripod, bracket, or table specified by the manufacturer, or sold with the
apparatus. When a cart is used, use caution when moving the cart/apparatus combination to avoid injury
from tip-over.
13) Unplug this apparatus during lightning storms or when unused for long periods of time.
14) Refer all servicing to qualified service personnel. Servicing is required when the apparatus has been
damaged in any way, such as power-supply cord or plug is damaged, liquid has been spilled or objects
have fallen into the apparatus, the apparatus has been exposed to rain or moisture, does not operate
normally, or has been dropped.
CAUTION
To prevent electric shock hazard, do not connect to mains power supply while grille is removed.minimum
distances 10cm around the apparatus for sufficient ventilation;the ventilation should not be impeded by
covering the ventilation openings with items, such as newspapers, table-cloths, curtains, etc.;no naked flame
sources, such as lighted candles, should be placed on the apparatus;attention should be drawn to the
environmental aspects of battery disposal;the use of apparatus in moderate climates.the apparatus
shall not be exposed to dripping or splashing and that no objects filled with liquids, such as vases, shall be
placed on the apparatus.Where the MAINS plug or an appliance coupler is used as the disconnect device, the
disconnect device shall remain readily operable.Batteries (battery pack or batteries installed) shall not be
exposed to excessive heat such as sunshine, fire or the like.
“To reduce the risk of fire or electric shock, do not expose this apparatus to rain or moisture”
Caution Marking and rating plate was located at rear enclosure of the apparatus.
CAUTION
Danger of explosion if battery is incorrectly replaced.
Replace only with the same or equivalent type.

3
TO CUSTOMER
CAUTION
RISK OF ELECTRIC SHOCK
DO NOT OPEN !
CAUTION: TO REDUCE THE RISK OF ELECTRIC SHOCK DO NOT
REMOVE COVER. NO USER-SERVICEABLE PARTS INSIDE. REFER
SERVICING TO QUALIFIED SERVICE PERSONNEL.
WARNING
Thank you for purchasing our products, which displays your superior
knowledge of audio equipment. You have made an excellent product choice.
Please read all safety and operating instructions in this manual carefully
before trying to operate the unit.
INSTALLATION & SAFETY PRECAUTIONS
*Always connect the power plug to the voltage range specified to the unit
AC 120V~,60Hz in order to avoid fire or electric shock.
*Never plug or unplug the unit with wet hands. Never unplug the unit
by pulling the power cord .Always hold the plug firmly when unplugging.
*Never block or cover any slots or openings in the unit as this will give poor
ventilation that may cause overheating.
*Always turn off or unplug the unit before making or changing any
connections.
*Never remove any fixed cover,as this may expose dangerous voltage
that may cause electrical shock.
*Never allow electrical/electronic parts to be exposed to dripping or splashing
of liquids and never place an object filled with liquids such as a vase on
top or beside the unit.
*Do not put any small metal objects into the unit opening that might cause
short-circuit or electrical shock.
*Always unplug the unit if will not be used for a long period of time.
*Never use the unit during a thunderstorm. Immediately unplug the unit.
*Never try to repair or modify this unit. Always send the unit to a qualified
service centre for repair.

4
Controls
1.POWER SWITCH
2.AC INPUT(120V~,60Hz)
3.(RIGHT) SPEAKER OUTPUT JACK
4.(LEFT) SPEAKER OUTPUT JACK
5.LINE IN AUDIO INPUT
6.AUX AUDIO INPUT
7.FM ANTENNA JACK
8. AUDIO OUTPUT JACK
9.DIGITAL SIGNAL COAXIAL OUTPUT
10.DIGITAL SIGNAL OPTICAL OUTPUT
USB JACK

5
conflicts
buttons on
as this will cause a
batteries. Do not
the batteries leak
. Dispose of old batteries
1
2
3
4
5
6
7
8
9
10
11
12
13
14
15
16
17
18
19
20
22
21
24
23
25
26
27
28
29
30
31
32
33
34
1.MUTE
2.STANDBY
3.USB
4.BT
5.AUX
6.LINE
7.MIC VOLUME-
8.X DRIVE
9.MIC ECHO-
10.LIGHT
11.REPEAT
12.VOLUME-
13.NEXT
14. B.WARD
15.TREBLE+
16.PREVIOUS
17.TREBLE-
18.NUMBER BUTTON
19.CHANNEL-
20.CHANNEL+
21.TUNNER-
22.TUNNER+
23.MEMO
24.AUTO
25.BASS-
26.BASS+
27. F.WARD
28.VOLUME+
29.DISCONNECT
30.MIC ECHO+
31.MIC VOLUME+
32.FM
33.CD
34.OPEN/COLSE

6
CONNECTIONS
CONNECTION DIAGRAM:
Note:
- Always unplug the unit when making connections.
- Check all connections are firmly fitted.
- Check all speakers are connected to their correct designated position.
7
Playable discs
To play backan8-cm (3 in)CD
Place it in the inner recessed area of the disc tray. Do notay
put a normal (12-cm) CD on top of an 8-cm (3in) CD.
Play able MP3 and WMA files
●Version 8
●Version 9 (Standard and variable bitrates are supported.
Both constant and variable bitrates are supported.
● Playback for Data Disc starts in alphanumeric order of files.
● Playback for USB starts in order by date and time of creation.
● Copyright-protected WMA (DRM) files cannot be played back
by this unit.
● The disc must be ISO 9660 compatible.
● The maximum file and folder numbers are as follows.
3
*The root is counted as one of the folders.
PLAYABLE DISCS AND FILE FORMAT
.... Optical discs (digital audio)
.... CD-R,CD-RW digital audio discs
CD-R or CD-RW discs bearing one of
the following phrases.
FOR CONSUMER
FOR CONSUMER USE
FOR MUSIC USE ONLY
Finalized CD-R or CD-RW discs
play some CD-R/CD-RW discs or discs on
which recording was not made correctly.
.... CD-TEXT discs
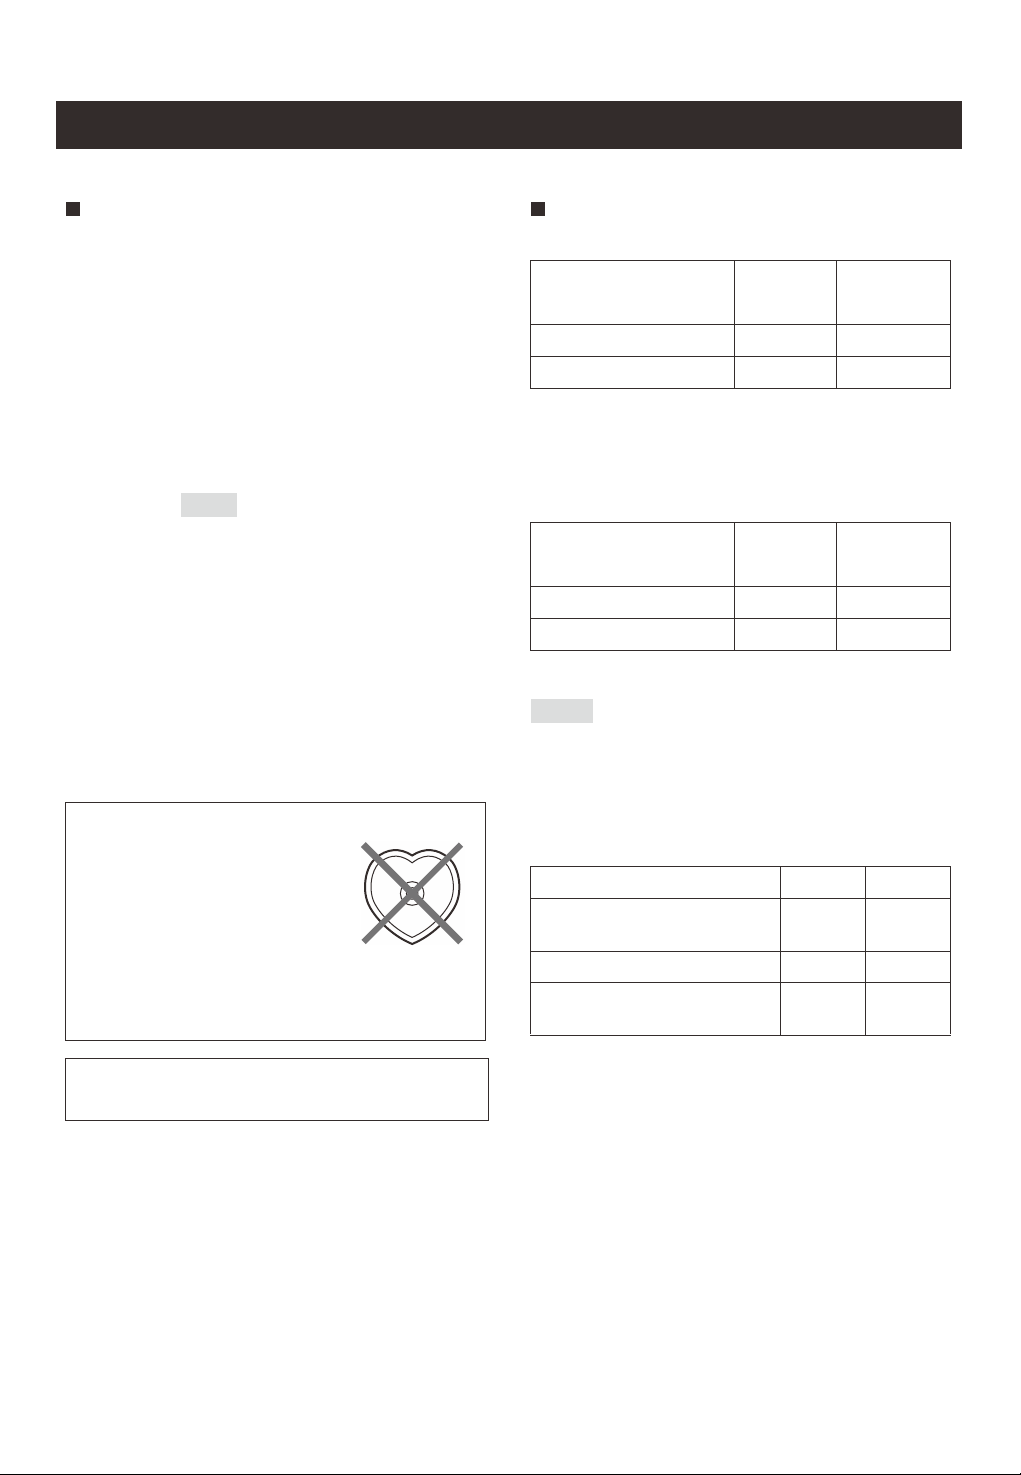
To prevent a malfunction of this unit:
●Do not use any nonstandard shaped
disc (heart, etc.) available on the
market because it might damage the
unit.
●Do not use a disc with tape, stickers, or paste on it. If
you use such a disc, the disc may get stuck in the
unit, or damage to the unit may result.
Note: Do not use any lens cleaners as they may be a
cause of malfunction.
Note
Format Bitrate
(kbps)
Sampling
frequency
(kHz)
MPEG 1 Audio Layer-3 32-320 32/44.1/48
MPEG 2 Audio Layer-3, 2 8-160
Profile Bitrate
(kbps)
Sampling
frequency
(kHz)
High Profile *2
32-320
Mid Profile 16-32 22.05
Notes
USB
Maximum total number of file
*
and folder 3 512 9,999
3
*
Maximum folder number 255 999
Maximum file number per
folder 511 255
Use Optical discs bearing the marks below.
●
This Optical disc player may not be able to
●
MP3
*1
*1 16/22.05/24
Varidble bitrate is supported
*1
WMA
32/44.1/48
Professional and Lossless are not supported.)
*2
Data Disc

8
●Always handle with care so that the playing surface is
not scratched. Do not bend discs.
●To keep the playing surface clean, wipe with a clean,
dry cloth. Do not use any type of disc cleaner, spray, or
any other chemical-based liquid.
●Do not expose discs to direct sunlight, high temperature
or high humidity for a long time.
●Do not wipe with a circular motion; wipe straight
outward from the center.
●Use a soft-tipped pen when writing on the label side of a
disc.
HANDLING OPTICAL DISCS

9
1. Be sure to switch off the power and to connect the outputs to corresponding input jacks.
2. Turn on the power and wait 3-4 seconds untill the speaker functions are connected.
3. Select an audio source by pressing the INPUT key on the front panel or on the remote control
to display DISC,AUX,LINE,USB,BT,FM,.
4. Adjust the VOLUME knob on the front panel or the VOL+/- key on the remote control
to adjust the setting of the main volume.
5. Press the MENU key on the front panel control to BASS,TREBLE, MIC VOLUME, MIC ECHO
SPEAKER LIGHT then adjust the MULTI knob
6. Press the MUTE key on the remote control or the front panel to mute, press it again to reset.
Press X Drive on the remote to turn on/off X-Bass effect.
7. Press the LIGHT button on remote control to change the OFF,R,G,B,RG,RB,GB,RGB,AUTO,
DEMO light mode.
Operating the Amplifier
Normal function
To control the light modes coming from the speaker panels by "Speaker" menu or "light model"
button on remote control
R = red lights flash
●
G = green lights flash
●
B = blue lights flash
●
RG = red and green lights flash
●
RB = red and blue lights flash
●
GB = green and blue lights flash
●
RGB = red, green, and blue lights flash
●
Auto = the various color combinations cycle through and flash.
●
Demo = lights flash and change color as if they were responding to the beat of the music.
●
Tuner applications
1. Before using the radio functions, you must attach the supplied antenna. Adjust the antenna
to obtain optimum reception.
Press the INPUT key on the front panel(amplifier)or on the remote control,to select "FM"
function.
2. Press the CH+/CH- key on the remote control to find radio bands that you have previously
listened to.
3. Press the TU+/TU- key on the remote control to adjust the radio frequency manually.
4. Press the AUTO key on the remote control, the machine will scan radio channels from low-
frequency to high-frequency by itself and memorize the channels one by one.
5. Press the MEMO key on the remote control and it will memorize the current radio frequency
on the band.
Do not
the in oder
the
MIC is inserted.
2. Press M.VOL+/- on the remote to change the microphone VOLUME.
Adjust
Light color control function

10
ˇ Turn off any Bluetooth devices previously paired (linked) with this unit.
ˇ Turn on the Bluetooth features on your phone or music player.
ˇ Turn on and set this unit in the Bluetooth mode. The flashing BT light indicates
pairing mode.
ˇ Set your phone or music players to search for Bluetooth devices.
ˇ Select Party System 1220 from search results on your phone or music player.
ˇ Select OK or Yes to pair this unit with your phone or music player.
ˇ If protected, enter 0000 for passkey. Steady BT light indicates successful
connection.
Bluetooth Pair & Connection
USB application
1. Press the INPUT key on the front panel or press the input key on the remote control to
select USB mode.
2. Press or key on front panel or press or on remote to select
forward/previous songs, Press to play or pause.
Note: Supported music files: MP3, WMA.
Max USB size: 32G

11
Power Consumption----------------------------------------------------------------- 150W
Frequency Response-------------------------------------------------------38Hz~20KHz
Max. Input Capability---------------------------------------------------------------500mV
Distortion------------------------------------------------------------------------------<0.1%
S/N---------------------------------------------------------------------------------------75dB
GENERAL REQUIREMENT
Power source----------------------------------------------------------- AC 120V~, 60Hz
Accessory
Operation manual 1PC
Remote Control 1PC
FM Antenna 1PC
▪The specification presents only as a reference. Weight and size values are
approximate.
▪Our product specifications are subject to change without prior notice.
▪The content of this manual has been collated carefully. If there are any mistakes
caused by printing or other reasons, please contact us, and we will endeavour to
assist you where possible.
SPECIFICATION
CAUTION
▪ The apparatus shall not be exposed to dripping or splashing and that no objects filled with liquids,
such as vases, shall be placed on the apparatus.
▪ Minimum distances 10 cm around the apparatus for sufficient ventilation.
▪ The ventilation should not be impeded by covering the ventilation openings with items,such as
newspapers, table-cloths, curtains, etc.
▪ No naked flame sources, such as lighted candles, should be placed on the apparatus.
▪ When the mains plug or an appliance coupler is used as the disconnect device,the disconnect device
shall remain readily operable.
To be completely disconnected the power input, the mains plug of apparatus shall be disconnected
from the mains completely.
▪ The main plug of apparatus should not be obstructed or should be easily accessed during intended
use.
▪ The use of apparatus in tropical climates.
▪ Attention should be drawn to the environmental aspects of battery disposal.
▪ Batteries shall not be exposed to excessive heat such as sunshine, fire or the like.
▪ Excessive sound pressure from earphones and headphones can cause hearing loss.

12

FCC Statement
This equipment has been tested and found to comply with the limits for a Class
B digital device, pursuant to part 15 of the FCC rules. These limits are
designed to provide reasonable protection against harmful interference in a
residential installation. This equipment generates, uses and can radiate radio
frequency energy and, if not installed and used in accordance with the
instructions, may cause harmful interference to radio communications.
However, there is no guarantee that interference will not occur in a particular
installation. If this equipment does cause harmful interference to radio or
television reception, which can be determined by turning the equipment off and
on, the user is encouraged to try to correct the interference by one or more of
the following measures:
-Reorient or relocate the receiving antenna.
-Increase the separation between the equipment and receiver.
-Connect the equipment into an outlet on a circuit different from that to which
the receiver is connected.
-Consult the dealer or an experienced radio/TV technician for help.
To assure continued compliance, any changes or modifications not expressly
approved by the party.
Responsible for compliance could void the user’s authority to operate this
equipment. (Example- use only shielded interface cables when connecting to
computer or peripheral devices).
This equipment complies with Part 15 of the FCC Rules. Operation is subject
to the following two conditions:
(1) This device may not cause harmful interference, and
(2) This device must accept any interference received, including interference
that may cause undesired operation.
FCC Radiation Exposure Statement:
The equipment complies with FCC Radiation exposure limits set forth for
uncontrolled enviroment. This equipment should be installed and operated with
minimum distance 20cm between the radiator and your body.
Any Changes or modifications not expressly approved by the party responsible
for compliance could void the user's authority to operate the equipment.
Table of contents
Other Edison Karaoke System manuals


