Mr. Entertainer MEGABOX MMB1-BK User manual

portable karaoke
entertainment
system
MMB1-BK

CONTENTS
Controls and Functions (Main Unit) 1
Controls and Functions (Main Unit) 2
Controls and Functions (Remote) 3
TV Connection 4
What’s in the Box? 4
Basic Operation 5
Bluetooth Connection 5
USB Port 5
System Setup Menu 6
CD Ripping 7
Technical Specification 8
Warranty 8
Safety Information 8
Karaoke Discs, Downloads & Streaming 9
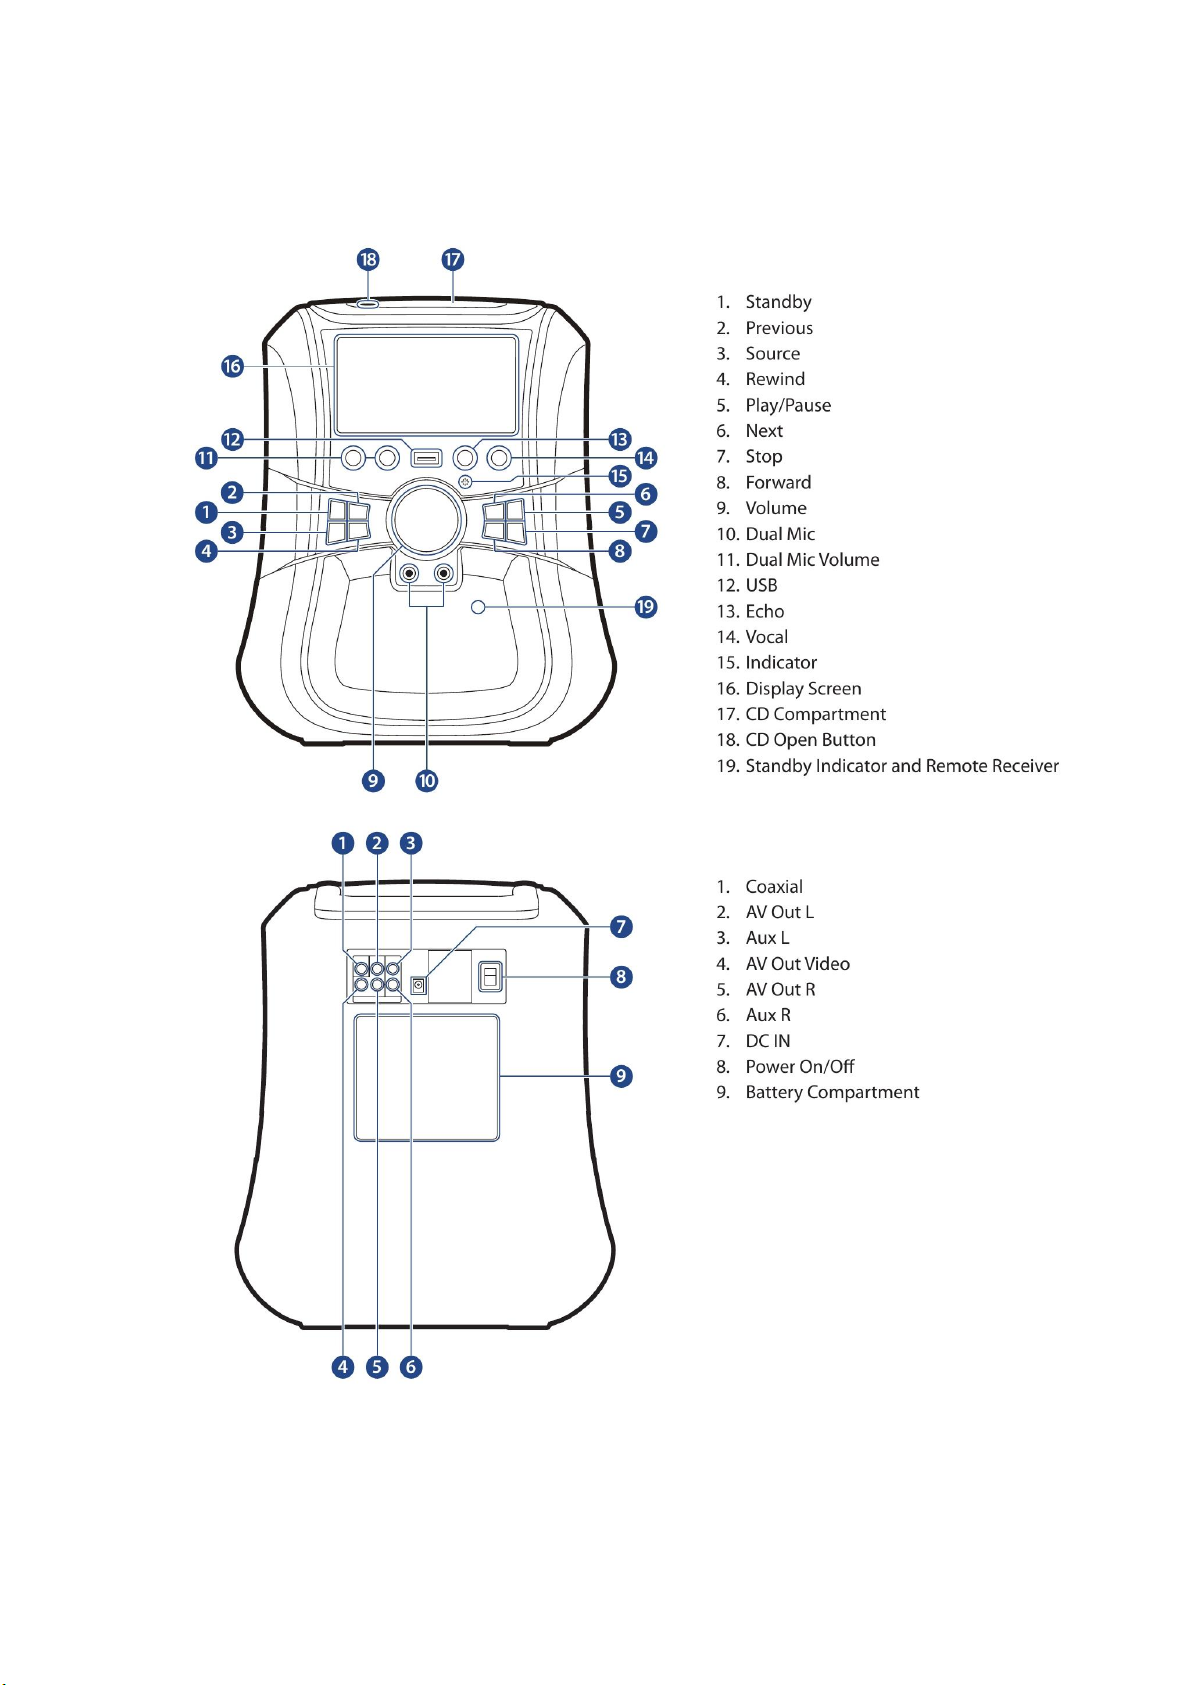
CONTROLS & FUNCTIONS (MAIN UNIT)
1.

CONTROLS & FUNCTIONS (MAIN UNIT)
POWER (Ref.1) - Pressthis button to turn the unit on from
standby or press again to put back into standby.
MUTE (Ref. 18) - Press this key to stop sound output, press
again to return to normal status.
A/B (Ref.19) - This function will allow the user to repeat a
desired portion of playback. To choose the part of the DVD,
CD or MP3 track you would like to playback press the ‘A-B’
button (Ref.19) to mark point A. Then press the ‘A-B’ button
again (Ref.19) to mark point B. The DVD or track section will
repeatedly playback between these points. To cancel the
playback and to continue watching or listening to the DVD
or track press the A/B button (Ref.19) a third time.
NOTE: 1. This function works for DVD, MP3 and CD but not
for CDG or Kodak picture discs.
2. For CD and MP3, the start and end point of the A-B
selection must be within the same track.
REPEAT (Ref.20) - This function will allow the user to repeat
a particular chapter, title or track. Press the 'Repeat' button
multiple times to view options.
For DVD disc: Chapter/Title/All/Off
For CDG and CD Discs: Track/All/Off
PLAYBACK CONTROL (PBC) (Ref.21) - This function only
works for video discs. User can access a specific chapter by
entering the chapter numberthrough the number buttons
(0-10) on the remote control.
SLOW (Ref.22) - User can press the SLOW button repeatedly
to adjust the speed of slow motion as desired. This only
works on DVD discs.
TIME (Ref.3) - Pressing the ‘Time’ button during normal
playback will allow the TV to display different time modes.
SET UP (Ref.4) - This will take you to the system set up, see
page 7.
ZOOM (Ref.23) - This unit has six different zoom modes.
Pressing the ‘Zoom’ button on the remote control
repeatedly will display the various options.
TITLE (Ref.6) - The title button will take you back to the
main menu of the DVD not for CD/CDG use.
MENU (Ref.25) –The ‘Menu’ button will take you to the
main DVD menu. To resume play, press the menu button
again. For CD/CDG you can switch between “Intro” and
“Sequence Play” using the ‘Menu’ button. Intro will play the
start of each song and Sequence will play one song after
the other. To view the list of tracks for CD/CDG, press the
‘Return’ button (Ref.30).
SOURCE (Ref.8) - To change the source, press this button to
switch between CD/DVD, AUX and Bluetooth.
LANGUAGE (Ref.12) - DVD discs can contain more than one
audio sound track. Therefore the user can select the sound
track they want by using the ‘Language’ button on the
remote control. Pressing the ‘Language’ button repeatedly
will display different audio modes if available.
LEFT/RIGHT MONO/STEREO (Ref.13) - For CD/CDG only,
press multiple times to change between Stereo, Mono L,
Mono R or Mix Mono. For some DVD karaoke discs you can
remove the vocals using the ‘L/R’ button. Also see ‘Vocal’
button (Ref.17).
NTSC/PAL - (Ref. 31) NTSC is the video system or standard
used in North America and most of South America. PAL is
the predominant video system or standard mostly used in
Europe.
RETURN (Ref.30) - To exit from an application press ‘Return’.
For CD/CDG it will take you to the list of tracks.
SUBTITLE (Ref.14) - To view subtitles press this button, to
turn off press again.
ANGLE (Ref.15) - Some DVD discs contain scenes which
have been shot from a number of different angles
simultaneously. Therefore, the same scenes can be viewed
from different angles by pressing ‘Angle’ button repeatedly.
(The recorded angles differ from disc to disc).
NOTE: 1. This function only works on DVD disc.
2. If the DVD disc is recorded with only one angle,
this function will not be available.
USB/DISC (Ref.33) –To play a USB, press this.
DISPLAY (Ref.32) –Press ‘Display’ to show chapter and time
information for DVD.
PROG (Ref.16) –Press Programme to programme CD songs
in a preselected order. Use the navigation buttons (Ref.5)
and 'Enter' button (Ref.24) to make your track selection,
then click on the play icon.
VOCAL (Ref.17) –Some DVDKaraoke Discs have various
vocals that can be removed, to do this press the ‘Vocal’
button to remove the vocal. In some cases there are more
than one vocal track, press ‘Vocal’ again to remove the
second vocal. This function only works for DVD karaoke
discs as most CDG discs are backing tracks without vocals.
RIP/COPY (Ref.34) –Some discs can be copied (CD and
MP3), press this button to copy and save in the menu.
2.

CONTROLS & FUNCTIONS (REMOTE)
3.

TV CONNECTION
WHAT’S IN THE BOX?
Megabox Karaoke Machine
Remote Control
UK Standard Plug DC 15V Power Supply
2 x Microphones
Instructions Guide
1 x 3 RCA Cable

Please note all (Ref.) refer to CONTROLS & FUNCTIONS (MAIN UNIT) on Page 1
or where specified, the CONTROLS & FUNCTIONS (REMOTE) on Page 2.
BASIC OPERATION
Plug the 15V adapter connector into the back of
the system labelled DC 15V (Ref.7) and the power
supply into the mains.
Turn on the ‘On/Off’ button (Ref.8) on the back of
the machine. Press the ‘Standby ’ button to turn
on the unit (Ref.1). The unit will go straight to
DVD/CD Mode and read the disc and start playing.
To select a source press the ‘Source’ button
(Ref.3). Press multiple times until your required
option is selected which will show on the display
screen.
There are three options:
CD/DVD
AUX
Bluetooth
Standby
To place the music system back on standby, press
the ‘Standby’ button (Ref.1) then switch the
‘On/Off’ button (Ref.8) to “Off”.
To turn off fully switch the machine off at the
mains. The cord must be out of reach of children.
BLUETOOTH CONNECTION
You can enjoy audio by pairing and connecting any
Bluetooth-enabled portable device with the unit
through Bluetooth wireless connection.
To select Bluetooth press through your choices
using the ‘Source’ button (Ref.3). The choices will
be displayed on the front display screen (Ref.16) –
choose “Bluetooth Mode”.
Turn Bluetooth on your phone and “MEGABOX”
will appear, click on this to connect.
The unit will play a short musical sound when
connected. To select music you will need to select
the album or playlist from your phone.
USB PORT
Connect the USB into the USB port (Ref.12).
To select your source press the ‘Source’ button
(Ref.3) to scroll through your choices which will be
displayed on the front display screen (Ref.16) –
choose “Disc Mode”.
Then press the ‘USB/Disc’ button (Ref.33) on the
remote. The display will change from “No Disc” to
“USB Mode”.
Note: You will need to ensure that any discs have
been removed from the DVD/CD compartment.
USB supports the following formats:
Movie file support: AVI, MPEG, DAT
Audio file support: MP3, WMA
Picture file support: JPEG
Karaoke Files support: MP3+G (Unzipped)
Operation is the same as the DVD Player with
regards to functions.
4.

SYSTEM SETUP MENU
Ensure you have selected “Disc Mode” via the
‘Source’ button (Ref.3).
Press the ‘Setup’ button on the remote control
(Ref.4). The system set up menu will be displayed.
Pressing the ‘Up’ and ‘Down’ navigation keys
(Ref.5) on the remote control will take you through
the five different set up options.
These are: System Set Up, Language Set Up, Audio
Set Up, Video Set Up and Digital Set Up.
Once on your required option, press the right
navigation button (Ref.5) on the remote control.
Move the cursor using the ‘Left/Right’, ‘Up/Down’
buttons (Ref.5) and the ‘Enter’ button (Ref.24) on
the remote. Use the ‘Setup’ button (Ref.4) to exit
the menu.
System Set Up
TV System
There are three types of colour encoding systems
that affect the visual quality, PAL, PAL60 or NTSC.
AUTO can also be chosen - the system will
automatically match the colour.
Screen Saver
Select ON/OFF on the screen using the navigation
buttons on the controller (Ref.5) if you would like
the standard screen saver to automatically show
after a period of inactivity or if you would like it
off.
TV Type
Select the best TV Type 4:3PS, 4:3LB or 16:9. Press
the 'Enter' button (Ref.24) to confirm your
selection.
Password
The system can be locked and unlocked with the
following code: 8888. Once it has been locked,
settings cannot be changed.
Rating
Some discs may not be suitable for children. You
can select various options. This sets the parental
rating limits on the discs being played.
Default
To return the system back to factory settings select
“Restore” on the screen using the navigation
buttons on the remote (Ref.5) and press ‘Enter’
(Ref.24).
Move the cursor using the ‘Left/Right’, ‘Up/Down’
buttons (Ref.5) and the ‘Enter’ button (Ref.24) on
the remote control. Use the ‘Setup’ button (Ref.4)
to exit the menu.
Language Set Up
OSD Language
Select your OSD language from:
English, German, Spanish, French, Portuguese, Italian.
Audio Language
Select your audio language from: English, German,
Spanish, French, Portuguese, Italian, Latin.
Subtitle Language
Select your subtitle language from: English,
German, Spanish, French, Portuguese, Italian or Off.
Menu Language
Select your menu language from: English, German,
Spanish, French, Portuguese, Italian, Latin.
Audio Set Up
Audio out, Microphone Set Up, Key and
Microphone Volume have adjustable levels.
Video Set Up
Adjust the system’s brightness, contrast, hue,
saturation and sharpness.
Digital Set Up
Set the dynamic range and choose Stereo or
Mono.
5.

CD RIPPING
When playing a CD/MP3 disc you can copy songs
to a USB device in MP3 format. Press the
‘Rip/Copy’ button on the remote control (Ref.34),
this will open the set up menu. Use the
‘Up/Down’, ‘Left/Right’ key cursors to select your
options, press ‘Enter’ (Ref.24) to confirm.
Options
Encoder Options –Select the transcribe file speed.
“1 X” will transcribe the file with one side playing
as normal and the other side transcribing. “4 X” –
the unit will transcribe faster and there will be no
sound. Bit Rate –There are five bit rate choices
when transcribing the files –choose the most
suitable to transcribe the file.
Note: The higher the bit rate the higher quality
music. File Options –Check (click in the box) then
create ID3 if you want to create an ID. Also check
(click in the box) then create playlist box to include
the file in a playlist. Storage Options –After the
files have been transcribed,
choose the device for them to be saved to.
Tracks
Track Title –Use the key cursors to move on to
“Tracks, then right key to “Trk Title”, press ‘Enter’
and this will choose all songs on the CD disc. Press
‘Enter’ again to cancel.
Move the cursor up and down to make track
changes. The length displays the track time.
Start
Select “Start” using the cursor keys and then
“Enter”. Press ‘Enter’ for transcribing to begin.
Total track size: The total tracks waiting to
transcribe. Total time: The total time for the songs
waiting to be transcribed.
Total size: Total size of files waiting to be
transcribed.
Quit
To stop ripping go to ‘Quit’ on the menu bar.
NOTE: After CD Ripping there will be a new CD RIP
file folder on the USB device.
How to delete a file
To delete a file when using USB multimedia files,
press the ‘Angle’ button (Ref.15) on remote
control which will open the “File Delete Menu”.
Under the “Option Menu”, select the file type you
wish to delete. Under “Folders”, select the folder
which is going to be deleted. Under “Tracks” select
the track that is going to be deleted. Under the
“Start” option, click on the file to be deleted and
press ‘Enter’ (Ref.24) on the remote control. Once
the file has deleted go to “Quit” to leave the
operation menu.
6.
7.
TOP TIP!
To rip Karaoke CD+G discs to digital MP3+G
format with on screen graphics download our
free software for windows from our website…
www.mrentertainer.co.uk
TECHNICAL SPECIFICATIONS
Signal Output: PAL/NTSC/AUTO
Audio System: Audio DAC
24bit/96KHz
Video Format Support: MPEG-4, DIVX, DVD Video,
DVD Audio, Super Video, CD, CD-DA,
HDCD, CD-R/RW
Audio Format Support: MPEG1, LAYER1, LAYER2,
LAYER3
POWER SUPPLY AND BATTERIES
The unit has a built in rechargeable battery. The
light Indicator (Ref.15) on the front of the unit will
light up Green when charging, the light will turn off
when fully charged. If the light flickers this
highlights that the battery is damaged, please
disconnect immediately. When the light is Red the
unit has lower power and needs to be recharged
via the mains plug. The unit takes approximately 4
hours to fully charge.
WARRANTY
All products and parts come with a standard 12
month warranty from date of purchase. If you
have any problems please contact your retailer for
help.
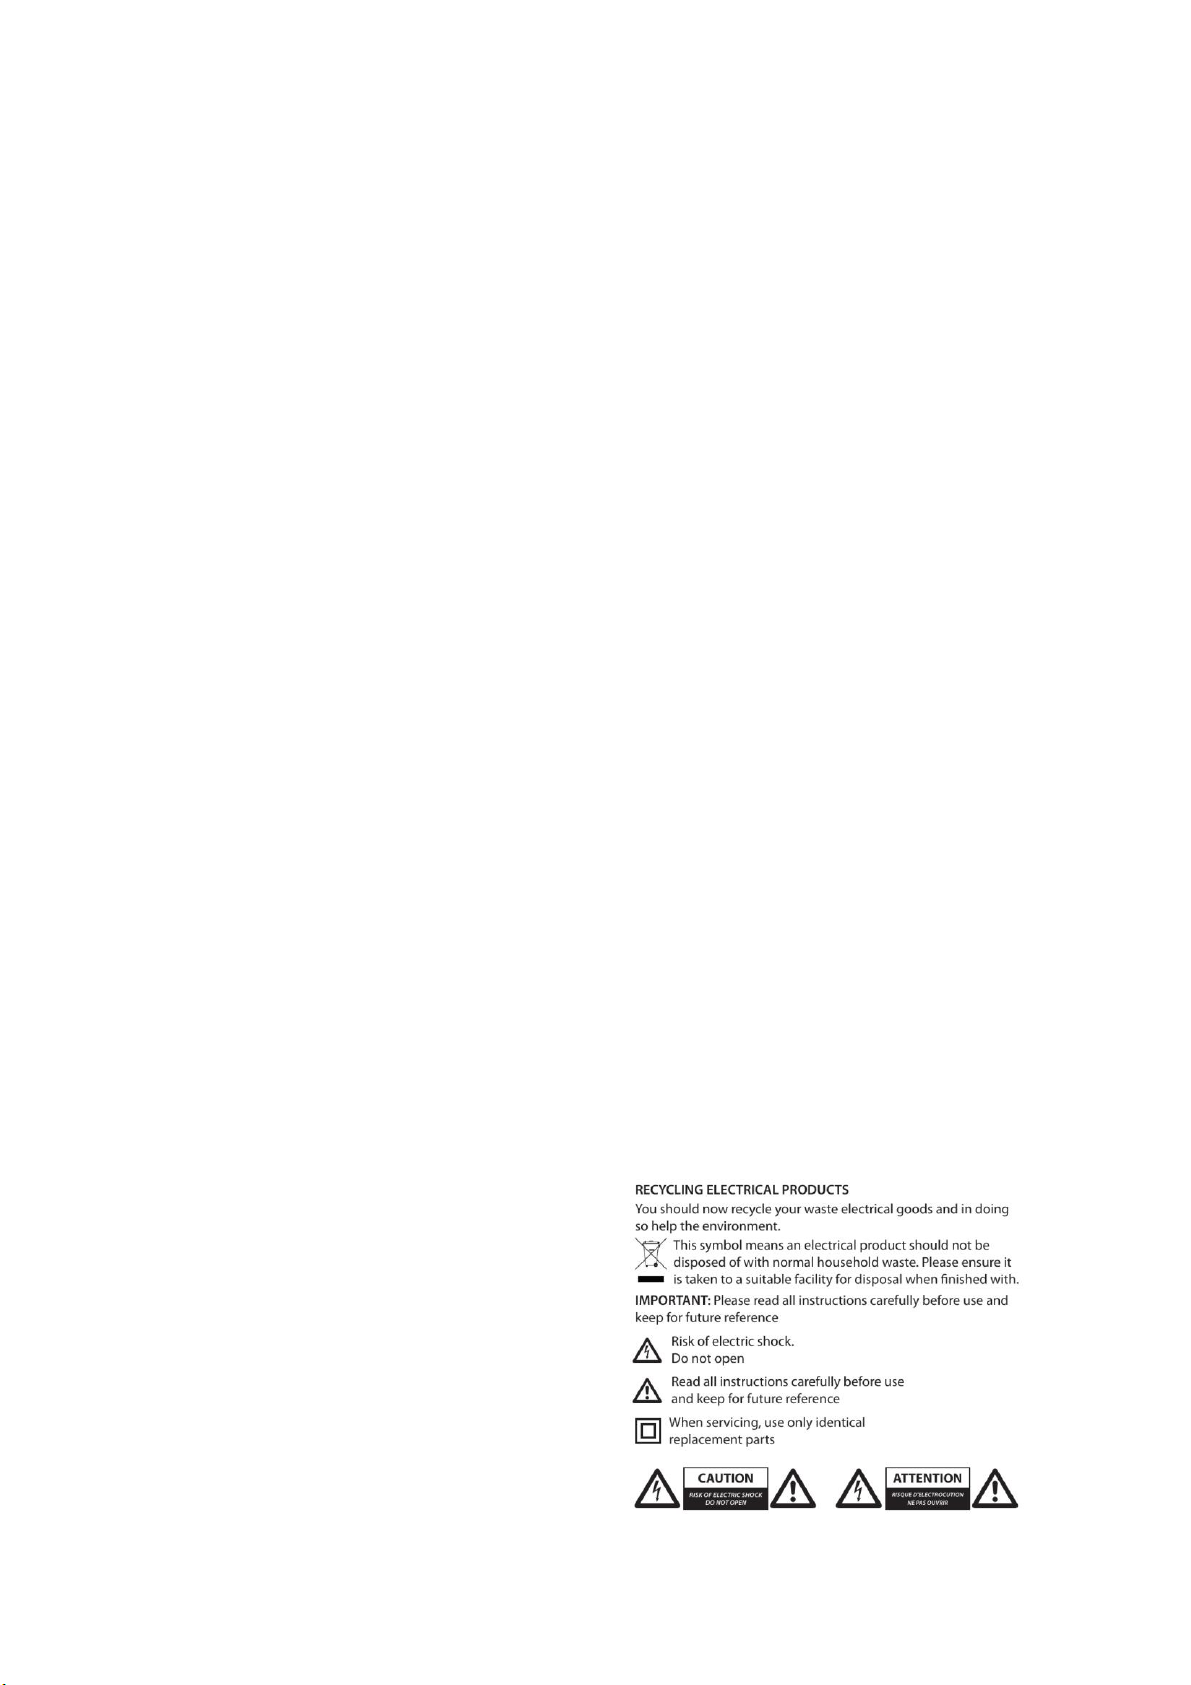
SAFETY INFORMATION
1. Read these instructions.
2. Keep these instructions.
3. Heed all Warnings.
4. Follow all instructions.
5. Do not clean the apparatus near or with water.
6. Clean only with a dry cloth.
7. Do not block any ventilation openings.
Install in accordance with the manufacturer’s
instructions.
8. Do not install near any heat sources such as
radiators, heat registers, stoves, or other
apparatus (including amplifiers) that produce heat.
9. Protect the power cord from being walked on or
pinched particularly at plugs, convenience
receptacles, and the point where they exit from
the apparatus.
10. Only use attachments/accessories specified by
the manufacturer.
11. Unplug this apparatus during light storms or
when unused for long periods of time.
12. Refer all servicing to qualified service
personnel. Servicing is required when the
apparatus has been damaged in
anyway, such as power- supply cord or plug is
damaged, liquid has been spilled or objects have
fallen into the apparatus, the apparatus has been
exposed to rain or moisture, does not operate
normally or has been dropped.
13. No naked flame sources, such as lit candles,
should be placed on the apparatus.
14. Dispose of used electrical products and
batteries safely according to your local authority
and regulations.
ADDITIONAL WARNINGS
The apparatus shall not be exposed to dripping or
splashing and no objects filled with liquid, such as
vases, shall be placed on apparatus.
Main plug is used to disconnect device and it
should remain readily operable during intended
use. In order to disconnect the apparatus from the
main mains completely, the mains plug should
be disconnected from the main socket outlet
completely.
Battery shall not be exposed to excessive heat
such as sunshine,
fire or the like
8.

KARAOKE DISCS,
DOWNLOADS &
STREAMING
There are lots of ways to enjoy karaoke using your
MEGABOX as it will play a variety of formats. Here
are some suggestions…
KARAOKE DISCS
The Megabox will play the two most popular type
of karaoke discs CD+G and DVD, pretty much all
karaoke discs available come in one of these
formats.
Visit our website to create your own personalised
karaoke disc, choosing only the tracks you want!
Choose from the world’s largest and most up to
date collection of karaoke tracks!
www.mrentertainer.co.uk
Our tracks are also available in handy pre-
compiled albums in a variety of formats and
genres, such as KIDS PARTY, CHART GIRLS,
REGGAE, COUNTRY and many more.
For more information visit…
www.mrentertainershop.co.uk
KARAOKE DOWNLOADS
The Megabox will play digital MP3+G karaoke files.
MP3+G is the most widely used format for digital
karaoke files.
Visit our website to search/browse for your
favourite songs and download instantly in MP3+G
format for playback on your Megabox.
www.mrentertainer.co.uk
KARAOKE STREAMING
Thanks to the Bluetooth feature, you can even
stream songs online via your phone/tablet and
sing along via the Megabox.
(Bluetooth will send audio only to your Megabox,
song lyrics will only display on your phone/tablet,
not on the Megabox screen).
There are lots of places to find and play karaoke
videos online to sing along with using your
MEGABOX, here are a few suggestions…
Karaoke Superstar App
Free Karaoke App for iOS & Android
The biggest & best source of karaoke
Record yourself & share with your friends
Search app store for “Karaoke Superstar”
www.selectatrackondemand.com
One of the largest karaoke streaming
services available, subscribe monthly or
purchase a 24hour pass
www.youtube.com
There are literally millions of karaoke
videos and lyric videos available to play
for free on Youtube, however the quality
can vary massively so be prepared to play
a few not so great versions before finding
one you like, if at all.
9.
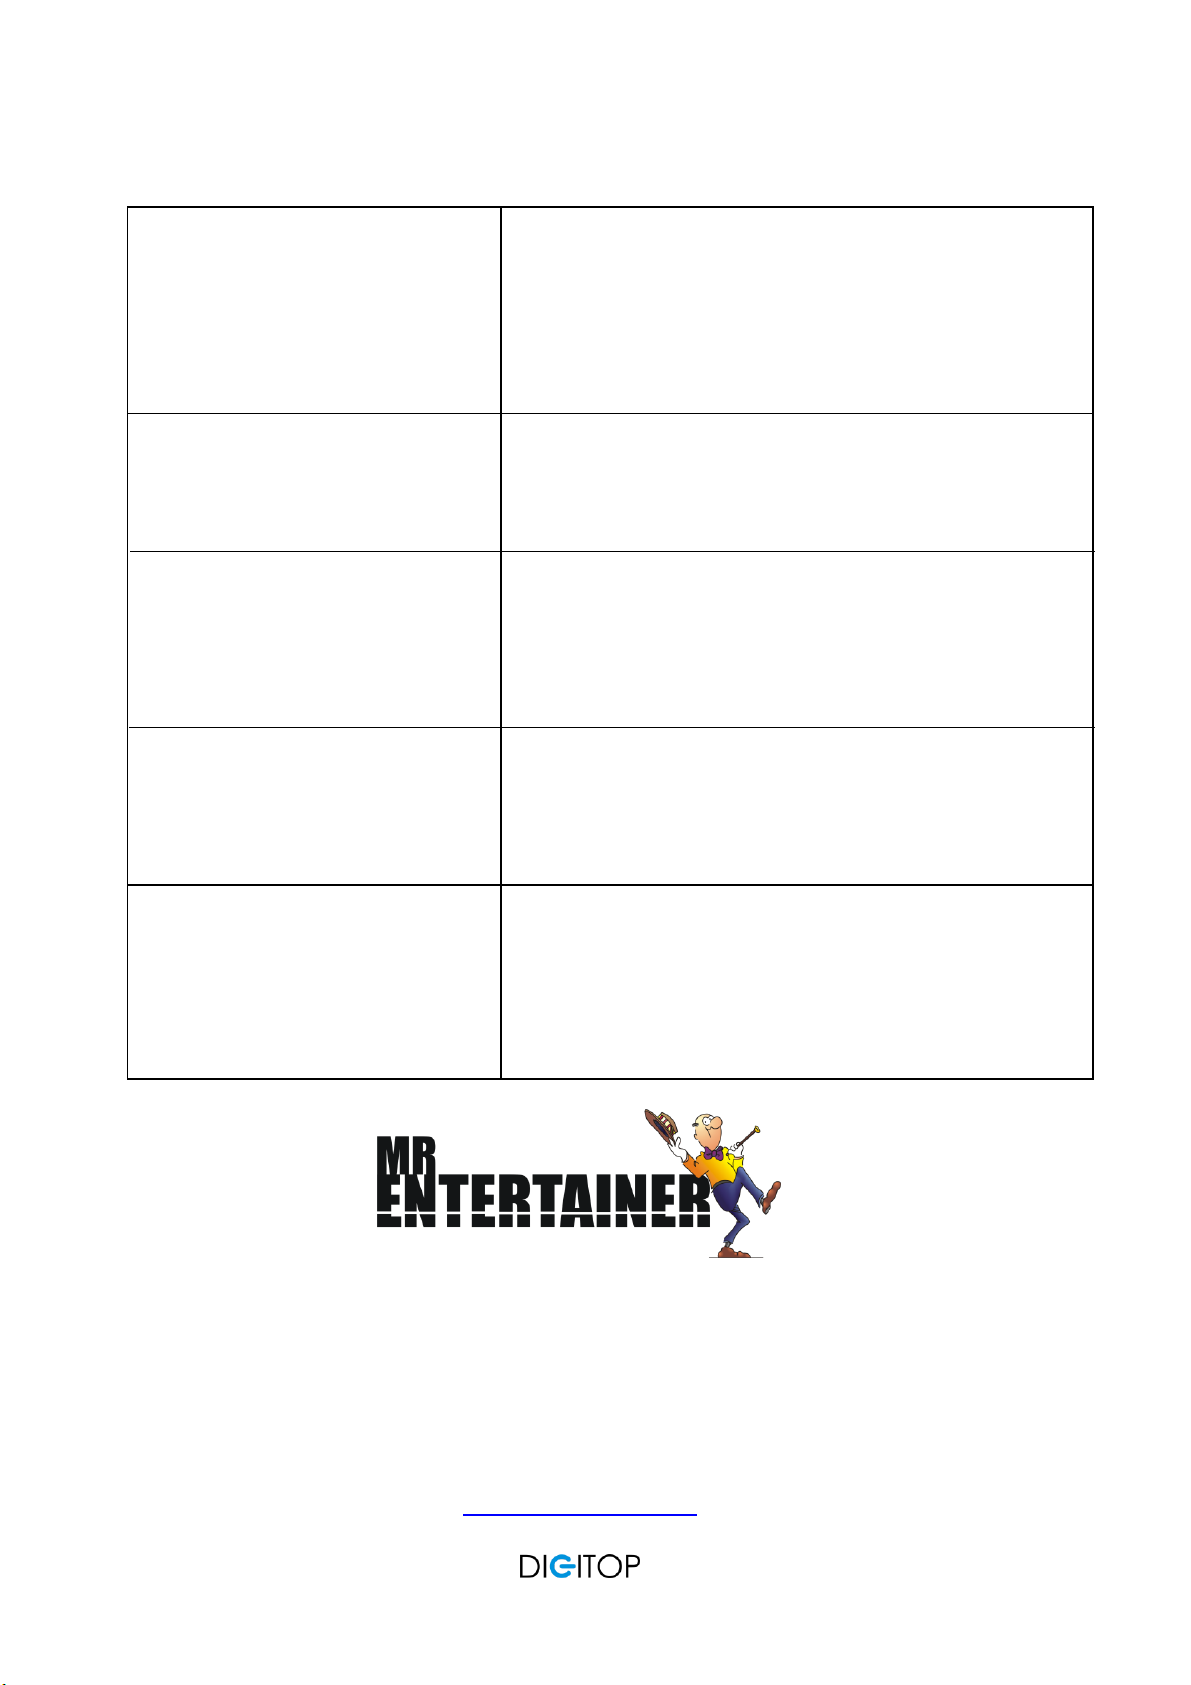
TROUBLESHOOTING
Digitop Ltd T/A Mr Entertainer
Unit 11A Bridge Trade Park
Bridge Road
Camberley
Surrey
GU15 2QR
United Kingdom
www.mrentertainer.co.uk
No sound from microphones or
microphones are very quiet
CD Read Error
No Power
Music volume seems to be
increasing/decreasing randomly and
not staying at constant level
Error of “Unsupported File Format”
when trying to play MP4 file from USB
disc
This is often solved by increasing the master volume using the
large silver dial on the front of the machine. Make sure the
master volume is up to 30 and the microphone volumes are
turned up full and try the mics again. If you are still getting no
sound you might have a faulty microphone or microphone
cable, please contact us
This is often solved by cleaning the CD/DVD and cleaning the
CD reader lens as this can sometimes get dusty/dirty during
transit. The CD reader lens is located under where the CD sits
and can be cleaned by carefully wiping with a cotton bud
If the unit is not turning on, please ensure you have the power
adaptor connected to the power socket on the rear of the
unit, and have the main power switch turned on. If this
doesn’t solve it you could have a faulty battery or power
adaptor, please contact us
Please try turning the VOCAL dial on the front of the machine
all the way down (anti-clockwise), this should reduce switch
off the vocal reduction feature and keep the music volume at
a constant level
MP4 files are very complicated and can be produced in many
different ways, if you are seeing this error try converting the
MP4 to AVI format using a video conversion program, with a
resolution of 640 x 480
Table of contents
Other Mr. Entertainer Karaoke System manuals


