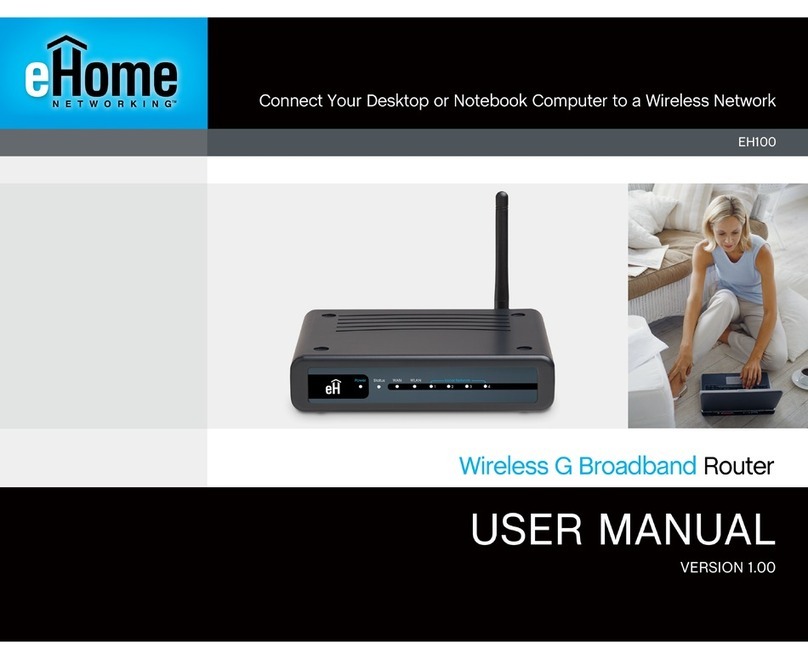
eHome EH100 User manual


2eHome EH100 Quick Install Guide
Package Contents
Before You Begin
If any of the above items are missing, please contact your reseller.
• If you purchased this router to share your broadband Internet connection with
several computers, you must have either an Ethernet-based Cable or DSL
modem and an active Internet account with an Internet Service Provider.
• It’s best to use the same computer that is connected to your modem for
configuring the EH-100 Wireless G router. The EH-100 has a DHCP server
and will assign the necessary IP address information for your network.
• eHome EH100 Wireless G Broadband Router
• Power Adapter
• Ethernet Cable
• Manual and Warranty on CD
Note: Using a power supply with a different voltage rating than the one
included with the EH100 will cause damage and void the warranty for this
product.

3 eHome EH100 Quick Install Guide
Connecting the EH100 to your network
If any of the above items are missing, please contact your reseller.
D. Antenna
Used to broadcast wireless network
and recieve connections from
802.11 b/g wireless clients.
C. LAN Ports
Connects EH100 to Ethernet enabled
computers or devices.
A.Connect the power adapter to the receptor on the rear panel of the
EH100 and then plug the other end of the power adapter to a wall outlet or
power strip. The power LED will turn ON to indicate proper operation.
B.1. Power off your Cable or DSL modem. If the modem does not have a
on/off button, unplug the power adapter.
2. Connect an Ethernet cable to the Ethernet port on the modem and
then power on the modem.
3. Connect the other end of the Ethernet cable to the WAN port
of the EH100. The WAN LED will illuminate to indicate a proper
connection.
A. Power Receptor
Receptor for Power Adapter.
C.Connect an Ethernet cable to LAN port 1 on the EH100 and connect
the other end to an Ethernet network adapter on the computer that will
be used to configure the EH100.
D.Computers equipped with 802.11b/g wireless adapters will be able to
connect to the EH100.
B. WAN Port
Connects to Internet modem.

4eHome EH100 Quick Install Guide
After completing the previous steps, connecting the EH100 to your computer,
reboot the computer.
Using additional Ethernet cables, connect any other Ethernet equipped
computers to the remaining LAN ports on the EH100. Proper intstallation and
operation will be indicated by the LEDs on the front panel of the EH100.
WAN LED
A solid light indicates a connection on
the WAN port. This LED blinks during
data transmisison.
WLAN LED
A solid light indicates the wireless
segment is ready. This LED blinks
during wireless data transmission.
LAN LEDs
A solid light indicates
a connection to an
Ethernet device on
ports 1-4. These LEDs
b l i n k d u r i n g d a t a
transmission.
Power LED
A solid light indicates a proper
connection to the power supply.
Status LED
A blinking light indicates the
EH100 is ready.

5 eHome EH100 Quick Install Guide
Using the Setup Wizard
Open your web browser
and type http://192.168.0.1
into the URL address box.
Press Enter.
Ty p e admin f o r t h e
username and leave the
password blank.
The logon pop-up screen will appear:
Once you have logged in, the Setup screen will appear:
Click Setup Wizard

6eHome EH100 Quick Install Guide
The Wizard welcome screen will appear:
Click Launch Internet Connection Setup Wizard
Click Next
Create and verify a new admin password:
Click Next

7 eHome EH100 Quick Install Guide
Click Next
Select your time zone from the drop-down menu:
Select your Internet connection type:
Click Next

8eHome EH100 Quick Install Guide
If you selected DHCP (Dynamic), you may need to enter the MAC address
of the computer that was connected directly to your modem. If you are
currently using that computer, click Clone Your PC’s MAC Address.
The Host Name is optional but may be required by some ISPs.The default
Host Name is the device name of the router but can be changed.
Click Next
If you selected PPPoE, enter your PPPoE username and password.
Select Static if your ISP assigned you the IP address, subnet mask,
gateway, and DNS server addresses.
Note: Be sure to remove your PPPoE software from your computer. The
software will not be needed and will not work with the router.
Click Next

9 eHome EH100 Quick Install Guide
If you selected Static, enter the network information provided by your
ISP:
Click Next
After slecting your WAN connection type, the Setup Complete screen
will appear:
Click Connect
The router will save the changes and reboot. Once it is finished rebooting,
click Continue. Allow 1-2 minutes for the router to reboot.
Close your Internet browser and reopen it to test your Internet
connection.

10eHome EH100 Quick Install Guide
After completing the steps in this Quick Install Guide, your EH100 should
be online and integrated into your network.
Your Setup is Complete!

11 eHome EH100 Quick Install Guide
Notes

12eHome EH100 Quick Install Guide
The eHome website contains the latest user documentation and
software updates for eHome products.
U.S. and Canadian customers can contact eHome Technical
Support through our website.
World Wide Web
http://www.ehomeproducts.net
Version 1.01
December 27, 2006
Copyright ©2006 D-Link Corporation/D-Link Systems, Inc. All rights reserved. eHome and the eHome logo are registered
trademarks of D-Link Corporation or its subsidiaries in the United States and other countries. Other trademarks are the property
of their respective owners. Product specifications, size and shape are subject to change without notice, and actual product
appearance may differ from that depicted herein.
Technical Support
Other manuals for EH100
1
Table of contents
Other eHome Wireless Router manuals
