EIC Solutions AAC-151B Series User manual

1
-800-497-4524 EIC SOLUTIONS, INC
.
215-443-5190
EIC SOLUTIONS, INC
EIC SOLUTIONS, INCEIC SOLUTIONS, INC
EIC SOLUTIONS, INC.
..
.
Thermoelectric ir conditioner installation and
operation manual
FOR 2500 Btu MODEL #’S
C-151B-4XT
C-151B-4XT-HC
C-151B-XXXXX
Cooling Solutions for
Cooling Solutions for Cooling Solutions for
Cooling Solutions for
Mission
MissionMission
Mission-
--
-Critical Electronics
Critical ElectronicsCritical Electronics
Critical Electronics

2
22
2
1
-800-497-4524 EIC SOLUTIONS, INC
.
215-443-5190
TABLE OF CONTENTS
1.
GENER L INFORM TION
1.1
PRINCIPLES OF OPER TION .........................................................................................
3
2. INST LL TION
2.1
CHOOSING LOC TION ..........................................................................
4
2.2
ORIENT TION.............................................................................................
4
2.3
PREP RING THE ENCLOSURE ................................................................
6
2.4
INST LLING THE IR CONDITIONER .....................................................
6
2.5
INST LL THE DR IN LINES .....................................................................
7
2.6
PPLY POWER ............................................................................................
8
3. OPER TION
3.1
THERMOST T SET POINTS ND HE TING COOLING UNITS ..............
9
3.2
M INTEN NCE ...........................................................................................
9
4. SPECIFIC TIONS
4.1
ST ND RD SPECIFIC TIONS ......................................................................................
10
5. PPENDIX
.
ST ND RD CUTOUT .......................................................................................................
11
B.
EXTENSION FR ME CUTOUT
...................................................................... 12
EIC SOLUTIONS INC.
EIC SOLUTIONS INC.EIC SOLUTIONS INC.
EIC SOLUTIONS INC.
700 VETER NS W Y, SUITE 200
W RMINSTER, P 18974
PHONE 1-215-443-5190 or 1-800-497-4524
F X 215-443-9564
EM IL info@eicsolutions.com
VISIT US ON THE WEB T www.eicsolutions.com.
D-10 Rev. F 7/15/2020

3
33
3
1
-800-497-4524 EIC SOLUTIONS, INC
.
215-443-5190
1. GENERAL INFORMATION
1.1 PRINCIPLES OF OPER TION
n 1834 Jean Peltier discovered that by passing a current through two dissimilar conductors the
junction of those materials will either absorb or release heat depending on the direction of the
current flow. Thirteen years earlier Thomas eebeck had discovered that current would flow
when you placed a temperature gradient across the junction of two dissimilar metals. These
two discoveries were the basis of thermoelectrics. With the advent of modern semiconductors
thermoelectric devices became practical for real world applications and are now found in
everything from consumer goods to spacecraft.
Your EIC olutions Thermoelectric Air Conditioner operates on this principle so there is no
compressor and no expensive, ozone depleting CFC’s. EIC’s air conditioners use Thermoelectric
“modules” sandwiched between high performance aluminum heat sinks, high CFM axial fans, and a
patented electronic design to “pump” the heat from the inside of your enclosure to the outside,
without exposing your delicate electronics to any outside air or contaminates. ee Figure 1.1.
EIC uses only the highest quality components in our air conditioners and you can expect
years of trouble free cooling from these solid-state devices. Every unit we sell is backed by our
one year parts and labor warranty.
FIGURE 1.1
I

4
44
4
1
-800-497-4524 EIC SOLUTIONS, INC
.
215-443-5190
2. INSTALLATION
2.1 CHOOSING LOC TION ON YOUR ENCLOSURE
When choosing a mounting location for your unit, be sure to keep air flows of both the
interior and exterior heatsinks and fans in mind. Adequate clearance between the fans/heatsinks
and nearby surfaces is required for unrestricted air flows which will ensure optimal performance
and long, trouble free operation. The general rule is to allow a minimum of two inches between
the fans or heatsinks and any surface. Refer to figure 1.1 for an air flow diagram.
Other considerations in deciding on a mounting location include; allowing access to
thermostat (this will be inside the enclosure) if frequent adjustments are to be made; allowing
access to the hot side heat sinks (this will be on the outside of the enclosure) for cleaning if the
unit will be used in a harsh, dirty environment.
2.2 ORIENT TION
Your AC unit can be mounted either vertically on the front, rear or side of your enclosure or
horizontally on the top of your enclosure. ee Figure 2.1 and 2.2.
Vertically mounted (mounted on the side of an enclosure) 2500 Btu units are always
mounted with the exposed heatsink fins facing left and right. (Fig. 2.1) The unit cannot be
mounted vertically and turned 90 degrees with the exposed heatsink fins at the top and
bottom. The AAC-151-4XT is equipped with a built in vertical condensate drip pan. Once installed
the drain hoses must be attached to the brass fittings located in the bottom of the cold side cover
(inside the enclosure) and routed to outside the enclosure. ee Fig. 2.1.
Mounting the unit vertically and turned 90 degrees on the side of an enclosure (with the
exposed heat sink fins facing the top and bottom), will cause condensate to drip in an uncontrolled
manner, possibly damaging electronic equipment within the enclosure. If this orientation is the
only possible configuration, contact the Engineering Dept. at EIC for a custom solution.
Horizontally mounted 2 00 Btu units always require a factory installed drip pan (part #
DP-1 1H) to prevent dripping condensate from damaging electronic equipment. (Fig. 2.2)
In either orientation, issues regarding access should be considered and minimum clearances
must be maintained as outlined in ection 2.1 of this manual.

5
55
5
1
-800-497-4524 EIC SOLUTIONS, INC
.
215-443-5190
FIGURE 2.1
FIGURE 2.2
HORIZONTAL INSTALLATION OF 2 00 BTU UNIT WITH
INTERNALLY MOUNTED DP-1 1H DRIP PAN AND DRAIN TUBE
ENCLO URE
HOT IDE OF AC (OUT IDE
OF ENCLO URE)
COLD IDE OF AC (IN IDE OF
ENCLO URE)
DRAIN
TUBE
COLD IDE FAN
HOT IDE FAN
COLD IDE
HEAT INK FIN
HOT IDE HEAT
INK
HOT IDE HEAT
INK
COLD IDE
HEAT INK FIN

6
66
6
1
-800-497-4524 EIC SOLUTIONS, INC
.
215-443-5190
2.3 PREP RING THE ENCLOSURE
To mount the 2500 Btu unit you will need to cut an opening in your enclosure and drill
mounting holes. A cut-out drawing (see Appendix) showing the cut-out size and hole locations has
been included in this manual (see Appendix). The instructions for installing the air conditioner are
printed below.
TOOL AND MATERIAL NEEDED:
•Pencil
•Tape Measure
•Jigsaw or suitable alternative
•Electric drill
•# 29 drill bit (.136”) (Not used for extension frame option)
•# 8-32 tap and tap handle (Not used for extension frame option)
•.203” drill bit (Extension frame option only)
•# 8-32 x 3/8” stainless machine screws (supplied)
•Nylon washers (supplied)
•One neoprene gasket (supplied)
CUT THE OPENING AND DRILL MOUNTING HOLE IN THE ENCLO URE
1. Using the guidelines provided in the installation manual choose an appropriate location for
the air conditioner on your enclosure.
2. Layout the cut-out and hole pattern for the AC on the enclosure. Refer to the Appendix.
3. Before cutting or drilling check that the location meets the clearance requirements as
specified in the installation manual.
4. Using a pencil, center punch or other method, mark the exact center point of each
mounting hole on the enclosure
5. Using the jigsaw, cut the opening in the enclosure.
6. Using the appropriate drill bit, drill a hole at each of the marks you made earlier.
7. Using the 8-32 tap, tap each of the holes you have drilled. (Non-Extension Frame Only)
2.4 INST LLING THE IR CONDITIONER
IN TALL THE AIR CONDITIONER
1. Lay the air conditioner down with the cold side (side with the thermostat) facing up.
2. Take the supplied gasket and lay it down on the flange.
3. Take one of the supplied mounting screws and, from the under side of the flange, push it up
through the top right mounting hole, and through the hole in the gasket. The gasket hole is
undersized and will hold the screw in place. Repeat this on the top left mounting hole.
4. et the AC unit in the hole you’ve cut in the enclosure, and using a screwdriver, carefully
start the two screws you attached to the gasket to the tapped holes in the enclosure. Do
not tighten these at this time.
5. Install the rest of the screws in the flange placing a nylon washer on each fastener and
screw them into the tapped holes in the enclosure. Do not tighten them completely.
6. Remove the two starter screws and place a nylon washer on each and reinstall.
7. Tighten all screws.

7
77
7
1
-800-497-4524 EIC SOLUTIONS, INC
.
215-443-5190
2.5 INST LL THE DR IN LINES
1. Various hose fittings and a length of hose were provided with the AC unit. Review the Fig.
2.3 below for suggested drain line configurations.
FIG. 2.3
YOU MUST USE THE FACTORY INSTALLED HORIZONTAL DRIP PAN IF YOU INSTALL THE AIR
CONDITIONER HORIZONTALLY (FIG 2.2) ON THE TOP OF YOUR ENCLOSURE. FAILURE TO DO SO
MAY ALLOW CONDENSATE TO DRIP IN AN UNCONTROLLED MANNER CAUSING DAMAGE TO YOUR
EQUIPMENT.

8
88
8
1
-800-497-4524 EIC SOLUTIONS, INC
.
215-443-5190
2.6 PPLY POWER
Once the air conditioner is mounted, check the serial label and confirm the voltage required
and then apply appropriate power as outlined below.
120 VAC units – plug into standard 120 volt, grounded outlet.
220 – 240 VAC units – this unit will not have a plug on the end. Connect the wires to an
appropriate power source using standard safe wiring methods as follows:
Wire colors are as follows:
Black or Brown – line
White or Blue – line/neutral
Green or Green/Yellow – ground
Amperage for 120 VAC unit is 11.8 amps
Amperage for 220 VAC unit is 6.3 amps
Upon applying power to the air conditioner the fans on the cold side (inside the enclosure) will
come on. The hot side fans (outside the enclosure) may also run depending on where the
thermostat is set. The cold side fans always run to circulate air within your enclosure thereby
eliminating any “hot spots”. The hot side fans will only run when the air conditioner is cooling –
they are “pumping” the heat from the inside of your enclosure to the outside air.

9
99
9
1
-800-497-4524 EIC SOLUTIONS, INC
.
215-443-5190
3. OPERATION
3.1 THERMOST T SET POINTS ND HE TING/COOLING UNITS
ETTING THE THERMO TAT
Your EIC air conditioner is equipped with an adjustable thermostat. The set point you
choose should be based on the desired internal temperature of the enclosure. The air conditioner
will run until the set point temperature is achieved within the enclosure and then the hot side fans
and the thermoelectric cooling modules will shut down. The cold side fans will continue to run,
circulating the air to maintain a uniform temperature within the enclosure.
HEATING AND COOLING UNIT
If you purchased an HC unit (heating and cooling), the heater operation is controlled by a
fixed-point thermostat. This thermostat is set to turn the heaters on when the temperature within
the enclosure falls to approximately 45° F and turn the heaters off when the temperature rises to
approximately 55° F.
The cooling operation is controlled by the adjustable thermostat. To avoid having the
heating and cooling on at the same time, do not set the cooling thermostat below 70° F.
3.2 M INTEN NCE
MAINTENANCE
EIC Thermoelectric Air Conditioners are virtually maintenance-free. The only time
maintenance is required is when a unit is installed in an extremely dirty environment. In these
cases, the hot side heat sinks (outside the enclosure) should be inspected regularly for a build-up
of dust or dirt. If a build-up is present on the heat sink fins, it can be easily removed as follows:
1. Disconnect the power from the unit.
2. Dry dust/dirt can be removed using compressed air to blow out the heat sinks. Do not
direct any high-pressure air at the fans.
3.
Our 2500 Btu air conditioners are designed to allow for water wash down of the hot side of
the unit, which is outside of the enclosure (never the cold side which is inside the
enclosure).
A low pressure stream of water can be used to carefully clean the hot side
heat sink fins. Never direct high-pressure water at the fans or the joint formed by the
mounting flange, gasket and enclosure. Never allow the cold side of your unit to get wet.
Keeping the hot side heat sink fins free from any insulating build-up of dirt or dust will ensure
long, trouble-free operation of your air conditioner.
NEVER EXPOSE THE COLD SIDE OF ANY AIR CONDITIONER (INSIDE THE ENCLOSURE) TO
WATER.
If you have any questions about any aspect of your EIC air conditioner, don’t hesitate to call us at
the numbers listed below.

10
1010
10
1
-800-497-4524 EIC SOLUTIONS, INC
.
215-443-5190
4. SPECIFICATIONS
4.1 ST ND RD SPECIFIC TIONS
Cooling Power 2700 BTU/hr.
800 W
Available Voltage 120 / 220 V
Input Voltage Range 100-264 V
Current 11.8 / 6.3 A
Heating Capability -HC Units
Only
2700 BTU/hr.
800 W
Weight 33 kg.
72 lbs.
NEMA Rating 4X
Cold ide Airflow 180 cfm
305 m
3
/hr.
Hot ide Airflow 250 cfm
425 m
3
/hr.
ound Level at 1 meter 75 dBA
Operating Temperature Range -4 to 140 °F
-20 to 60 °C
torage Temperature Range -4 to 185 °F
-20 to 85 °C
Cooling Thermostat Accuracy ±1.0 °F
±0.6 °C

11
1111
11
1
-800-497-4524 EIC SOLUTIONS, INC
.
215-443-5190
PPENDIX
Enclosure cutout for 2500 BTU air conditioner
NON-EXTEN ION FRAME
Holes to be 8-32 TAP

12
1212
12
1
-800-497-4524 EIC SOLUTIONS, INC
.
215-443-5190
PPENDIX B
Enclosure cutout for 2500 BTU air conditioner
EXTEN ION FRAME ONLY
Holes to be .203”
This manual suits for next models
2
Table of contents
Other EIC Solutions Air Conditioner manuals
EIC Solutions
EIC Solutions AAC-120-4XT Series User manual
EIC Solutions
EIC Solutions AAC-140 Series User manual
EIC Solutions
EIC Solutions AAC-140C-4XT Series User manual

EIC Solutions
EIC Solutions AAC-161B Series User manual
EIC Solutions
EIC Solutions AAC-170 Series User manual

EIC Solutions
EIC Solutions AAC-145-4XT-EP User manual
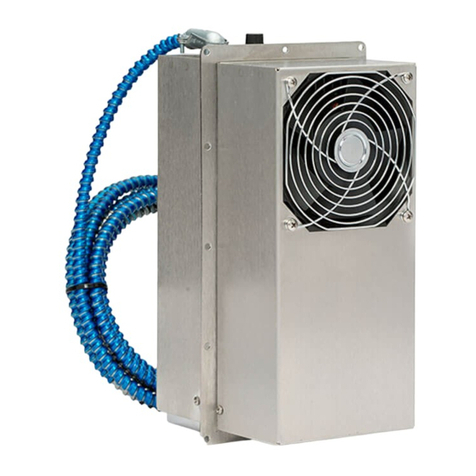
EIC Solutions
EIC Solutions AAC-140B-4XT-EP User manual
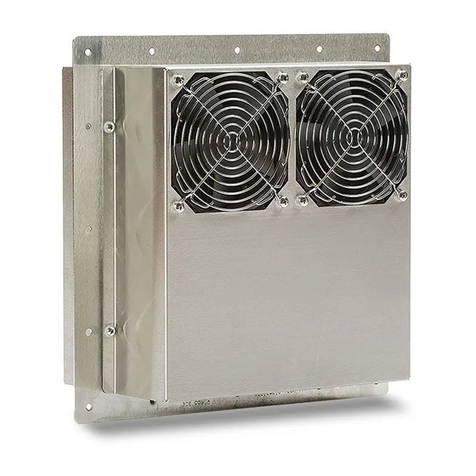
EIC Solutions
EIC Solutions AAC-141A-4XT Series User manual
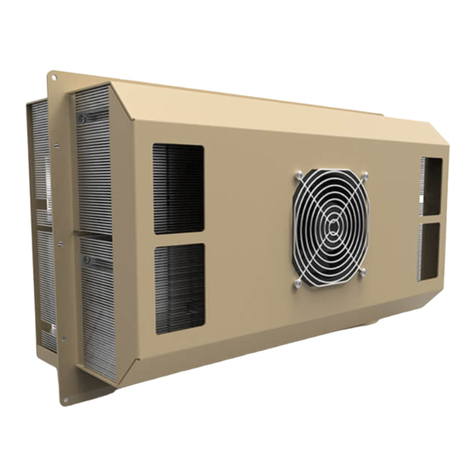
EIC Solutions
EIC Solutions AAC-145A-4XT-M34 Series User manual
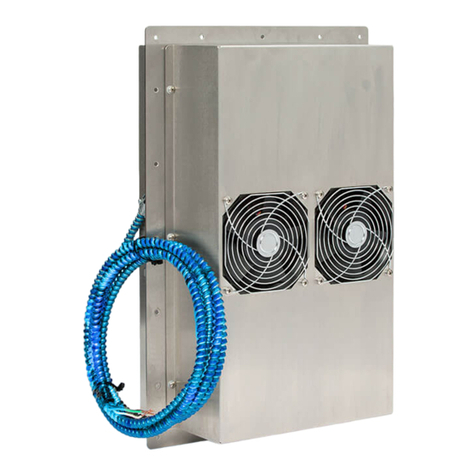
EIC Solutions
EIC Solutions AAC-145A-4XT Series User manual


