manuals.online logo
Brands
  1. Home
  2. •
  3. Brands
  4. •
  5. Friedrich
  6. •
  7. Air Conditioner
  8. •
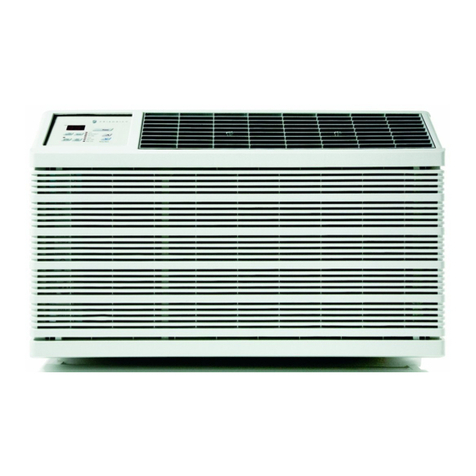
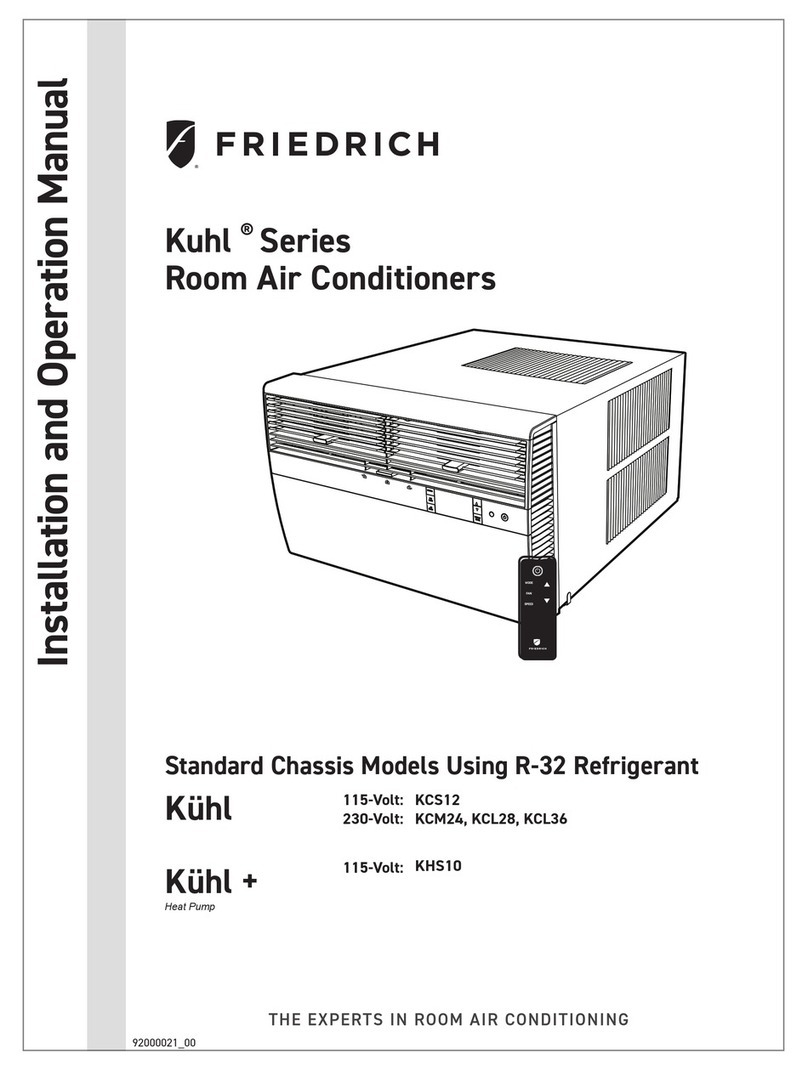
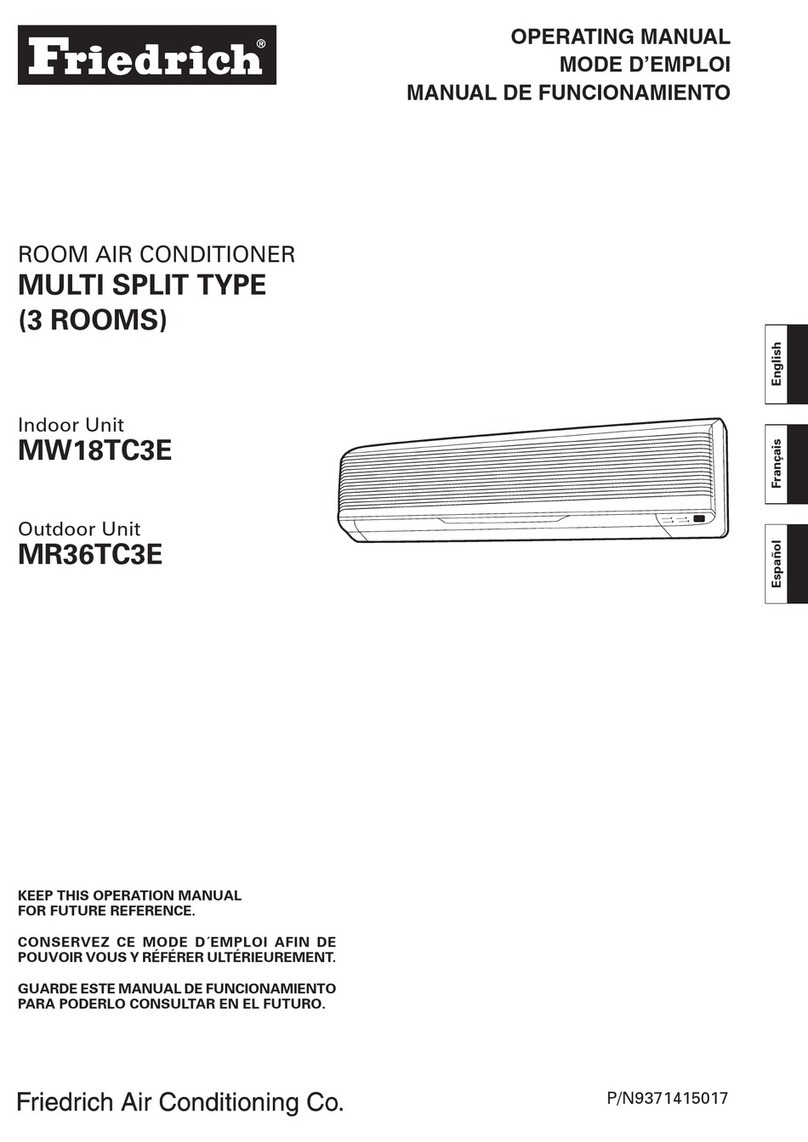
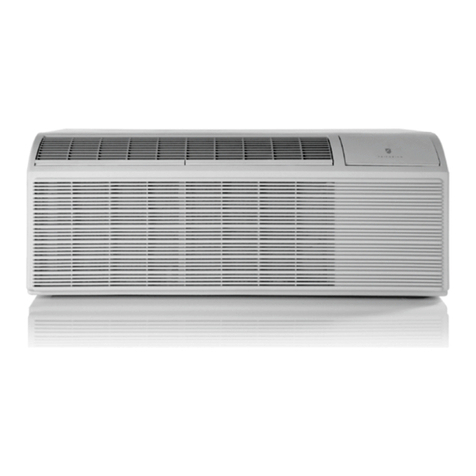
  9. Friedrich CCW06B10B User manual

Friedrich CCW06B10B User manual

This manual suits for next models

5

Other Friedrich Air Conditioner manuals
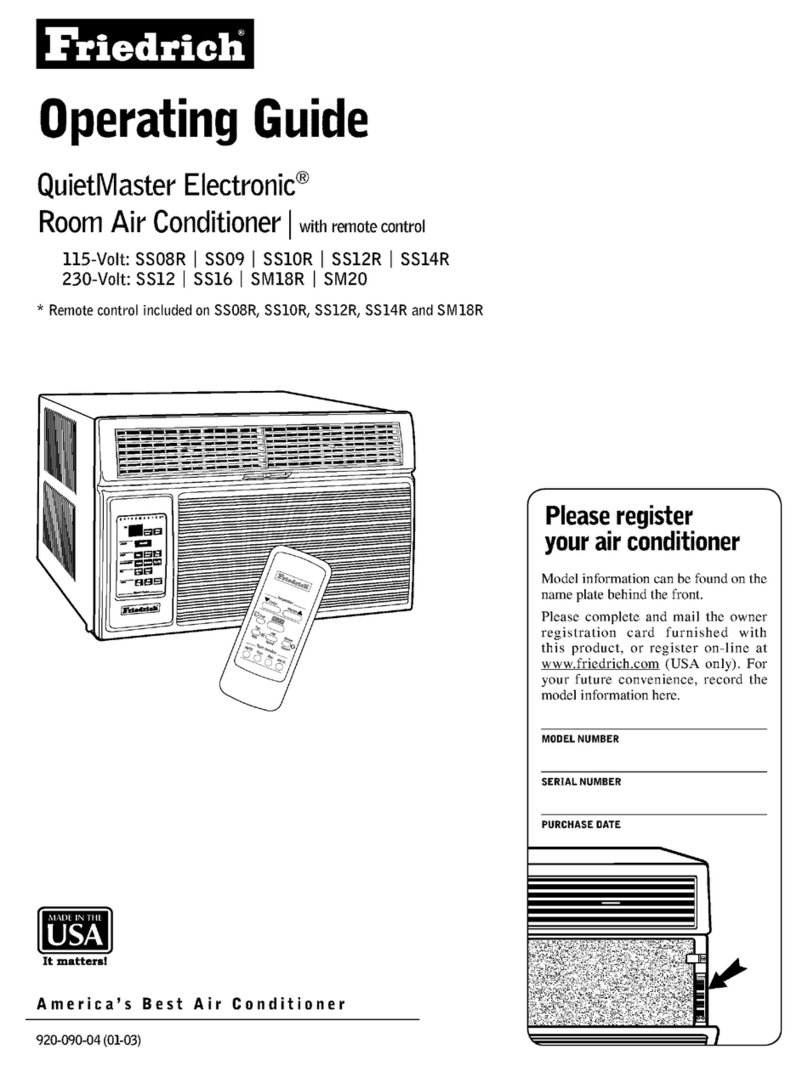
Friedrich Kuhl SS08 User manual

Friedrich

Friedrich Kuhl SS08 User manual

Friedrich 9370937039-02 User manual

Friedrich

Friedrich 9370937039-02 User manual

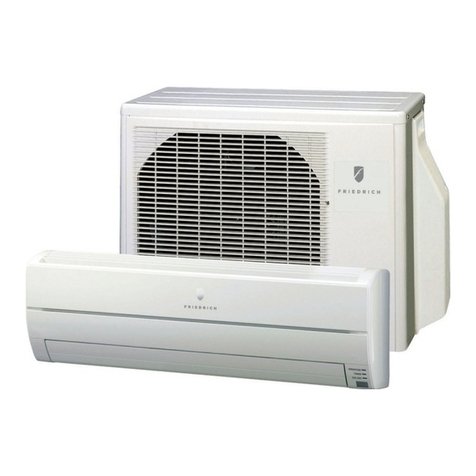
Friedrich Z-Star ZQ05C10 Building instructions

Friedrich

Friedrich Z-Star ZQ05C10 Building instructions

Friedrich QStar SQ05 User manual

Friedrich

Friedrich QStar SQ05 User manual

Friedrich HM12YJ User manual

Friedrich

Friedrich HM12YJ User manual

Friedrich CP12F10 Building instructions

Friedrich

Friedrich CP12F10 Building instructions

Friedrich MW30C3F User manual

Friedrich

Friedrich MW30C3F User manual

Friedrich MR18Y3F User manual

Friedrich

Friedrich MR18Y3F User manual

Friedrich SS08 User manual

Friedrich

Friedrich SS08 User manual

Friedrich ZoneAire Compact P08SA User manual

Friedrich

Friedrich ZoneAire Compact P08SA User manual

Friedrich VERT-I-PAK 920-075-13 (1-11) User manual

Friedrich

Friedrich VERT-I-PAK 920-075-13 (1-11) User manual

Friedrich Chill Premier Series User manual

Friedrich

Friedrich Chill Premier Series User manual

Friedrich Hazardgard SH15M30 User manual

Friedrich

Friedrich Hazardgard SH15M30 User manual

Friedrich CP10 User manual

Friedrich

Friedrich CP10 User manual

Friedrich CP10 User manual

Friedrich

Friedrich CP10 User manual

Friedrich 9315342973 User manual

Friedrich

Friedrich 9315342973 User manual

Friedrich CP18C30 User manual

Friedrich

Friedrich CP18C30 User manual

Friedrich 115 Volts US08 Operating instructions

Friedrich

Friedrich 115 Volts US08 Operating instructions

Friedrich Vert-I-Pak A-Series User manual

Friedrich

Friedrich Vert-I-Pak A-Series User manual

Friedrich ZQ08A10C Building instructions

Friedrich

Friedrich ZQ08A10C Building instructions

Friedrich UNI-FIT US08B10A Building instructions

Friedrich

Friedrich UNI-FIT US08B10A Building instructions

Friedrich ZoneAire P09B User manual

Friedrich

Friedrich ZoneAire P09B User manual

Friedrich WallMaster WCT08 User manual

Friedrich

Friedrich WallMaster WCT08 User manual

Friedrich CP10 User manual

Friedrich

Friedrich CP10 User manual

Popular Air Conditioner manuals by other brands

Fujitsu ASYG 09 LLCA installation manual

Fujitsu

Fujitsu ASYG 09 LLCA installation manual

York HVHC 07-12DS Installation & owner's manual

York

York HVHC 07-12DS Installation & owner's manual

Carrier Fan Coil 42B Installation, operation and maintenance manual

Carrier

Carrier Fan Coil 42B Installation, operation and maintenance manual

intensity IDUFCI60KC-3 installation manual

intensity

intensity IDUFCI60KC-3 installation manual

Frigidaire FAC064K7A2 Factory parts catalog

Frigidaire

Frigidaire FAC064K7A2 Factory parts catalog

Sanyo KS2432 instruction manual

Sanyo

Sanyo KS2432 instruction manual

LG MultiV Series installation manual

LG

LG MultiV Series installation manual

CLIMAVENETA a-CHD U-2T 606+2209 OPERATING AND INSTALLATION Manual

CLIMAVENETA

CLIMAVENETA a-CHD U-2T 606+2209 OPERATING AND INSTALLATION Manual

Midea EWK06CW5 user manual

Midea

Midea EWK06CW5 user manual

Pioneer FAB Series installation manual

Pioneer

Pioneer FAB Series installation manual

SPT WA-1511S user manual

SPT

SPT WA-1511S user manual

Mitsubishi Electric Mr.Slim MSZ-A24NA operating instructions

Mitsubishi Electric

Mitsubishi Electric Mr.Slim MSZ-A24NA operating instructions

Mitsubishi Electric PUHZ-RP50VHA4 Service manual

Mitsubishi Electric

Mitsubishi Electric PUHZ-RP50VHA4 Service manual

Panasonic CS-S18HKQ Service manual

Panasonic

Panasonic CS-S18HKQ Service manual

Panasonic CS-E15NKE3 operating instructions

Panasonic

Panasonic CS-E15NKE3 operating instructions

Gree GWH18TC-K3DNA1B/I Service manual

Gree

Gree GWH18TC-K3DNA1B/I Service manual

Daikin R32 Split Series installation manual

Daikin

Daikin R32 Split Series installation manual

Daikin FFQ09Q2VJU Operation manual

Daikin

Daikin FFQ09Q2VJU Operation manual

manuals.online logo
manuals.online logoBrands
  • About & Mission
  • Contact us
  • Privacy Policy
  • Terms and Conditions

Copyright 2025 Manuals.Online. All Rights Reserved.

CCW06B10B
CCW08B10B
CCW10B10A
CCW12B10A
CEW08B11A
CEW12B33A
IMPORTANT SAFETY INSTRUCTION ...........................................................................
...................................................................................
PACKING LIST ............................................................................................................
INSTALLATION&ASSEMBLY INSTRUCTIONS ..............................................................
USING YOUR AIR CONDITIONER ................................................................................
........................................................................
CARE AND CLEANING ................................................................................................
TROUBLESHOOTING .................................................................................................
ELECTRICAL REQUIREMENTS
OPERATING YOUR AIR CONDITIONER
THROUGH-THE-WALL INSTALLATION INSTRUCTIONS................................................
1
2
3
4
10
11
13
14
15
INTRODUCTION
1
2
(6K cooling) 10A time-delay fuse or
circuit breaker
(12K heating) 20A time-delay fuse or
circuit breaker
6K/8K/10K/12K Cooling
8K Heating
12K Heating
(8K-12K cooling & 8K heating) 15A
time-delay fuse or circuit breaker
3
1/2" Length Screws
3/4" Long Screws
5/8" Big FlatHead Bolt and
Locknut
3/8" Short Screws
Sill Angel Bracket
1/2" Small FlatHead Bolt and
Locknut
Support Bracket(with Rand L
remark)
Chassis Lock
5
4
3
2
4
Battery
4
OFFSET
STOOL
SILL
INTERIOR
WALL EXTERIOR
WALL
Air conditioner
Bottom channel
23” to 36”
660mm to 914mm
16”
406mm
1. This air conditioner is designed to be installed
In a standard double-hung window with a window
width between 23” and 36” (660mm-914mm).
2. The air conditioner can be installed without the
accordion panels fit in a narrow window opening.
3. The lower sash ( the lower part of the window that
moves up and down) must allow for 16” of vertical
clearance when open.
4. All supporting parts must be secured to firm wood,
masonry, or metal.
5. The electrical outlet must be within reach of the
power cord.
Window preparation
ALL INFORMATION AND THE TECHNICAL SPECIFICATIONS PRESENTED IN THIS USER’ S MANUAL ARE THE PRESENTATION
OF THE MANUFACTURE. PLEASE READ AND FOLLOW THESE INSTRUCTIONS CAREFULLY.
How to Install
NOTE:This is necessary for proper condensed water
utilization and drainage. If you are not using the Side
Panels for any reason, this pitch to the rear muse be
maintained!
Remove the air conditioner from the box and place on a
hard flat surface, as floor, a bench or a table. There is a
Left and Right Window Filler Panel - be sure to use the
proper panel for each side. When installed the flange for
securing the panel in place to the window sill will be facing
into the room.
5
5. Remove the control panel screw and WI-FI module
screw (if available) from the front panel.
1. Pull down the front panel and remove the filter.
2. Lift the front panel upwards to remove and place
to the side.
3. Locate the two faceplate screws and remove.
These screws will need to be re-installed prior
to mounting the air conditioner.
4. After removing the screws, gently pull away the
faceplate from the air conditioner cabinet.
REMOVE FRONT PANELAND CHASSIS
6.Remove the screws from the cabinet.
7. Hold the cabinet while pulling on the base
handle to carefully remove the unit. Do not pull
or lift near the top of the unit.
Do not pull or lift
this area. It may
cause damage.
Pull the base handle.
6
1. Place the cabinet on a hard flat surface.
2. Remove top rail from the top form of the packaging
material as shown in FIG. A.
3. Align the hole in the top rail with those on the top of
the unit as shown in FIG. B.
4. Secure the top rail to the unit with the 3/8” screws
as shown in FIG. C.
Top RailTop Foam
Top Rail Assembly
Accordion Panel and cabinet Assembly
1.Hold the Accordion Panel in one hand and gently
pull the center to free the open end.
2.Slide the free end of the panel into the cabinet as
shown. Be sure to leave enough space to slip the
top and bottom of the frame into the rails on the
cabinet.
3.Once the panel has been installed on the side of
the cabinet, make sure it sits securely inside the
frame channel by making slight adjustments. Slide
the top and bottom ends of the frame into the top
and bottom rails of the cabinet. Slide the panel all
the way for both sides.
OFFSET
STOOL
SILL
INTERIOR
WALL EXTERIOR
WALL
Air conditioner
Bottom channel
4.Use two or more people, place the air conditioner
into the window opening so the bottom of the air
conditioner frame is against the window sill.
Tilt the back of the unit slightly download to allow
accumulated rain water to drain out.
5.Fasten cabinet bottom to window sill using two
1/2” screws. Pre-drill holes if needed.
7
8
1.Hold each support bracket flush against the outside of
the window sill. Tighten each bracket to the bottom of the
cabinet as shown. Mark the brackets at top lever of the
window sill and then remove.
Sign marking
1/2” long bolt
and locknut
Sill angle
bracket
5/8” long bolt
and locknut
4. Tighten all the bolts with locknuts securely.
1.Team lift (two people or more) the air conditioner
chassis and carefully slide it into the cabinet. Let
the front of the air conditioner hang out
approximately 6”.
2.CAUTION: DO NOT PUSH ON THE CONTROLS
OR FINNED COILS.
3.Be sure the chassis is firmly seated in the back of
the cabinet.
4.Insert all screws removed during window install-
ation and fasten, then reattach the front face plate,
front panel, and the air filter.
5. If the wall is too near to effect driving the cabinet
screw back, you can assemble the chassis lock at
the right bottom corner of chassis with 3/8” screw
as shown, before assemble the front panel.
2.Assemble the sill angle brackets to the support
brackets at the marked position with long bolt and
locknut as shown. Hand tighten, but not all the way
for any changes that may need to be made later
during installation.
3.Install the support brackets (with sill angle bra-
ckets) to the bottom of the cabinet as shown.
Sill angle bracket
Support bracket Bolt and
Locknut
Chassis Lock