- 3 -
6. Connecting your amplifier
Please make sure that all connections to your pre-amplifier and loudspeakers have been made prior to
turning the amplifiers on. Should you notice any hum, it may be necessary to connect a ground cable be-
tween the amplifier and pre-amplifier.
Interconnects and cables
You may use any high quality interconnects fitted with balanced XLR style connectors. Please make sure
that the connectors are not oxidized and make a solid and tight connection to the amplifiers. We recom-
mend the use of our own XLR cables, as they are optimized to work best with our EINSTEIN components.
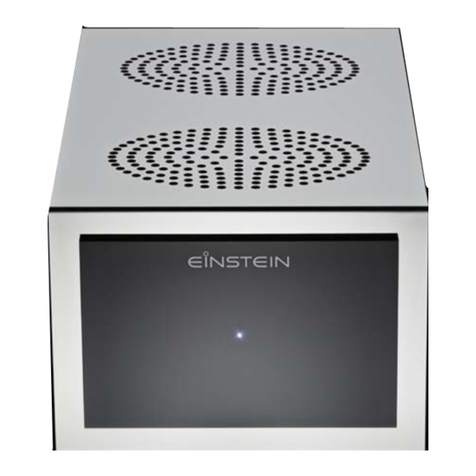
Since The Final Cut amplifier is a fully balanced design, it is critical that you only supply a fully balanced
signal at the input. You may only use a fully balanced pre-amplifier and of course our very own The Tube
pre-amplifier receives the highest recommendation
Loudspeaker cables
Only use high quality loudspeaker cables with properly terminated ends. Make sure that the terminations
are free from oxidation and that the cable’s cross section is wide enough. Using loudspeaker cables that
are too thin minimizes the power transfer from our amplifier and results in a lower damping factor critical
to properly control your loudspeakers.
7. Power switch
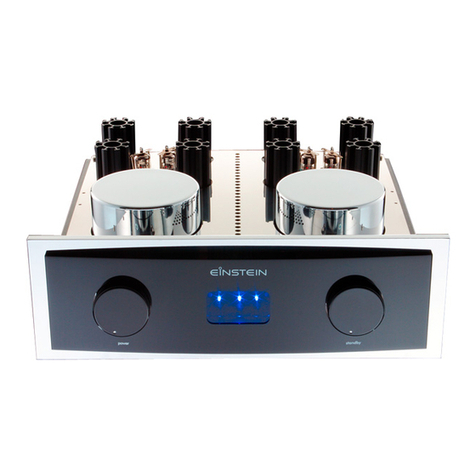
To turn power to The Final Cut on or off, please use the left switch on the front panel of the chassis.
Three blue LED’s and lighting of the tubes indicate the status of the amplifier. The Final Cut is ready to
play after approximately 5 minutes when both outside LED’s are switched off. If there is a problem with
the amplifier, either both or one or the other LED will remain lit, at which point you should turn the ampli-
fier off and contact your dealer / distributor or EINSTEIN directly. The unit will achieve its optimal sound
and operating temperature after approximately half an hour. It is recommended that you don’t tax the
amplifiers unnecessarily during this warm up phase as it may result in lower tube life.
8. Control from front face plate
The two front panel mounted switches control the following functions of the amplifier: left switch — on /
off; right switch — standby
