5.Power
The Power socket is located on the left underside of the unit. This connector also in-
cludes the fuse and one spare. Please make sure that the unit is powered off and
not connected to the power outlet prior to exchanging the fuse. 230V are at the
safety clip, EXTREME SHOCK HAZARD!
6.Connecting your pre-amplifier
Prior to powering the unit on, please make sure that all source components and your
amplifier are properly connected to the pre-amplifier. For optimal results you should
always use the balanced input and output connectors. If necessary, connect a
ground wire between your pre-amplifer and source component. Please check each
balanced connection for the proper pin layout:
Pin 1 = Ground
Pin 2 = + Positive
Pin 3 = - Negative
If you are running The Preamp non-balanced, make sure the pin layout is correct, so
as to avoid any sound quality degradation. The innovative circuit design of your
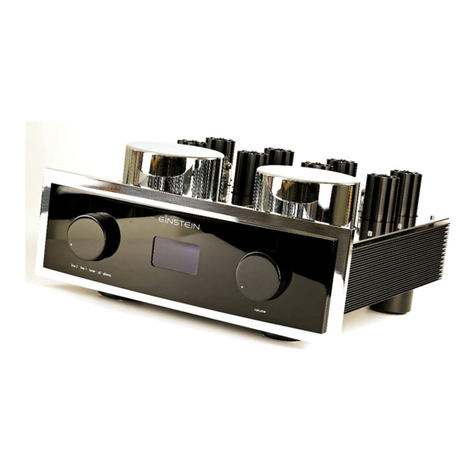
EINSTEIN The Preamp pre-amplifier allows full use of low impedance interconnects.
Please consult your local dealer / distributor or EINSTEIN directly for more information.
Interconnects You may use any high quality interconnects with RCA or XLR termina-
tion. Please make sure that the connectors are free of oxidation and offer a solid
contact point. We recommend our own interconnects EINSTEIN The Flash as they
have been optimized to work with our components (please use our pre-amplifier to
listen to music and not as a testing tool for signal cables).
Loudspeaker cables Only use high quality loudspeaker cables with properly termi-
nated ends. Make sure that the terminations are free from oxidation and that the
cable’s cross section is wide enough. Using loudspeaker cables that are too thin
minimizes the power transfer from our amplifier and results in a lower damping factor
critical to properly control your loudspeakers. Our EINSTEIN The Thunder meets all
requirements to the highest standards and will provide an exceptional performance.
7.Power switch
To power the unit on or off, please use the power switch located at the underside of
the chassis next to the power input. The blue display and lighting of the tubes will in-
dicate the units power status. The pre-amplifier is ready to play within approximately
4 minutes. The unit will achieve its optimum sound and
operating temperature within approximately 30 minutes of operation. Always turn
the pre-amplifier on prior to the amplifier (or active loudspeakers). To turn power off,
always turn the amplifier off first, followed by the pre-amplifier and source compo-
nents.
