Ekofires 1250 LED Assembly Instructions

INSTALLATI N & USER INSTRUCTI NS
All instructions must be handed to the user for
safekeeping.
M DELS C VERED BY THESE INSTRUCTI NS
EF09-19
1250 LED ELECTRIC ST VE
*VARI US C L URS AVAILABLE
LED ELECTRIC ST VE
Please note : Except where otherwise stated, all rights,
including copyright in the text, images and layout of this
booklet is owned by Focal Point Fires plc. You are not per-
mitted to copy or adapt any of the content without the
prior written permission of Focal Point Fires plc.
1
Revision A - 10/16
©2016 Focal Point Fires plc.
GB IE
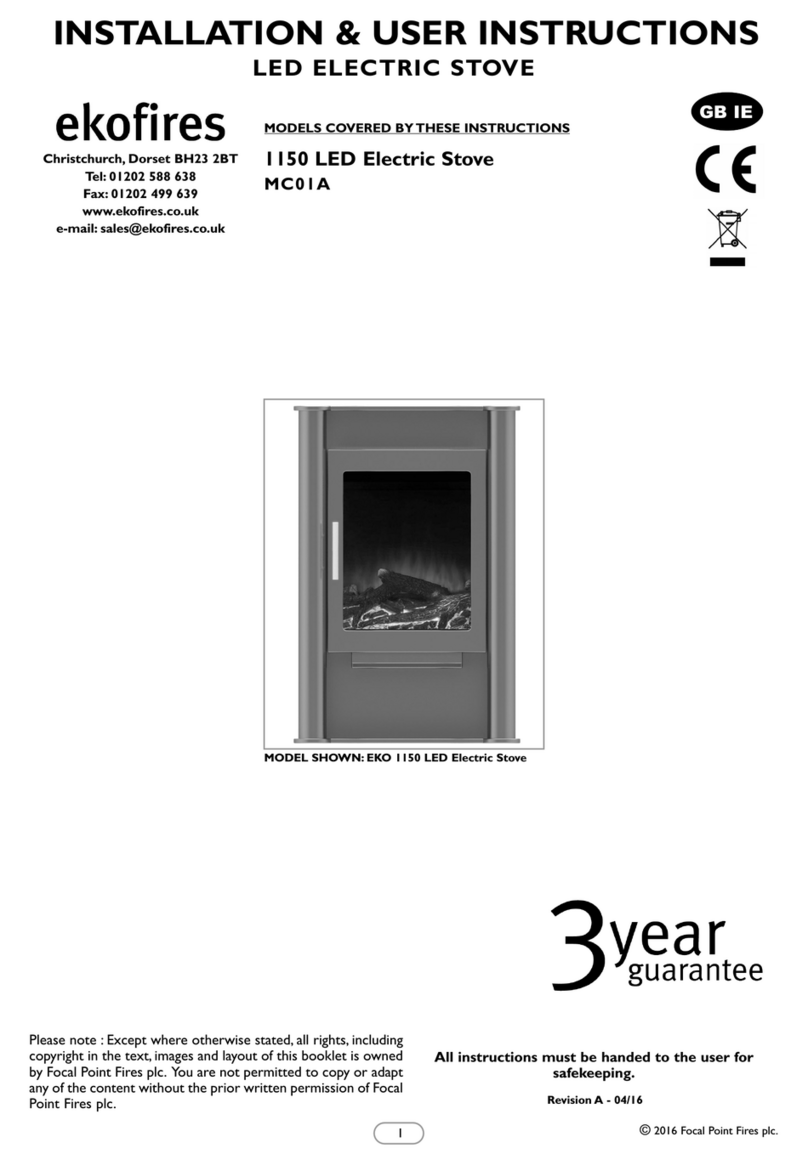
M DEL SH WN: EK 1250 ARCHED LED ELECTRIC ST VE
Christchurch, Dorset BH23 2BT
Tel: 01202 588 638
Fax: 01202 499 639
www.ekofires.co.uk
e-mail: sales@ekofires.co.uk

IMP RTANT - THESE INSTRUCTI NS SH ULD BE READ CAREFULLY
AND RETAINED F R FUTURE REFERENCE.
When using this electrical appliance, basic precautions should be followed to reduce the risk
of fire, electric shock and injury to person, including the following:
• This heater must be used on an AC supply only and the voltage marked on the heater’s
rating label must correspond to the supply voltage.
• D N T switch the appliance on until it is properly installed as described in this
manual.
• This appliance can be used by children aged from 8 years and above and persons with
reduced physical, sensory or mental capabilities or lack of experience and knowledge if they
have been given supervision or instruction concerning use of the appliance in a safe way and
understand the hazards involved. Children shall not play with the appliance. Cleaning and
user maintenance shall not be made by children without supervision.
• Children of less than 3 years should be kept away unless continuously supervised.
Children aged from 3 years and less than 8 years shall only switch on/off the appliance pro-
vided that it has been placed or installed in its intended normal operating position and they
have been given supervision or instruction concerning use of the appliance in a safe way and
understand the hazards involved. Children aged from 3 years and less than 8 years shall not
plug in, regulate and clean the appliance or perform user maintenance.
• CAUTI N: Some parts of this product can become very hot and cause burns.
Particular attention has to be given where children and vulnerable people are present.
• If the supply cord is damaged, it must be replaced by the manufacturer, its service agent or
similarly qualified persons in order to avoid a hazard.
• The heater must not be located immediately below a socket-outlet.
• D N T use this heater in the immediate surroundings of a bath, a shower or a swim-
ming pool.
• WARNING: In order to avoid overheating, do not cover the heater.
• D N T use this heater with a programmer, timer, separate remote-control system or
any other device that switches the heater on automatically, since a fire risk exists if the
heater is covered or positioned incorrectly.
• CAUTI N: In order to avoid a hazard due to inadvertent resetting of the thermal
cutout, this appliance must not be supplied through an external switching device, such as a
timer, or connected to a circuit that is regularly switched on and off by the utility.
• Keep furniture, curtains and other fabric material away from the appliance.
• D N T leave the appliance unattended during use.
• From time to time, check the cord for damage. ever use the appliance if the cord or any
part of the appliance shows signs of damage.
1.0 IMP RTANT N TES
I N S TA L L AT I N & U S E R I N S T R U C T I N S
2
GB IE
Section Contents Page No.
1.0 Important Notes 2
2.0 Installation Requirements 3
3.0 Appliance Data 3
4.0 Unpacking the Appliance 3
5.0 Component Checklist 3
6.0 Installing the Appliance 3
7.0 perating the Appliance 4
8.0 Safety Cutout System 5
Section Contents Page No.
9.0 Maintenance 5
10.0 Cleaning 5
11.0 Spares 5
12.0 Servicing 6
13.0 Appliance Dimensions 6
14.0 Troubleshooting Guide 7
15.0 Guarantee - Terms and Conditions 7
©2016 Focal Point Fires plc.

3©2016 Focal Point Fires plc.
QUANTITY DESCRIPTI N
1 Heater main body with decorative castings
1 Instruction booklet
1 Remote control handset
2 Levelling feet
5.0 C MP NENT CHECKLIST
Read all the instructions before continuing to unpack or install this appliance. Carefully lift the appliance from the carton. Check
that the contents correlate with the component checklist below. Please dispose of all packaging with care at your local recycling
centre.
4.0 UNPACKING THE APPLIANCE
2.0 INSTALLATI N REQUIREMENTS
3.0 APPLIANCE DATA
Supply Voltage and rating power : 220-240V AC 50Hz, 1500 - 1800W Fuse Rating : 13 Amp
Heating Elements : 1500 - 1800W Lighting : LED Light Strip
Location : Indoor use only Supply plug/cord : BS1363/1.8 metres length
The appliance is supplied with a pre-wired three pin BS1363 plug (13Amp fuse rated) and 1.8 metres of electrical flex. It is therefore
necessary for a suitable electrical socket to be located within this distance of the appliance and be easily accessible. The stove may be
installed on a combustible or non-combustible floor, however the heater outlet is underneath the stove and certain types of floor cov-
ering may be affected by the heat produced by the stove. The ability of the floor covering to withstand the heat produced by the stove
should be ascertained before proceeding with the installation of the stove. If in doubt then the stove should be mounted on a non-com-
bustible hearth or plinth which extends at least 150mm in front of the stove.This appliance should be positioned on a firm level surface.
If the stove is to be sited in a fire surround then the suitability of the surround for use with electrical heaters should be established with
the fire surround manufacturer.If fitted into an open draught fireplace, it is advisable to block off the chimney to reduce the risk of
draught through the stove which may cause the safety cut out system in the fan heater to operate.
• D N T run the mains cable under carpets, rugs etc.
• D N T cover or obstruct the heater in any way. Overheating will result if it is acci-
dentally covered.
• ever immerse the product in water or any other liquids.
• D N T use the appliance outdoors.
• Before cleaning the appliance, ensure it is unplugged from the power and that it is com-
pletely cool.
• D N T clean the appliance with abrasive chemicals.
• ever use accessories that are not recommended or supplied by the manufacturer. It
could cause danger to the user or damage to the appliance.
• D N T insert or allow foreign objects to enter the inlet or outlet vents as this may
result in electric shock, fire or damage to the appliance.
• D N T install the fire using an extension cord.
• Unplug from the mains supply if the appliance is not to be used for long periods.
1.0 IMP RTANT N TES - C NTINUED GB IE
CAUTI N: D N T C NNECT THE APPLIANCE T THE ELECTRICAL SUPPLY AT THIS TIME
Situate the LED stove in the desired location. If the surface is uneven, fit two levelling feet behind the two front cast legs. Unscrew in a anti
clockwise orientation to extend the feet and clockwise to contract the front legs. The fires levelness can be checked by using a spirit level.
Before finally fitting the appliance into its location, ensure that the mains cable and plug are properly routed.
6.0 INSTALLING THE APPLIANCE

7.0 PERATING THE APPLIANCE GB IE
Read All Instructions Before Use
Check that the heater outlet grille, mounted beneath the appliance, is not covered or obstructed in anyway, and ensure the power
to the fire is switched on.
Control Panel
The control panel is located underneath the grill at the top of the appliance. This panel contains the buttons to properly operate the
electric fireplace.
Remote Control
The fire is supplied with an IR multifunction remote.
The remote control has an effective range of up to 13 feet.
Before the remote will operate the plastic insulating sheet needs
to be removed.
Battery Replacement
Battery Requirements: 3V CR2025
1. Locate and remove the battery bracket.
2. The battery has two sides, one with a button feature, and the
other is flat.
3. Insert the battery with the button side down into the battery
bracket, making sure the battery is firmly seated.
Using The Main Power Button
The main power button (1) is located on the control panel under the grill on top the of the appliance. Pressing the main power button
(1) once turns the power O .
Pressing the main power button (1) again will turn the power OFF.
If you find that none of the other buttons appear to work, check to make sure that the main power (1) is turned on.
Battery Disposal
Batteries must be recycled or disposed of properly. Check with your Local Authority or Retailer for recycling advice in your area.
Using the Flames Control Button
Press the flames control button (2) to turn on the ember bed
and flame effect.
Pressing the flames control button (2) once turns flames on and
lights the ember bed.
Pressing the flames control button (2) again will cycle through dif-
ferent colours of the ember bed. The colour rotation mode will
cycle through the 3 different colour settings continuously. Refer
to the table opposite for more detailed information.
Using the Heater Control Button
The heater control button (3) turns the heater on and off. With the unit
O , press the control panel heater button (3) for 5 seconds and enter
temperature adjustment mode.
Hold button (2) down for five seconds to change from Fahrenheit to
Celsius.
Press the control panel heater button (3) to change to the desired tem-
perature. There are 10 temperature settings. Refer the table opposite
for more detailed information.
After the temperature is selected, it will stay on for 10 seconds, then
turn off.
4©2016 Focal Point Fires plc.
1. 2. 3. 4.
1. Main Power Button
2. Flames Control Button
3. Heater Control Button
4. Timer Control Button
5. Temperature Control Buttons (Remote Control Only)
1.
2.
3.
4.
5.

5©2016 Focal Point Fires plc.
10.0 CLEANING
9.0 MAINTENANCE
11.0 SPARES
Refer to Section 3.0 Appliance Data for lamp and fuse specification. Excluding lamps and fuses, use only genuine manufacturers
spare parts available from your supplier.
ALWAYS DISC NNECT THE APPLIANCE FR M THE MAINS SUPPLY BEF RE
UNDERTAKING ANY MAINTENANCE.
Excluding lamps and fuses, use only genuine spare parts available from your supplier. Replacement lamps must be of the same
wattage and specification as those stated in Section 3.0 Appliance Data.
This product has a non-self-resetting overheat protection device (thermal cut-out) which will activate if the air inlets or outlets
are obstructed. For safety reasons the fire will OT switch on again automatically, the following procedure must be carried out
before the fire can be operated.
OTE: The visual effect will remain operational if the cutout is activated, only the fan heater is prevented from working.
Switch OFF the appliance at the wall socket or outlet. Leave the fire OFF for a period of no less than 10 minutes, ensuring all
obstructions are removed. Switch the appliance O at the wall. Ensure the appliance is turned O at the control switches. If
the fire fails to operate correctly, repeat the above procedure. If an attempt to switch on the appliance is made before the safe-
ty cutout has reset, the appliance may cutout for a further period of time. If the sequence has been followed correctly and the
appliance still fails to function, check the fuse in the wall outlet. If this is not the cause, call an electrician or maintenance engineer.
8.0 SAFETY CUT UT SYSTEM
Using the Timer Control Button
Pressing the timer control button (4) will set the timer.
N TE: If this product experiences exceptionally
high temperature, it may automatically stop heating. If this
occurs the product should be unplugged or isolated from the
main supply for a period of 30 seconds before the power is
then re-supplied.
7.0 PERATING THE APPLIANCE - C NTINUED GB IE
ALWAYS DISC NNECT THE APPLIANCE AT THE SUPPLY UTLET S CKET BEF RE UNDERTAKING
ANY CLEANING.
Except for periodic cleaning of dust, there are no specific requirements for care, other than regular cleaning of the general
appliance. A wipe with a dry cloth is normally sufficient. D N T use abrasive cleaners as they can damage the finish. Make
sure the heater outlet grille (located under the stove), and the air inlet mesh grilles (located on the rear of the stove) are kept
clear of dust, pet hair and other airborne household matter. These should be vacuum cleaned periodically using a brush attach-
ment.
GLASS PA EL - This should only be cleaned using a suitable glass cleaner. Test on a small area first.

6©2016 Focal Point Fires plc.
All dimensions in mm
13.0 APPLIANCE DIMENSI NS
There are no internal user serviceable parts.
Also check security of supply cable and connections. If the supply cable becomes damaged, it must be replaced by a service agent
or competent person, such as a qualified electrician.
This appliance is supplied with a BS1363 3 pin plug fitted with a 13 Amp fuse. Should
the fuse require replacing, it must be replaced with a fuse rated at 13 Amp and
approved to BS1362. In the event of the mains plug being removed/ replaced for any
reason, please note : IMP RTANT: The wires in the mains lead are coloured in
accordance with the following code:
Blue - eutral
Brown - Live
Green/ Yellow - Earth
As the colours of the wires in the mains lead of this appliance may not correspond
with the colour markings identifying the terminals in your plug, proceed as follows.
The blue wire must be connected to the terminal marked with an or coloured
black. The brown wire must be connected to the terminal marked with an L or coloured red. The green/yellow wire must be
connected to the earth terminal which is marked with an E or with the earth symbol. WARNING: ever connect live or
neutral wires to the earth terminal of the plug.
OTE: If a moulded plug is fitted and has to be removed take great care in disposing of the plug and severed cable, it must be
destroyed to prevent engaging into a socket.
Refer to Section 3.0, Appliance Data for fuse specification. Excluding fuses, use only genuine manufacturers spare parts available
from your supplier.
12.0 SERVICING GB IE

7©2016 Focal Point Fires plc.
As our policy is one of continuous improvement and development, we therefore hope that you will understand we must retain the right to amend details and/or specifica-
tions without prior notice.
Waste electrical products should not be disposed of with household waste. Please recycle where facilities exist. Check with your local authority or retailer for recycling advice.
F861404
15.0 GUARANTEE - TERMS AND C NDITI NS
Fire is not switching on Ensure mains switch is on
Replace the fuse in the plug
Fire is not emitting any heat The fire is fitted with an energy saving thermostat. If the temperature in the room
is higher than the temperature selected on the fire, then the thermostat will stop
the heater from turning on. For example, if the room temperature is 22ºc or above
and the fires heater is set at 22ºc, then the heater will not be required until the
room temperature drops below 22ºc. If this is the case select a higher temperature
setting than the room’s temperature and the heater will begin to operate.
Fire shuts off after a period of time Check that the temperature is not set onto the lower settings. If the room is
warm enough the thermostat will stop the fire switching the heat on.
Check that the chimney/flue is blocked off.
Clean inlet and outlets out with a vacuum cleaner.
Fire seems noisy There is a level of noise when the flame effect is in use, caused by a motor that
helps generate the effect. This noise will be heard when there is no other
background noise.
There is a higher level of noise associated with the heater motor; this is due to
the air flow required when heat has been selected.
Remote is not operating Check or replace batteries.
14.0 TR UBLESH TING GUIDE GB IE
Registration is not required.
1. For any claim to be made within the 3 years from date of purchase you will be required to provide and supply us with your original proof
of purchase.
2. Purchase(s) must be made through an authorised stockist/retailer.
During the guarantee period any product or component which is proved to be faulty or defective in manufacture, will be repaired or replaced
free of material and labour charges, providing that we have authorised or carried out the repair or replacement.
We will not accept or reimburse the costs of any third party who undertakes any work carried on the product or fits parts, unless we have
approved such work in advance of it being carried out.
The guarantee period will not be extended even if we repair or replace any product or part.
For all electric fires purchased the 3 year guarantee commences from the date of purchase, providing that you can supply the proof of pur-
chase. This does not cover consumable items such as pebbles, coals or light bulbs. Purchase(s) must be made through an authorised stockist.
Making a claim
Making a claim is easy. If you wish to make a claim under our guarantee and all the terms and conditions for your product have been met
then please submit the following information for the attention of the 3G Service Department to the address below. Alternatively, you can
email or fax.
EKO Fires, 3G Service Department, Reid Street, Christchurch, Dorset, BH23 2BT.
Email: service@ekofires.co.uk
Fax. 01202 499326.
Details required:
1. ame, full address including postal code and contact telephone number.
2. A copy of your proof of purchase e.g. receipt or bank statement.
Please note that this does not affect your statutory rights.
Table of contents
Other Ekofires Stove manuals
Popular Stove manuals by other brands

Moretti Design
Moretti Design ARIA TURBO ALADINO CLEAN GLASS DEDICATED MANUAL

HASE
HASE COMO operating instructions

ACR STOVES
ACR STOVES Langdale Technical manual

Elite Products
Elite Products EDB-302F instruction manual

Stuv
Stuv 16/58-cube Installation, user and servicing instructions

INIS
INIS Meain MK2 User and installation manual

Drija
Drija LIVORNO 90 user manual

Jøtul
Jøtul F 3 TD Installation and operating instructions

SCAN
SCAN 83 series Assembly and instruction manual

AGA
AGA Ludlow Installation & user manual

Dunsley Heat
Dunsley Heat Highlander 5 Enviro-Burn Installation and operating instructions

hergom
hergom GLANCE Installation, use and maintenance instructions