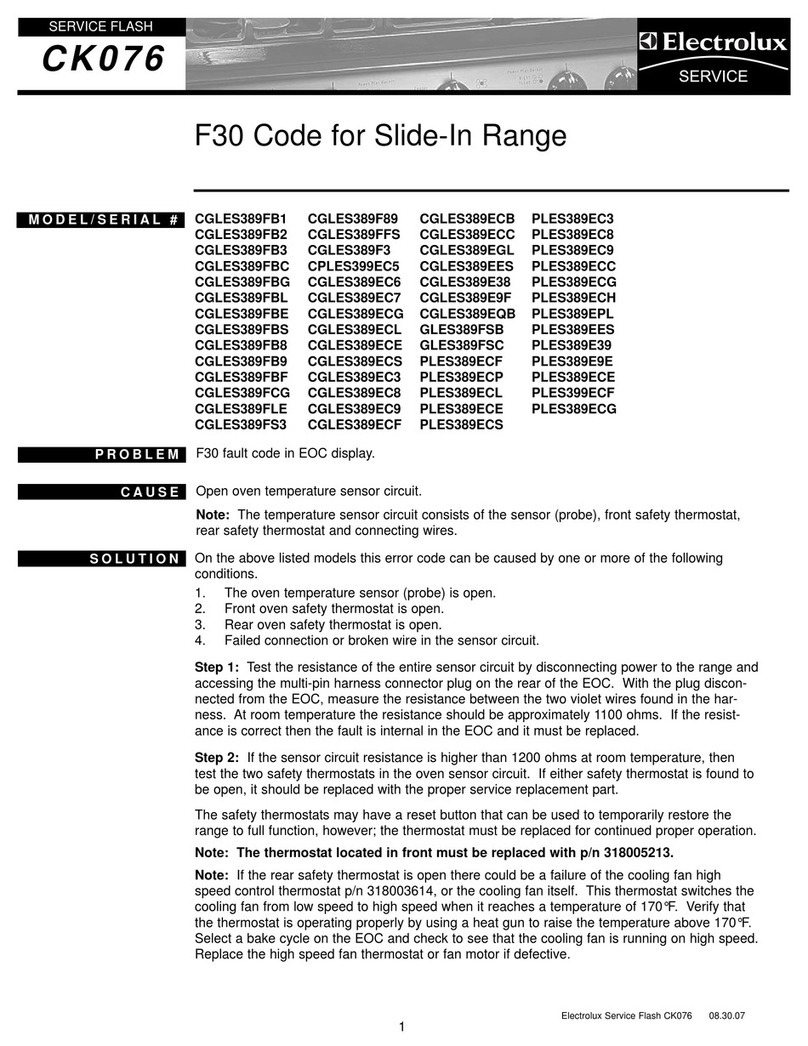
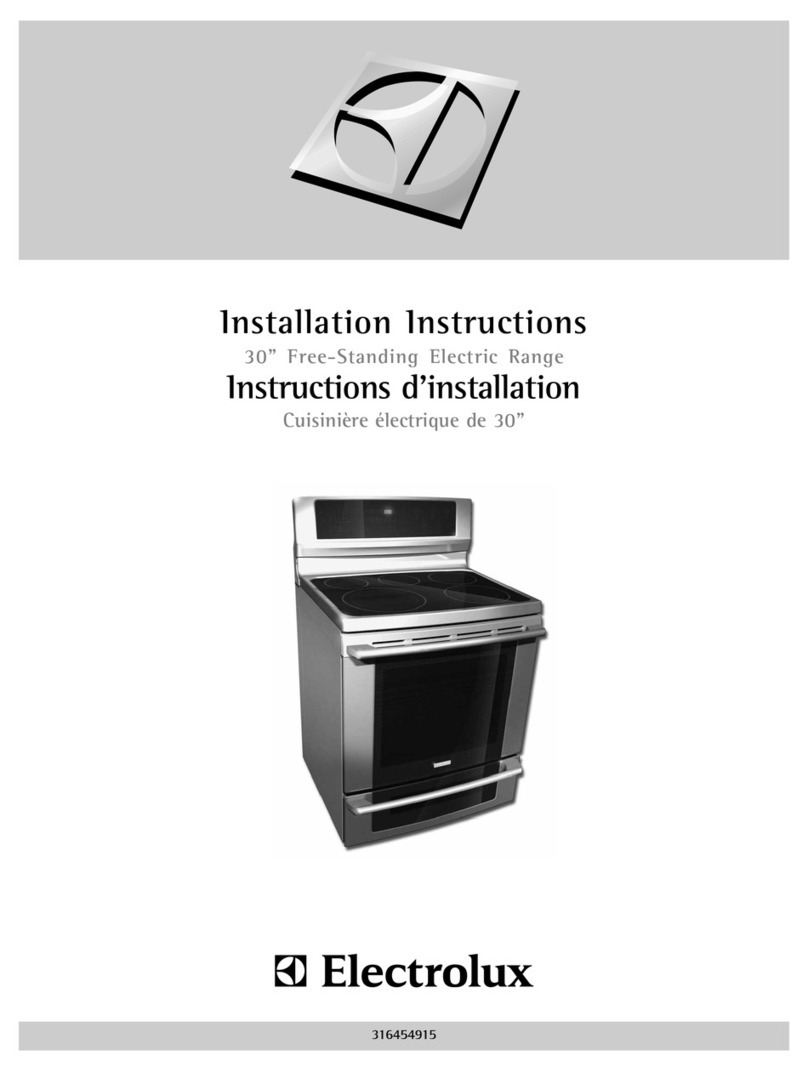
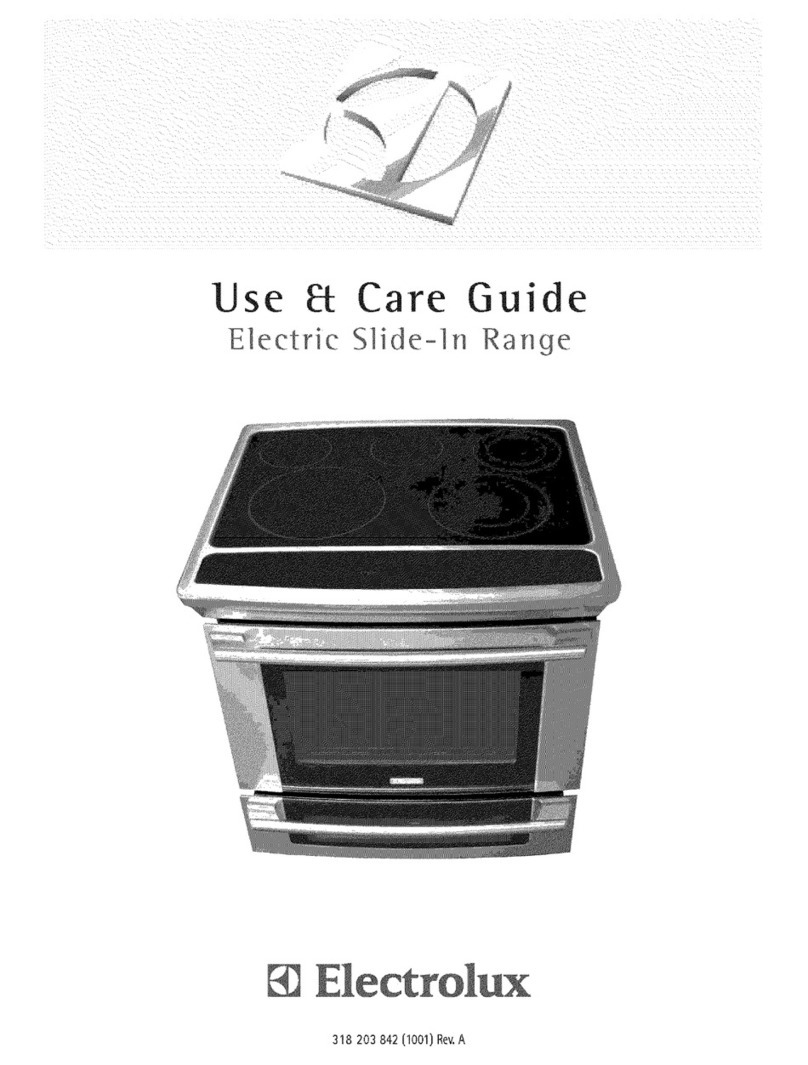
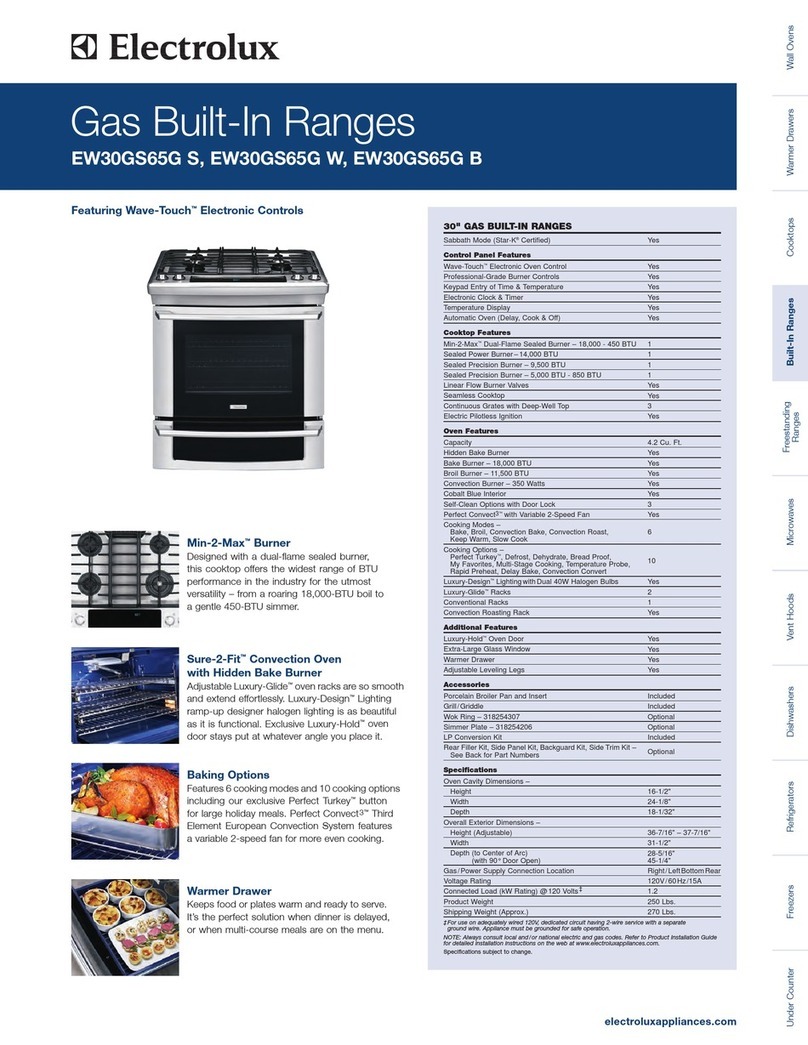
manuals.online logo
Brands
  1. Home
  2. •
  3. Brands
  4. •
  5. Electrolux
  6. •
  7. Range
  8. •
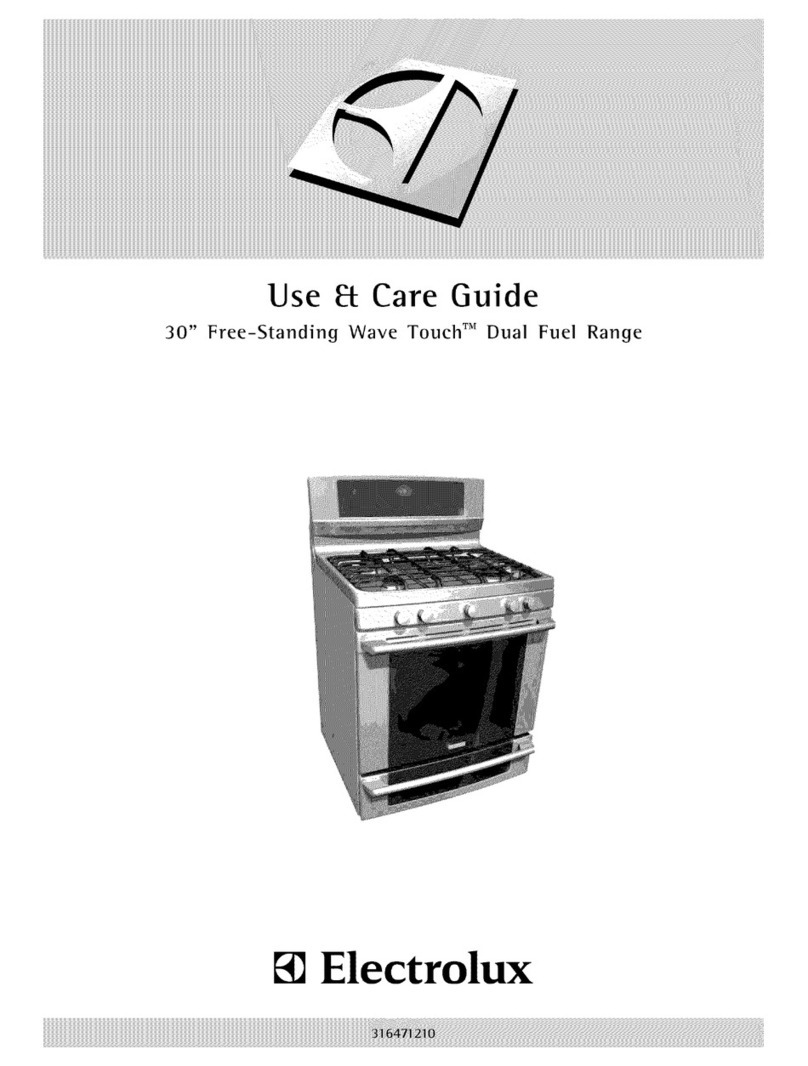
  9. Electrolux EW30DF65GWA User manual

Electrolux EW30DF65GWA User manual

×
OPERATING S_NGLE BURNERS
1. Push the desired gas surface control
knob in and turn counterclockwise
out of the OFF position -Fig.1.
2. Release knob and rotate to (lite)
r
position. Visually check that the
needed burner has lit.
3. To adjust, push the knob in and turn
counterclockwise to a flame size
setting that best fits your need.
Fig.1
GAS BURNER LOCATIONS
............,
....i
"2i ..........
OPERATING M_No2-MAX _'M
BURNER
1. Push the right front surface control
knob in and turn counterclockwise
out of the OFF position -Fig. 1.
2. Releasethe knob and rotateto the
(lite)position.
Note: Although all electronic surface
ignitors will spark at the same time,
only the selected surface burner will
lite.
3. Visually check that both the inner and
outer rings have lit -Fig. 4.
When both burners are lit, continue to
turn the control knob counterclockwise
to adjust to the desired flame size.
4. If only the inner burner is needed,
continue to rotate the gas control
knob counterclockwise past grey
area as shown in Fig. 2.
5. Adjust the inner flame to desired size
-Fig. 3.
Fig. 2
@
@
@
@
Standard burner -9,500 BTU-best
for most surface cooking require-
ments.
Large burner -14,000 BTU- best for
bringing large quantities of liquid to
boil or when preparing large
quantities of food.
Min-2-Max TM burner -18,000 BTU-
Capabilities of large burner
combined with a simmer burner.
TM
Perfect Simmer -5,000 BTU-
best for simmering delicate sauces,
melting chocolates, etc.
Fig. 4
Fig. 3
LUXUR%GUDE TMOVEN RACKS
REMOVING GUDE RACKS
Use thumbs to press in on both left
and right spring-loaded release levers -
Fig. 1-. Place the remainder of both
hands over the upper front of the glide
rack. While pressing in on both levers,
pull the rack straight out slightly and
release thumb levers. Using both
hands grasp both the upper and lower
portions of the glide rack (-Fig. 1);pull
rack using both hands straight out
until reaching the stop position -Fig 2-.
At the stop, lift up front of rack slightly
and continue to pull rack away from
oven -Fig 3-. Be sure to hold on both
upper and lower rack portions when
removing from or handling rack outside
of the oven - these rack portions move
independently and are difficult to
handle unless held together
REP_C_NG GL_DE RACKS
Grasp both upper and lower portions
of glide rack, lift and place the rack
resting evenly between the oven cavity
walls. Tilt the front of the rack upward
slightly and slide the rack completely
into position. Some force may be
necessary to make sure the oven rack
has snapped completely back into
place.
)per rack
portion
lower rack
portion
Fig. 1
Fig. 2
Fig. 3
Quick Reference
30" Free-Standh_g Dual Fuel Range
Thank you for choosing Electrolux, the new premium brand in home appliances. We have
provided you with this guide so that you may begin using your appliance right away.
SETTING CLOCK AT POWER UP
You will be prompted to enter the time of day in the event of a power failure or when you
first provide power to your appliance.
• When your appliance is first powered up, 12:00 will
flash in the display.
Enter the time of day using the numeric key pads and
press START to set.
If an invalid time of day is entered, the control will triple
beep. Re-enter a valid time of day and press START. If
CANCEL is pressed your clock will start with a time of
12:00.
WAVE TOUCH TM D_SPLAY MODES
SLEEP MODE
Your Wave Touch TM control will remain in a sleep mode when not in use. Only the clock
will display during this mode. You will need to wake the control to begin an oven feature.
The cooktop is available in sleep or awake mode.
!
P
AWAKE MODE
To wake the control touch within the display panel in the general area shown. After 2
minutes without activity, go back into sleep mode. To start cooking you must select
either the upper oven or lower oven. User preferences will be available during this mode
as well as timers, oven light and the control lock.
316506704
COOKING FEATURES COOKING FEATURES
OVEN OPERATING TEMPERATURES
Bake-upper 350°F/1760C 550°F/2880C 170°E/76°C
Breadproof HI i00°F/38°C HI 100QF/38°C LO 85QE/30_C
Cony bake 350tF/176°C 5500E/288QC 170°F/76°C
Cony roast 350°F/176_C 550°F/288°C i70tF/76°C
Dehydrate 120°E/48°C 225°F/108°C 1000F/38°C
Probe 1700F/760C 2i0°F/980C 1800F/82QC
CONTROL LOCK
@ Choose CONTROL LOCK
and hold for 3 seconds
To unlock, press and hold CONTROL
LOCK again for 3 seconds.
Control lock will lock oven controls and
upper oven door.
DOOR _ will flash in the display
until the door has finished locking. Once
the door has been locked, the door lock
indicator will turn on. LOC will then
display in the upper cavity only. Do not
attempt to open the oven door while
DOOR LOCK is flashing.
OVEN UGHT
O Press OVEN LIGHTto 0
turn on lights manually =
The oven lights will automatically turn
on when the upper oven door is opened.
CIn Self clean x
dEF Defrost x
...................... ................................._ ; _t!_ _ _t
El0* Faut codeerror x
The two timers serve as extra reminders
in the kitchen.
Toset the timer:
• Choose desired timer.
Hot Hot oven x
Loc Control lock x
Enter desired time and press START. Sd Demo mode x
To cancel, press the timer key.
CF Check food
* F10 is an example of a fault code that
you may see. These codes will help
your servicer repair your appliance.
This guide is not intended to replace your user's manual. Refer to the Use & Care
Guide for complete instructions.
BAKE
UPPER
Press UPPER OVEN OVEN
or LOWER OVEN LOWER
OVEN
÷ PressBAKE* D
@ PressSTART
BROIL
@ Press UPPER OVEN
Press CONY ROAST*
Press START
KEEP WARM
UPPER
OVEN
N
@
@
Place the boiler insert on the
broiler pan, then place food on the
insert. Remember to follow all
warnings and cautions.
Place prepared food directly under
broil element. Leave oven door
open slightly (about 4 inches).
Press UPPER OVEN UPPER
OVEN
@ PressBROIL* []
@ PressSTART 4>
CONY BAKE
@ Press UPPER OVEN UPPER
OVEN
@PressCONVBAKE* []
ePressSTART 4>
@ Press UPPER OVEN
or LOWER OVEN
Press KEEP WARM*
Press START
@ Press UPPER OVEN
or LOWER OVEN
Press SLOW COOK
Press =lo to choose the
low option.
Press +hi to choose the
high option.
Press START
UPPER
OVEN
LOWER
OVEN
N
4>
UPPER
OVEN
LOWER
OVEN
|0
+
hi
4>
PERFECT TURKEY TM
CONV BROIL
@Place boiler insert on broiler pan,
then place the food on insert.
Remember to follow all warnings
and cautions.
Place prepared food directly under
broil element. Close oven door.
Press UPPER OVEN
UPPER
OVEN
Press CONV BROIL*
oN]
Press START
o 4>
@
@
@
@
@
Insert the probe into the food and
place food on rack in oven.
Plug the probe completely into
the probe receptacle inside the
oveR.
Press UPPER OVEN UPPER
OVEN
Press PERFECT TURKEY*
Press START 4_
*Enter your desired temperature at this point if you choose not to use the default temp.
MULT_ STAGE
@ Press UPPER OVEN OVENUPPER
Press DEFROST :_
e Press START 4>
Press UPPER OVEN UPPER
OVEN
Press DEHYDRATE*
Press START <_
BREAD PROOF
Press UPPER OVEN UPPER
OVEN
Press BREAD PROOF
Use the +hi or -Io keys to
change default temperature.
Press START <_>
MY FAVOR_TE_(to save[
@
@
@
@
Press UPPER OVEN UPPER
OVEN
Choose cooking feature & any
additional options.
Press START
Press & hold available
MY FAVORITE
for 3 seconds.
Press CANCEL
4>
g)q)
@
@ Press UPPER OVEN
Press MULTi STAGE
Stage 1
Choose 1st cooking feature
Enter temperature
Press START
Enter cooking time
Press START
UPPER
OVEN
4>
4>
Stage 2
Choose 2nd cooking feature
Enter temperature
¢ Press START 4>
Enter cooking time
O Press START 4>
Stage 3
Choose 3rd cooking feature
Enter temperature
¢ Press START 4>
Enter cooking time
Press START twice 4>
UPPER
Press UPPER OVEN OVEN
Press CLEAN []
Choose LiTE, • .....
MED or HEAVY iite reed heavy
Press START 4>
*Enter your desired temperature at this point if you choose not to use the default temp.
Cook options may be added to cooking
features to make your cooking
experience easier. The following options
are available:
Cook time
End time
Probe
Rapid prehat
Convection convert
COOK T_ME
UPPER
Choose UPPER OVEN OVEN
or LOWER OVEN LOWER
OVEN
Choose cooking feature
Press START 4>
¢ Press COOK OPTIONS @
Press COOK TIME
Enter amount of cooking time
e Press START 4>
BOOK TmME W_TH END TmME
UPPER
Choose UPPER OVEN OVEN
or LOWER OVEN LOWER
OVEN
Choose cooking feature
Press COOK OPTIONS @
Press COOK TiME
Enter amount of cooking time
Press END TiME (Z_
Enter time of day you wish to stop
cooking (00:00 format)
e Press START 4>
@ Insert the probe into food and
@place in the oven.
Plug the probe completely into the
probe receptacle inside the oven.
Choose UPPER OVEN UPPER
OVEN
Choose cooking feature
Press COOK OPTIONS @
Press PROBE /_
¢ Press START 4>
RAP_D PREHEAT
UPPERChoose UPPER OVEN OVEN
Choose cooking feature
Press COOK OPTIONS @
Press RAPID PREHEAT ),_,
Press START 4>
CONVECTION CONVERT
UPPER
Choose UPPER OVEN OVEN
Choose cooking feature
Press COOK OPTIONS @
Press CONY CONVERT >_1_
e Press START 4>
USER PREFERENCES
The user preferences key will allow you
to customize the way your appliance
operates. User pref is only accessible
when you are not cooking or using the
timers. You will find options such as
setting the clock, audio mode and other
changes under the user preferences.

This manual suits for next models

9

Other Electrolux Range manuals

Electrolux 7GRGDGC0P User manual

Electrolux

Electrolux 7GRGDGC0P User manual

Electrolux E36GC75GSS1 User manual

Electrolux

Electrolux E36GC75GSS1 User manual

Electrolux EW30IF60ISA User manual

Electrolux

Electrolux EW30IF60ISA User manual

Electrolux EI30GF55GSB User manual

Electrolux

Electrolux EI30GF55GSB User manual

Electrolux Wave-Touch CEW30GF6GWD User manual

Electrolux

Electrolux Wave-Touch CEW30GF6GWD User manual

Electrolux E30GF74TPS User manual

Electrolux

Electrolux E30GF74TPS User manual

Electrolux EW30ES65G B User manual

Electrolux

Electrolux EW30ES65G B User manual

Electrolux ICON Professional E36DF76GPS Instruction sheet

Electrolux

Electrolux ICON Professional E36DF76GPS Instruction sheet

Electrolux E48DF76EPS - 48" Pro-Style Dual-Fuel Range Quick start guide

Electrolux

Electrolux E48DF76EPS - 48" Pro-Style Dual-Fuel Range Quick start guide

Electrolux FLF335CHTA User manual

Electrolux

Electrolux FLF335CHTA User manual

Electrolux E36DF76TPS User manual

Electrolux

Electrolux E36DF76TPS User manual

Electrolux EI30EF55GSC User manual

Electrolux

Electrolux EI30EF55GSC User manual

Electrolux Electric Ranges User guide

Electrolux

Electrolux Electric Ranges User guide

Electrolux EW30GS80RS User manual

Electrolux

Electrolux EW30GS80RS User manual

Electrolux Frigidaire FFGF3005MQ Owner's manual

Electrolux

Electrolux Frigidaire FFGF3005MQ Owner's manual

Electrolux EKG61107OX User manual

Electrolux

Electrolux EKG61107OX User manual

Electrolux EKGE20C2NMS User manual

Electrolux

Electrolux EKGE20C2NMS User manual

Electrolux Tappan User manual

Electrolux

Electrolux Tappan User manual

Electrolux 30" Electric/Microwave Combination Wall Oven User manual

Electrolux

Electrolux 30" Electric/Microwave Combination Wall Oven User manual

Electrolux Eecric Range Owner's manual

Electrolux

Electrolux Eecric Range Owner's manual

Electrolux EKG913B3OX User manual

Electrolux

Electrolux EKG913B3OX User manual

Electrolux Frigidaire CGIF3036TFB Owner's manual

Electrolux

Electrolux Frigidaire CGIF3036TFB Owner's manual

Electrolux Frigidaire FES355E Instruction Manual

Electrolux

Electrolux Frigidaire FES355E Instruction Manual

Electrolux MEF303PGDD User manual

Electrolux

Electrolux MEF303PGDD User manual

Popular Range manuals by other brands

Range Master Professional+ FXP 90 Dual Fuel User's guide & installation instructions

Range Master

Range Master Professional+ FXP 90 Dual Fuel User's guide & installation instructions

Southbend S36D owner's manual

Southbend

Southbend S36D owner's manual

Sunfire SUNFIRE SX SERIES Installation and operation manual

Sunfire

Sunfire SUNFIRE SX SERIES Installation and operation manual

Magic Chef CES1350AAH owner's guide

Magic Chef

Magic Chef CES1350AAH owner's guide

Range Master Professional+ FXP 90 Dual Fuel User's guide & installation instructions

Range Master

Range Master Professional+ FXP 90 Dual Fuel User's guide & installation instructions

Range Master 90 Dual Fuel User's guide & installation instructions

Range Master

Range Master 90 Dual Fuel User's guide & installation instructions

Range Master Elise 90 Induction User's guide & installation instructions

Range Master

Range Master Elise 90 Induction User's guide & installation instructions

Magic Chef 54F-5TKXW use & care

Magic Chef

Magic Chef 54F-5TKXW use & care

GE JM250DF owner's manual

GE

GE JM250DF owner's manual

Bosch HIIP056C installation instructions

Bosch

Bosch HIIP056C installation instructions

Hotpoint S220E instructions

Hotpoint

Hotpoint S220E instructions

GE CGS980 Owner's Manual & Installation Instructions

GE

GE CGS980 Owner's Manual & Installation Instructions

Lacanche CHAGNY Installer manual

Lacanche

Lacanche CHAGNY Installer manual

Whirlpool Roper FES325RQ1 Use and care guide

Whirlpool

Whirlpool Roper FES325RQ1 Use and care guide

Frigidaire FGF354BGWG owner's guide

Frigidaire

Frigidaire FGF354BGWG owner's guide

VOKERA Linea 24 Installation & servicing instructions

VOKERA

VOKERA Linea 24 Installation & servicing instructions

Siemens HG73G8256M instruction manual

Siemens

Siemens HG73G8256M instruction manual

FiveStar *tn281-7w installation instructions

FiveStar

FiveStar *tn281-7w installation instructions

manuals.online logo
manuals.online logoBrands
  • About & Mission
  • Contact us
  • Privacy Policy
  • Terms and Conditions

Copyright 2025 Manuals.Online. All Rights Reserved.