manuals.online logo
Brands
  1. Home
  2. •
  3. Brands
  4. •
  5. Electrolux
  6. •
  7. Refrigerator
  8. •
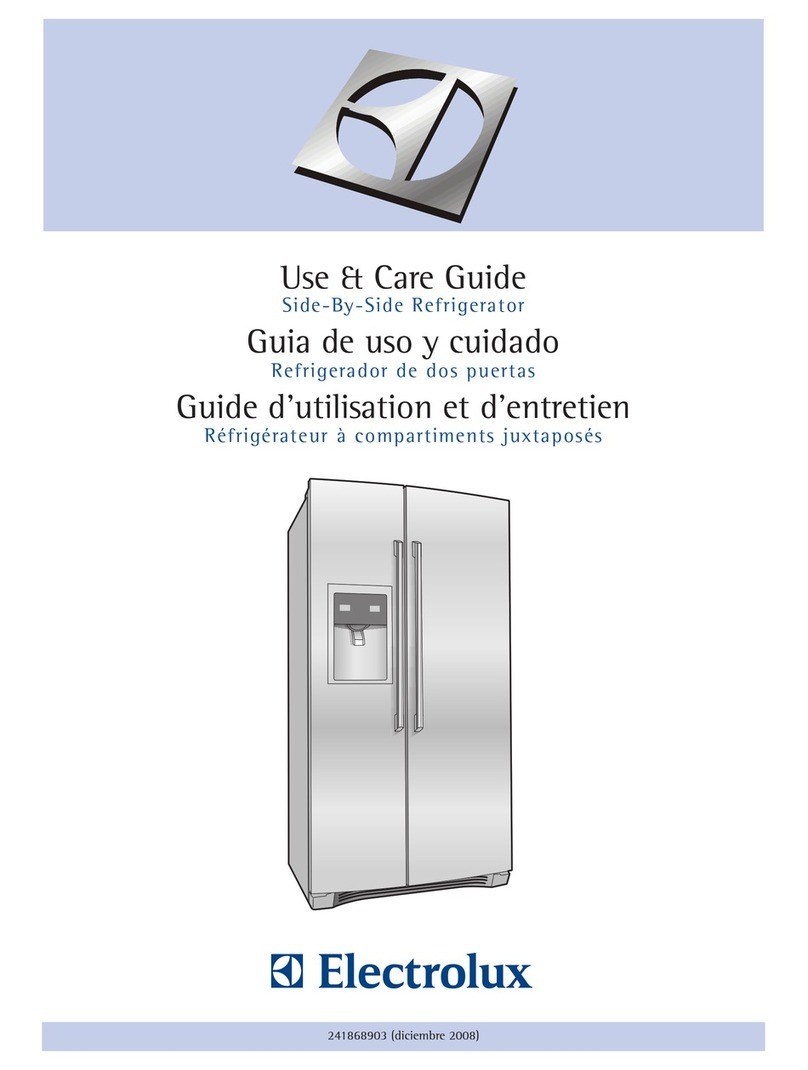
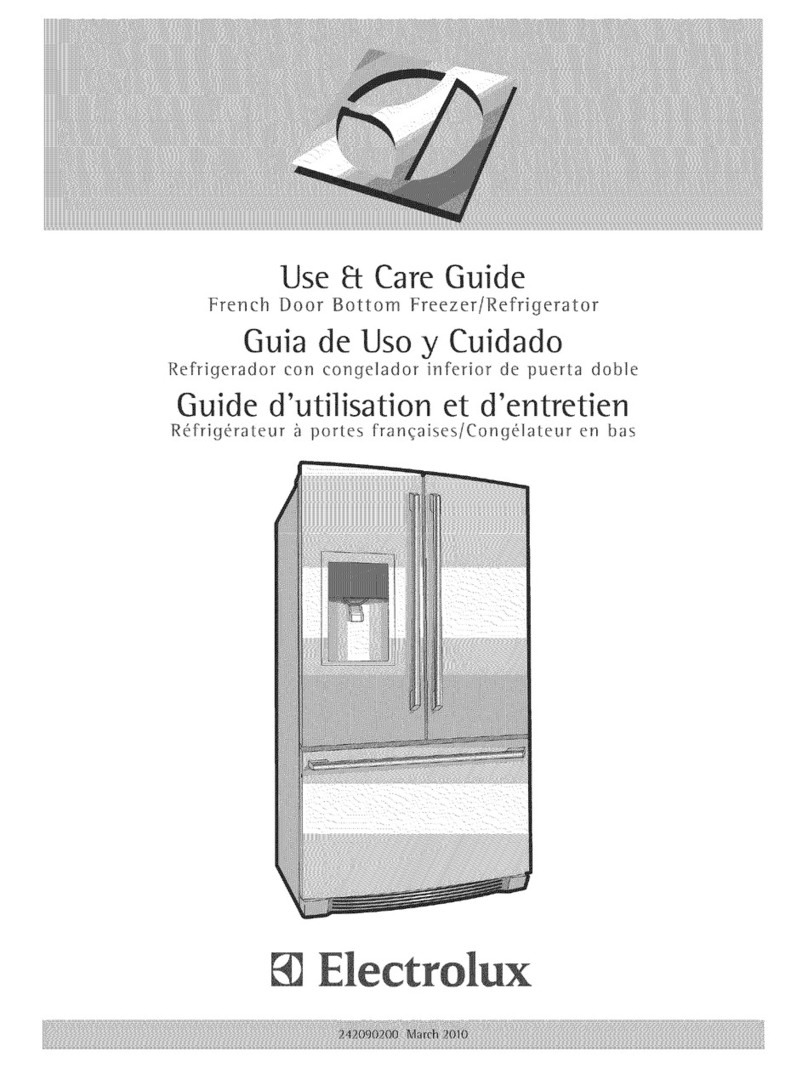
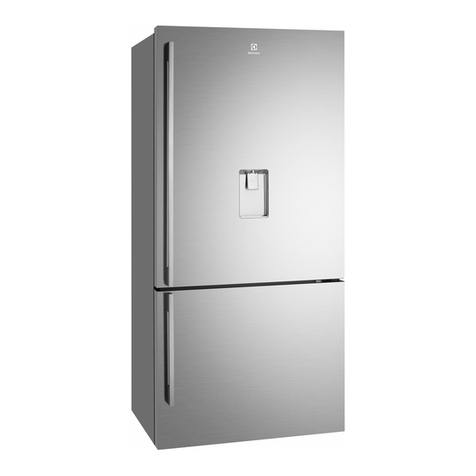
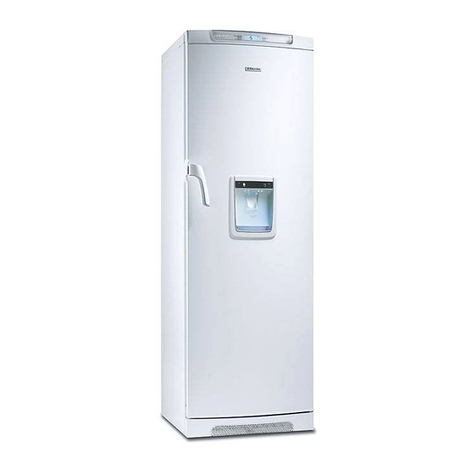
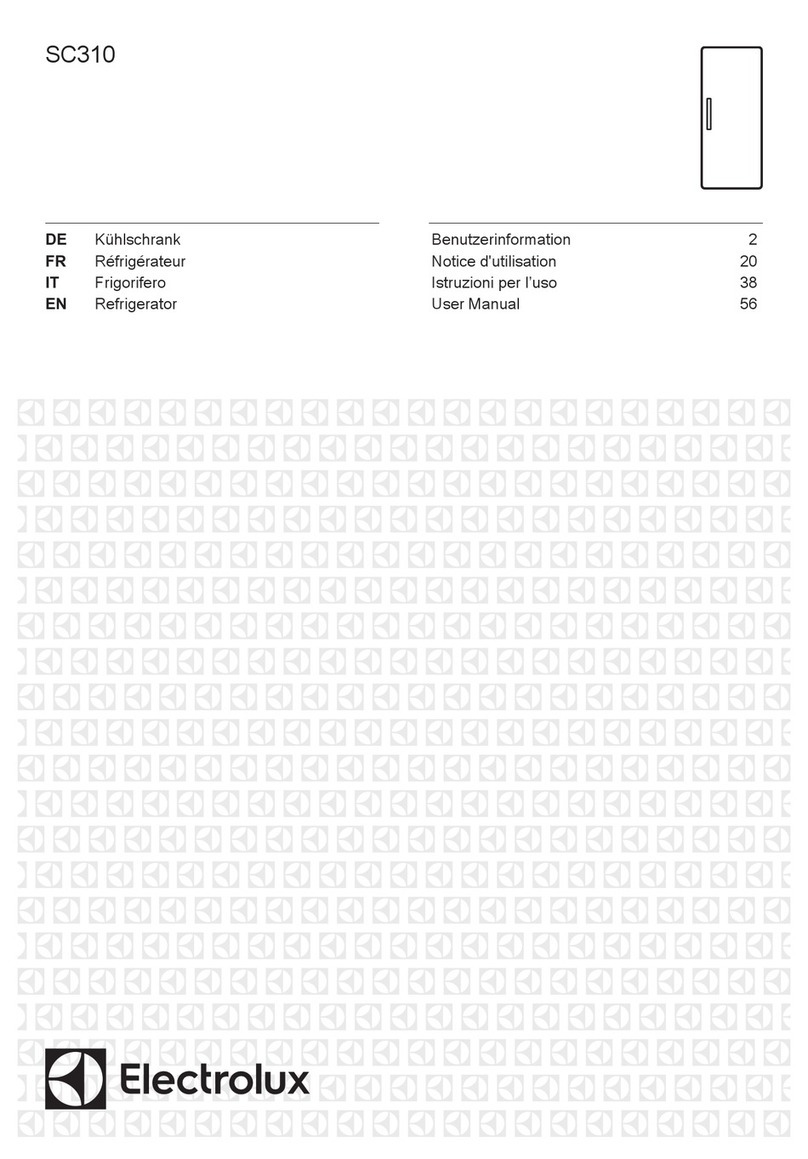
  9. Electrolux Icon E23BC78IPSC User manual

Electrolux Icon E23BC78IPSC User manual

Use _ Care Guide
French Door Bottom Freezer/Refrigerator
Guia de Uso yCuidado
Refrigerador cor_ cor_gelador ir_ferior de puerta doble
Guide d'utilisation et d'entretien
Rd:frig{:rateur _ portes frar_qaises/Cor_g{_qateur er_ bas
I_ Electrolux |CON ®
_i:_i_ii_i_!_!_i@!_!:ii!_!:ii!_!_!ii_!_ii_i!_!!_!i_ii_i!ii_iii@_i_i_i_iii_ii
Finding information
Please read and save this guide Tabmeof contents
Thank you forchoos ng E ectro ux our new prem um Fin in Inf rm in 2
[J g 0 at 0 ..............................................
brand in home appliances.This Use & Care Guide is
part of our comm tment to customer sat sfact on and f
Sa ety ............................................................... 3
product quality throughout the service life of your new
app ance •FeatureOverview................................................. 5
;;; Keep a record for quick
_Instal at on......................................................... 6
reference Ro.,o_.gt,oDoo,,............................................_0
__ c0..00ti.gt,0w_t0,s.,,_v.................................._2
Purchase date co.t,o_s..........................................................._4
__ A" rn "i I-W" rlVl k r'Di . r 17
ulo alc ce_ ale a e/ spe se ....................
19
;;;; Sto,_.gFoo_._S_v_.gE.o,gV..............................24
Changingthe Water andAir Filters........................... 26
i!_!_i!i_ii_!i!_!_i!i_ii_!i!_!_i!i_ii_!i!_!_i!i_ii_!i!_!_i!i_ii_!i!_!_i!i_ii_!i!_!_i!i_ii_!i!_!_i@ii_i
take the precautions listed below.
Proper Disposal of Refrigerators/Freezers i_i!_!_i!i_ii_!i!_!_i!i_ii_!i!_!_i!i_ii_!i!_!_i!i_ii_!i!_!_i!i_ii_!i!_!_i!i_ii_!i!_!_i!i_ii_!i!_!_i!i_ii_!i!_!_i!i_ii_!i!_!_iii_
Safety
Emectrical information
*The refrigerator must be plugged into its own
dedicated 115 Volt, 60 Hz, AC-oniy non-GFC[
electric outlet. The power cord of the appliance
is equipped with a three-prong grounding plug for
your protection against electrical shock hazards.
It must be plugged directly intoa properly
grounded three-prong receptacle. The receptacle
must be installedin accordance with local codes
and ordinances. Consult a qualified electrician.
Do not use an extension cord or adapter plug.
. If the power cord is damaged, it should be
replaced by the manufacturer, service technician,
or a qualified person.
= Never unplug the refrigerator by pulling on the
power cord. Always grip the plug firmly and
pull straight out from the receptacle to prevent
damaging the power cord.
. To avoid electrical shock, unplug the refrigerator
before cleaning and before replacing a light bulb
. or LED light.
Performance may be affected ifthe voltage varies
by 10% or more. Operating the refrigerator with
insufficientpower can damage the compressor.
Such damage is not covered under your warranty.
.Do not plug the unit intoan outlet controlled by a
wall switch or pull cord to prevent the refrigerator
from being turned off accidentally.
Grounding type
reee
o e c d " _lL_lk
3-prong grounded plug _
Custom
DesignTM
Shelves
Crisper Crisper i_i!_!_i!i_ii_!i!_!_i!i_ii_!i!_!_i!i_ii_!i!_!_i!i_ii_!i!_!_i!i_ii_!i!_!_i!i_ii_!i!_!_i!i_ii_!i!_!_i!i_ii_!i!_!_i!i_ii_!i!_!_iii_
i!_!_i!i_ii_!i!_!_i!i_ii_!i!_!_i!i_ii_!i!_!_i!i_ii_!i!_!_i!i_ii_!i!_!_i!i_ii_!i!_!_i!i_ii_!i!_!_i!i_ii_!i!_!_i!i_ii_!i!_!_ii_i
Installation
Required Tools
You wiii need the following tools:
Components Provided:
Top Hinge Top Hinge
Cover Front Cover Rear
Screw_ _ Screw
Head
OR
3/8" Fixec 1/4" Nut
Wrench Driver
This Use & Care Guide provides general installation
and operating instructionsfor your model. We
recommend using a service or kitchen contracting
professional to installyour refrigerator. Use the
refrigerator only as instructed inthis Use & Care
Guide. Before starting the refrigerator, follow these
important first steps.
Allow the following clearances for ease of
installation,proper air circulation, and plumbing
and electrical connections:
Sides & Top 3/8inch (9.5 mm)
Back 1 inch (25.4 mm)
• Choose a place that is near a grounded, non-
GFCI, electrical outlet. Do Not use an extension
cord or an adapter plug.
i!_!_i!i_ii_!i!_!_i!i_ii_!i!_!_i!i_ii_!i!_!_i!i_ii_!i!_!_i!i_ii_!i!_!_i!i_ii_!i!_!_i!i_ii_!i!_!_i!i_ii_!i!_!_i!i_ii_!i!_!_ii_i
Installation
To adjust the door stop:
Door stop isadjustable between 85 to 145 degrees. 5 Re-tighten set screw.
i!_!_i!i_ii_!i!_!_i!i_ii_!i!_!_i!i_ii_!i!_!_i!i_ii_!i!_!_i!i_ii_!i!_!_i!i_ii_!i!_!_i!i_ii_!i!_!_i!i_ii_!i!_!_i!i_ii_!i!_!_ii_i
1
2
3
Min
Adjustable Door Stop
Open door to provide access to set screw.
Loosen set screw.
Adjust door to desired location.
Re=tightenSet Screw
6 Ensure door stops in desired locationbefore
resuming normal use.
To level the doors using the adjustabJe lower hinge
(seJect modeJs):
1 Remove all food itemsfrom door bins on door
being adjusted.
2 Open doors to 90 degrees.
3 Loosen or remove set screw.
i!_!_i!i_ii_!i!_!_i!i_ii_!i!_!_i!i_ii_!i!_!_i!i_ii_!i!_!_i!i_ii_!i!_!_i!i_ii_!i!_!_i!i_ii_!i!_!_i!i_ii_!i!_!_i!i_ii_!i!_!_ii_i
washer.Setscrewwillnotbetight,justinsertuntil
itisflushwiththehinge.
i_i!_!_i!i_ii_!i!_!_i!i_ii_!i!_!_i!i_ii_!i!_!_i!i_ii_!i!_!_i!i_ii_!i!_!_i!i_ii_!i!_!_i!i_ii_!i!_!_i!i_ii_!i!_!_i!i_ii_!i!_!_iii_
Set Screw (where applicable)
To adjust the flipper mullion:
1 Loosen the set screw located on the flipper
mullion hinge.
iiI
Hinge
t
_-Flipper
Mullion
_ Set
screw
Adjusting Flipper Mullion Screw
!_i_i:!i!!!_ii_ii_ii_ii_!i!!_!i!;i_!i_i!ii!i!i_iiii_iiii_!_;_ii:i_i_i_i_i;!_i_!_!_!_;:i!_:i!_:i_!_!_i_i_!!i!:!_!i_!_!_!:!i_!_i_i_
Gettin throu h narrow s aces Toremovetherefr_gerato_doo_-
g g P,"
Ifyourrefrigeratorwillnotfitthroughanentrancearea, 1 Tracelightlyaroundthedoorstophingeswitha
youcan removethedoors. Checkfirstbymeasuringthe pencil.Thismakesreinstallationeasier.
entrance. . .
To prepare for removing the doors: _l
1 Makesuretheelectricalpowercordisunplugged _"_-.. I
fromthewa,oo,et. I "_\ _
20penthefreezerdra_erandre_ovethetoe
grille(see"lnstallation' section). I ____._@ I
3 Removeanyfoodfromthedoorshelvesand I _.-..l__p_.,_ I
dosethedoors.
Toromovot.otop._°go_ovo_:
1 Removethetwo (2) screwsfrom each coverover
the to door hin es 2 Disconnect the harness by grasping both sides ofthe
• . P. g : .connectorfirmly, depressthelatch, andpullapart.
2 Lift reside edge of hinge cover and tilt back .Removethetwo(2) screwsfromthetophinge, hift
: _ _ i thedooroffofthebottom hingeandsetitaside.
: Cover
Top Hing( _Screw
i!_!_i!i_ii_!i!_!_i!i_ii_!i!_!_i!i_ii_!i!_!_i!i_ii_!i!_!_i!i_ii_!i!_!_i!i_ii_!i!_!_i!i_ii_!i!_!_i!i_ii_!i!_!_i!i_ii_!i!_!_ii_i
Removing the Doors
4 Unscrew the three (3) lower hinge screws and
hinge if necessary.
To reinstall the right door, reverse the above steps.
LowerHinge Removal
3Lift drawer up and out to remove.
Once both doors are in place, ensure they are aligned
with each other and level (Please see the "Installation"
section for more details), and replace the top hinge
cover.
Installing Freezer Drawer
1 With lower slides and basket pulled out, mount
drawer in reverse of removal.
2 Tighten drawer screws then turn another 1/4 turn.
3 Check gasket seal around freezer drawer. Make
adjustments on drawer screws if necessary.
.emov_ngFreezerDrawer
1 Openfreezerdrawer
2 Removedrawerscrewsonr_ghtand_efts_des
(two (2)screws on each side). ::::
____cr_ _ _ Head D_arewwer i
i Head Drawer
i Screw
N_
Connectin the Water upply
A compression nut and ferrule (sleeve) for
connecting a copper water supply line to the ice
maker inlet valve.
i!_!_i!i_ii_!i!_!_i!i_ii_!i!_!_i!i_ii_!i!_!_i!i_ii_!i!_!_i!i_ii_!i!_!_i!i_ii_!i!_!_i!i_ii_!i!_!_i!i_ii_!i!_!_i!i_ii_!i!_!_ii_i
tighten.SeeFigure1.
5. Withsteelclampandscrew,securewater moving refrigerator out for cleaning.) i_i!_!_i!i_ii_!i!_!_i!i_ii_!i!_!_i!i_ii_!i!_!_i!i_ii_!i!_!_i!i_ii_!i!_!_i!i_ii_!i!_!_i!i_ii_!i!_!_i!i_ii_!i!_!_i!i_ii_!i!_!_iii_
v,v,v,v,v,v,v,v,v,v,v,v,v,v¸
Controls
i!_!_i!i_ii_!i!_!_i!i_ii_!i!_!_i!i_ii_!i!_!_i!i_ii_!i!_!_i!i_ii_!i!_!_i!i_ii_!i!_!_i!i_ii_!i!_!_i!i_ii_!i!_!_i!i_ii_!i!_!_ii_i
Your refrigerator is equipped with a Wave=Touch TM
control panel display. It is only necessary to gently
touch the glass. There are three (3) levels of display.
2ndLevel: Awakened Display Mode
i!_!_i!i_ii_!i!_!_i!i_ii_!i!_!_i!i_ii_!i!_!_i!i_ii_!i!_!_i!i_ii_!i!_!_i!i_ii_!i!_!_i!i_ii_!i!_!_i!i_ii_!i!_!_i!i_ii_!i!_!_ii_i
airfilter
tempdisplay
change.
Touchto displayfilter status.Pressandholdfor
three (3) secondsto resetafterfilter change.
When active,it allows the displayof the freezer
and fridge temps during "Sleep Mode". The i_i!_!_i!i_ii_!i!_!_i!i_ii_!i!_!_i!i_ii_!i!_!_i!i_ii_!i!_!_i!i_ii_!i!_!_i!i_ii_!i!_!_i!i_ii_!i!_!_i!i_ii_!i!_!_i!i_ii_!i!_!_iii_
Sabbath Mode is turned ON and OFF by pressing
and holding both the freezer "-" and refrigerator"+"
i!_!_i!i_ii_!i!_!_i!i_ii_!i!_!_i!i_ii_!i!_!_i!i_ii_!i!_!_i!i_ii_!i!_!_i!i_ii_!i!_!_i!i_ii_!i!_!_i!i_ii_!i!_!_i!i_ii_!i!_!_ii_i
iii_i_iii_ili_i_!!i_!;!ii_!;!i_:_!!_!!!_i_!_!_!_!i_!!i_ii!_i_;!i_;_ii_i_i_!i_i!_i_i!!_i_i!!_i_i!i_
Automatic " ICe & orb _kedD|spenser[] _iiiiii_i!!_:_!i!i_!;!i?_;_:!_ii_!!i;_!!i!_!_ii_i_;:;_;_i_:;i_!!i!!_i_i_i¸I_!I!
Priming the water supply system Turningthe icemakerOil and off
ice production is controlled by the ice maker s On/Of!,
icon on the control panel. Press and hold the "Ice Off
icon !or three (3) seconds to turn the ice maker "ON" or
_ ati_ "OFF. When the ice maker is "OFF the red LED above
the conw be umnated
1 Begin filling the tank by pressing and holding
a drinkingglass against the water dispenser
paddle. F _
2 Keep the glass _ I I_"_ I [
in this position _ I I_1 I
until water _ Il i,,,,_1 I It
comes out of the _ II
dispenser, it may _ II
m o.to,. II
3 Continue "1t II
dispensing water p" __11 II
for about three L __ ]
(3) minutes to
flush the system and plumbing connections of
any impurities (stopping to empty the glass as
necessary).
Automatic ice aker/Dispenser
ice maker/dispenser tips
•Ifyour refrigerator is not connected to a water
supply or the water supply isturned off, turn off
the ice maker by holding the On/Off soft-touch
iconfor three (3) seconds
• The following sounds are normal when the ice
maker isoperating:
- Motor running
- Ice dropping intoice bin
- Water valve opening or closing
- Running water
• When dispensing ice,you will hear a snapping or
clicking sound when the icechute opens and closes
• If you need a large quantity of ice at one time, itis
best to get cubes directly from the ice bin
• When dispensing cubed ice, it isnormal to have
a small quantity of littlepieces along with the
whole cubes
•Icecubes stored too long may develop an odd
flavor Empty the ice bin as explained below
• You do not use the ice dispenser frequently Ice
cubes will freeze together in the bin, jamming the
dispenser mechanism
Remove the ice bin and shake to loosen the cubes or
clean as explained above.
i!!_i!i_ii_!i!!_i!i_ii_!i!!_i!i_ii_!i!!_i!i_ii_!i!!_i!i_ii_!i!!_i!i_ii_!i!!_i!i_ii_!i!!_i!i_ii_!i!!_i!i_ii_!i!!_ii_i
Storage Features
Your refrigerator includesCustom DesignTMglass shelves
that are designed to catch and hold accidental spills.
You can easily adjust shelf positions inthe fresh food
compartments to suit your needs. The shelves have
mounting brackets that attach to slotted supports at the
rear of each compartment.
To change the position of a shelf:
1 Before adjusting a shelf, remove all food.
Half Custom Design TMShelf
Your refrigerator includesa variety of storage drawers.
These drawers are located infixed positions at the
bottom of the fresh food compartment.
Crispers
Crisper drawers are designed for storing fruits,
vegetables, and other fresh produce.
2 Lift the front edge up and pull the shelf out.
3Replace by insertingthe mounting bracket hooks
intothe desired support slots.
4 Lower the shelf and lock intoposition.
Shemffeatures
_'U:! P"g " P
_! Crisper humidity control
....... ....... Crisper drawers includea sliding control for adjusting
_ _. the humidity inside the crisper. Leafy vegetables keep :;:
lu/ best when stored with the Humidity Control set on
I_ Higher Humidity. Fresh fruits keep best when stored
_\_ I_ with the Humidity Control set on Lower Humidity. ;;
Full Custom DesignTMShelf (variesby model)
Adjusting Crisper Humidity ::
Storage Features
To remove the Crisper Drawer for cleaning:
1 Pull the drawer out until it stops.
2 Lift the front slightly and remove the drawer,
i :
RemovingCrisperDrawer
Special items rack (select models)
The innovativedesign of the special items rack allows
you to store four (4) bottles of wine or soft drink bottles.
Special Items_ i/,-'b:-.,i
Rack--:-_. _ :,-_-,.,'"1
Cool Zone (select models)
Some models are equipped with a meat keeper drawer
for short-term storage of bulk meat items. This drawer
includes sliding controls for adjusting the humidity
inside.
Any meat to be kept longer than two (2) days should be
frozen. If you store fruits or vegetables in this drawer,
set itto a higher humidity.
Custom Temp TM Drawer (select models)
i!_!_i!i_ii_!i!_!_i!i_ii_!i!_!_i!i_ii_!i!_!_i!i_ii_!i!_!_i!i_ii_!i!_!_i!i_ii_!i!_!_i!i_ii_!i!_!_i!i_ii_!i!_!_i!i_ii_!i!_!_ii_i

Other Electrolux Refrigerator manuals

Electrolux ERN3001FOW User manual

Electrolux

Electrolux ERN3001FOW User manual

Electrolux ENF2751AOW User manual

Electrolux

Electrolux ENF2751AOW User manual

Electrolux ER 7659B Quick guide

Electrolux

Electrolux ER 7659B Quick guide

Electrolux ERP 16400 User manual

Electrolux

Electrolux ERP 16400 User manual

Electrolux ERN2001BOW User manual

Electrolux

Electrolux ERN2001BOW User manual

Electrolux LRC6ME36W User manual

Electrolux

Electrolux LRC6ME36W User manual

Electrolux U30421 User manual

Electrolux

Electrolux U30421 User manual

Electrolux ER 3124 I Quick guide

Electrolux

Electrolux ER 3124 I Quick guide

Electrolux French Door Bottom Freezer/Refrigerator User manual

Electrolux

Electrolux French Door Bottom Freezer/Refrigerator User manual

Electrolux ER2342B User manual

Electrolux

Electrolux ER2342B User manual

Electrolux ERT6MF38W User manual

Electrolux

Electrolux ERT6MF38W User manual

Electrolux 725002 User manual

Electrolux

Electrolux 725002 User manual

Electrolux ERN2314AOW User manual

Electrolux

Electrolux ERN2314AOW User manual

Electrolux UltimateTaste 700 User manual

Electrolux

Electrolux UltimateTaste 700 User manual

Electrolux MRT18CSHD1 User manual

Electrolux

Electrolux MRT18CSHD1 User manual

Electrolux ERN 1672 User manual

Electrolux

Electrolux ERN 1672 User manual

Electrolux ENA34835W User manual

Electrolux

Electrolux ENA34835W User manual

Electrolux U24226 ERC3709 User manual

Electrolux

Electrolux U24226 ERC3709 User manual

Electrolux ER 8020 B User manual

Electrolux

Electrolux ER 8020 B User manual

Electrolux ERZ28801 User manual

Electrolux

Electrolux ERZ28801 User manual

Electrolux ER2944B Quick guide

Electrolux

Electrolux ER2944B Quick guide

Electrolux WRT17MG4BW0 User manual

Electrolux

Electrolux WRT17MG4BW0 User manual

Electrolux EK 306 User manual

Electrolux

Electrolux EK 306 User manual

Electrolux ERN1305FOW User manual

Electrolux

Electrolux ERN1305FOW User manual

Popular Refrigerator manuals by other brands

GE GTH21KBX datasheet

GE

GE GTH21KBX datasheet

Beko MCNA406E40ZXB Instructions for use

Beko

Beko MCNA406E40ZXB Instructions for use

GE Monogram ZFSB25D SS installation instructions

GE

GE Monogram ZFSB25D SS installation instructions

Amica FC202BSW operating manual

Amica

Amica FC202BSW operating manual

IKEA FROSTFRI manual

IKEA

IKEA FROSTFRI manual

GE ETS18XBPFRBB and Owner's manual and installation instructions

GE

GE ETS18XBPFRBB and Owner's manual and installation instructions

ELEKTRA EFK350 manual

ELEKTRA

ELEKTRA EFK350 manual

Zanussi ZCFF7/5W Instruction booklet

Zanussi

Zanussi ZCFF7/5W Instruction booklet

Sharp SJ-F79PSST Operation manual

Sharp

Sharp SJ-F79PSST Operation manual

Polar Electro G592 instruction manual

Polar Electro

Polar Electro G592 instruction manual

Philco PTL 2352 user manual

Philco

Philco PTL 2352 user manual

Frigidaire FRT8WR6EZ9 Use & care manual

Frigidaire

Frigidaire FRT8WR6EZ9 Use & care manual

Candy 60 COMBI user manual

Candy

Candy 60 COMBI user manual

EAS Electric EMC1856W1 instruction manual

EAS Electric

EAS Electric EMC1856W1 instruction manual

Gaggenau RB282304ID/04 user manual

Gaggenau

Gaggenau RB282304ID/04 user manual

NABO KGK 2642 manual

NABO

NABO KGK 2642 manual

Wagan 2577 user manual

Wagan

Wagan 2577 user manual

AEG S71709TSW0 user manual

AEG

AEG S71709TSW0 user manual

manuals.online logo
manuals.online logoBrands
  • About & Mission
  • Contact us
  • Privacy Policy
  • Terms and Conditions

Copyright 2025 Manuals.Online. All Rights Reserved.