manuals.online logo
Brands
  1. Home
  2. •
  3. Brands
  4. •
  5. Elenco Electronics
  6. •
  7. Multimeter
  8. •
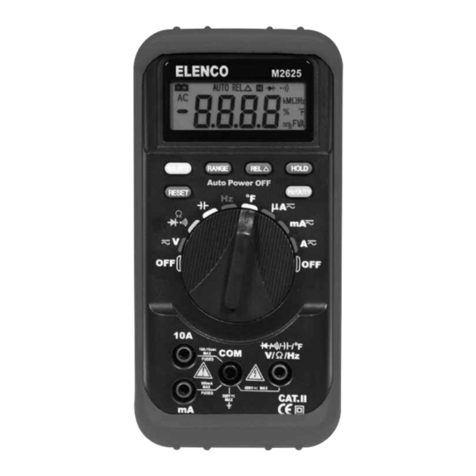
  9. Elenco Electronics M-2625 Assembly instructions

Elenco Electronics M-2625 Assembly instructions

OPERATOR’S
NSTRUCT ON MANUAL
M-2625
AUTO RANG NG
D G TAL MULT METER
with Temperature Probe
Copyright © 2007 Elenco®Electronics, Inc.
Contents
1. Safety Information 3,4
2. Safety Symbols 5
3. ront Plate of the Meter 5
Input Terminal 6
unction Rotary Switch 7
unction Press Button 8,9
LCD Display 10
4. Power On Option 11
5. Auto Power Off 11
6. Measurement Range 11
7. Making Measurements 12
Preparation 12
Measuring Voltage 12
Measuring DC Voltage 13
Measuring AC Voltage 14,15
Measuring Current 16
Measuring DC Current 17-19
Measuring AC Current 19-21
Measuring Resistance 21,22
Testing Diodes 23
Testing for Continuity 24
Measuring for Capacitance 25,26
Measuring requency 27
Measuring Duty Cycle 28,29
Measuring Temperature 29,30
8. Maintenance 31
Battery Replacement 31
use Replacement 32
9. General Specifications 33-35
-2-
ntroduction
This series LCD auto ranging and auto power-off digital multimeter
is a portable, compact, 3¾ digit multimeter. It is ideally suited for
field, lab, shop, car, and home.
CAUT ON: Read, understand and follow all Safety Rules and
Operating Instructions in this manual before using this product.
1. Safety nformation
Use the meter only as specified in this manual. Otherwise, the
protection provided by the meter may be impaired. Refer to safety
information in Table 1.
Table 1. Safety nformation
Warning
To avoid possible electric shock or personal injury, follow these
guidelines:
• Do not use the meter if it is damaged. Before you use the meter,
inspect the case. Look for cracks or missing plastic. Pay particular
attention to the insulation surrounding the connectors.
• Inspect the test leads for damaged insulation or exposed metal.
Check the test leads for continuity. Replace damaged test leads
before you use the meter.
• The RESPONSIBLE BODY shall be made aware that, if the
equipment is used in a manner not specified by the manufacturer,
the protection provided by the equipment may be impaired.
• Do not use the meter if it operates abnormally. Protection may be
impaired. When in doubt, have the meter serviced.
• Do not operate the meter around explosive gas, vapor, or dust.
• Do not apply more than the rated voltage, as marked on the meter,
between terminals or between any terminal and earth ground.
• Before use, verify the meter’s operation by measuring a known
voltage.
• When measuring current, turn off circuit power before connecting
the meter in the circuit. Remember to place the meter in series with
the circuit.
-3-
!
Table 1. Safety nformation (continued)
Warning
• When servicing the meter, use only specified replacement parts.
• Use caution when working above 30VAC rms, 42V peak, or 60VDC.
Such voltages pose a shock hazard.
• Avoid working alone.
• When using the probes, keep your fingers behind the finger guards
on the probes.
• Connect the common test lead before you connect the live test lead.
When you disconnect test leads, disconnect the live test lead first.
• Remove test leads from the meter with the battery door or portions
of the cover removed or loosened.
• To avoid false readings which could lead to possible electric shock
or personal injury, replace the batteries as soon as the low battery
indicator ( ) appears.
• Use only type “AA” batteries or equivalent, properly installed in the
meter case, to power the meter.
• To avoid the potential for fire or electrical shock, do not connect the
thermocouples to electrically live circuits.
Caution
To avoid possible electric shock or personal injury, follow these
guidelines:
• Disconnect circuit power and discharge all high-voltage capacitors
before testing resistance, continuity, diodes, or capacitance.
• Use the proper terminals, function, and range for your
measurements.
• Before measuring current, check the meter’s fuses and turn power
O to the circuit before connecting the meter to the circuit.
-4-
!
+
2. Safety Symbols
Symbols used on the meter and in this manual are explained in
Table 2.
Table 2. nternational Electrical and Relative Symbols
3. Front Plate of Meter
Figure 1. Front plate of the meter
-5-
~AC (Alternating Current) Important Information
~DC and AC
Caution, risk of electric shock
DC (Direct Current) Earth Ground
Equipment Safety Standard
Low Battery Indicator
Double Insulated
!
+
LCD Display
unction Press
Button
unction
Rotary Switch Input Terminal
nput Terminal
About terminal function refer to Table 3 and igure 2.
Figure 2. nput Terminal
Table 3. nput Terminal
Function Rotary Switch
About function rotary switch refer to Table 4 and igure 3.
-6-
Terminal Function Description
/ / )/OF
V / ΩΩ/ Hz
Volts, ohm, diode, frequency, DUTY, temperature and
capacitance measurement, and testing for continuity terminal
mA Milliampere current, microampere current measurement terminal
COM Common terminal for all measurements
10A Ampere current measurement terminal
Figure 3. Function Rotary Switch
Table 4. Function Rotary Switch Symbols
-7-
Position of Switch
Function
~VDC/AC voltage measurement
ΩΩResistance measurement, diode test, testing for continuity
)Capacitance measurement
Hz requency measurement / Duty cycle measurement
Table 4. Function Rotary Switch Symbols (continued)
Function Press Button
About press function button refer to igure 4.
Figure 4. Function Press Button
1. SELECT (state choice)
There are several functions at one rotary switch position; press the
SELECT button to select the desired function: ~V, ΩΩ , µµA~, mA~,
A~ range for AC or DC voltage, AC or DC current, resistance,
diode, or audible continuity measurement.
2. RANGE (range selection)
With the power on and the meter on the auto range mode, press the
RANGE button to select the desired measurement range manually.
The range goes from minimum to maximum by pressing the
RANGE button multiple times, and returns to minimum after
reaching the maximum range. Pressing and holding the RANGE
button for over two seconds returns the meter to auto range. This
button does not affect the frequency, capacitance, diode or
continuity range.
-8-
Position of Switch
Function
OFTemperature measurement
µµA~DC/AC microampere current measurement
mA~DC/AC milliampere current measurement
A~DC/AC ampere current measurement
OFF Power off position
3. REL∆∆(relative measurement)
Press the REL∆∆button to use the relative measuring function and
a “REL∆” symbol appears on the LCD. The result of the relative
measurement is the difference between the measuring value and
the reference value. The reference value is produced the same as
the momentary value by press the REL∆∆button. Press the REL∆∆
button again to exit this function and the “REL∆” symbol disappears
from the display. This button does not affect the frequency, duty
cycle, diode and continuity test functions.
4. HOLD (data hold)
Pressing the HOLD button enables the data hold function and an
“ H ” symbol appears on the display. The momentary value appears
on the display. Press the HOLD button again to exit this function
and the “ H ” symbol disappears from the display. This button does
not affect the frequency measurement function.
5. Hz/DUTY
(frequency and duty cycle measurement switch button)
When making a frequency, DC or AC voltage measurement, press
this button to switch between the Hz or duty cycle test mode.
6. RESET (reset button)
Press this button to clear all values and to restart the meter.
LCD Display
About function rotary switch refer to Table 5 and igure 5.
-9-
Figure 5. LCD Display
Table 5. LCD Display Symbols
-10-
Sequ. No. Symbol Description
18.8.8.8 The display digit group
2–Negative symbol
3AC AC (alternating current) indicator
4Battery power is weakening
5RS232
Serial transmission (not used on this meter)
6Auto Auto range indicator
7REL∆∆Relative measurement
8Data hold
9Diode symbol
10 Audible continuity function indicator
11 hFE Transistor gain indicator (not used)
12 ΩΩ/ kΩΩ/ MΩΩ
Hz / kHz / MHz
Resistance units
requency units
+
H
Table 5. LCD Display Symbols (continued)
4. Power On Option
To release the Auto Power Off function, press and hold the
SELECT button when the meter is on.
5. Auto Power Off
When the meter has been on for 30 minutes without any action from
the user, the meter will automatically switch to the standby mode.
To bring back the display, turn the rotary switch to a different
position, push any button, or restart the meter.
6. Measurement Range
A measurement range determines the maximum measurement
value. Most of the functions of the meter have more than one range.
1. t is important to select the correct range
• If the range is too small, “OL” shows on the display for
overload.
• If the range is too large, the value of the reading will be very
small with less resolution.
2. Auto range and manual range options
• In the auto range mode, the meter automatically selects the
best range for the input detected.
• In the auto range mode, press the RANGE button to enter the
manual range and select the desired range.
-11-
Sequ. No. Symbol Description
13 OC OFTemperature units
(OCnot used on this meter)
14 %Percent symbol
15
mV / V
nF / µµF
mA / A
Voltage units
Capacitance units
Current units
16 Overload
• When you change the measurement function, the meter will
regard its auto range as current range.
• In the auto range mode, the “AUTO” symbol will appear on
display and the manual range disappears.
3. Enter or exit manual range mode
• Press the RANGE button to select the manual range mode
and the “AUTO” symbol disappears. Each press of the
RANGE button increases the range. When the maximum
range is reached, the meter restarts at the lowest range.
• Press and hold the RANGE button for more than two
seconds to return to the autorange mode and the “AUTO”
symbol will appear on the display.
7. Making Measurements
Preparation
Checking the Battery Voltage
Rotate the unction Rotary Switch to any position away from the
O position. The battery voltage is adequate when the indication
is clear and the symbol is not on the display.
If the symbol appears on the display, or nothing shows on the
display at all, follow the battery replacement procedure shown in
related items in this manual and replace with new batteries specified.
Measuring Voltage
Voltage is the difference in electrical potential between two points.
The polarity of AC (alternating current) voltage varies over time, while
the polarity of DC (direct current) voltage is constant.
Danger
To avoid the danger of electric shock, never make measurements
on a circuit over 600V AC/DC (electrical potential to ground 300V
DC/AC). Do not operate the Function Rotary Switch during
measurement. Do not make a measurement when opening the
battery cover and the meter case.
-12-
+
+
!
Measuring DC Voltage
1. Turn on the meter, then set up the meter to measure DC volts as
shown in igure 6.
2. Insert the black test lead into the COM terminal and the red test
lead into the terminal.
3. Set the unction Rotary Switch to the ~V position (then, “AUTO”
and “mV” symbols are indicated on the display).
4. Connect the black test lead to the negative side of the circuit
under test and the red test lead to the positive side of the circuit.
The measured value is indicated on the display. If you connect
the test leads to the opposite polarity, the “–” symbol appears on
the display.
Figure 6. DC Voltage Measurement
-13-
Measuring AC Voltage
1. Turn on the meter, then set up the meter to measure AC volts as
shown in igure 7.
2. Insert the black test lead into the COM terminal and the red test
lead into the terminal.
3. Set the unction Rotary Switch to the ~V position and press
SELECT to select the AC voltage measuring mode (then,
“AUTO”, “AC” and “V” symbols are indicated on the display).
4. Connect the test leads to the circuit under test, then the
measured value is indicated on the display.
5. When measuring voltage less than 400mV, press the RANGE
button to switch to manual range mode and select the AC 400mV
range. Doing so will provide a better resolution for your
measurement.
6. You can press the Hz/DUTY button to read the signal frequency
or duty cycle under measurement from the display.
-14-
Figure 7. AC Voltage Measurement
Note: When taking a measurement of less than 20mV at the 400mV
AC range, the measurement value cannot be indicated correctly.
Even if shorted, the input line at the 4V AC range, 1 ~ 3 digits may
remain indicated. In that case, by pressing the REL∆
∆button, “0” will
be indicated.
-15-
Measuring Current
Warning
Never attempt an in-circuit current measurement where the
open-circuit potential to earth is greater than 300V. You may
damage the meter or be injured if the fuse blows during
such a measurement.
Caution
To avoid possible damage to the meter or to the equipment
under test, check the meter’s fuses before measuring
current. Use the proper terminals, function, and range for
your measurement. Never place the probes across (in
parallel with) any circuit or component when the leads are
plugged into the current terminals. Maximum measurement
time allowed at the 10A current range function is 15
seconds. f you carry on making a measurement
continuously over 15 seconds, it can cause an erroneous
measurement and damage the meter.
Danger
Do not operate the Function Rotary Switch during
measurement. Do not make a measurement when opening
the battery cover or the meter case.
Current is the flow of electrons through a conductor. To measure
current, you must open the circuit under test, then place the meter
in series with the circuit.
To measure AC or DC current, proceed as follows:
-16-
!
!
Measuring DC Current
1. Turn off power to the circuit. Discharge all high-voltage
capacitors.
2. Turn on the meter, then set up the meter to measure DC current
as shown in igure 8.
3. Insert the black test lead into the COM terminal and the red lead
into an input appropriate for the measurement range as shown
in Table 6.
4. Connect the black test lead to the negative side of the circuit
under test and the red test lead to the positive side of the circuit
so the meter is in series with the circuit.
5. Turn the on the power for the circuit under test.
6. The measured value is indicated on the display.
If you connect the test leads to the reverse polarities, a “–” symbol
will be shown on the display.
Note: To avoid blowing the meter’s 500mA fuse, use the mA
terminal only if you are sure the current is less than 400mA.
Table 6. Current Measurement
-17-
Rotary Switch nput Ranges
µµA~mA 40µA / 400µA
mA~mA 40mA / 400mA
A~10A 4A / 10A
Figure 8. DC Current Measurement
-18-
Figure 8. DC Current Measurement (continued)
Measuring AC Current
1. Turn off power to the circuit. Discharge all high-voltage
capacitors.
2. Turn on the meter, then set up the meter to measure AC current
as shown in igure 9.
3. Insert the black test lead into the COM terminal and the red lead
in an input appropriate for the measurement range as shown in
Table 6.
4. Connect the test leads to the circuit under test so the meter is in
series with the circuit.
5. Set the meter to AC mode by pressing the SELECT button
(then, “AUTO” “AC” and “µA”, “mA”, or “A” symbols are indicated
on the display).
6. Turn on the power to the circuit under test.
7. The measured value is shown on the display.
-19-
Note: To avoid blowing the meter’s 500mA fuse, use the mA
terminal only if you are sure the current is less than 400mA.
Figure 9. AC Current Measurement
-20-

Other manuals for M-2625

1

Other Elenco Electronics Multimeter manuals
Elenco Electronics LCM-1950 User manual

Elenco Electronics

Elenco Electronics LCM-1950 User manual

Elenco Electronics M-2625 Assembly instructions

Elenco Electronics

Elenco Electronics M-2625 Assembly instructions

Elenco Electronics M-1250K User guide

Elenco Electronics

Elenco Electronics M-1250K User guide

Elenco Electronics M-1000B Assembly instructions

Elenco Electronics

Elenco Electronics M-1000B Assembly instructions

Elenco Electronics M-6100 User manual

Elenco Electronics

Elenco Electronics M-6100 User manual

Elenco Electronics M-1006K User guide

Elenco Electronics

Elenco Electronics M-1006K User guide

Elenco Electronics M-1150K User guide

Elenco Electronics

Elenco Electronics M-1150K User guide

Elenco Electronics M-1700 User manual

Elenco Electronics

Elenco Electronics M-1700 User manual

Elenco Electronics M-1150K User guide

Elenco Electronics

Elenco Electronics M-1150K User guide

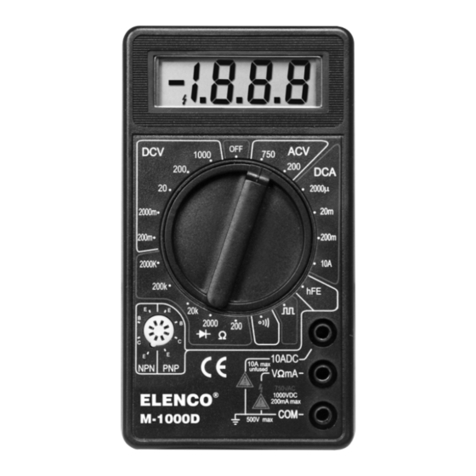
Elenco Electronics M-1000D Assembly instructions

Elenco Electronics

Elenco Electronics M-1000D Assembly instructions

Elenco Electronics M-1005K User guide

Elenco Electronics

Elenco Electronics M-1005K User guide

Elenco Electronics M-3900 User manual

Elenco Electronics

Elenco Electronics M-3900 User manual

Elenco Electronics M-1750 Assembly instructions

Elenco Electronics

Elenco Electronics M-1750 Assembly instructions

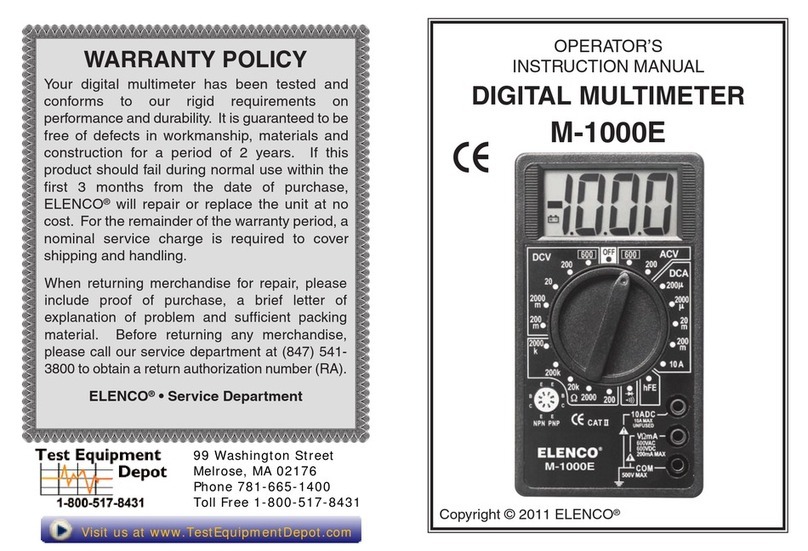
Elenco Electronics M-1000E Assembly instructions

Elenco Electronics

Elenco Electronics M-1000E Assembly instructions

Elenco Electronics M-2795 Assembly instructions

Elenco Electronics

Elenco Electronics M-2795 Assembly instructions

Elenco Electronics M-2666K User guide

Elenco Electronics

Elenco Electronics M-2666K User guide

Elenco Electronics M-2665K User guide

Elenco Electronics

Elenco Electronics M-2665K User guide
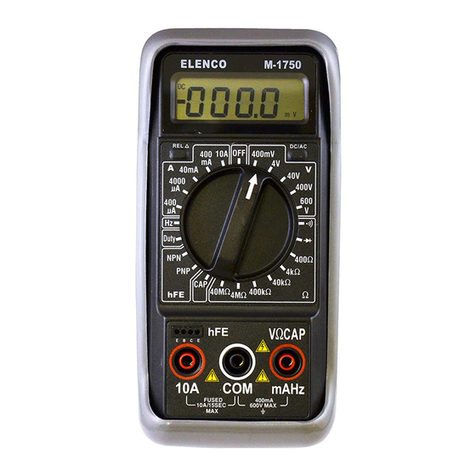
Elenco Electronics M-2665K User guide

Elenco Electronics

Elenco Electronics M-2665K User guide
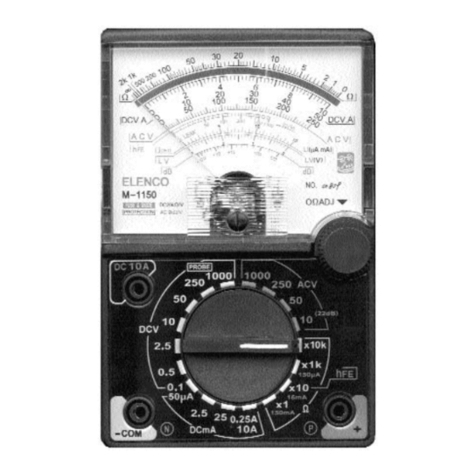
Elenco Electronics M-1150K User guide

Elenco Electronics

Elenco Electronics M-1150K User guide

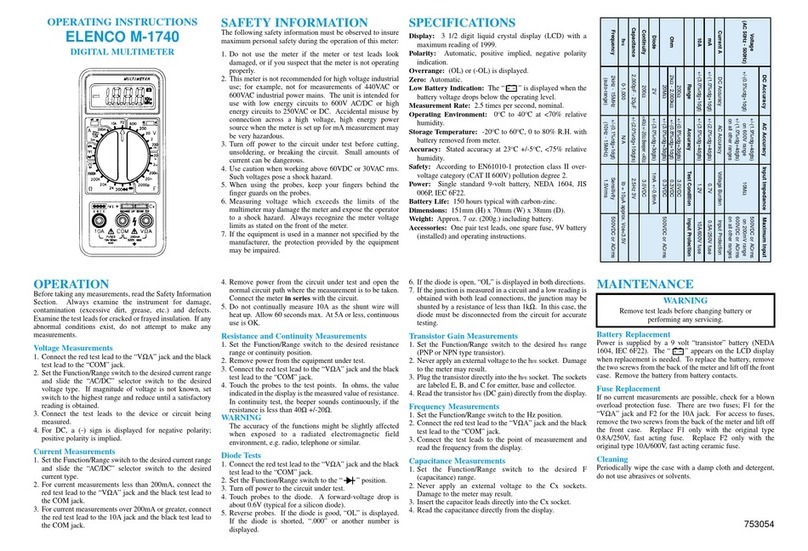
Elenco Electronics M-1740 User manual

Elenco Electronics

Elenco Electronics M-1740 User manual

Elenco Electronics M-2785 Assembly instructions

Elenco Electronics

Elenco Electronics M-2785 Assembly instructions

Elenco Electronics M-1007K User guide

Elenco Electronics

Elenco Electronics M-1007K User guide

Elenco Electronics M-1008K User guide

Elenco Electronics

Elenco Electronics M-1008K User guide
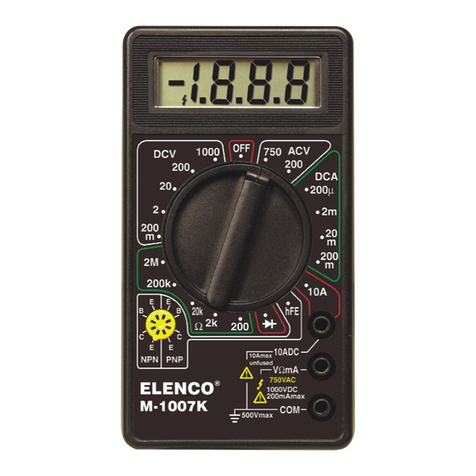
Elenco Electronics CM-1555 User manual

Elenco Electronics

Elenco Electronics CM-1555 User manual

Popular Multimeter manuals by other brands

Datron 4708 User handbook

Datron

Datron 4708 User handbook

Clas Ohlson BS1801 user manual

Clas Ohlson

Clas Ohlson BS1801 user manual

Tenma 72-8715 manual

Tenma

Tenma 72-8715 manual

Draper DMM11B Instructions for

Draper

Draper DMM11B Instructions for

UEi DM525 instruction manual

UEi

UEi DM525 instruction manual

Emos MD-410 manual

Emos

Emos MD-410 manual

AEMC C.A 5220 user manual

AEMC

AEMC C.A 5220 user manual

Wavetek DM7 Operator's manual

Wavetek

Wavetek DM7 Operator's manual

TECPEL DMM-136A Operation manual

TECPEL

TECPEL DMM-136A Operation manual

Greenlee DM-60 A user manual

Greenlee

Greenlee DM-60 A user manual

MARTINDALE MM64 instruction manual

MARTINDALE

MARTINDALE MM64 instruction manual

ABB D1M 15 user manual

ABB

ABB D1M 15 user manual

Kaiweets KM601s user manual

Kaiweets

Kaiweets KM601s user manual

Dawson Tools DDM640 user manual

Dawson Tools

Dawson Tools DDM640 user manual

LOVATO ELECTRIC DMK 31 manual

LOVATO ELECTRIC

LOVATO ELECTRIC DMK 31 manual

FLIR IM75 user manual

FLIR

FLIR IM75 user manual

Lutron Electronics AM-4205A Operation manual

Lutron Electronics

Lutron Electronics AM-4205A Operation manual

Velleman DVM852 user manual

Velleman

Velleman DVM852 user manual

manuals.online logo
manuals.online logoBrands
  • About & Mission
  • Contact us
  • Privacy Policy
  • Terms and Conditions

Copyright 2025 Manuals.Online. All Rights Reserved.