Page 6
• It takes some time for the receiver to respond to the transmitter. Do not PRESS the
buttons more than once within two seconds for correct operation.
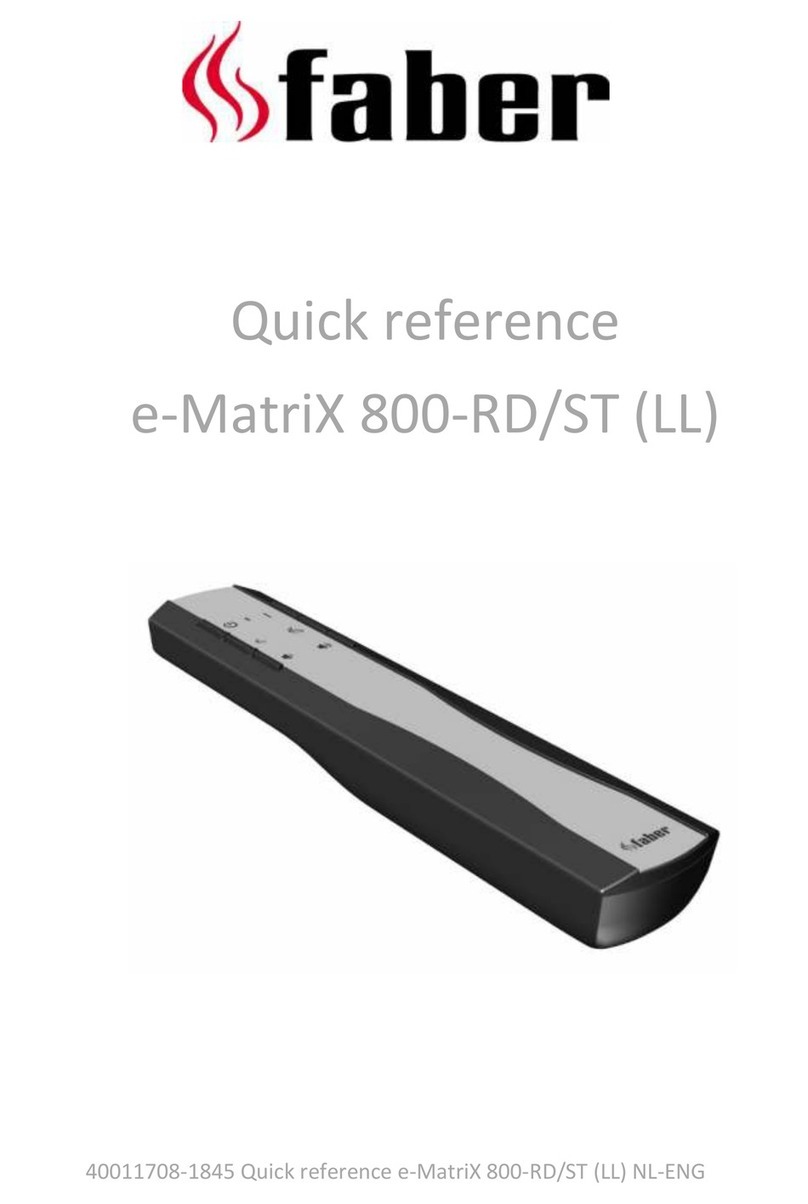
• Press once the button ON/OFF on the remote control this turns ON/OFF the appli
ance and fire effect.
• Press once the 900W button for the low heat settings; press twice to switch off the
heat setting.
• Press once the 1800W button for the high heat settings; press twice to switch off
the heat setting.
• Press the DIMMER button for operate the dimmer mode. 5 levels flame brightness
settings.
SAFETY CUT-OFF
• This appliance is fitted with a safety cut-off which will operate if the fire overheats
(e.g. Due to blocked air vents). For safety reasons, the fire will NOT automatically
reset.
• To reset the appliance, disconnect the appliance from the mains supply for at least
15 minutes. Reconnect the supply to the mains and switch on the appliance.
MAINTENANCE
• Warning: Before any maintenance and/or cleaning the exterior of the fireplace,
disconnect the unit form the power supply and leave until cooled off.
• Remote control battery replacement: this remote control uses 2x1.5V AAA battery.
Make sure the batteries are installed correctly in the remote control.
• This product does not use a standard bulb for its flame effect. The appliance
uses an electronically controlled LED system to create the flame effect there
fore no parts need to be replaced. There are no user-serviceable parts on this
appliance. Under no circumstances should the appliance be serviced by anyone
other than a qualified electrician.
CLEANING
• Warning – Always disconnect from the power supply before cleaning heater
• For general cleaning use a soft clean duster – never use abrasive cleaners. The
Page 3
one who will take responsibility for their safety.
• Never let children play with the product.
• Do not attempt to connect an external automatic on/off device such as Timer, to
the heater.
GETTING STARTED
• Remove the appliance from the box.
• Remove any packaging from the product.
• Place the packaging inside the box and either store or dispose of safely.
CONTENTS OF CARTON
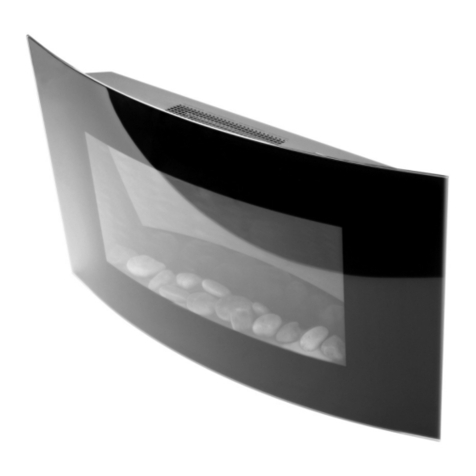
• Heater
• Wall fixing bracket
• Fixing screws and wall plugs
• Remote control
• 1 Instruction Manual
HELPFUL ADVICE BEFORE FITTING
• Please retain all packaging until you have checked and counted all the parts and
the contents of the fixing pack against the parts list.
• The fixing pack contains small items which should be kept away from young chil
dren.
• We suggest that you open the fixing pack and place all the contents into a con
tainer, therefore reducing the risk of losing any small pieces.
INSTALLATION
• Do not connect the appliance until properly fixed to the wall and the instructions
have been fully read and understood.
• The minimum distances must be observed.
• For installation of the appliance, care must be taken not to damage concealed
cables.
• Please be careful while drilling the holes.
• This appliance is designed to be permanently fixed to a wall at a minimum height
of 300mm.The wall bracket must be fitted horizontally and the cable routed to the
bottom right of the heater.


