1.EliklivDM202DigitalMicroscopeutilizesrechargeablebattery.It
takes2-3hourstochargeandworkscontinuallyfor3-4hours.Battery
onthebackofthemonitorisreplaceable.
2.Theproductcontainstinypartsandisinedible,pleaseavoidaccid-
entalingestionbychildren.Also,thisproductisnotintendedfor
medicaluse.
3.CleantheprotectiveUVfilterunderthelensifyounoticeadeteri-
orationinimagequality.Carefullywipethemicroscopewithsoft
andcleancottoncloth(suchasaneyeglasscloth)moistenedwith
alcohol.
4.Monitoronthemainunitisnotshockproof,pleaseuseitwithcare.
Donotdropit,pressithardortouchitwithsharpobject.Themonitor
isnotwaterproof,pleasecleanitwithdryandsoftcloth.Donotpress
themonitorwhenadjustingangle.
5.Eliklivoffersoneyearmanufacturewarrantyandlife-long
technicalsupportforDM202digitalmicroscope.Pleasefeelfree
togetintouchwithusifyouneedanyhelp.Itisrecommendedto
attachphotosorvideosshowingtheproblemsinthee-mail/message
forquicksolutions.Eliklivcustomerserviceusuallyrespondsin12
hoursonbusinessday.
E-mail:support@elikliv.com
Facebook:@EliklivMicroscope
-1-
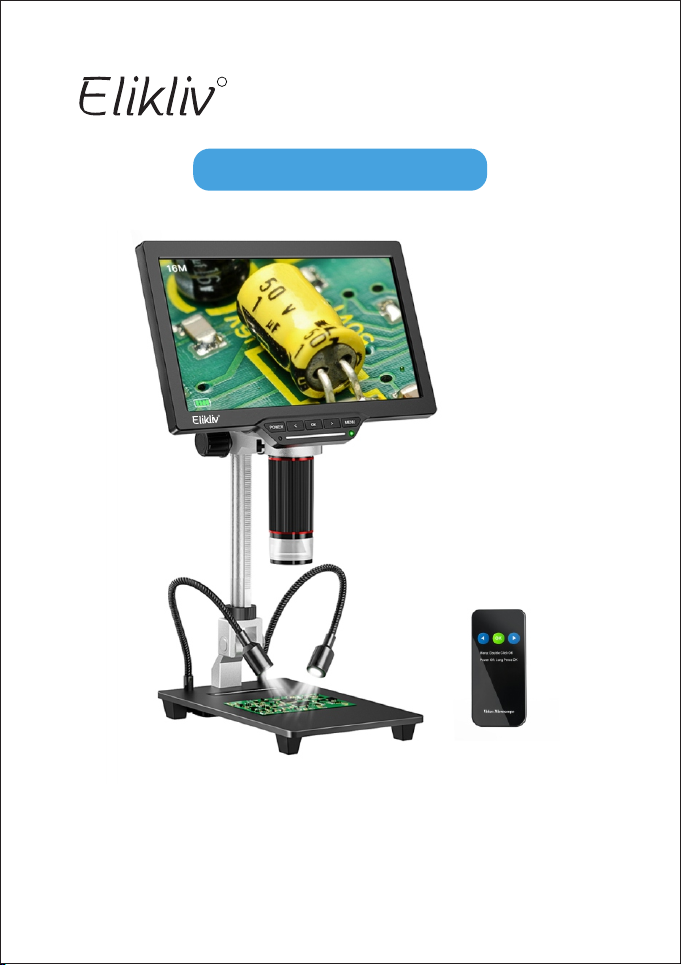
ReadMeFirst