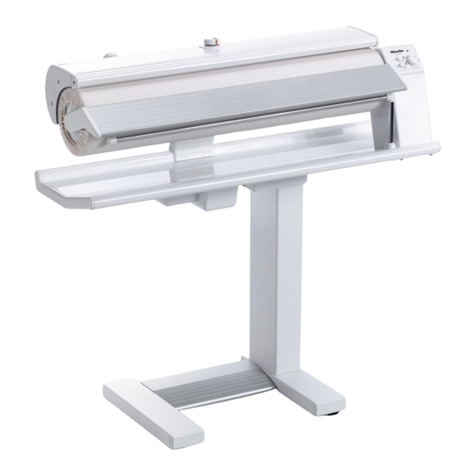
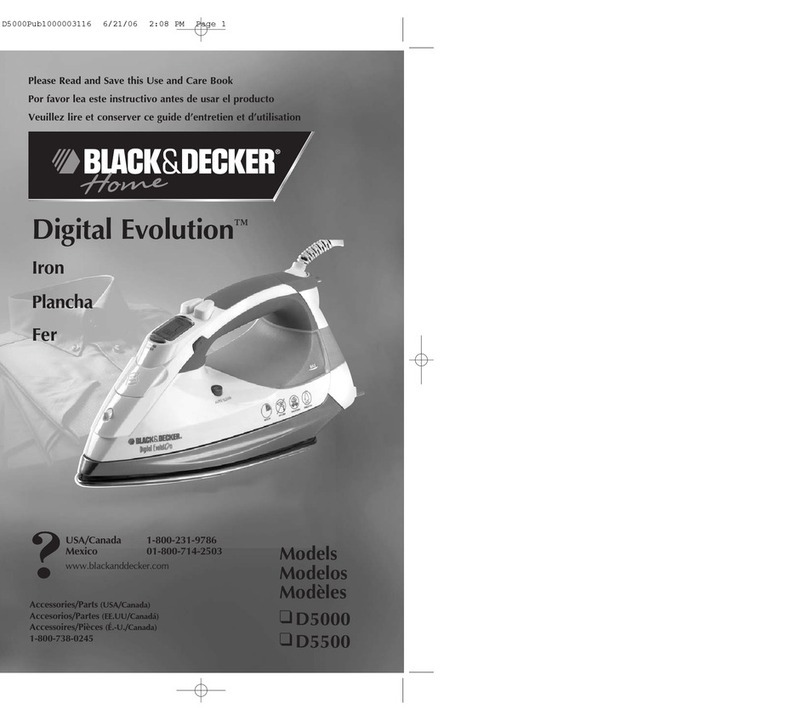
Elnapress 150 User manual

1
INSTRUCTION MANUAL
MANUALE D’ISTRUZIONI
Elnapress 150 / 250 / 450 / 850

2

3
TABLE OF CONTENTS
IMPORTANTSAFETYINFORMATION
ELNAPRESS 150
ELNAPRESS 150/250
ELNAPRESS 250/450/850
ELNAPRESS 450
ELNAPRESS 850
ELNAPRESS 850
ELNAPRESS 850
ELNAPRESS 250
ELNAPRESS 450
ELNAPRESS 850
OPENING AND CLOSING / POWER SUPPLY
LIGHT / SAFETY FEATURES
VAPOJET SYSTEM
USING THE VAPOJET
PRECAUTIONS
AFTER USE / TRANSPORT ELNAPRESS
TIPS FOR IRONING (ALL MODELS)
ACCESSORIES LIST
MAINTENANCE
OPERATE THE SLEEVE BOARD
INTERCHANGEABILITY SYSTEM OF THE SLEEVE BOARD
EXCHANGE LARGE AND SMALL SLEEVE BOARD
TURN ON ELNAPRESS AND ADJUST TEMPERATURE
p. 6
p. 8
p. 10
p. 12
p. 14
p. 16
p. 20
p. 21
p. 22
p. 23
p. 25
p. 26
p. 28
p. 30
p. 17
p. 23
p. 18
p. 19
p. 24
p. 24

4
SOMMARIO
IMPORTANTI INFORMAZIONI DI SICUREZZA
ELNAPRESS 150
ELNAPRESS 150/250
ELNAPRESS 250/450/850
ELNAPRESS 450
ELNAPRESS 850
ELNAPRESS 850
ELNAPRESS 850
ELNAPRESS 250
ELNAPRESS 450
ELNAPRESS 850
APERTURA E CHIUSURA / ALIMENTAZIONE
LUCE / CARATTERISTICHE DI SICUREZZA
SISTEMA VAPOJET
UTILIZZO DEL VAPOJET
PRECAUZIONI
DOPO L’USO / TRASPORTARE ELNAPRESS
CONSIGLI PER STIRARE (TUTTI I MODELLI)
LISTA ACCESSORI
MANUTENZIONE
AZIONARE LO STIRAMANICHE
SISTEMA DI INTERCAMBIABILITÁ DELLO STIRAMANICHE
SCAMBIARE STIRAMANICHE GRANDE E PICCOLO
ACCENDERE ELNAPRESS E REGOLARE LA TEMPERATURA
p. 34
p. 36
p. 38
p. 40
p. 42
p. 44
p. 48
p. 49
p. 50
p. 51
p. 53
p. 54
p. 56
p. 58
p. 45
p. 51
p. 46
p. 47
p. 52
p. 52

5

6
IMPORTANT SAFETY INFORMATION
Read all instructions before using your Elnapress. Elnapress is reserved
exclusively for domestic use.
To avoid risk of electric shock, burns, re or personal injury:
— Lock Elnapress before moving or transporting it.
— Never immerse the press in water or other liquid.
— Carefully follow the instructions for use.
— Do not use the press if damaged; do not try to repair or disassemble it.
For repair, contact a qualied technician. Improper repair or reassembly may
cause one of the risks listed above or void the warranty.
— Never use Elnapress if the cord or press is damaged. Replace the cable
with another cable supplied by an Elnapress authorized dealer.
— Connect the press only to a grounded wall socket.
If an extension cord is needed, make sure the amperage is the one intended
for Elnapress. A cord with a lower amperage may overheat.
Use only one extension cord with grounding. Make sure that the cord is not
inadvertently pulled or mishandled.
— In case of transport, make sure that the power cord is disconnected from
the press.
— To avoid overloading the circuit, do not use another high-voltage device at
the same time.
— The cable must not touch a hot surface.
— Allow the press to cool completely before closing it and storing it.
— This appliance may be used by children over 8 years of age and by persons
with reduced physical, sensory or mental abilities or lack of experience and
knowledge if safely supervised or instructed on the use of the device and
understand the dangers involved.
— Children must not play with the appliance.
— Cleaning and maintenance of the press must not be performed by children
without supervision.
— After use, immediately unplug the plug; to remove it, pull the plug, not the
cord.
— Read the maintenance chapter before cleaning your Elnapress. There is a
risk of burns if the hot shoe is touched.

7
SAVE THESE INSTRUCTIONS
Welcome to the world of Elnapress.
From today ironing becomes faster, easier and more effective.
Read carefully all the instructions contained in these pages and on the website
www.elnapress.com to learn the correct use of Elnapress and its accessories.
Safety
Before using Elnapress for the rst time, read all IMPORTANT SAFETY
INSTRUCTIONS. In addition, in accordance with the recommendations made
by safety standards and organizations, disconnect the Elnapress plug when
it is left unattended, during maintenance and when parts or accessories are
replaced.
Assistance
For any information or assistance, please contact an Elnapress sales point.
The qualied staff is at your complete disposal and, by virtue of the warranty
conditions, is the only authorized person for any technical intervention.
For information and to contact the nearest dealer, consult our website
www.elnapress.com
We recommend that you keep the box and packing material of Elnapress in
order to move or transport it in maximum safety.
Generality
Subject to any changes.
This material should be stored for future reference when needed.
This ironing press corresponds to the TUV regulations.
Thank you for choosing Elnapress.

8
ELNAPRESS 150
TECHNICAL SPECIFICATIONS MAIN PARTS
Power
consumption
Total pressure
developed
1000W/230V
1000W/120V
700W/100V
1. Heating shoe.
2. Ironing board
(complete with padding).
3. Fixed handle (to raise and lower
the heating shoe).
4. Mobile handle (to exert automatic
pressure).
5. Safety lock (slide button to the left
to lock and transport the press).
6. Socket for power plug connection.
7. ON/OFF switch to turn the press
on/off.
8. Heating indicator.
9. Safety sound signal (electronic).
10. Temperature regulator.
11. Cushion for ironing.
12. Vapojet (optional).
13. Elnapress dust cover (optional).
Voltage 100V-120V
or 220-240V
Dimensions of the
ironing board 62 x 25 cm
(243/4 x 10 in)
Height from the base 10 cm (4 in)
Weight 10,5 kg (23 lb)
Mini pressure about 33 kg (73 lb)
Overall
dimensions 65 x 541/2 x 211/2 cm
(26 x 213/4 x 81/2 in)
8
about 50 kg
(110 lb)

99
2.
5.
3.
11.
12.
13.
4.
1.
6.
7. 8. 10. 9.

10
Total pressure
developed
1000W/230V
1000W/120V
700W/100V
1. Heating shoe.
2. Ironing board
(complete with padding).
3. Fixed handle (to raise and lower
the heating shoe).
4. Mobile handle (to exert automatic
pressure).
5. Safety lock (slide button to the left
to lock and transport the press).
6. Socket for power plug connection.
7. Sleeve Board.
8. ON/OFF switch to turn the press
on/off.
9. Heating light.
10. Sound safety signal (electronic).
11. Temperature regulator.
12. Ironing cushion.
13. Vapojet (optional).
14. Elnapress dust cover (optional).
Dimensions of the
Small sleeve board
62 x 25 cm
(243/4 x 10 in)
Height from the base 10 cm (4 in)
Weight 12 kg (261/2 lb)
Mini pressure about 33.4 kg (73,5 lb)
about 50 kg
(110 lb)
Overall
dimensions 65 x 541/2 x 211/2 cm
(26 x 213/4 x 81/2 in)
38,5 x 9 cm
(15,15 x 3,54 in)
ELNAPRESS 250
TECHNICAL SPECIFICATIONS MAIN PARTS
Power
consumption
Voltage 100V-120V
or 220-240V
Dimensions of the
ironing board

1111
2. 7.
5.
3.
4.
1.
6.
8. 9. 11. 10.
12.
13.
14.

12
ELNAPRESS 450
12
Total pressure
developed
1000W/230V
1000W/120V
700W/100V
62 x 25 cm
(243/4 x 10 in)
Height from the base 10 cm (4 in)
Weight 12 kg (261/2 lb)
Mini pressure about 33 kg (73 lb)
Overall
dimensions 65 x 541/2 x 211/2 cm
(26 x 213/4 x 81/2 in)
about 50 kg
(110 lb)
Dimensions of the
Large sleeve board 55 x 11 cm
(21,85 x 4,33 in)
TECHNICAL SPECIFICATIONS MAIN PARTS
Power
consumption
Voltage 100V-120V
or 220-240V
Dimensions of the
ironing board
1. Heating shoe.
2. Ironing board
(complete with padding).
3. Fixed handle (to raise and lower
the heating shoe).
4. Mobile handle (to exert automatic
pressure).
5. Safety lock (slide button to the left
to lock and transport the press).
6. Socket for power plug connection.
7. Sleeve Board.
8. ON/OFF switch to turn the press
on/off.
9. Temperature regulator.
10. Heating indicator (red light).
11. Switching on light (green light).
12. Electronic safety signal.
13. Ironing cushion.
14. Vapojet (optional).
15. Elnapress dust cover (optional).

13
2. 7.
5.
3.
4.
1.
6.
8.
11.
10.
12.
9.
13
13.
14.
15.

14
Total pressure
developed
1000W/230V
1000W/120V
700W/100V
Dimensions of the
Small sleeve board
62 x 25 cm
(243/4 x 10 in)
Height from the base 10 cm (4 in)
Weight 12 kg (261/2 lb)
Mini pressure automatic and
gradual
about 50 kg
(110 lb)
Overall
dimensions 65 x 541/2 x 211/2 cm
(26 x 213/4 x 81/2 in)
38,5 x 9 cm
(15,15 x 3,54 in)
Dimensions of the
Large sleeve board 55 x 11 cm
(21,85 x 4,33 in)
1. Heating shoe.
2. Ironing board
(complete with padding).
3. Fixed handle (to raise and lower
the heating shoe).
4. Mobile handle (to exert automatic
pressure).
5. Safety lock (slide button to the left
to lock and transport the press).
6. LED light switch.
7. LED lights.
8. Socket for power plug connection.
9. Electronic security signal.
10. Large Sleeve Board.
11. Small Sleeve Board.
12. Press lever for sleeve board quick
release / coupling.
13. Touch button (digital
pressure) to switch on and set the
ironing program (+increase the
temperature).
14. Touch button (digital pressure)
to switch off and set the ironing
program (-decrease the temperature).
15. Digital indicator lights ironing
program (Nylon - Silk - Mesh - Cotton
/ “Optimal Temperature”).
16. Heating indicator (red light).
17. Vapojet.
18. Ironing cushion.
19. Elnapress dust cover (optional).
14
ELNAPRESS 850
TECHNICAL SPECIFICATIONS MAIN PARTS
Power
consumption
Voltage 100V-120V
or 220-240V
Dimensions of the
ironing board

1515
2.
5.
3.
10 17.
11.
12.
6.
4.
1.
8.
7. 16.
13.
14.
9.
15.
18.
19.

16
OPENING AND CLOSING
POWER SUPPLY
Slide the safety lock to the right to unlock Elnapress.
Place the left hand on the xed handle and the right hand on the movable
handle.
Raise the movable pressure lever with the right hand and accompany it until
the maximum opening and at the same time exert, with the left hand, a slight
downward force on the handle of the xed lever.
Release the right-hand grip by releasing the movable handle.
Accompany the heating shoe with the left hand towards the maximum opening.
Once the garment to be ironed has been placed on the board, place the left
hand on the xed handle and exert a downward pressure until the heating
shoe gets in contact with the board.
Hold the movable lever with your right hand and move it down. By bringing
the lever to maximum closing, maximum pressure is exerted. To obtain the
mini pressure, bring the lever to approximately half of its stroke (see the
appropriate tutorial on www.elnapress.com).
If necessary, repeat the same movement several times.
N.B. If the Vapojet is inserted into the xed handle, always keep your left hand
close to the lever. The left hand must never cover the word “Vapojet” on the
component.
Open the press. The rating plate, located
under the base, shows the voltage and
serial number. Make sure the voltage
matches that of your home.
Connect the plug of the power cable to the
plug of the press. Insert the plug of the
cable into the wall socket.
N.B. Elnapress must be connected to
a wall socket, grounded only. Read the
safety regulations carefully.

1717
TURN ON ELNAPRESS AND
ADJUST TEMPERATURE
ELNAPRESS 150 / 250
IRONING TEMPERATURES
With the press open, press the ON/OFF switch to turn the machine on.
The power switch (green) and the red light will illuminate to indicate that the press
is heating up.
Turn the temperature regulator up to the desired level.
When the right temperature is reached, the red light will switch off.
To switch off the press, press the ON/OFF switch. The green and red lights will go
out.
N.B: If the press is closed, the temperature cannot be adjusted.
Before ironing the garment, check that
the symbols on its label correspond to the
temperature adjustment mode. nylon - silk wool cotton

18
ELNAPRESS 450
With the press still open, press the digital pressure on/off button. The green and red
lights will illuminate to indicate that the press is on and warming up.
Turn the temperature regulator up to the desired level.
When the right temperature is reached, the red light will switch off.
To switch off the press, press lightly on the digital pressure switch again.
N.B: If the press is closed, the temperature cannot be adjusted.
18
IRONING TEMPERATURES
nylon - silk wool cotton
Before ironing the garment, check that
the symbols on its label correspond to the
temperature adjustment mode.

1919
ELNAPRESS 850
Slightly press the ON button with the press open.
A red light will illuminate.
At the same time the icon will light up green:
Select the desired ironing program by pressing the + button several times.
Elnapress 850 is able to manage two different temperature modes:
1. Manual in nylon, silk, wool mode
2. Using the new “Optimal Temperature” function. The function is activated
automatically when “cotton” mode is selected.
The two icons will light up simultaneously:
Cotton - Optimal Temperature.
The function allows you to be able to iron garments of different composition without
having to worry about the temperature regulation. For some newly designed fabrics,
such as garments that use chemical bers, we recommend doing an ironing test
(lowering and raising the pressure lever quickly) in a small area, ensuring that
the temperature cannot damage your garment. If the garment tends to rise from
the ironing board, we recommend entering manual mode by selecting a more
appropriate program (always check the temperatures indicated on the label of your
garment). When the right temperature is reached, the red light will switch off.
To switch off the press, repeatedly press the off button until you switch off all the
lights/bright icons.
N.B: If the press is closed, the temperature can only be lowered.
IRONING TEMPERATURES
nylon - silk wool cotton -
optimal temp.
Before ironing the garment, check that
the symbols on its label correspond to the
temperature adjustment mode.
TURN ON ELNAPRESS AND
ADJUST TEMPERATURE

20
LIGHT
SAFETY FEATURES
Only for models equipped with LED light (check website www.elnapress.
com).
The light turns on and off by pressing the ON/OFF button located under the
central handle (see photo 1). It is possible to switch the light on or off even
when the press is off.
For further information see: www.elnapress.com
All models are equipped with a blocking mechanism ensuring a safe transport.
If by lack of attention the press should remain closed for more than ten
seconds, a double electronic safety system will trigger an acoustic signal
“beep-beep” which will interrupt the electrical circuit and will be reactivated
automatically by re-opening the press.
ELNAPRESS 150 / 250
INSTRUCTIONS FOR ALL MODELS
ELNAPRESS 450 / 850
20
If Elnapress is left on when it is open and not used for 15 minutes, the
If Elnapress is left on when it is open and not used for 15 minutes, the electric
current of the heating shoe is automatically switched off by sending repetitive
and alternating “beep-beep” signals. To reactivate it, move downwards the
xed handle. To switch it off, press the power button (on/off).
This manual suits for next models
3
Table of contents
Languages:
Other Elnapress Iron manuals
Popular Iron manuals by other brands
RELAX-A-MIST
RELAX-A-MIST SG-9 installation instructions

Morphy Richards
Morphy Richards SPEED STEAMPRO instructions
TZS First AUSTRIA
TZS First AUSTRIA FA- 5629-5 instruction manual
Adler Europe
Adler Europe AD 5030 user manual
Panasonic
Panasonic NI-L70SR - Steam Iron With Micro-Mist Spray operating instructions

Rowenta
Rowenta PERFECT manual


