11
i-2 User Manual
www.emacoustics.co.uk
MAINTENANCE
Your EM Acoustics loudspeakers have been rigorously tested before they leave our factory, to ensure that they give
you a lifetime of flawless operation. Should any of your drive units fail and need replacing, please follow the
guidelines below.
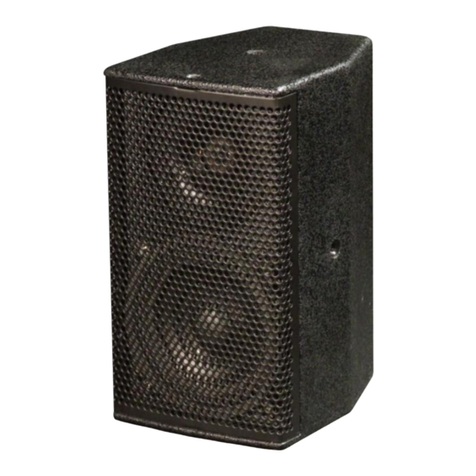
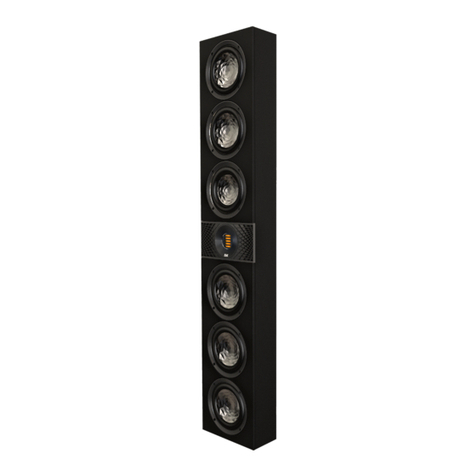
i-2: LF/MF Drive Units
1. Using a 2.5mm Allen key, remove the four countersunk machine screws that hold the front grille in place. Lift
the grille clear, ensuring that you collect the four screws for reinstatement after service.
2. Using a 3mm Allen key, remove the four socket-head screws holding the drive unit. Lift the drive unit out of
the enclosure (you may need a flat bladed screwdriver to lift the driver up) and carefully disconnect the cables,
ensuring to collect the washers for future reinstatement.
3. To reinstate the driver, simply reverse the above procedure. Please observe the correct polarity –red cable to
positive terminal, black cable to negative (LF driver) or brown cable to positive terminal, blue cable to negative
(MF driver).
4. To re-attach the grille, place it in position and carefully ease the grille over the gasket attached to the
woodwork. Ensure that the gasket does not get caught as it will bunch up and stick to the grille. Once the
grille is firmly in position, apply pressure to the ends by the mounting points and reinstate the four
countersunk screws.
i-2: HF Drive Unit
1. Remove the grille as above.
2. Using a 3mm Allen key, remove the four socket-head screws holding the drive unit. Lift the waveguide out of
the enclosure (you may need a flat bladed screwdriver to lift the waveguide up) and carefully disconnect the
cables, ensuring to collect the washers for future reinstatement.
3. To remove the planar wave driver from the waveguide, use a 3mm Allen key in the socket head bolts through
the waveguide, and hold the M4 Nyloc nuts at the rear with a 7mm spanner.
4. To reinstate the driver, simply reverse the above procedure. Please observe the correct polarity –white cable
to positive terminal, yellow cable to negative.
5. Follow the procedure outlined above to replace the front grille.


